
1. Įvadas
Thank you for choosing the RATIO R-SR1400S 1400W Circular Saw. This manual provides essential information for the safe and effective operation, maintenance, and troubleshooting of your new tool. Please read these instructions carefully before use and keep them for future reference.
2. Saugos instrukcijos
Visada laikykitės pagrindinių saugos priemonių, kad sumažintumėte gaisro, elektros smūgio ir sužalojimo riziką. Nesilaikant šių nurodymų, galite sunkiai susižaloti.
Bendra sauga
- Darbo zonos sauga: Darbo vieta turi būti švari ir gerai apšviesta. Netvarkingos arba tamsios vietos skatina nelaimingus atsitikimus. Nenaudokite elektrinių įrankių sprogioje aplinkoje, pavyzdžiui, ten, kur yra degių skysčių, dujų ar dulkių.
- Elektros sauga: Elektrinių įrankių kištukai turi atitikti lizdą. Niekada jokiu būdu nekeiskite kištuko. Venkite kūno kontakto su įžemintais paviršiais. Saugokite elektrinius įrankius nuo lietaus ar drėgmės.
- Asmeninis saugumas: Always wear eye protection, hearing protection, and a dust mask when operating the saw. Dress properly; avoid loose clothing or jewelry. Stay alert and use common sense.
Diskinių pjūklų specifinė sauga
- Atatrankos prevencija: Always hold the saw firmly with both hands. Ensure the blade is clear of the workpiece before starting. Avoid cutting small pieces that cannot be securely clampred.
- Ašmenų apsauga: Ensure the lower guard operates freely and closes instantly. Never jam or tie back the lower guard.
- Peilio pasirinkimas: Use only blades recommended for your saw and the material being cut. Ensure the blade is sharp and correctly installed.
- Gylio ir nuožulnumo reguliavimas: Securely tighten all depth and bevel adjustment levers before making a cut.
- Dulkių nusiurbimas: Connect a dust extraction device when possible to minimize dust exposure.
3. Produktas baigtasview ir komponentai
Familiarize yourself with the parts of your RATIO R-SR1400S Circular Saw before operation.
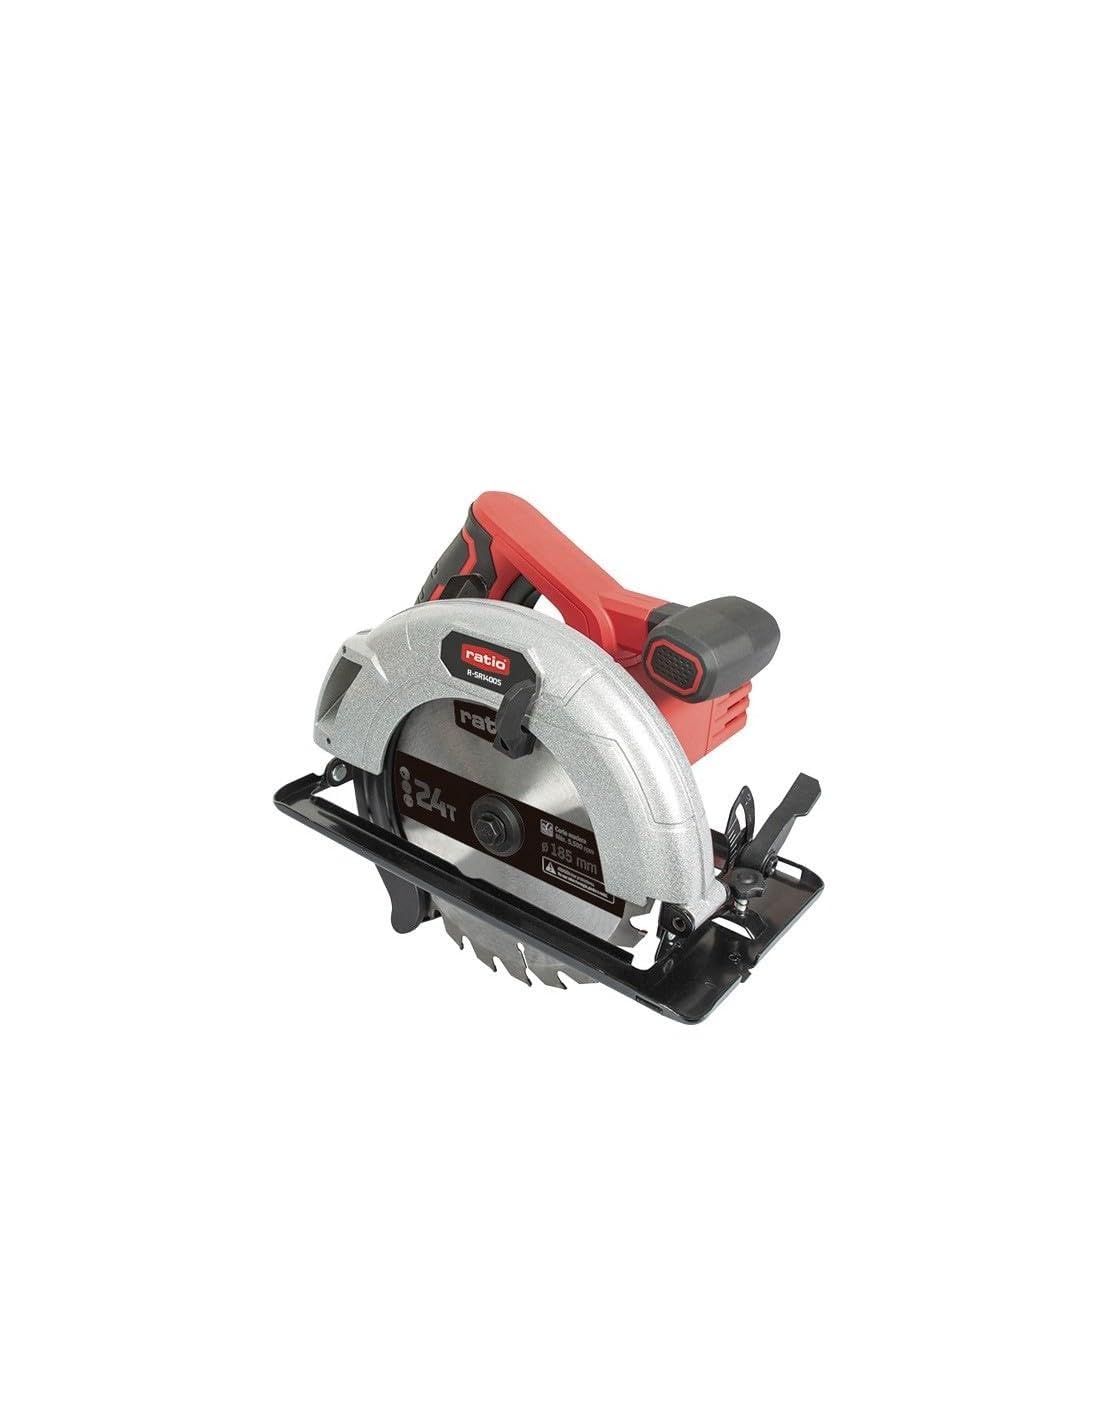
Figure 1: RATIO R-SR1400S Circular Saw. This image shows the complete circular saw with its main components, including the motor housing, handle, blade guard, and cutting blade.
- Variklio korpusas: Įmontuotas 1400 W variklis.
- Pagrindinė rankena: Ergonomically designed with a rubberized grip for comfort and control.
- Saugos užrakto jungiklis: Apsaugo nuo atsitiktinio užvedimo.
- Trigerio jungiklis: Įjungia pjūklą.
- Viršutinė ašmenų apsauga: Made of aluminum for durability and protection.
- Apatinis peilio apsaugas: Made of steel, automatically retracts during cutting.
- Pagrindo plokštė: Steel construction for stability during cuts.
- Gylio reguliavimo svirtis: Pjovimo gylio nustatymui.
- Nuožulnumo reguliavimo svirtis: For setting the cutting angle (0-45 degrees).
- Dust Extraction System: Allows connection to a vacuum cleaner for dust management.
- Maitinimo kabelis: 3 metro ilgio, kad būtų galima pasiekti didesnį atstumą.

Figure 2: Included Saw Blade. This image displays the 185mm diameter, 24-tooth saw blade designed for wood cutting, with a maximum speed of 5,500 RPM.
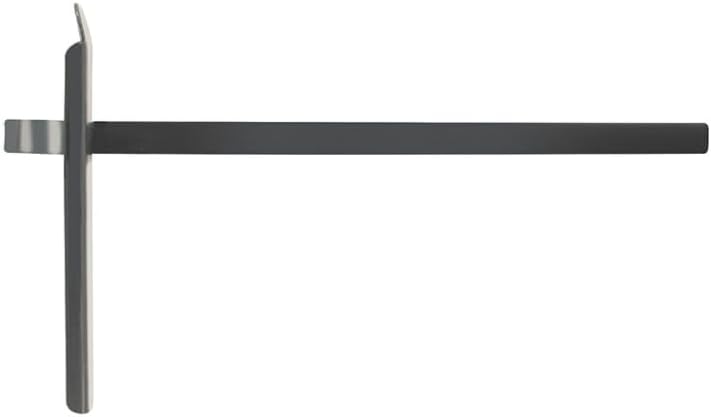
Figure 3: Rip Fence Guide. This accessory is used to guide the saw parallel to the edge of the workpiece for straight and accurate rip cuts.
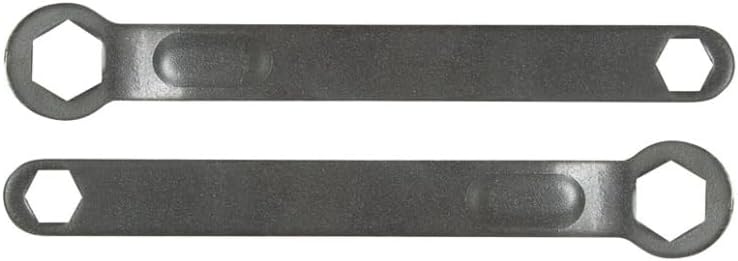
Figure 4: Blade Changing Wrenches. These wrenches are provided for safely loosening and tightening the blade arbor nut during blade installation and removal.
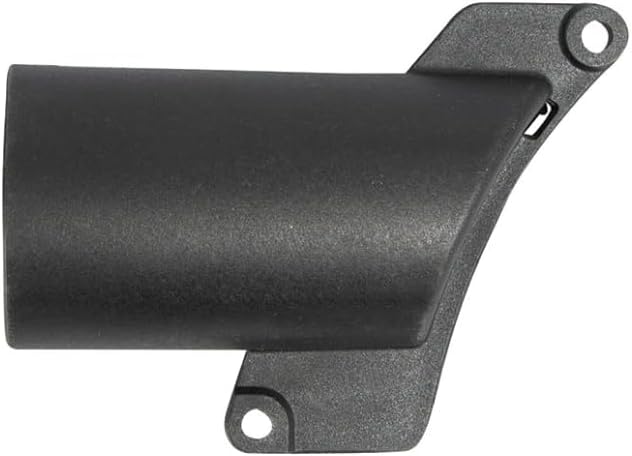
Figure 5: Dust Extraction Port. This component allows for the connection of a dust collection system to minimize sawdust in the work area.
4. Sąranka
Ašmenų montavimas
- Atjunkite maitinimą: Prieš atlikdami bet kokius reguliavimo ar techninės priežiūros darbus, visada atjunkite pjūklą nuo maitinimo šaltinio.
- Atitraukite apatinį apsauginį gaubtą: Pakelkite apatinį peilio apsaugos svirtį, kad įtrauktumėte apsaugą.
- Atlaisvinkite veleno veržlę: Naudokite pateiktą veržliaraktį, kad atlaisvintumėte veleno veržlę.
- Nuimkite seną peilį: Atsargiai nuimkite seną peilį, atkreipdami dėmesį į sukimosi kryptį.
- Įdiekite naują peilį: Place the new blade onto the arbor, ensuring the teeth point in the direction of the arrow on the saw and the blade guard.
- Priveržkite veleno veržlę: Securely tighten the arbor nut with the wrench. Do not overtighten.
- Patikrinkite apsaugą: Ensure the lower guard moves freely and springs back to cover the blade.
Pjovimo gylio reguliavimas
The cutting depth should be set so that the blade extends approximately 3-6 mm (1/8"-1/4") below the workpiece. This minimizes kickback and provides a cleaner cut.
- Atlaisvinkite gylio reguliavimo svirtį.
- Raise or lower the base plate to the desired depth.
- Tvirtai priveržkite gylio reguliavimo svirtį.
Kampinio kampo reguliavimas
Pjūklas gali atlikti nuožulnius pjūvius nuo 0° iki 45°.
- Atlaisvinkite kampo reguliavimo svirtį.
- Tilt the base plate to the desired angle, aligning with the scale.
- Tvirtai priveržkite nuožulnumo reguliavimo svirtį.
Attaching the Rip Fence Guide
The rip fence guide (Figure 3) helps make straight cuts parallel to the edge of the workpiece.
- Slide the rip fence into the slots on the front of the base plate.
- Sureguliuokite kreiptuvą pagal norimą pjovimo plotį.
- Priveržkite fiksavimo varžtą, kad kreiptuvas būtų pritvirtintas.
5. Naudojimo instrukcijos
Pjūklo paleidimas ir sustabdymas
- Pradėti: Press the safety lock switch, then squeeze the trigger switch.
- Sustoti: Release the trigger switch. The blade will stop rotating.
Pjūvio darymas
- Saugus ruošinys: Visada klamp tvirtai prispauskite ruošinį, kad pjovimo metu jis nejudėtų.
- Padėties pjūklas: Place the front of the base plate on the workpiece, ensuring the blade is clear of the material.
- Pradėti pjūklą: Užveskite pjūklą ir leiskite diskui pasiekti visą greitį, prieš pradėdami pjauti medžiagą.
- Tiekimo greitis: Pjūklui per medžiagą stumti tolygiai ir tolygiai spauskite. Nespauskite pjūklo per jėgą.
- Pilnas kirpimas: Continue the cut until the saw passes completely through the workpiece.
- Atleidimo gaidukas: Release the trigger and allow the blade to stop before lifting the saw from the workpiece.
6. Priežiūra
Reguliarus techninis aptarnavimas užtikrina jūsų diskinio pjūklo ilgaamžiškumą ir saugų veikimą.
Valymas
- Atjunkite maitinimą: Prieš valydami įrankį visada ištraukite iš elektros tinklo.
- Pašalinkite dulkes: Use a soft brush or compressed air to clean dust and debris from the motor vents and blade guard area.
- Nuvalykite paviršius: Išorinius paviršius nuvalykite skelbimuamp audinys. Nenaudokite stiprių cheminių medžiagų ar tirpiklių.
Ašmenų priežiūra
- Apžiūrėkite peilį: Regularly inspect the blade for sharpness, cracks, or missing teeth. Replace damaged blades immediately.
- Švarus peilis: Remove resin and pitch buildup from the blade using a suitable blade cleaner.
Bendra apžiūra
- Patikrinkite visų varžtų ir tvirtinimo detalių tvirtumą.
- Inspect the power cord for damage. If damaged, have it replaced by a qualified technician.
7. Problemų sprendimas
Šiame skyriuje aptariamos dažniausiai pasitaikančios problemos, su kuriomis galite susidurti.
| Problema | Galima priežastis | Sprendimas |
|---|---|---|
| Pjūklas neįsijungia | Nėra maitinimo Apsauginis užraktas neįjungtas Pažeistas maitinimo laidas | Patikrinkite maitinimo lizdą ir grandinės pertraukiklį Ensure safety lock is pressed before trigger Inspect cord; contact service if damaged |
| Peilis stringa arba rūksta | Nuobodu arba purvina ašmenys Neteisingas pjovimo gylis Pjūklo spaudimas Ruošinys nėra pritvirtintas | Replace or clean blade Sureguliuokite pjovimo gylį Sumažinkite padavimo greitį Tvirtai pritvirtinkite ruošinį |
| Netikslūs pjūviai | Loose adjustments Nusidėvėjęs peiliukas Netinkama technika | Tighten depth/bevel levers Pakeiskite ašmenis Use a guide and maintain steady feed |
| Per didelė vibracija | Atsilaisvinęs ašmenys Pažeistas ašmenys Išlenkta pavėsinė | Ensure blade is securely tightened Pakeiskite ašmenis Susisiekite su aptarnavimo centru |
8. Specifikacijos
| Funkcija | Specifikacija |
|---|---|
| Modelis | R-SR1400S |
| Galia | 1400 W |
| Greitis be apkrovos | 5,500 aps./min |
| Ašmenų skersmuo | 185 mm |
| Ašmenų anga | 20 mm |
| Max. Cutting Capacity (90°) | 63 mm |
| Max. Cutting Capacity (45°) | 42 mm |
| Bevel Cut Range | 0°–45° |
| Svoris | 5 kg (approx. 4.34 kg product weight) |
| Kabelio ilgis | 3 m |
9. Garantija ir palaikymas
RATIO products are manufactured to high-quality standards. For warranty information, please refer to the warranty card included with your purchase or contact your local RATIO dealer. For technical support or service, please contact the retailer where the product was purchased or visit the official RATIO webSvetainė, kurioje nurodytos aptarnavimo centrų vietos.