
1. Įvadas
Thank you for choosing the DOOGEE Tab A9 PRO Tablet. This manual provides essential information for setting up, operating, and maintaining your device. Please read it carefully before using the tablet to ensure proper functionality and longevity.
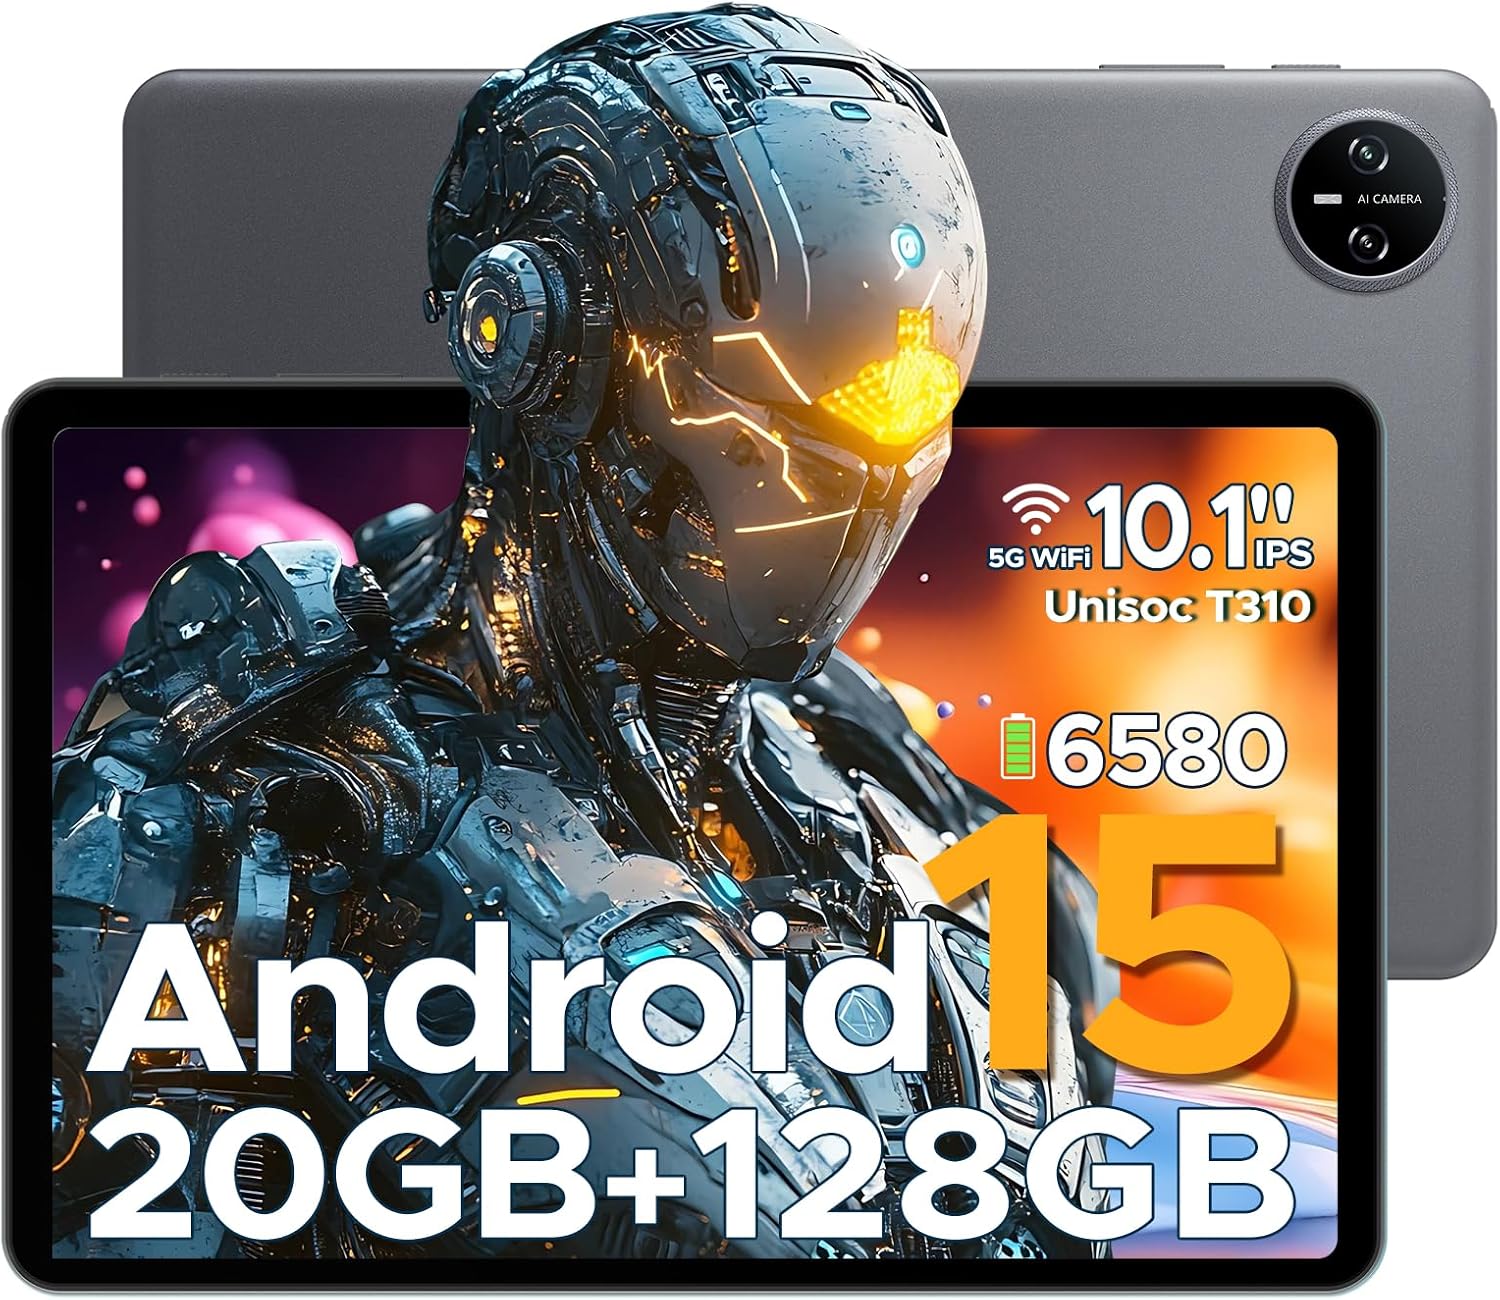
Figure 1.1: DOOGEE Tab A9 PRO Tablet. This image displays the tablet from both the front, highlighting its display, and the back, showing the camera module and overall grey finish.
2. Kas yra dėžutėje
Patikrinkite, ar pakuotėje yra visi reikalingi daiktai:
- DOOGEE Tab A9 PRO Tablet
- Įkroviklis
- C tipo USB kabelis
- Tool for taking card (SIM/SD card tray ejector)
3. Sąranka
3.1 Pradinis įkrovimas
Before first use, fully charge the tablet using the provided charger and Type-C USB cable. Connect the Type-C cable to the tablet's charging port and the charger to a power outlet.
3.2 Įjungimas / išjungimas
- To power on: Press and hold the power button until the DOOGEE logo appears.
- To power off: Press and hold the power button, then select "Power off" from the options.
3.3 Pradinio nustatymo vedlys
Upon first power-on, the tablet will guide you through an initial setup process. This includes selecting your language, connecting to Wi-Fi, setting up your Google account, and configuring security options like face recognition.

Figure 3.1: Android 15 System Interface. This image illustrates the clean and intuitive interface of the Android 15 operating system, showing various application icons and system settings.
3.4 „MicroSD“ kortelės įdėjimas (pasirinktinai)
The tablet supports expandable memory up to 2TB via a MicroSD card (purchased separately). Use the provided tool to open the card tray and insert the MicroSD card as indicated.

Figure 3.2: Storage Capabilities. This image highlights the tablet's 20GB Max RAM (composed of 4GB Basic and 16GB Virtual RAM) and 128GB internal storage, with the option to expand up to 2TB using a TF card.
4. Planšetinio kompiuterio valdymas
4.1 Ekranas ir navigacija
The DOOGEE Tab A9 PRO features a 10.1-inch IPS HD+ display with a resolution of 1280x800 pixels, offering clear visuals and a wide field of view.

Figure 4.1: Display Specifications. This image details the 10.1-inch IPS HD display, including its 1280x800 resolution, 80.2% screen-to-body ratio, and 16.7 million colors.
4.2 Kameros funkcijos
The tablet is equipped with an 8MP main camera and a 5MP front camera, suitable for capturing photos, videos, and video calls.

Figure 4.2: Camera Features. This image highlights the tablet's 8MP main camera and 5MP front camera, demonstrating their use for capturing moments and video calls.
4.3 garsas
The tablet features 1217 BOX Dual Speakers for enhanced audio experience. It also includes a 3.5mm headphone jack for private listening.

Figure 4.3: Dual Speaker System. This image illustrates the tablet's 1217 BOX Dual Speakers, designed to provide clear and immersive audio.
4.4 Ryšys
- „Wi-Fi“: Prisijunkite prie galimų „Wi-Fi“ tinklų per Nustatymai > Tinklas ir internetas > „Wi-Fi“.
- "Bluetooth 5.0": Pair with Bluetooth devices (headphones, speakers, etc.) via Settings > Connected devices > Bluetooth.
- OTG (kelyje): Supports connecting USB peripherals like flash drives or keyboards via a compatible OTG adapter (not included).
- Wireless Screencasting: Easily connect to a large TV or display for screen mirroring.
5. Priežiūra
5.1 Valymas
Planšetinio kompiuterio ekraną ir korpusą valykite minkštu, nepūkuotu audiniu. Venkite naudoti stiprias chemines medžiagas ar abrazyvines medžiagas.
5.2 Akumuliatoriaus priežiūra
The tablet is equipped with a 6580mAh Lithium Polymer battery. To prolong battery life:
- Venkite ekstremalių temperatūrų.
- Neleiskite baterijai dažnai visiškai išsikrauti.
- Use the provided charger.
- Enable power saving mode when needed.
5.3 Programinės įrangos naujiniai
Reguliariai tikrinkite, ar yra sistemos naujinimų, ir įdiekite juos, kad užtikrintumėte optimalų našumą, saugumą ir prieigą prie naujų funkcijų. Eikite į Nustatymai > Sistema > Sistemos naujinys.
6. Problemų sprendimas
6.1 Bendrosios problemos ir sprendimai
| Problema | Sprendimas |
|---|---|
| Planšetinis kompiuteris neįsijungia | Ensure the battery is charged. Press and hold the power button for 10-15 seconds to force a restart. |
| Lėtas veikimas | Close unused applications. Clear cache. Restart the tablet. Check for system updates. |
| Wi-Fi ryšio problemos | Restart the tablet and your Wi-Fi router. Forget and reconnect to the network. |
| Programos stringa | Išvalykite programėlės talpyklą ir duomenis („Nustatymai“ > „Programos“ > [Programėlės pavadinimas] > „Atmintis“). Iš naujo įdiekite programėlę. |
7. Specifikacijos
| Funkcija | Detalė |
|---|---|
| Modelis | DOOGEE Tab A9 PRO |
| Operacinė sistema | Android 15 |
| Procesorius | Quad-Core (Unisoc T310) |
| RAM | 12 GB |
| Vidinė saugykla | 128 GB ROM |
| Išplečiama saugykla | Up to 2TB (MicroSD, sold separately) |
| Ekranas | 10.1-inch IPS HD+ (1280x800) |
| Pagrindinė kamera | 8 MP |
| Priekinė kamera | 5 MP |
| Baterija | 6580mAh ličio polimeras |
| Ryšys | Wi-Fi, Bluetooth 5.0, OTG, Type-C USB |
| Garsas | 1217 BOX Dual Speakers, 3.5mm headphone jack |
| Matmenys | 25.7 x 16.88 x 0.79 cm |
| Svoris | 400 g |

Figure 7.1: Unisoc T310 Processor. This image details the specifications of the Unisoc T310 processor, highlighting its powerful quad-core architecture, 2.0GHz ultimate frequency, and 12nm advanced process technology.
8. Garantija ir palaikymas
For warranty information and technical support, please refer to the official DOOGEE websvetainėje arba susisiekite su jų klientų aptarnavimo tarnyba. Išsaugokite pirkimo kvitą garantiniams reikalavimams.
DOOGEE Official Websvetainė: www.doogee.cc