
1. Produktas baigtasview
This sonecesiya Replacement Accessories Kit is designed to maintain the optimal cleaning performance of your Xiaomi Robot Vacuum X20 Max. Regular replacement of worn parts ensures efficient dirt and debris removal, extending the lifespan of your robot vacuum.
Komplekto turinys:
- 1 x pagrindinis šepetys
- 2x filtrai
- 4 x Dust Bags (including 2 activated carbon dust bags)
- 2 x šoniniai šepetėliai
- 2 x šluostės
2. Diegimo vadovas
Before installing any replacement parts, ensure your Xiaomi Robot Vacuum X20 Max is powered off and disconnected from its charging base.
2.1 Main Brush Installation
- Apverskite robotinį dulkių siurblį aukštyn kojomis.
- Locate the main brush cover, usually secured by latches or screws. Open or remove the cover.
- Nuimkite seną pagrindinį šepetį.
- Insert the new main brush, ensuring the ends align with the slots in the vacuum.
- Tvirtai uždarykite pagrindinio šepečio dangtelį.

Image: The main brush features a V-shaped design for better garbage and dust collection, made from high-quality nylon and rubber for effective cleaning on various floor types.
2.2 Šoninio šepečio montavimas
- Apverskite robotinį dulkių siurblį aukštyn kojomis.
- Raskite šoninius šepečius. Paprastai jie tvirtinami vienu varžtu.
- Atsukite ir nuimkite seną šoninį šepetį.
- Align the new side brush with the post and press it down firmly. Secure it with the screw.

Image: A three-armed side brush, designed to sweep debris from edges and corners into the vacuum's path.
2.3 Filtro montavimas
- Atidarykite roboto dulkių siurblio dulkių surinktuvo skyrių.
- Išimkite šiukšliadėžę.
- Raskite filtro mazgą dulkių konteineryje. Išimkite seną filtrą.
- Insert the new filter into the designated slot, ensuring it is seated correctly.
- Iš naujo įstatykite šiukšliadėžę į vakuumą.

Image: A high-efficiency particulate arrestance filter, capable of capturing 99.97% of particles as small as 0.3 microns, preventing dust from re-entering the air.
2.4 Dulkių maišelio keitimas
- Open the dust collection compartment on your robot vacuum or its auto-empty station.
- Carefully remove the full dust bag. The design often includes a push-pull handle for sealing.
- Insert a new dust bag, ensuring it is fully seated and the sealing mechanism is engaged to prevent leakage.
- Close the dust collection compartment.

Image: A dust bag demonstrating robust fabric, an auto-seal mechanism, and good edge sealing to prevent dust leakage. Dimensions are shown as 19cm length, 13cm width, and 11cm height.
2.5 Mop Pad Installation
- Locate the mop pad attachment area on the underside of the robot vacuum.
- Remove any old or dirty mop pads.
- Attach the new mop pads, ensuring they are securely fastened, typically via Velcro or a sliding mechanism.
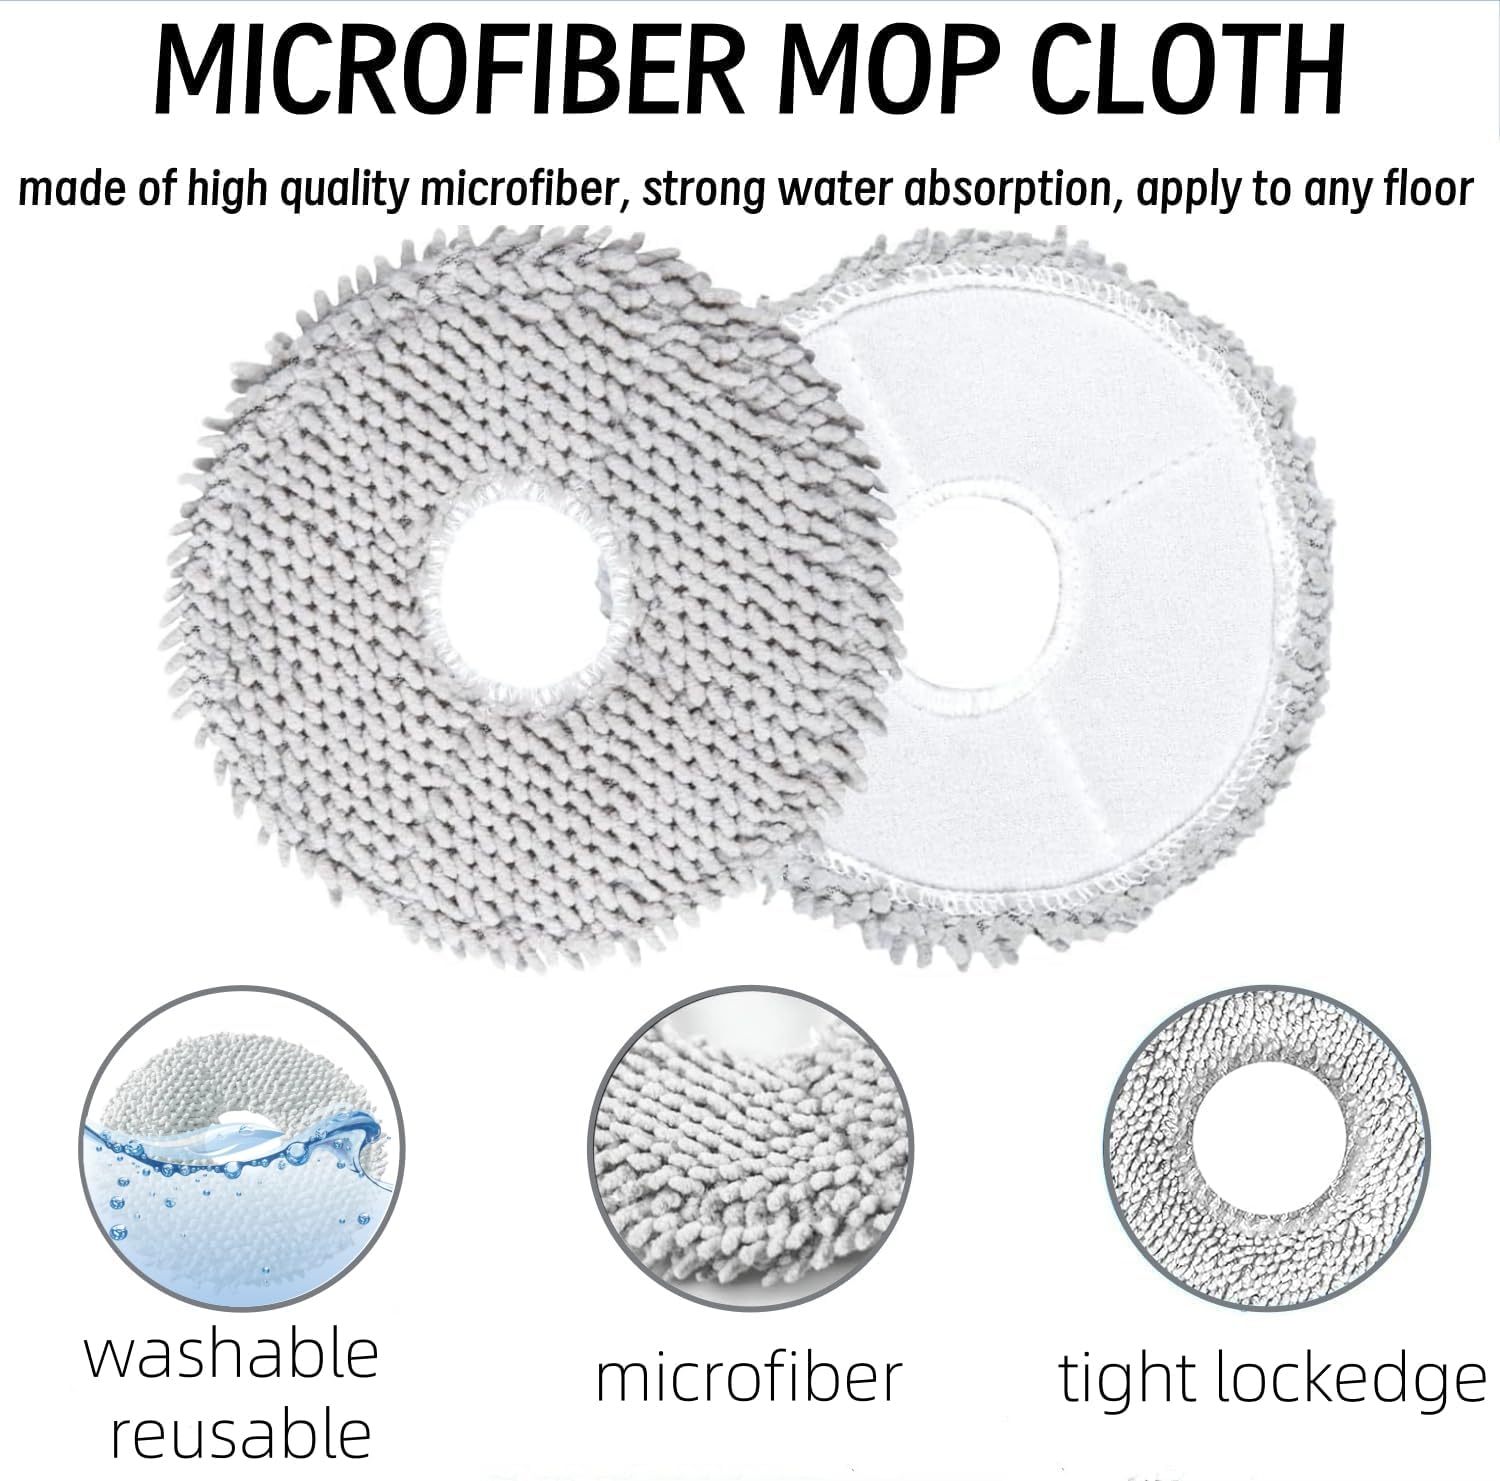
Image: Two microfiber mop cloths, highlighting their strong water absorption, washability, and tight locked edges for durability.
3. Naudojimo instrukcijos
After installing the replacement parts, ensure all components are securely in place before operating your Xiaomi Robot Vacuum X20 Max. The robot vacuum should function as normal with the new accessories, providing enhanced cleaning performance.
4. Maintenance and Replacement Frequency
Regular maintenance and timely replacement of accessories are crucial for maintaining the efficiency and longevity of your robot vacuum.
- Pagrindinis šepetys: Inspect weekly for tangled hair or debris. Clean as needed. Replace every 6-12 months, or sooner if visibly worn.
- Šoniniai šepečiai: Inspect weekly for tangled hair or damage. Clean as needed. Replace every 3-6 months, or sooner if bristles are bent or missing.
- Filtrai: Tap clean weekly to remove dust. Replace every 2-3 months, or sooner if suction power decreases significantly.
- Dulkių maišeliai: Replace when full. The vacuum's app or indicator light will typically notify you.
- Šluosčių pagalvėlės: Wash after each use. Replace every 1-3 months, or sooner if cleaning effectiveness diminishes.
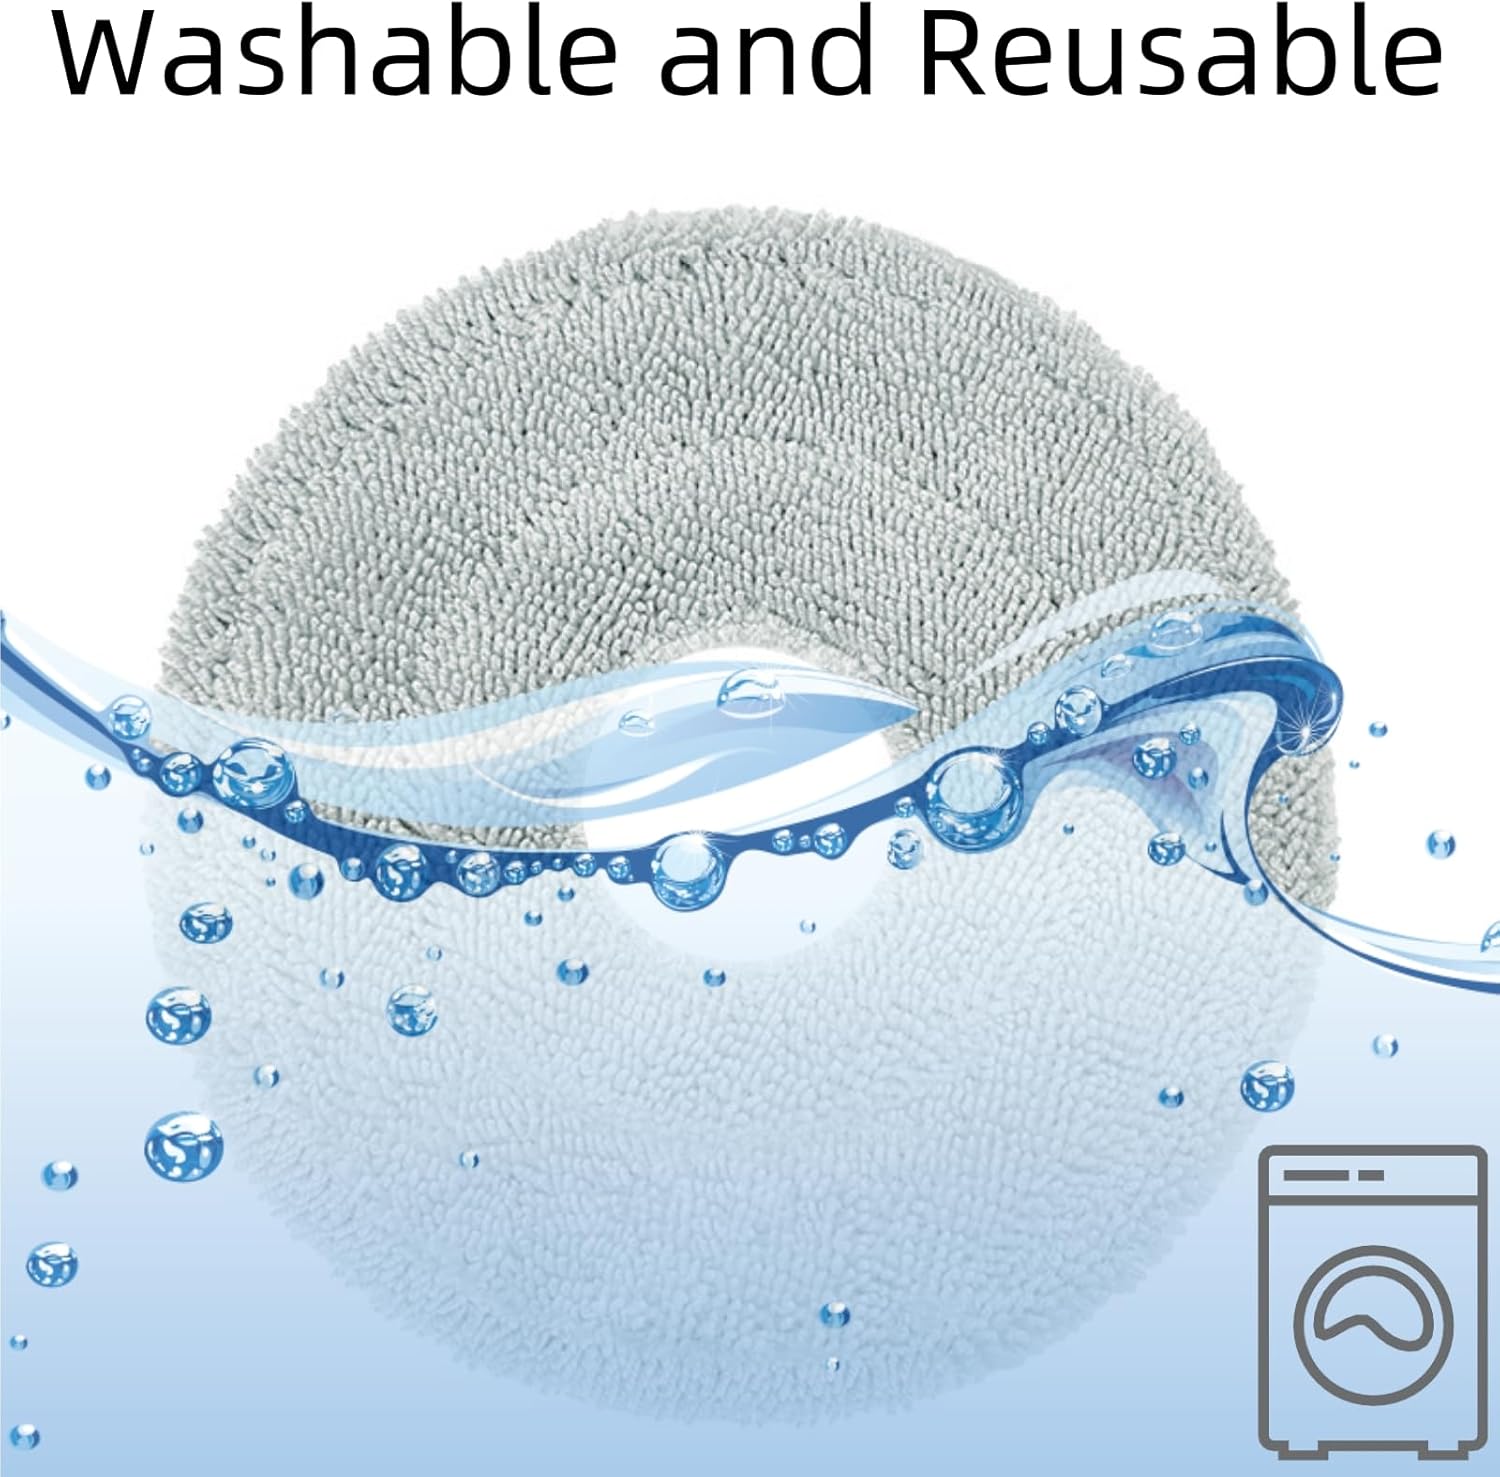
Image: A mop pad submerged in water with bubbles, indicating it is washable and reusable. A washing machine icon suggests machine washability.
5. Problemų sprendimas
- Dalys netinka: Ensure you have the correct replacement kit for the Xiaomi Robot Vacuum X20 Max. Double-check alignment during installation.
- Sumažėjęs valymo našumas: Check if brushes are tangled, filters are clogged, or mop pads are dirty. Replace parts according to the recommended frequency.
- Neįprasti garsai: Inspect the main brush and side brushes for any foreign objects or damage. Ensure they are installed correctly.
- Dulkių nuotėkis: Verify that the dust bag is properly sealed and seated in its compartment. Check for any tears in the dust bag.
6. Specifikacijos
| Atributas | Vertė |
|---|---|
| Prekės ženklas | sonecesiya |
| Modelio numeris (rinkinys) | YESK83 |
| Suderinamas įrenginys | Xiaomi Robot Vacuum X20 Max |
| Medžiaga | Acrylonitrile Butadiene Styrene, Microfiber, Nylon, Rubber |
| Prekės svoris | 8.3 uncijos |
| Gaminio matmenys | 8.26 x 1.6 x 1.6 inches (packaging/main brush dimensions) |
| Įtraukti komponentai | 1 Main Brush, 2 Filters, 2 Side Brushes, 2 Mop Pads, 4 Dust Bags |
7. Garantija ir palaikymas
For any questions regarding the installation, maintenance, or performance of your sonecesiya Replacement Accessories Kit, please contact the manufacturer directly through their official channels or the retailer where the product was purchased.
Refer to your original product packaging or the manufacturer's websvetainėje, kur rasite konkrečios informacijos apie garantiją.