
1. Įvadas
This manual provides instructions for the setup, operation, maintenance, and troubleshooting of your CRUA 27-inch 240Hz QHD IPS Gaming Monitor. This monitor features a 2560x1440 QHD resolution, a 240Hz refresh rate, an IPS panel for wide viewing angles, AMD FreeSync support, a blue light filter for eye protection, and built-in speakers. Please read this manual thoroughly before using the product.
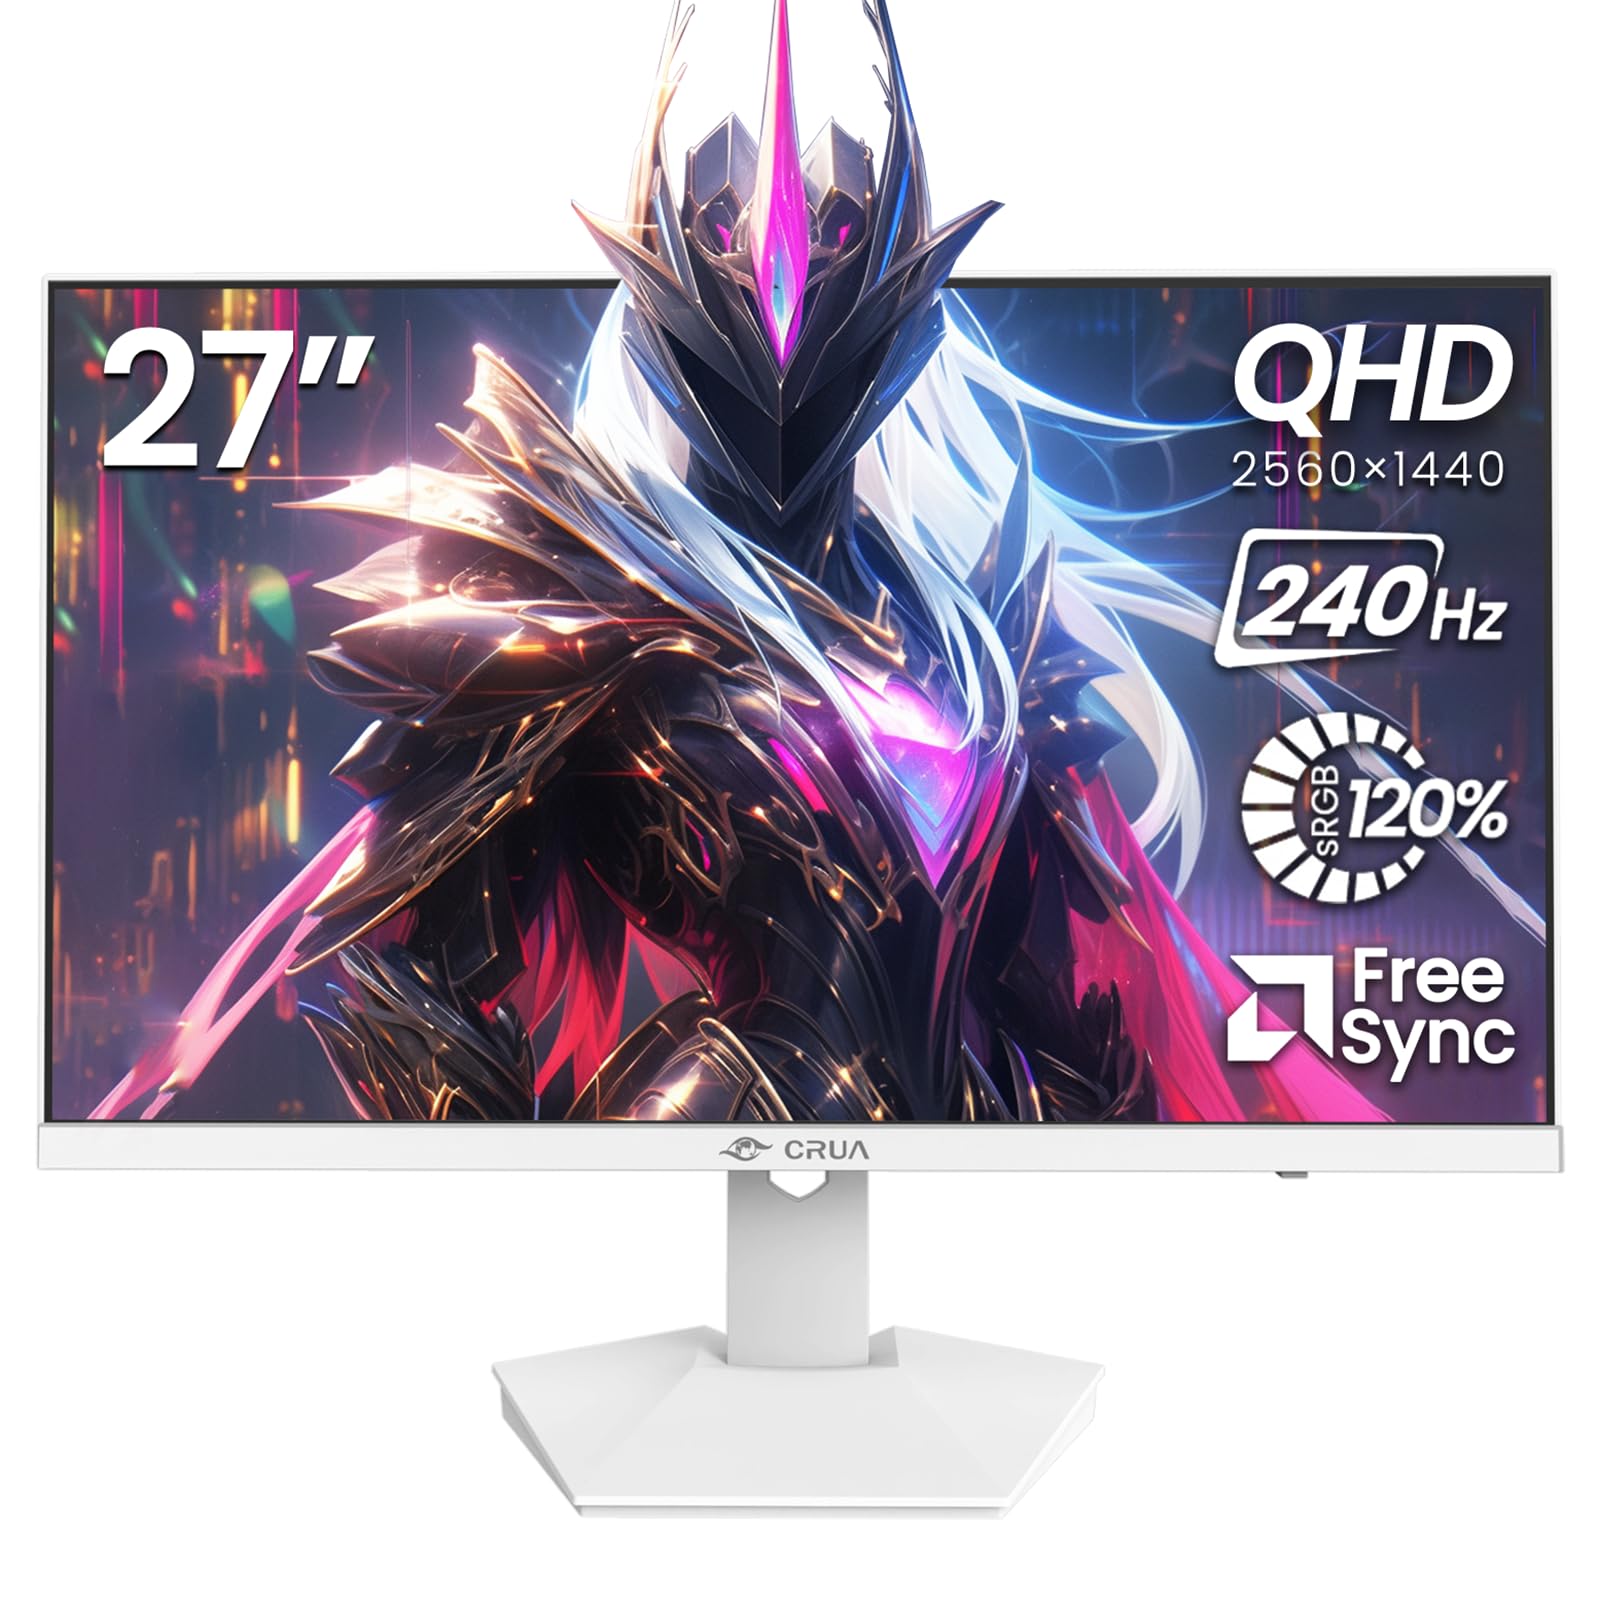
Vaizdas: priekis view of the CRUA 27-inch 240Hz QHD IPS Gaming Monitor.
2. Pakuotės turinys
Patikrinkite, ar pakuotėje yra visi reikalingi daiktai:
- CRUA 27-inch 240Hz QHD IPS Gaming Monitor
- Monitoriaus stovas (pagrindas ir kaklelis)
- Maitinimo adapteris ir laidas
- HDMI kabelis
- DisplayPort (DP) kabelis
- Vartotojo vadovas (šis dokumentas)
3. Sąranka
3.1 Stovo surinkimas
- Atsargiai išimkite monitorių iš pakuotės, padėkite jį ekranu žemyn ant minkšto, švaraus paviršiaus, kad nesubraižytumėte.
- Pritvirtinkite stovo kaklelį prie monitoriaus skydelio. Įsitikinkite, kad jis tvirtai užsifiksuoja.
- Attach the stand base to the stand neck. Tighten any screws if provided.
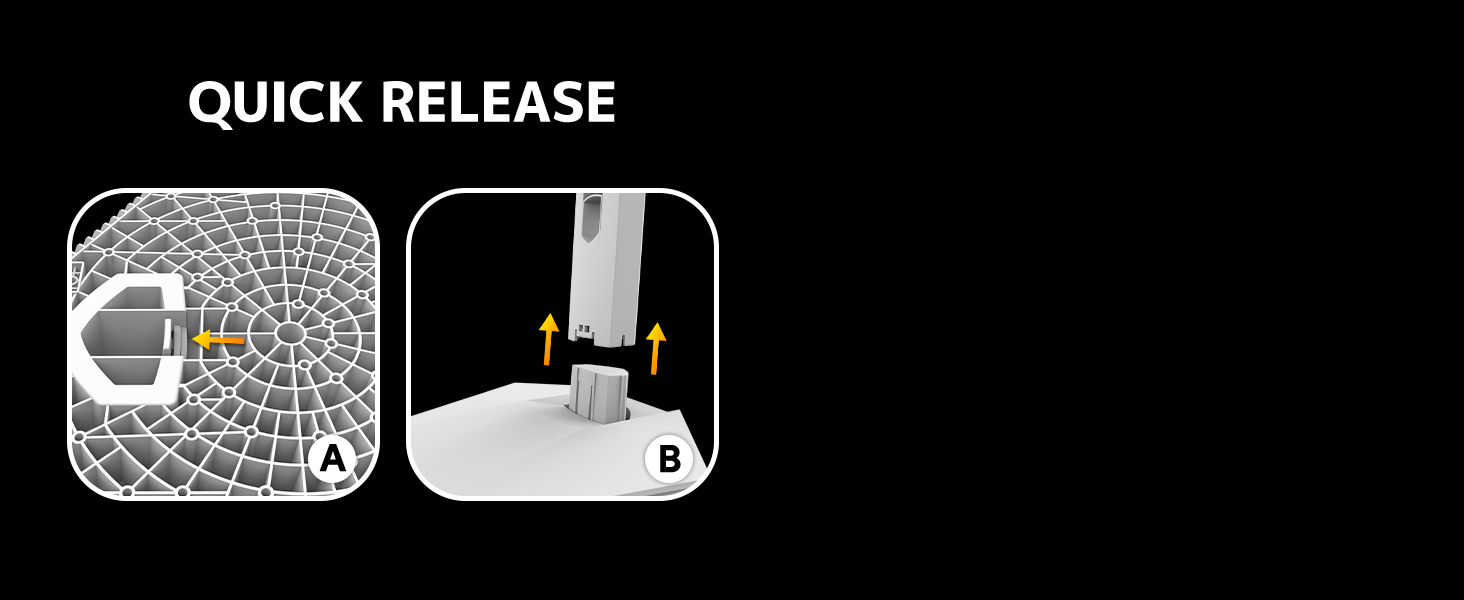
Image: Diagram illustrating the quick release stand assembly.
3.2 Tvirtinimas prie sienos (pasirinktinai)
The monitor supports VESA wall mounting (75mm x 75mm). To wall mount:
- Remove the stand from the monitor if it is already attached.
- Attach a VESA-compatible wall mount bracket (not included) to the monitor using appropriate screws.
- Follow the instructions provided with your wall mount for secure installation.

Vaizdas: Galinis view of the monitor showing VESA mount points (75x75mm) and built-in speakers.
3.3 Prijungimas prie kompiuterio
Prijunkite monitorių prie kompiuterio vienu iš šių būdų:
- DisplayPort (DP 1.4): For optimal performance, especially at 240Hz QHD resolution, use the included DisplayPort cable.
- HDMI (HDMI 2.0): Use an HDMI cable for QHD resolution at up to 144Hz.
Connect the power adapter to the monitor's power input and then plug it into a power outlet.

Vaizdas: Galinis view of the monitor displaying the input ports, including HDMI and DisplayPort.
4. Naudojimo instrukcijos
4.1 Maitinimo įjungimas/išjungimas
Press the power button located on the back of the monitor to turn it on or off. The power button may resemble a joystick for OSD navigation.
4.2 Ekrano meniu (OSD)
The OSD menu allows you to adjust various monitor settings. Use the joystick-like button on the back of the monitor to navigate the menu:
- Paspausk mygtuką: Atidaro OSD meniu.
- Judėti aukštyn / žemyn: Naršo meniu parinktis.
- Perkelti į kairę/dešinę: Adjusts selected settings or enters sub-menus.
- Paspauskite dar kartą: Confirms selection or exits a sub-menu.
4.3 Ekrano nustatymai
OSD meniu galite reguliuoti:
- Ryškumas / kontrastas: Sureguliuokite bendrą šviesumo ir kontrasto santykį.
- Spalvų nustatymai: Fine-tune color temperature, hue, and saturation. The monitor offers 120% sRGB color coverage for accurate and vibrant visuals.
- Įvesties šaltinis: Rankiniu būdu pasirinkite tarp HDMI ir DisplayPort įvesčių.

Image: Details on true color accuracy, including 120% sRGB, 8-bit color depth, and 16.7 million colors.
4.4 Žaidimų funkcijos
- Atnaujinimo dažnis: The monitor supports up to 240Hz refresh rate for smooth motion. Ensure your graphics card and cable support this rate.
- AMD FreeSync: Enable FreeSync in the OSD menu and on your AMD graphics card settings to eliminate screen tearing and stuttering.

Paveikslėlis: Vizualinis palyginimas, demonstruojantis 240 Hz ir 60 Hz atnaujinimo dažnių sklandumą.

Image: Illustrates the effect of Adaptive Sync (FreeSync) on reducing screen tearing and stuttering.
4.5 Akių apsauga
The monitor includes a built-in blue light filter to reduce eye strain during extended use. This feature can be enabled or adjusted through the OSD menu.
5. Priežiūra
Norėdami išlaikyti monitoriaus našumą ir išvaizdą:
- Ekrano valymas: Švelniai nuvalykite ekraną minkštu, nepūkuotu skudurėliu. Įsisenėjusioms dėmėms valyti naudokite monitoriui skirtą valymo tirpalą, užteptą ant šluostės, o ne tiesiai ant ekrano.
- C valymasasing: Monitorių nuvalykite minkštu, sausu skudurėliu.asing. Venkite abrazyvinių valiklių ar tirpiklių.
- Išjungti: Prieš valydami visada išjunkite monitorių ir atjunkite jį nuo maitinimo lizdo.
6. Problemų sprendimas
| Problema | Galima priežastis | Sprendimas |
|---|---|---|
| Ekrane nėra vaizdo | Monitor is off or not receiving signal. | Ensure power cable is connected and monitor is on. Check video cable connection (HDMI/DP) to both monitor and computer. Select correct input source via OSD. |
| Vaizdo mirgėjimas arba plyšimas | FreeSync not enabled or incompatible settings. | Enable FreeSync in the monitor OSD and your graphics card control panel. Ensure your graphics card drivers are up to date. |
| Poor picture quality (blurry, incorrect colors) | Incorrect resolution, color settings, or faulty cable. | Set display resolution to 2560x1440. Adjust brightness, contrast, and color settings in the OSD. Try a different video cable. |
| Nėra garso iš įmontuotų garsiakalbių | Volume too low, incorrect audio output selected. | Increase monitor volume via OSD. Ensure the monitor is selected as the audio output device in your computer's sound settings. |
| Negyvi pikseliai | Gamybos brokas. | Refer to warranty information for pixel policy. Contact customer support if within warranty. |
7. Specifikacijos
| Funkcija | Specifikacija |
|---|---|
| Modelio numeris | CR270I |
| Ekrano dydis | 27 colių |
| Skydelio tipas | IPS |
| Rezoliucija | 2560 x 1440 (QHD) |
| Atnaujinimo dažnis | 240 Hz |
| Krašto santykis | 16:9 |
| Spalvų gama | 120% sRGB |
| Ryškumas | 300 cd/m² |
| Kontrasto santykis | 1000:1 |
| Viewing kampas | 178° (horizontalus / vertikalus) |
| Vaizdo įrašų įėjimai | HDMI 2.0, DisplayPort 1.4 |
| Garsas | Integruoti garsiakalbiai |
| VESA kalnas | 75 mm x 75 mm |
| Gaminio matmenys | 1.78 x 24 x 14 colio |
| Prekės svoris | 12.62 svaro |
8. Garantija ir palaikymas
CRUA provides high-quality computer monitors and premium services. If you have any questions or require assistance, please contact CRUA customer support. Refer to your purchase documentation for specific warranty terms and contact information.