
1. Įvadas
This manual provides detailed instructions for the installation, operation, and maintenance of your Fuers 8MP 8CH PoE NVR Home Security Camera System. This system includes an 8-channel Network Video Recorder (NVR) with a pre-installed 1TB Hard Disk Drive (HDD) and two wired 6MP PoE IP cameras designed for outdoor use, featuring person detection, full-color night vision, and two-way audio communication. Please read this manual thoroughly before using the product to ensure proper setup and functionality.
2. Pakuotės turinys
Patikrinkite, ar pakuotėje yra visi toliau išvardyti daiktai. Jei kurių nors daiktų trūksta arba jie pažeisti, susisiekite su klientų aptarnavimo tarnyba.

Image: All components included in the Fuers 8MP 8CH PoE NVR Home Security Camera System package.
- 1 x 8CH PoE NVR
- 2 x PoE Cameras (6MP Dual Lens)
- 1 x 1TB HDD (Pre-installed)
- 2 x įspėjamieji lipdukai
- 1 x 1.5 m HDMI laidas
- 2 x 18 m tinklo kabeliai
- 1 x NVR maitinimo šaltinis
- 1 x USB pelė
- 1x nuotolinio valdymo pultelis
3. System Components and Connections
Familiarize yourself with the NVR and camera components and their respective connection points.

Vaizdas: Išsamus view of the NVR's rear panel connections and the PoE camera's features, including lenses, light sources, and power/network ports.
NVR Rear Panel:
- Įjungimo / išjungimo jungiklis: Powers the NVR on or off.
- Maitinimo įvestis: Jungiamas prie NVR maitinimo šaltinio.
- Kameros įvestis (PoE prievadai): Connects PoE cameras via Ethernet cables for both power and data.
- Tinklo (LAN) prievadas: Connects the NVR to your router for internet access.
- Audio Output (A-OUT): Skirta išoriniams garsiakalbiams prijungti.
- VGA įvestis: Connects to a monitor via VGA cable.
- HDMI Input (HD-port): Connects to a monitor or TV via HDMI cable.
- USB prievadas: For connecting the USB mouse or external storage.
PoE kamera:
- 3.6mm HD Lens: Provides high-definition video capture.
- 4+4 Dual Core Light Source / 4+4 LED Lights: Enables full-color and infrared night vision.
- Bracket Rotatable Angle: Allows for flexible camera positioning.
- 12V Power Interface: Optional power input if not using PoE.
- Tinklo prievadas: Connects to the NVR's PoE port.
4. Sąrankos vadovas
Follow these steps to set up your Fuers PoE NVR security system.
4.1 Pradinis NVR prijungimas
- Connect the USB mouse to one of the USB ports on the NVR.
- Prijunkite monitorių prie NVR naudodami VGA arba HDMI prievadą.
- Connect the NVR power supply to the power input port and plug it into an electrical outlet.
- Turn on the NVR using the On/Off switch. The system will boot up and display on the connected monitor.
Video: A step-by-step guide demonstrating how to connect the NVR, monitor, mouse, and power, and then connect the camera to the NVR's PoE port for initial setup and viewing.
4.2 PoE kamerų prijungimas
The PoE (Power over Ethernet) feature allows a single Ethernet cable to provide both power and video transmission to the cameras.
- Connect one end of the provided Ethernet cable to a PoE port on the NVR.
- Connect the other end of the Ethernet cable to the network port on your PoE camera.
- Repeat for all cameras. The cameras will automatically power on and connect to the NVR. Video feeds should appear on the monitor.

Image: Illustration of a single Ethernet cable connecting the PoE NVR to a camera, providing both power and data, highlighting the 'Plug & Play' aspect.
4.3 Network Connection and Remote Access
To access your security system remotely via mobile app or PC client, the NVR must be connected to your network.
- Connect an Ethernet cable from the NVR's LAN port to your internet router.
- Download the "xmeye pro" app from your mobile device's app store (iOS/Android) or the VMS Client for PC/Mac from the Fuers websvetainę.
- Open the app/client and follow the on-screen instructions to add your device, typically by scanning a QR code displayed on the NVR's monitor or entering the device's serial number.
- Prisijungę galite view live feeds, playback recordings, and manage settings remotely.

Image: A three-step visual guide showing how to connect the camera system, download the xmeye pro app, and enjoy live viewing on mobile devices or PC.
5. Naudojimo instrukcijos
This section details the key features and how to operate your security system.
5.1 Dual-Lens and Dual Screen View
The cameras feature a dual-lens design, combining a fixed lens and a PTZ (Pan-Tilt-Zoom) lens. This allows for a wider field of view and the ability to focus on specific details simultaneously, displayed on a dual screen interface.

Image: A dual-lens camera showing how a bullet lens captures a wide area while a dome lens provides a detailed, rotatable view, enabling multi-screen monitoring.
5.2 Spalvotas naktinis matymas
The 6MP outdoor surveillance cameras are equipped with spotlights to enable full-color night vision. You can schedule the spotlights to activate during specific times or set them to motion-activated mode. Alternatively, the cameras can operate in infrared (IR) LED mode for discreet night monitoring.
Paveikslėlis: Padalijimas view demonstrating the difference between full-color night vision (with spotlights) and traditional infrared night vision (monochrome) from the camera.
5.3 Išmanusis asmenų aptikimas
The PoE IP cameras feature smart person detection, which minimizes false alerts caused by non-human movements like animals or swaying branches. The system can identify human shapes, sending accurate notifications to your mobile app or PC client. You can customize sensitivity levels, detection areas, and recording schedules.

Image: A person walking towards a house, with an on-screen notification indicating 'Human' detected, demonstrating the smart person detection feature.
5.4 Dvipusis pokalbis
Each 6MP camera includes a built-in speaker and microphone, enabling two-way audio communication. This allows you to speak with visitors or deter intruders directly through the xmeye pro app or client. Simply press the talk button within the application to activate the feature.
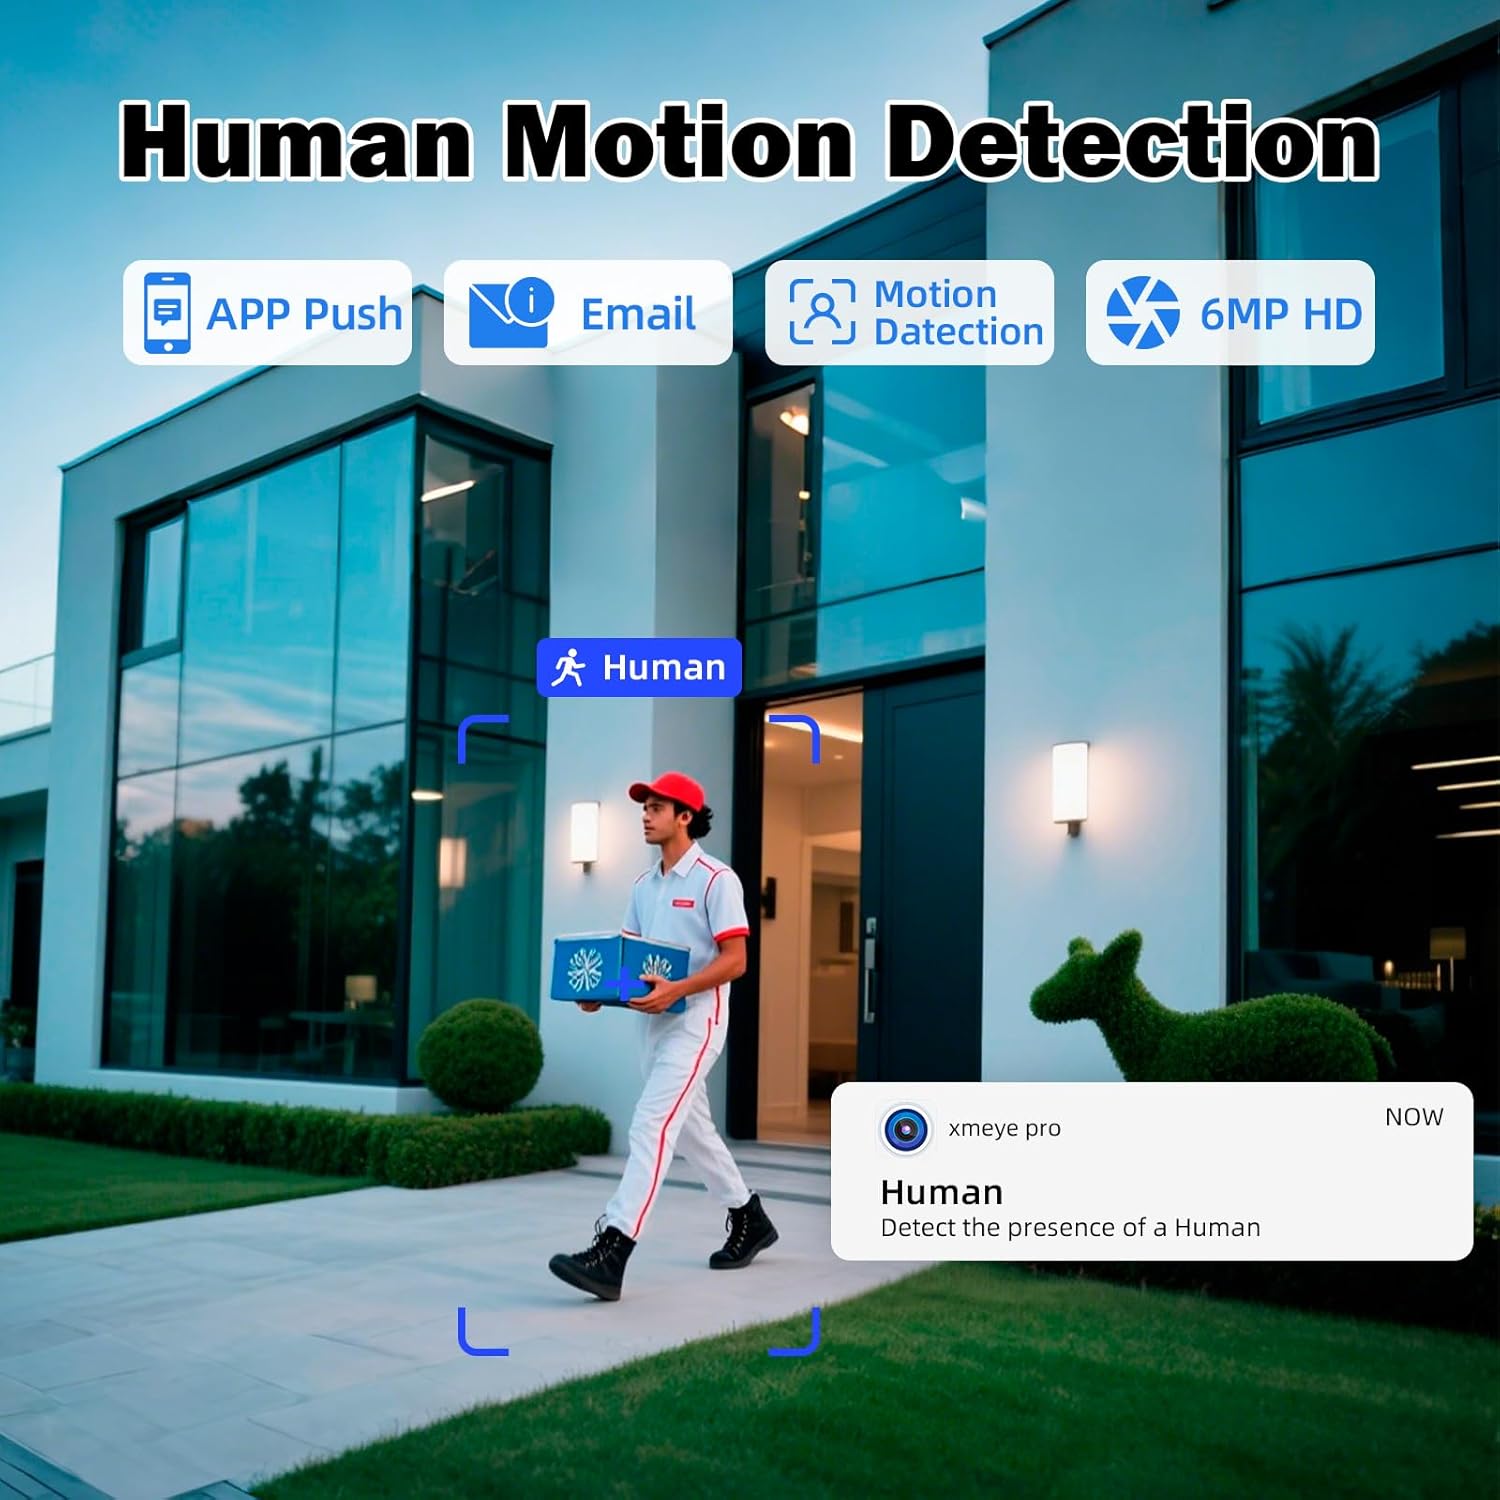
Image: A split image showing a person speaking into a camera and another person receiving the audio on a smartphone, illustrating the two-way talk feature.
5.5 Nuotolinis valdymas
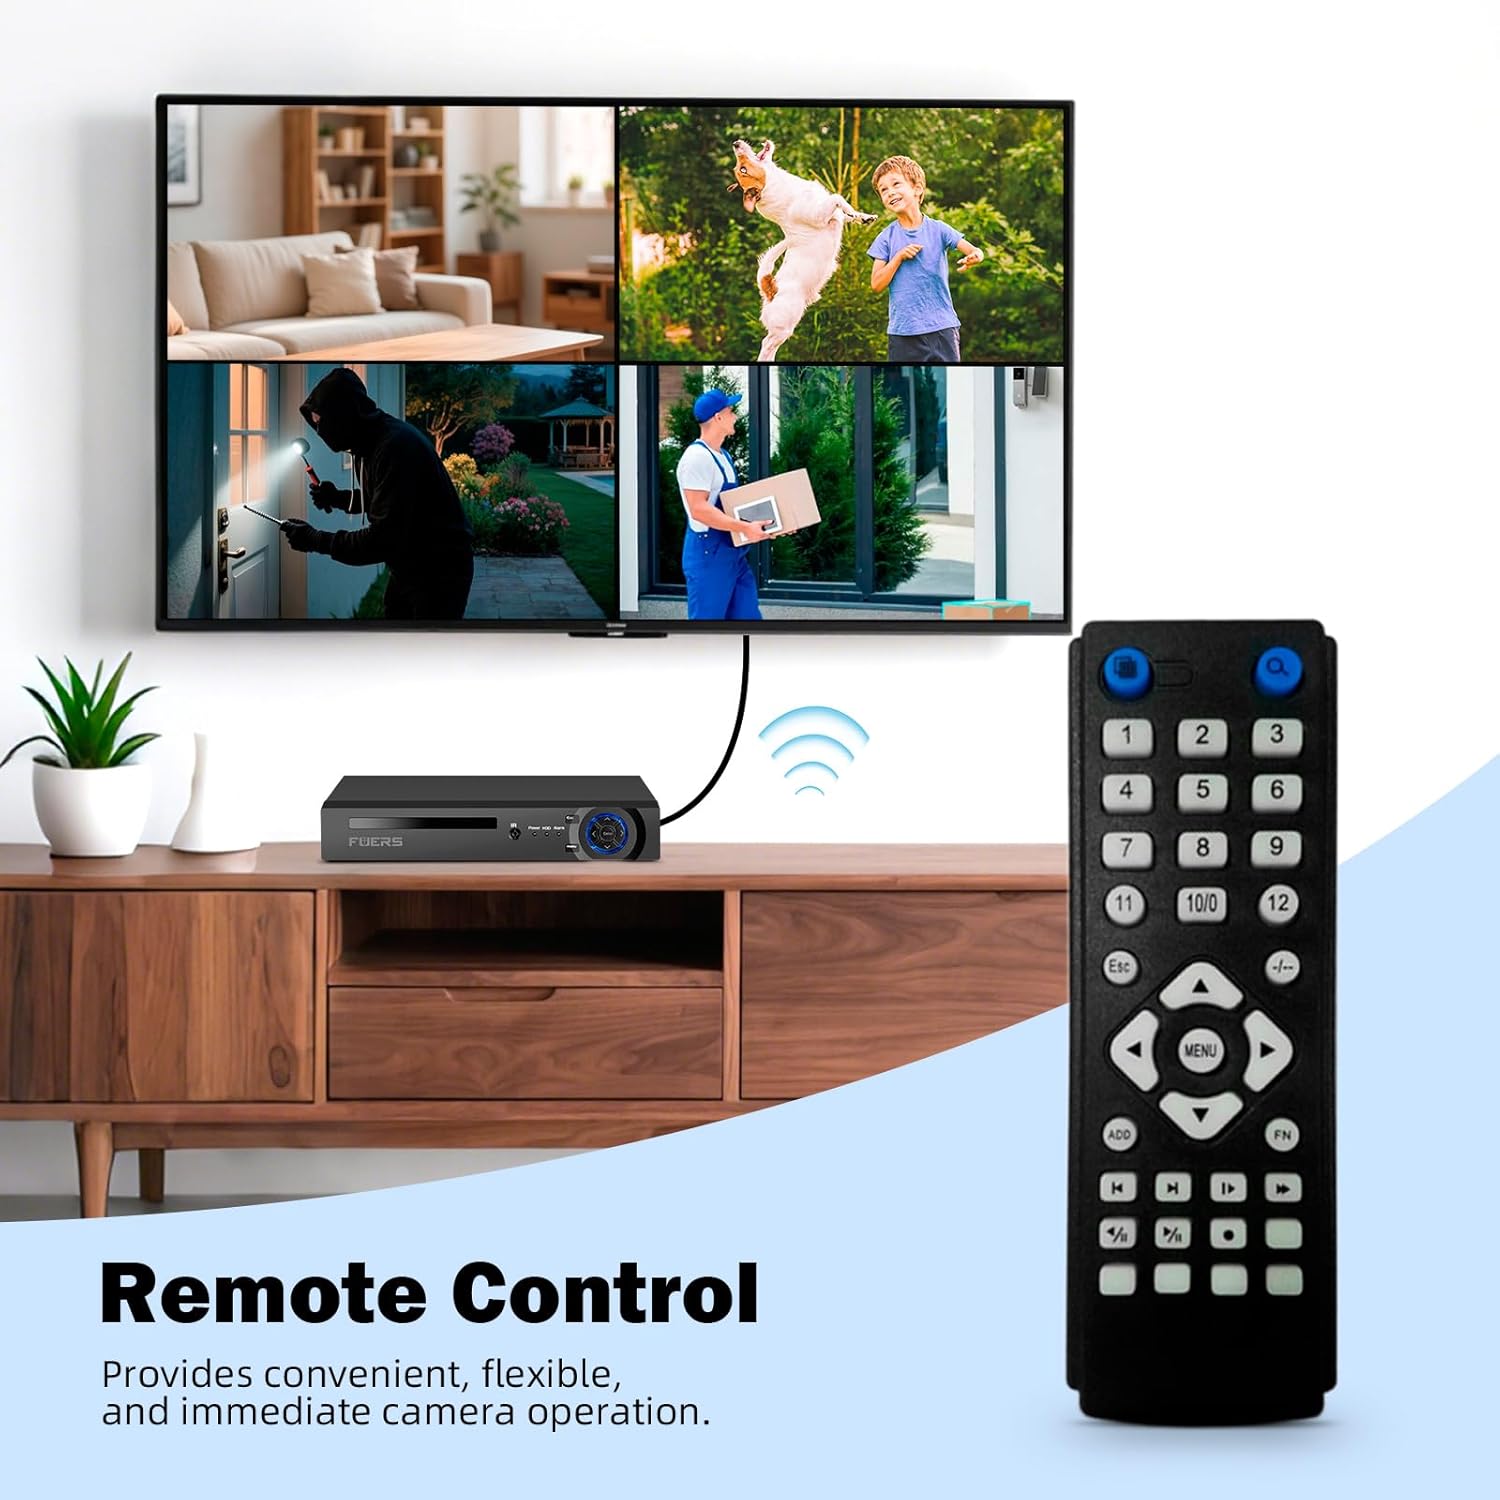
The system includes a remote control for convenient operation of the NVR and camera functions directly from your monitor interface. This provides an alternative to mouse control for navigating menus and managing settings.

Image: A security system setup with an NVR connected to a monitor displaying multiple camera feeds, alongside a remote control for convenient operation.
6. Priežiūra
Reguliarus aptarnavimas užtikrina optimalų jūsų apsaugos sistemos veikimą ir ilgaamžiškumą.
- Valymas: Reguliariai valykite fotoaparato objektyvus minkšta,amp cloth to remove dust and smudges. Ensure the NVR is free from dust buildup, especially around ventilation areas.
- Firmware atnaujinimai: Check the Fuers official website regularly for firmware updates for your NVR and cameras. Keeping firmware updated can improve performance, add features, and enhance security.
- Kietojo disko sveikata: The 1TB HDD is crucial for recording. Monitor its health through the NVR's system settings. Consider backing up important footage periodiškai.
- Kabelio apžiūra: Inspect all cables (Ethernet, power) for wear and tear, especially outdoor cables, to prevent connection issues.
7. Problemų sprendimas
Šiame skyriuje aptariamos dažniausiai pasitaikančios problemos, su kuriomis galite susidurti.
| Problema | Galima priežastis | Sprendimas |
|---|---|---|
| Monitoriuje nėra vaizdo rodymo | Loose cable connections, NVR not powered on, incorrect input source on monitor. | Check HDMI/VGA cable connections. Ensure NVR is powered on. Select correct input source on your monitor. |
| Camera not showing video feed | Ethernet cable issue, camera not powered, NVR PoE port issue. | Check the Ethernet cable connection between the camera and NVR. Ensure the NVR's PoE port light is active. Try connecting the camera to a different PoE port. |
| Neįmanoma nuotoliniu būdu pasiekti sistemos | NVR not connected to network, incorrect app settings, firewall issues. | Ensure NVR is connected to your router via LAN cable. Verify network settings on NVR. Check app settings and ensure correct device ID/QR code is used. Consult your router's firewall settings if necessary. |
| Judesio aptikimas neveikia | Incorrect sensitivity settings, detection area not configured, camera obstruction. | Adjust motion detection sensitivity in NVR/app settings. Configure detection zones. Ensure camera view yra be kliūčių. |
8. Specifikacijos
Key technical specifications for the Fuers 8MP 8CH PoE NVR Home Security Camera System.
| Funkcija | Detalė |
|---|---|
| Modelio numeris | N6708-7 |
| NVR kanalai | 8-Channel PoE |
| Kameros raiška | 6MP (MegaPixels) |
| Kietasis diskas (HDD) | 1 TB (terabaitas) |
| Ryšio technologija | Ethernet, HDMI, VGA |
| Gaminio matmenys | 10.08 x 9.45 x 1.73 colio |
| Prekės svoris | 8.62 svaro |
| Gamintojas | „Fuers“ |
| Pasiekiama pirmoji data | 27 m. gegužės 2025 d |
9. Garantija ir palaikymas
For warranty information, technical support, or any product-related inquiries, please refer to the official Fuers websvetainėje arba susisiekite tiesiogiai su jų klientų aptarnavimo tarnyba. Išsaugokite pirkimo kvitą garantiniams reikalavimams.