
Įvadas
Thank you for choosing the Flair GO Portable Lever Espresso Machine. This manual provides comprehensive instructions for the safe and effective use, maintenance, and troubleshooting of your new espresso maker. Please read all instructions carefully before first use and retain this manual for future reference.
Svarbi saugos informacija
Always handle hot water and components with care to prevent burns. Ensure all parts are securely assembled before use. Keep out of reach of children. Do not immerse the main lever assembly in water. Clean components as instructed to maintain hygiene and performance.
Komponentai baigėsiview
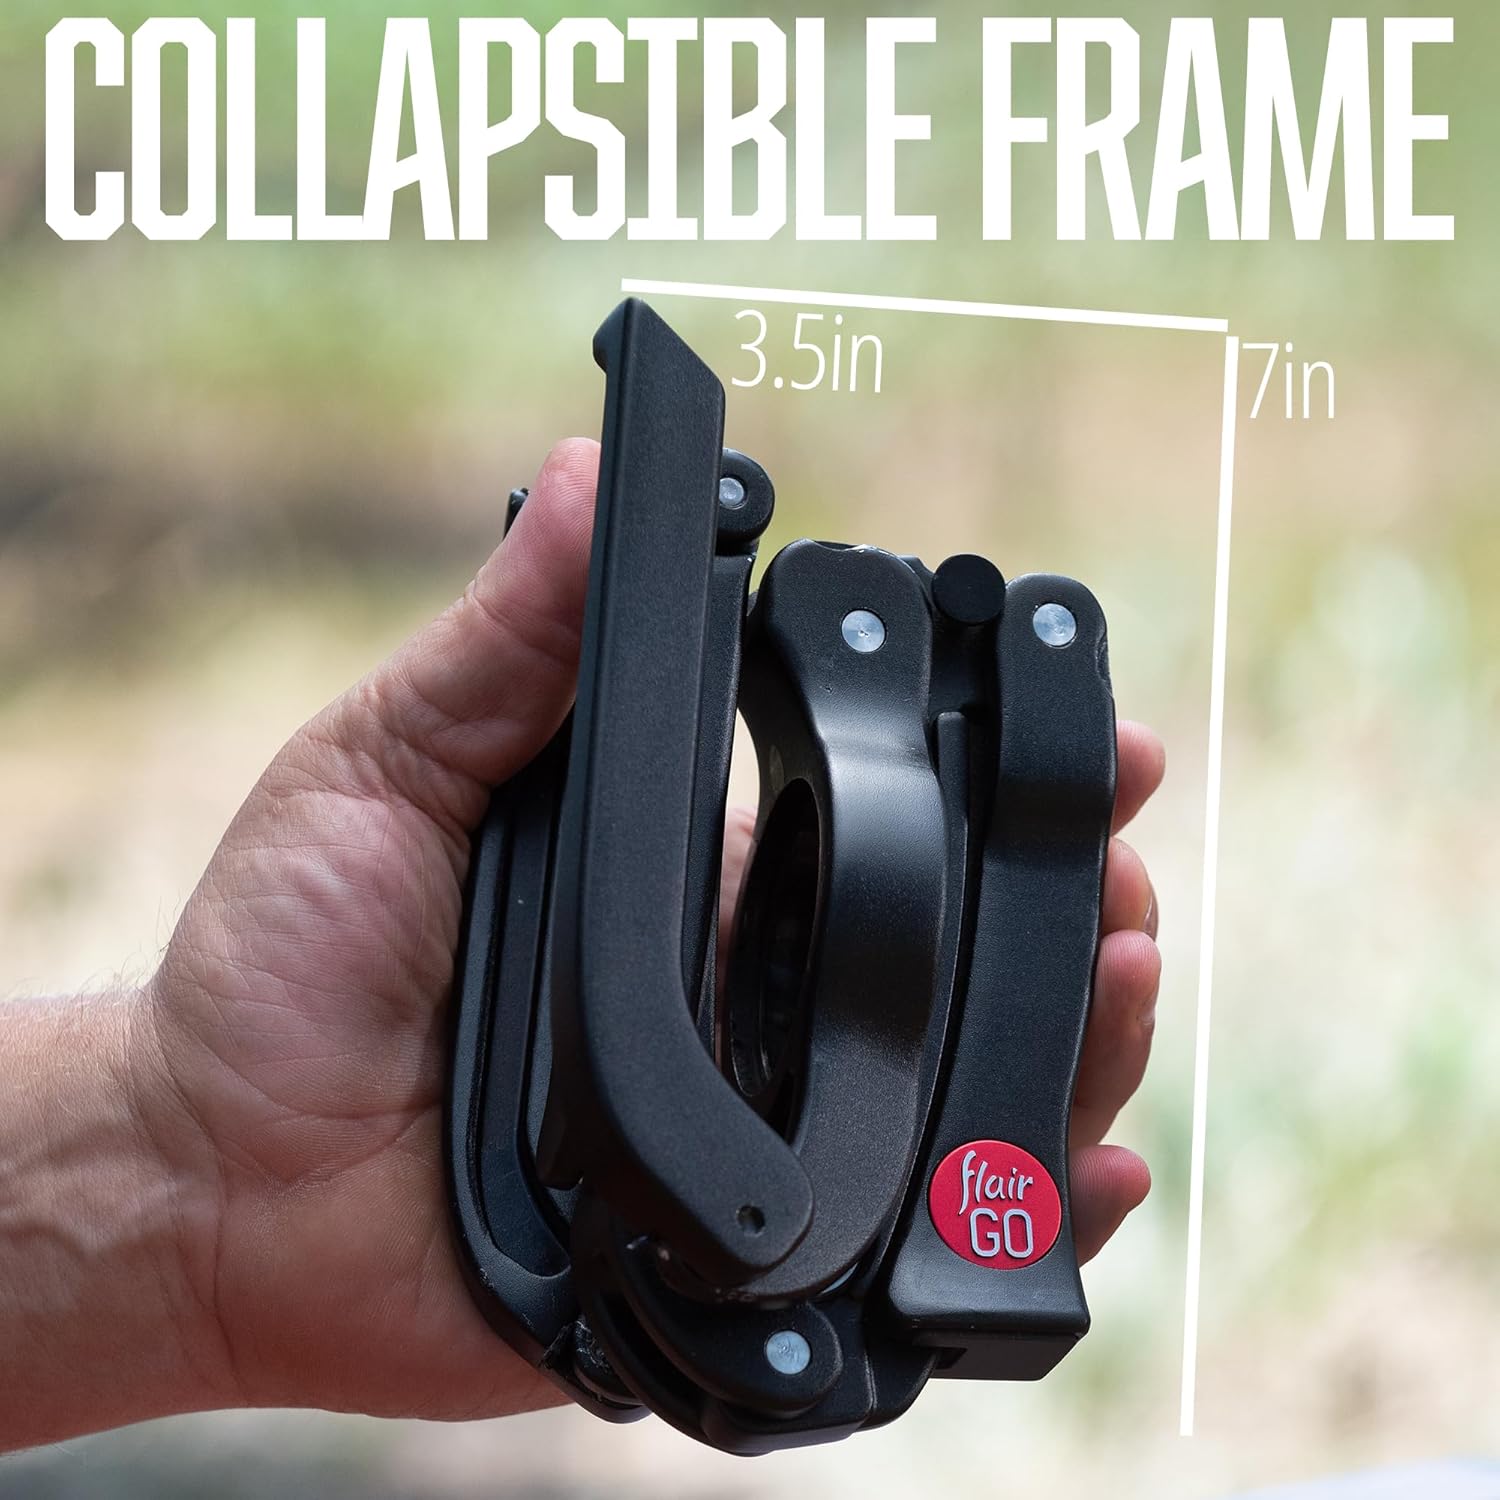
The Flair GO is designed for portability and ease of use. Familiarize yourself with the main components:
- Svirties surinkimas: The main frame and lever mechanism for pressing.
- Alaus viryklė: Consists of the brew cylinder, plunger, and pressure gauge.
- Portafiltras: A 2-in-1 bottomless portafilter for ground coffee.
- Lašėjimo padėklas: Collects excess liquid during brewing.
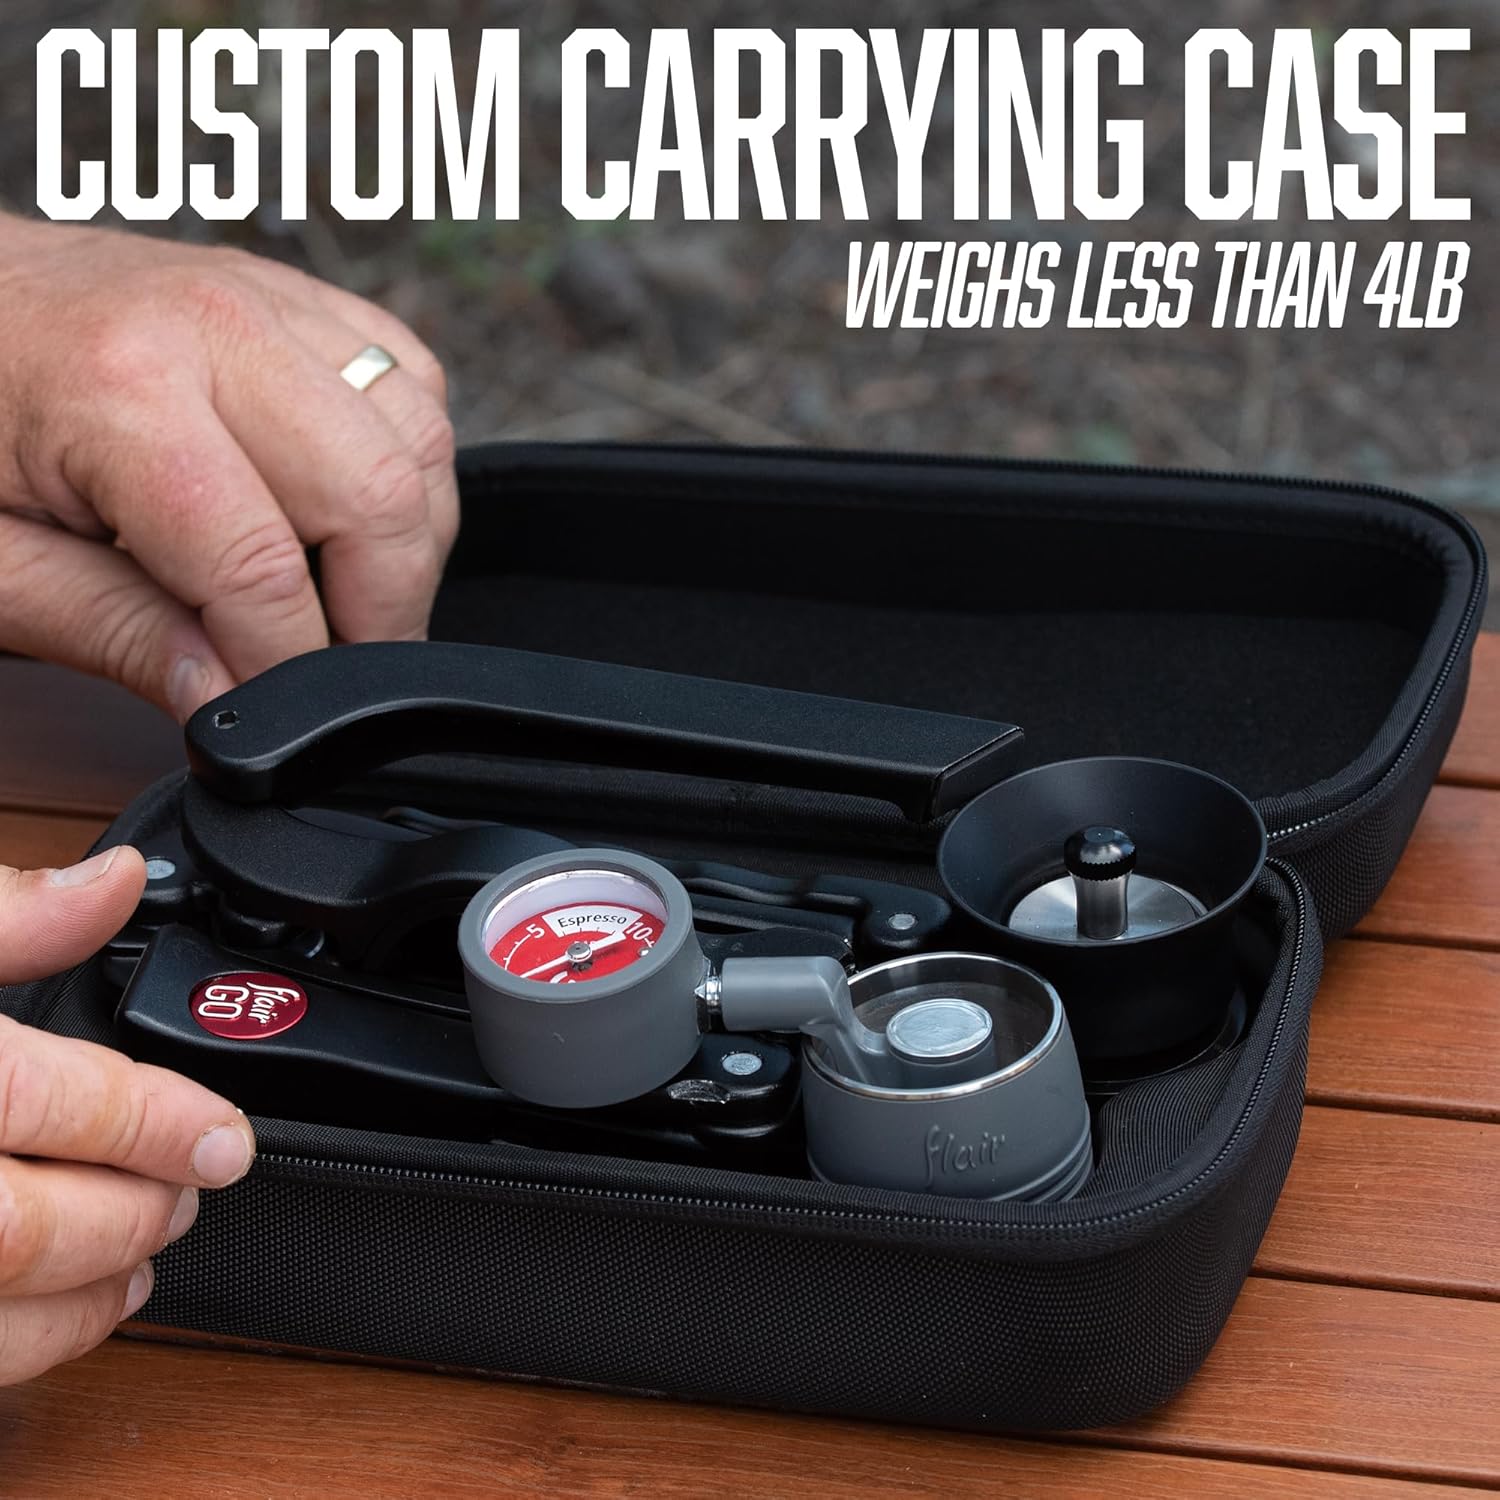
- Nešiojimo dėklas: Compact case for transport and storage.

Sąranka
Follow these steps to set up your Flair GO for brewing:
- Išimkite visus komponentus iš nešiojimo dėklo.
- Unfold the lever assembly and ensure it is stable on a flat surface.
- Place the drip tray onto the base of the lever assembly.
- Insert the portafilter into the brew base.
- Place the brew cylinder on top of the portafilter.
Naudojimo instrukcijos
Brewing espresso with your Flair GO is a hands-on experience. For optimal results, use freshly ground coffee and hot water.
- Paruoškite kavos tirščius: Grind 12-15 grams of fresh coffee beans to an espresso-capable fineness. The 'Grounds' model requires a burr grinder for best results.
- Load Portafilter: Place the portafilter on a stable surface. Add the ground coffee into the portafilter. Tamp the coffee evenly and firmly.
- Assemble Brew Head: Įdėkite portafiltrą su tamped coffee into the brew base. Place the brew cylinder on top of the portafilter.
- Įpilkite karšto vandens: Boil fresh water. Carefully pour the hot water into the brew cylinder up to the fill line.
- Insert Pressure Gauge: Insert the plunger with the integrated pressure gauge into the top of the brew cylinder.
- Paruoškite espresą: Slowly lower the lever. Aim to maintain pressure between 6-9 BAR as indicated on the pressure gauge. Continue pressing until the desired espresso volume is achieved.


Official Product Video: Flair GO Overview
Priežiūra ir valymas
Regular cleaning ensures the longevity and optimal performance of your Flair GO.
- Išardyti: After brewing, carefully remove the brew head components.
- Atmetimo pagrindai: Knock out the used coffee puck from the portafilter.
- Išskalauti: Rinse all components (portafilter, brew cylinder, plunger, pressure gauge) under warm running water. No soap is typically needed, as it can leave residue that affects flavor.
- Sausas: Prieš surinkdami arba padėdami į sandėliavimo vietą, leiskite visoms dalims visiškai išdžiūti.
Trikčių šalinimas
- Nėra espreso kavos tekėjimo: This usually indicates the coffee grind is too fine or the tamp is too firm. Adjust grind coarser or tamp lengvesni.
- Silpna espreso kava: The coffee grind might be too coarse, or the water temperature too low. Adjust grind finer or ensure water is freshly boiled.
- Pressure Gauge Not Reaching Espresso Zone: This could be due to a coarse grind, insufficient coffee dose, or a weak tamp. Adjust grind, dose, or tamp atitinkamai.
- Vandens nutekėjimas: Ensure all seals are clean and properly seated. Check for any damage to O-rings.
Specifikacijos
| Prekės ženklas | Nuojauta |
| Modelio pavadinimas | Flair GO |
| Spalva | Juoda |
| Gaminio matmenys | 12 "D x 10.5" P x 5" A |
| Prekės svoris | 3.91 svaro |
| Veikimo režimas | vadovas |
| Kavos įvesties tipas | Malta kava |
| Talpa | 60 mililitrų |
| Ypatinga funkcija | Sulankstomas |
Garantija ir palaikymas
The Flair GO is backed by a one-year (1) limited warranty against functional defects when used correctly. For warranty claims or technical support, please refer to the contact information provided in your product packaging or visit the official Flair Espresso websvetainę.