
1. Įvadas
Welcome to your new SHareconn 6ft Prelit Artificial Christmas Tree. This manual provides detailed instructions for assembly, operation, maintenance, and troubleshooting to ensure you enjoy your tree for many seasons.
2. Svarbi saugos informacija
- Naudoti tik patalpose.
- Laikyti atokiai nuo šilumos šaltinių ir atviros liepsnos.
- Neperkraukite elektros lizdų.
- Prieš prijungdami įsitikinkite, kad visos jungtys yra saugios.
- Šis gaminys nėra žaislas. Laikyti vaikams ir naminiams gyvūnėliams nepasiekiamoje vietoje.
- Unplug the tree when not in use or before cleaning.
3. Pakuotės turinys
Prieš surinkdami patikrinkite, ar yra visi komponentai:
- Tree Sections (A, B, C - typically 3 sections for a 6ft tree)
- Metalinis stovas
- Remote Control (with built-in button battery)
- Maitinimo adapteris
- Stand Screw (1)
4. Sąrankos instrukcijos
Assemble the Tree Stand
Unfold the metal stand and place it on a flat, stable surface. Insert the provided screw into the designated hole on the stand and tighten it to secure the legs.

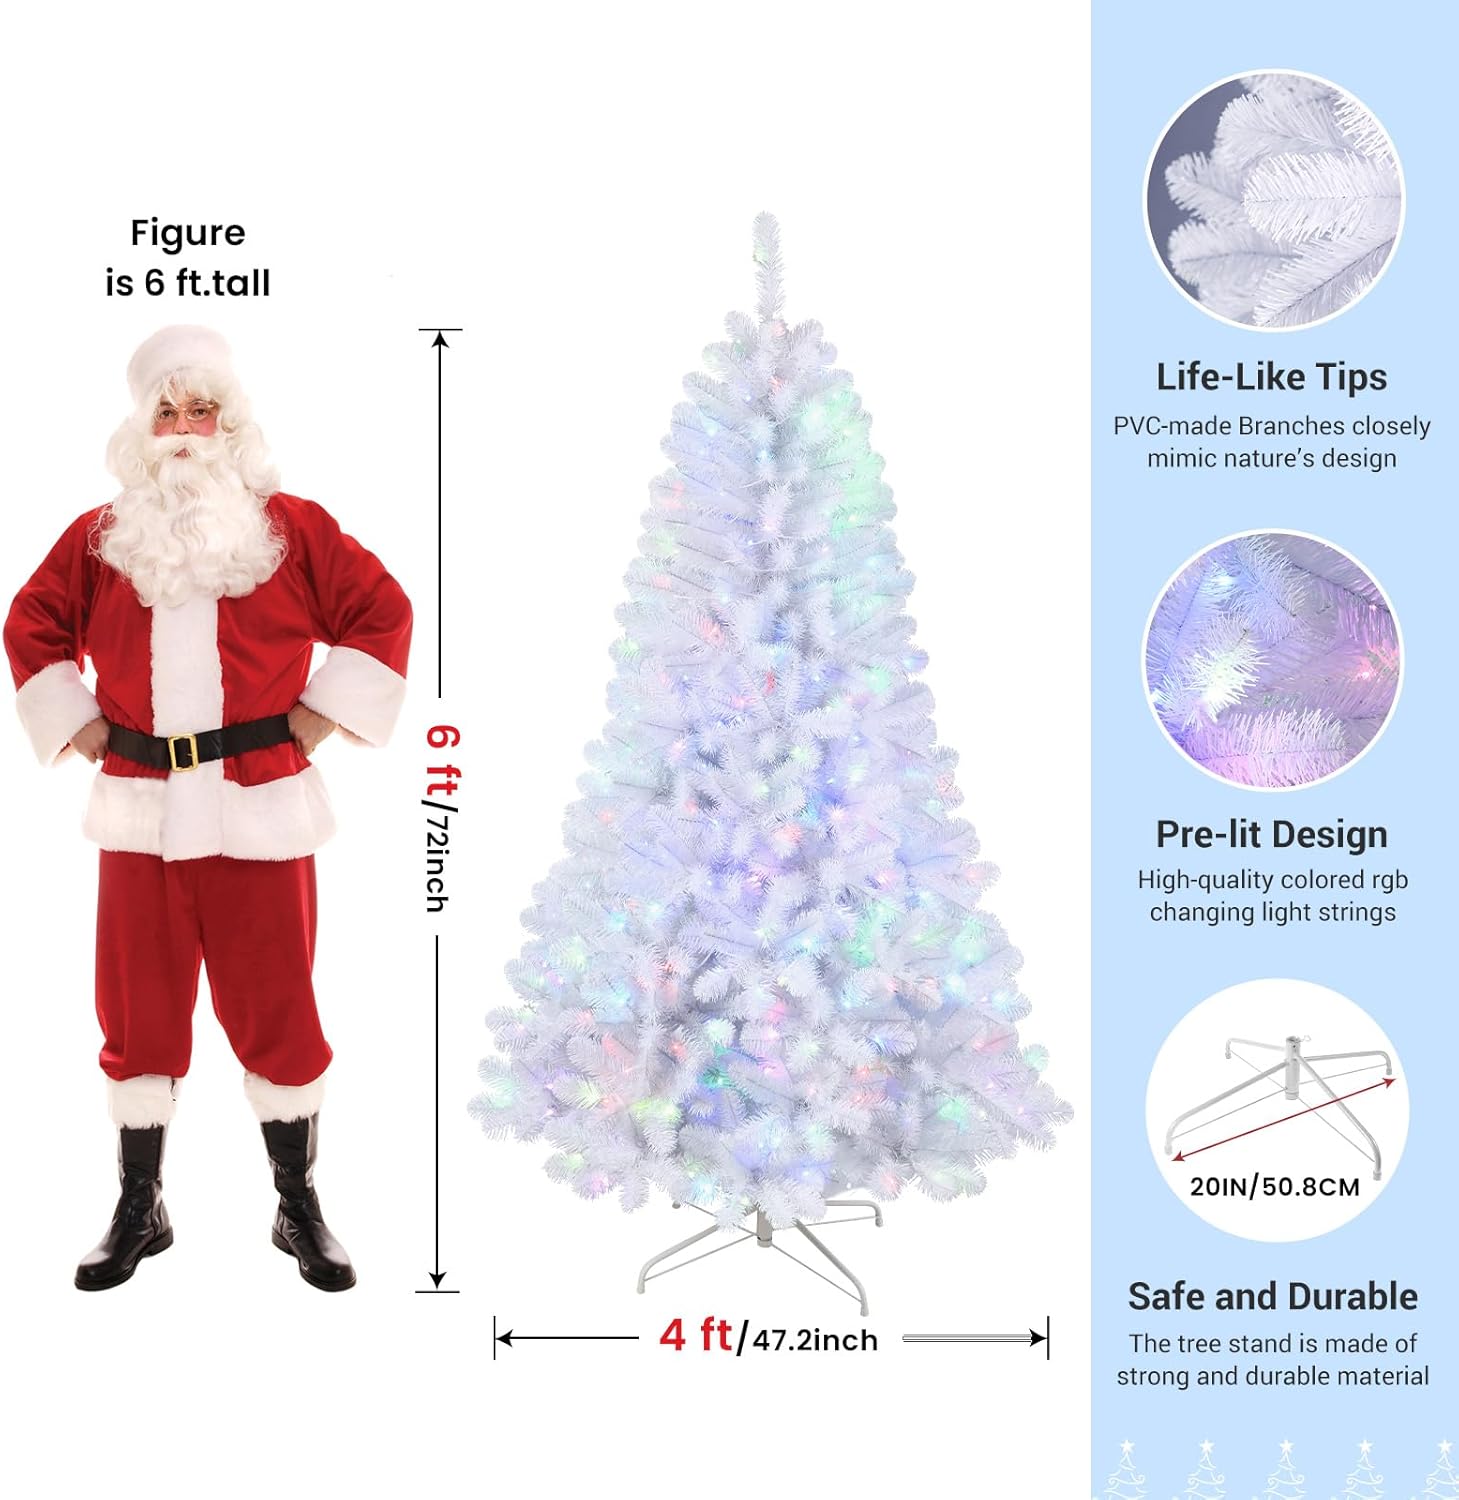
This image illustrates the overall size of the 6ft tree and includes an inset showing the metal stand. The stand is designed for stability and easy assembly.
Įterpti medžio dalis
Carefully insert the bottom section (Section A) of the tree into the assembled stand. Ensure it is firmly seated.
Next, insert the middle section (Section B) into the top of Section A.
Finally, insert the top section (Section C) into Section B.
This video demonstrates the simple, three-section assembly process of the Christmas tree, showing how each section connects to the next.
Connect Light Wires
Locate the light connectors between each tree section. Align the arrows on the connectors and push them firmly together until they click into place. Twist to secure. Ensure all connections are tight to prevent lights from malfunctioning.
This video shows the process of connecting the light wires between tree sections, highlighting the importance of firm connections for proper illumination.
Pūkuoti šakas
Starting from the bottom, gently pull apart and shape each branch to create a full and natural appearance. Work your way up to the top section.
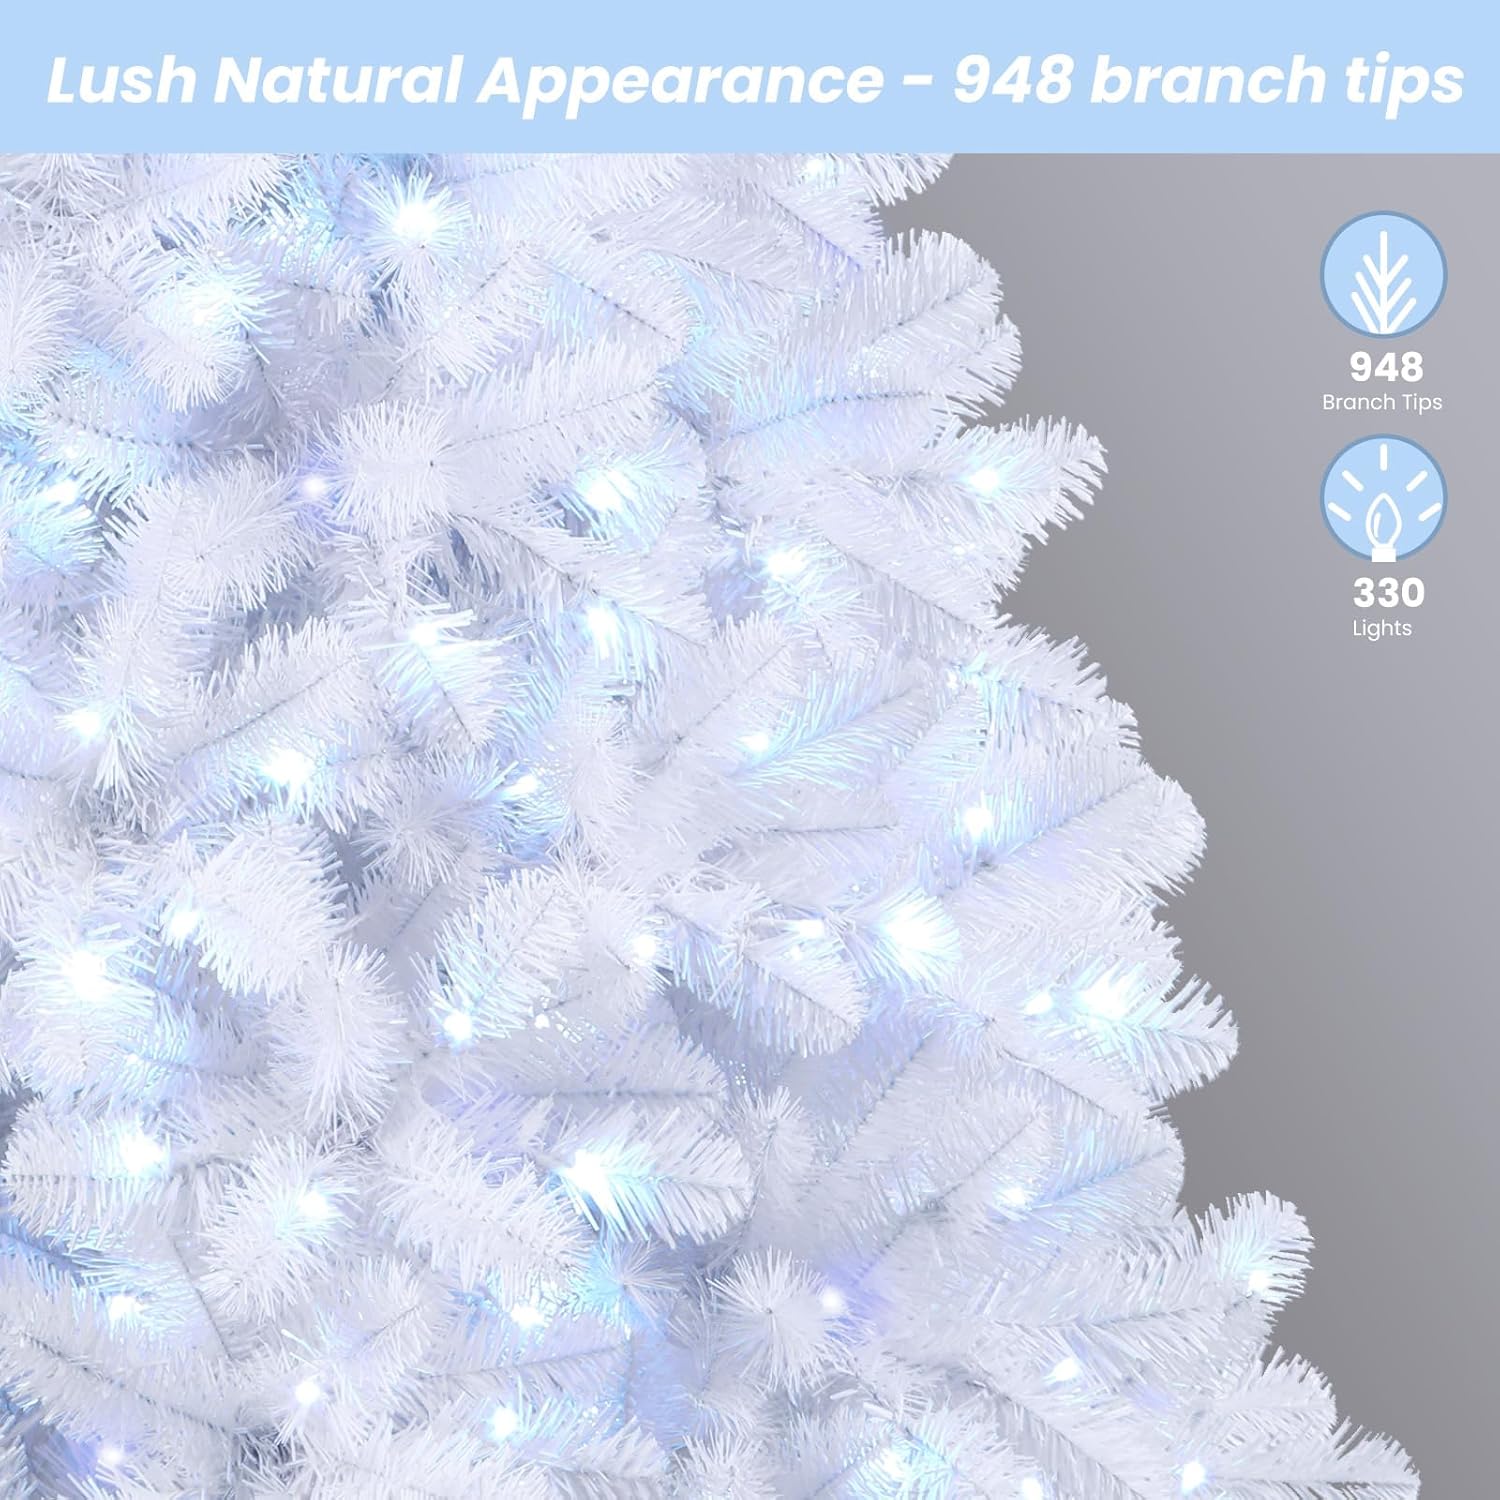
This image demonstrates the appearance of the tree branches after proper fluffing, showcasing the density and realistic texture.

This close-up image highlights the life-like PVC branch tips and the integrated RGB lights, emphasizing the pre-lit design.
Prisijunkite prie maitinimo
Plug the power adapter into a wall outlet. The tree is now ready for operation.
5. Naudojimo instrukcijos
Nuotolinio valdymo pulto funkcijos
Your SHareconn Christmas tree comes with a remote control for easy management of the lights.

This image displays the remote control, detailing its various buttons for light modes, colors, brightness, speed, and timer functions.
- ĮJUNGTA/IŠJUNGTA: Įjungia arba išjungia šviesas.
- RGB/W Buttons: Select specific colors (Red, Green, Blue, White) or combinations.
- Spalvų paletė: Choose from 16 different static colors.
- MODE: Cycle through 98 different lighting modes (e.g., steady, twinkle, fade, jump, waves, strobe, breathing).
- SPEED +/-: Adjust the speed of dynamic lighting modes (4 levels).
- BRIGHTNESS +/-: Adjust the brightness of the lights (4 levels).
- TIMER (4H/6H/8H): Set the lights to turn off automatically after 4, 6, or 8 hours.
- LAIKMATIS ISJUNGTAS: Deactivates the timer function.
- Atminties funkcija: The lights will return to the last selected mode when turned back on.
Light Modes Overview
This image illustrates different lighting options, including lights off, monochromatic (single color) modes, and various multicolor modes.
This video demonstrates the remote control functionality, showcasing how to change light colors and modes on the Christmas tree.
6. Priežiūra
- Valymas: Dust the tree gently with a soft, dry cloth. Do not use liquid cleaners.
- Šviesos keitimas: The LED lights are integrated and not user-replaceable. If a section of lights goes out, check the connections as described in the Troubleshooting section.
- Saugykla: When not in use, disassemble the tree by reversing the setup steps. Store all sections and the stand in a cool, dry place, preferably in the original packaging or a tree storage bag, to protect it from dust and damage.
7. Problemų sprendimas
| Problema | Galima priežastis | Sprendimas |
|---|---|---|
| Šviesos neįsijungia | Atsipalaidavusi maitinimo jungtis | Ensure the power adapter is securely plugged into the wall and all tree section connectors are firmly attached. |
| Kai kurios lemputės neveikia | Loose connection between sections | Check the light connectors between each tree section. Ensure they are fully inserted and twisted to lock. |
| Nuotolinio valdymo pultas neveikia | Akumuliatoriaus problema arba kliūtis | Ensure the remote control's battery is functional. Point the remote directly at the tree's receiver (usually near the base or power adapter) without obstruction. |
| Tree is wobbly | Stand not properly secured | Ensure the metal stand is fully unfolded and the screw is tightened. Place the tree on a flat, stable surface. |
8. Specifikacijos
- Prekinis ženklas: „Shareconn“.
- Modelio numeris: JT-EL/FC290V0300-BT3
- Aukštis: 6 pėdos (72 coliai)
- Medžiaga: Eco-friendly PVC, Metal (stand)
- Filialo patarimai: 952
- Šviesos: 250 Multi-Color LED (RGB)
- Šviesos funkcijos: 98 modes, 16 colors, 4 brightness levels, 4 speed levels, 3 timer functions
- Maitinimo šaltinis: Plug-in (Power Adapter included)
- Valdymas: Nuotolinio valdymo pultas
- Rekomenduojamas naudojimas: Vidinis
9. Garantija ir palaikymas
For warranty information or technical support, please contact SHareconn customer service. Refer to your purchase documentation for specific warranty terms and contact details.