
1. Įvadas
This manual provides essential information for the installation, operation, and maintenance of your Hikvision IDS-7208HQHI-M1/XT 8-Channel 5MP Turbo HD DVR. Please read this manual thoroughly before using the product to ensure correct and safe operation. Keep this manual for future reference.
The Hikvision IDS-7208HQHI-M1/XT is an advanced 8-channel Digital Video Recorder designed for high-definition surveillance systems. It supports various video input formats, including Turbo HD, AHD, CVI, CVBS, and IP cameras, offering versatile compatibility. Key features include 5MP recording capability, H.265+ video compression for efficient storage, AcuSense technology for intelligent motion detection, and remote access via the Hik-Connect app.
2. Pakuotės turinys
Verify that all items are present and in good condition upon unpacking. If any items are missing or damaged, contact your supplier immediately.
- DVR main unit
- Maitinimo adapteris
- USB pelė
3. Produkto ypatybės
The Hikvision IDS-7208HQHI-M1/XT DVR offers a range of features designed for effective surveillance:
- 8-Channel DVR with 5MP HD Support: Supports multiple analog HD camera formats and up to 8 channels of real-time video monitoring and recording.
- Two-Way Audio Support: Enables audio communication through compatible cameras.
- Built-In AcuSense Technology: Smart analysis minimizes false alarms by focusing on human and vehicle-based motion detection.
- Remote Access via Hik-Connect App: View live video, playback recordings, and receive alerts anytime on your smartphone.
- Efficient Storage with H.265+ Compression: Saves bandwidth and hard disk space while maintaining clear video quality.
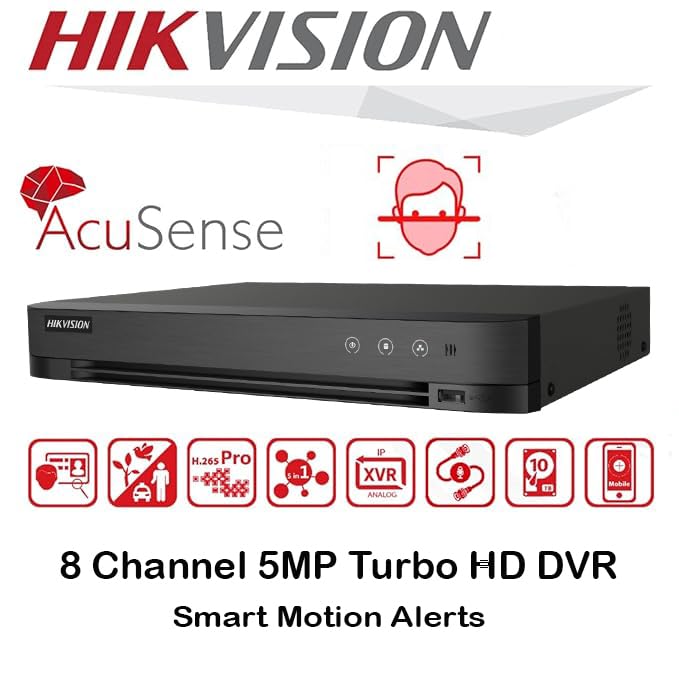
Vaizdas: Viršview of key features including AcuSense, H.265+ compression, and 5MP resolution support.
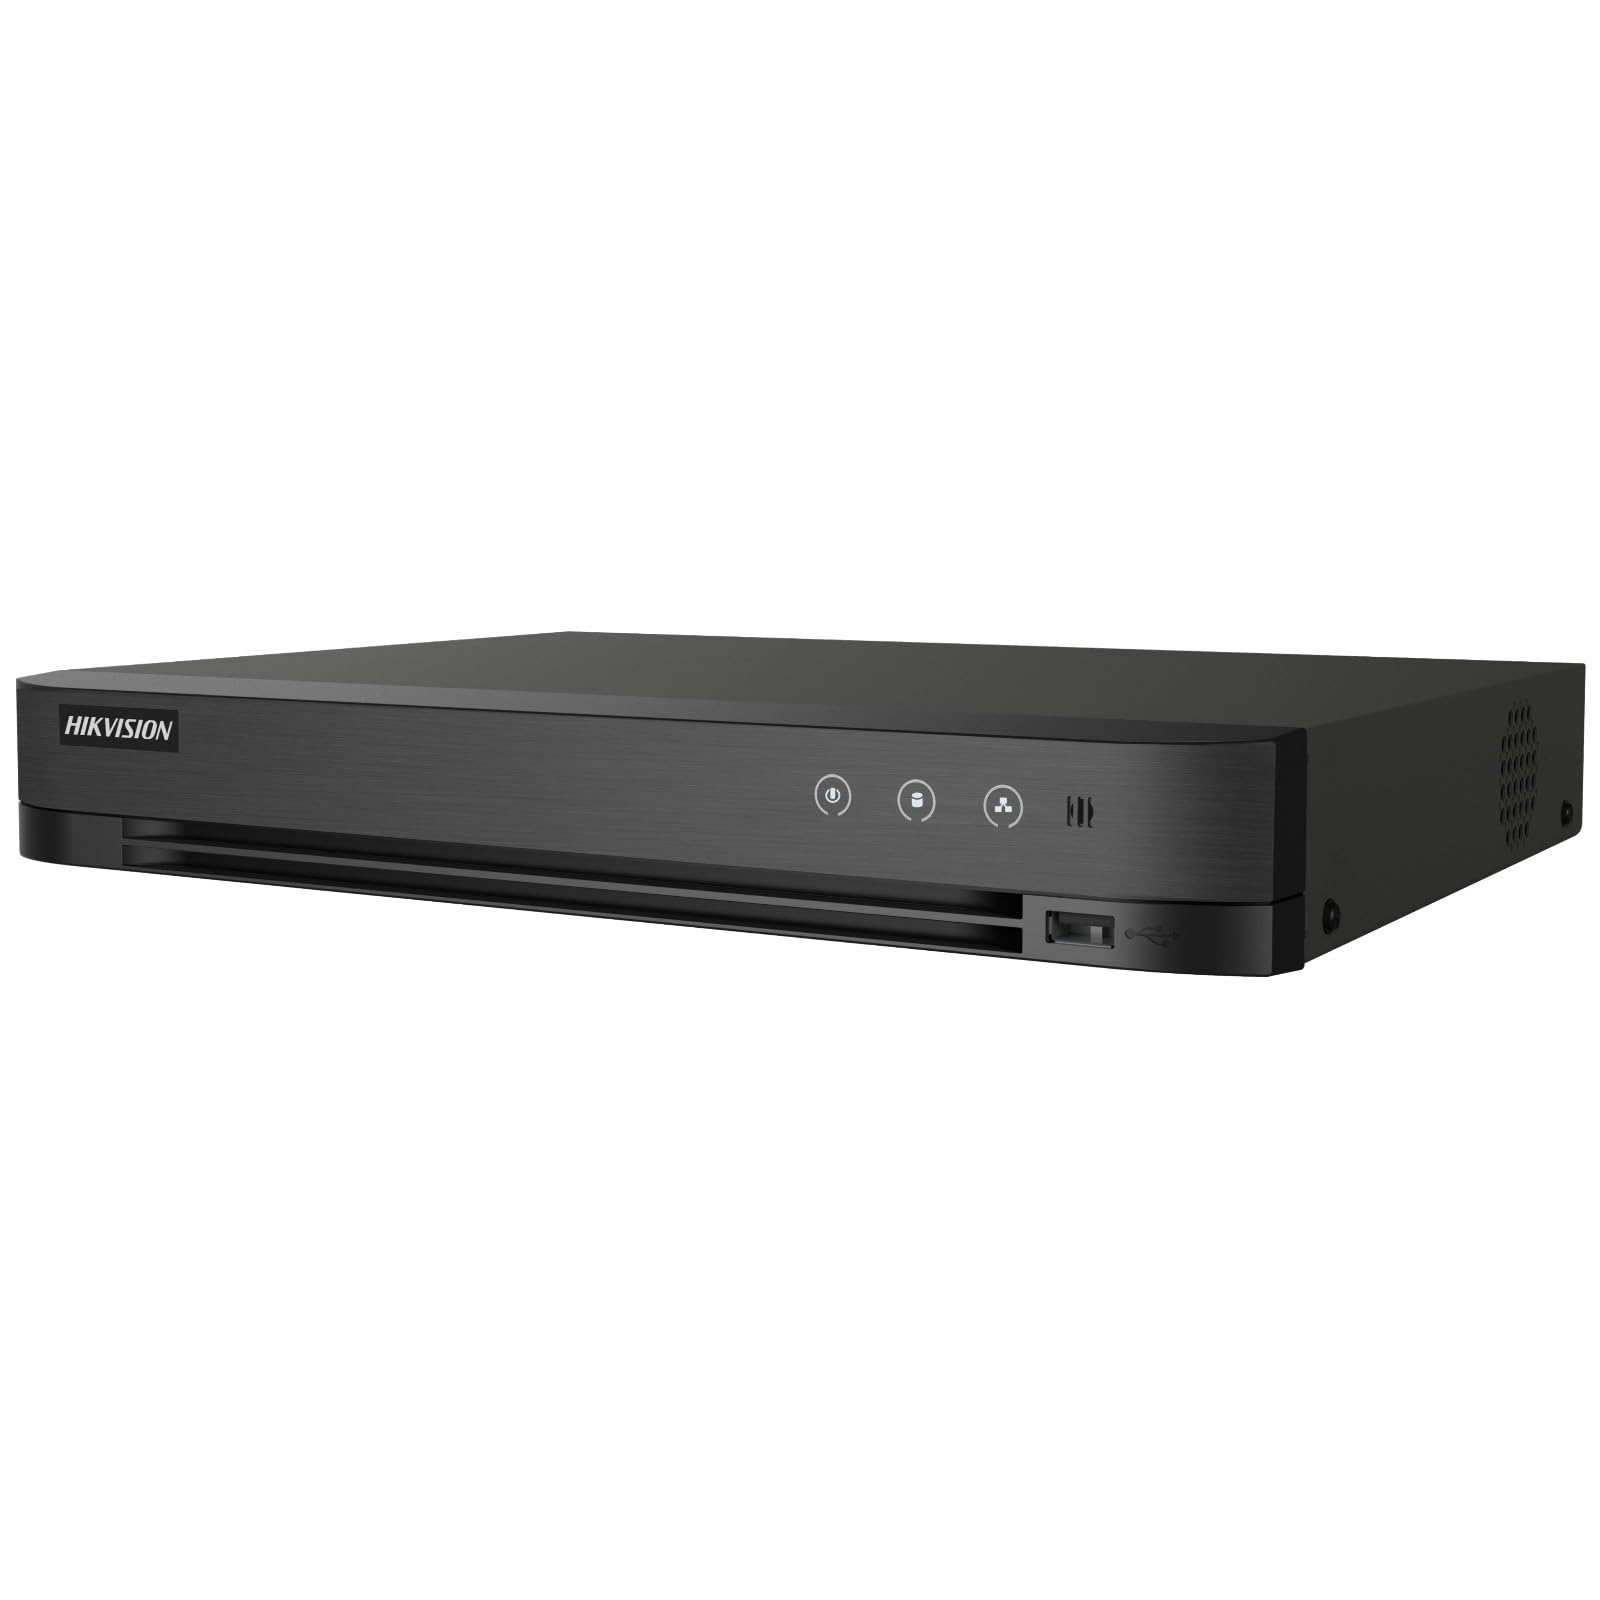
Image: The Hikvision Turbo HD DVR highlighting its support for two-way audio cameras, enabling interactive communication.
4. Fizinė sąsaja
Familiarize yourself with the ports and indicators on the DVR unit. The following diagram illustrates the rear panel of the Hikvision IDS-7208HQHI-M1/XT DVR:

Image: Rear panel connections of the DVR, showing video inputs, audio ports, network, and power.
- Vaizdo įvestis (BNC): Connect analog HD cameras (Turbo HD, AHD, CVI, CVBS).
- Video Out (BNC): Connect to a monitor for local display.
- Garso įvestis (RCA): Connect external audio input devices.
- HDMI išvestis: Connect to an HDMI-compatible monitor or TV for high-definition video output.
- VGA išvestis: Connect to a VGA-compatible monitor.
- Garso išvestis (RCA): Connect to external audio output devices.
- USB prievadai: Connect a USB mouse, USB flash drive for backup, or external storage.
- LAN prievadas (RJ45): Connect to your network for remote access and IP camera integration.
- RS-485: For PTZ camera control (if supported).
- 12V DC maitinimo įvestis: Prijunkite pridedamą maitinimo adapterį.
- Antžeminis terminalas: Įrenginio įžeminimui.
5. Sąranka
Follow these steps for initial setup of your DVR system:
5.1 Kietojo disko diegimas (jei neįdiegtas iš anksto)
- Atsukite ir nuimkite DVR viršutinį dangtelį.
- Prijunkite SATA duomenų ir maitinimo kabelį prie standžiojo disko.
- Pritvirtinkite standųjį diską prie DVR korpuso naudodami pateiktus varžtus.
- Uždėkite viršutinį dangtelį ir pritvirtinkite jį varžtais.
5.2 Išorinių įrenginių prijungimas
- Connect your cameras to the Vaizdo įrašas (BNC) ports.
- Prijunkite monitorių prie HDMI or VGA išvesties prievadas.
- Connect the USB mouse to a USB prievadas.
- Connect the DVR to your network router using an Ethernet cable plugged into the LAN prievadas.
- Prijunkite maitinimo adapterį prie 12V DC maitinimo įvestis and then plug it into a power outlet.
5.3 Pradinė konfigūracija
- Upon first boot, the DVR will guide you through a setup wizard.
- Set a strong password for the administrator account.
- Configure network settings (DHCP is usually sufficient for most home networks).
- Initialize the hard drive if prompted. This will format the drive for recording.
- Adjust date, time, and other system preferences as needed.
6. Operacinis
Once the DVR is set up, you can begin monitoring and recording.
6.1 Tiesiogiai View
Prisijungus, DVR rodys tiesioginį vaizdą. view from connected cameras on the monitor. You can switch between single-camera view ir kelių kamerų tinklelis view naudodami ekrane esančius valdiklius arba pelę.
6.2 Įrašymas
The DVR is typically configured to record continuously or based on motion detection. You can adjust recording schedules and settings through the DVR's menu system (Configuration > Record > Schedule).
6.3 Atkūrimas
Norėdami iš naujoview įrašytas footage, navigate to the Atkūrimas menu. Select the date, time, and camera channel to view recordings. Use the playback controls (play, pause, fast forward, rewind) to navigate through the footage.
6.4 Remote Access (Hik-Connect App)
The Hik-Connect app allows you to access your DVR remotely from a smartphone or tablet.
- Download the Hik-Connect app from your device's app store.
- Create a Hik-Connect account and log in.
- Add your DVR by scanning the QR code on the DVR's label or by manually entering its serial number.
- Follow the in-app instructions to complete the device addition.
- Pridėjus, galite view live feeds, play back recordings, and receive push notifications for events.

Image: Illustration of the Hik-Connect mobile application interface, demonstrating remote access to live video and recordings.
7. Priežiūra
Reguliarus DVR sistemos aptarnavimas užtikrina optimalų veikimą ir ilgaamžiškumą.
- Clean the DVR: Periodically clean the exterior of the DVR with a soft, dry cloth. Ensure ventilation openings are free from dust to prevent overheating.
- Firmware atnaujinimai: Patikrinkite oficialią „Hikvision“ svetainę website for firmware updates. Updating firmware can improve performance, add features, and fix bugs. Follow update instructions carefully.
- Kietojo disko sveikata: Monitor the health of your hard drive through the DVR's system menu (HDD valdymas). Replace the hard drive if it shows signs of failure.
- Atsarginė svarbi maisto medžiagatage: Reguliariai kurkite svarbių vaizdo įrašų atsargines kopijastagį išorinį USB diską arba tinklo saugyklą.
- Slaptažodžio apsauga: Change your DVR and Hik-Connect passwords periodically to maintain security.
8. Problemų sprendimas
Šiame skyriuje aptariamos dažniausiai pasitaikančios problemos, su kuriomis galite susidurti.
8.1 No Video Output on Monitor
- Check if the monitor is powered on and correctly connected to the DVR's HDMI or VGA port.
- Įsitikinkite, kad monitoriuje pasirinktas teisingas įvesties šaltinis.
- Pabandykite prijungti prie kito monitoriaus arba naudoti kitą laidą.
8.2 Nerodomi kamerų vaizdai
- Verify that cameras are powered on and properly connected to the DVR's BNC inputs.
- Check camera power supplies.
- Ensure the camera type (TVI, AHD, CVI, CVBS) is compatible with the DVR and configured correctly in the DVR settings.
8.3 Nuotolinė prieiga neveikia
- Ensure the DVR is connected to the internet via the LAN port.
- Check network settings on the DVR (Configuration > Network).
- Verify that the Hik-Connect service is enabled on the DVR.
- Įsitikinkite, kad jūsų išmanusis telefonas turi aktyvų interneto ryšį.
- Re-add the device to the Hik-Connect app if necessary.
8.4 Nėra įrašymo
- Check if a hard drive is installed and properly initialized (Configuration > HDD).
- Verify recording schedules are set correctly (Configuration > Record > Schedule).
- Įsitikinkite, kad standžiajame diske yra pakankamai laisvos vietos.
9. Specifikacijos
Detailed technical specifications for the Hikvision IDS-7208HQHI-M1/XT DVR:
| Funkcija | Specifikacija |
|---|---|
| Modelio numeris | IDS-7208HQHI-M1/XT |
| Vaizdo įvestis | 8-Channel (Turbo HD/AHD/CVI/CVBS/IP) |
| Vaizdo įrašų suspaudimas | H.265+/H.265/H.264+/H.264 |
| Įrašymo raiška | Iki 5 MP |
| Vaizdo išvestis | HDMI, VGA, BNC |
| Garso įvestis/išvestis | 2-Way Audio Support |
| Tinklo sąsaja | 1 RJ45 10M/100M Ethernet Interface |
| USB sąsaja | 2 x USB 2.0 |
| Kietojo disko palaikymas | 1 SATA interface (up to 10 TB capacity per HDD) |
| Maitinimo šaltinis | 12V DC |
| Matmenys (I x P x A) | 19.7 x 19.2 x 4.1 cm |
| Svoris | 1.5 kg |
| Gamintojas | HIKVISION, Prama Hikvision India Pvt. Ltd. |
10. Garantija ir palaikymas
For warranty information and technical support, please refer to the warranty card included with your product or visit the official Hikvision websvetainėje. Išsaugokite pirkimo kvitą kaip pirkimo įrodymą garantiniams reikalavimams.
For further assistance, contact Hikvision customer support or your authorized dealer.


