1. Įvadas
This manual provides essential instructions for setting up, operating, maintaining, and troubleshooting your MIRO A1 Unlocked 4G Cell Phone. Please read this guide thoroughly to ensure proper use and to maximize the device's performance.

Figure 1: MIRO A1 Smartphone
2. Pakuotės turinys
Patikrinkite, ar pakuotėje yra visi reikalingi daiktai:
- MIRO A1 Smartphone (1 unit)
- Baterija (1 vnt.)
- Įkroviklis (1 vnt.)
- USB laidas (1 vnt.)
- Vartotojo vadovas (1 vnt.)

2 pav.: Pridedami priedai
3. Sąranka
3.1. Akumuliatoriaus įdėjimas
- Atsargiai nuimkite telefono galinį dangtelį.
- Suderinkite akumuliatoriaus kontaktus su telefono viduje esančiais gnybtais.
- Švelniai spauskite bateriją į vietą, kol ji užsifiksuos.
- Uždėkite galinį dangtelį, įsitikindami, kad jis spragtelėdamas užsifiksavo savo vietoje.

3 pav. Akumuliatoriaus įdėjimas
3.2. SIM kortelės ir „MicroSD“ kortelės įdėjimas
The MIRO A1 supports Dual SIM cards and a MicroSD card for expandable storage.
- With the back cover removed, locate the SIM card slots and the MicroSD card slot.
- Insert your Nano SIM card(s) into the designated SIM slots with the gold contacts facing down.
- If using a MicroSD card for additional storage (up to 256GB), insert it into the MicroSD card slot.
- Ensure all cards are seated correctly.
4 pav.: SIM kortelės įdėjimas
3.3. Pradinis įkrovimas ir įjungimas
- Connect the USB cable to the phone's USB Type C port and the charger.
- Plug the charger into a power outlet. Allow the phone to charge for at least 30 minutes before first use.
- Press and hold the Power button (usually on the side) until the MIRO logo appears.
- Follow the on-screen prompts to complete the initial setup of the Android 14 Go Edition operating system.
4. Naudojimo instrukcijos
4.1. Pagrindinė navigacija
The MIRO A1 runs on Android 14 Go Edition, designed for efficient performance. Use touch gestures to navigate:
- Bakstelėkite: Pasirinkite elementą arba atidarykite programėlę.
- Perbraukimas: Slinkite per ekranus arba sąrašus.
- Žiupsnelis: Priartinkite arba atitolinkite nuotraukas ir web puslapių.
- Ilgas paspaudimas: Pasiekite kontekstinius meniu arba perkelkite programų piktogramas.
4.2. Skambinimas ir žinučių siuntimas
- Open the 'Phone' app to dial numbers or access contacts.
- Open the 'Messages' app to send and receive SMS/MMS.
- For Dual SIM users, you can select which SIM to use for calls or messages before initiating them.
4.3. Kameros naudojimas
The MIRO A1 features a 5MP rear camera and a 2MP front camera.
- Pradiniame ekrane arba programėlių stalčiuje atidarykite programėlę „Kamera“.
- Norėdami nufotografuoti, palieskite užrakto mygtuką.
- Perjunkite priekinę ir galinę kameras naudodami kameros perjungimo piktogramą.

Figure 5: Camera Module
4.4. Sandėliavimo valdymas
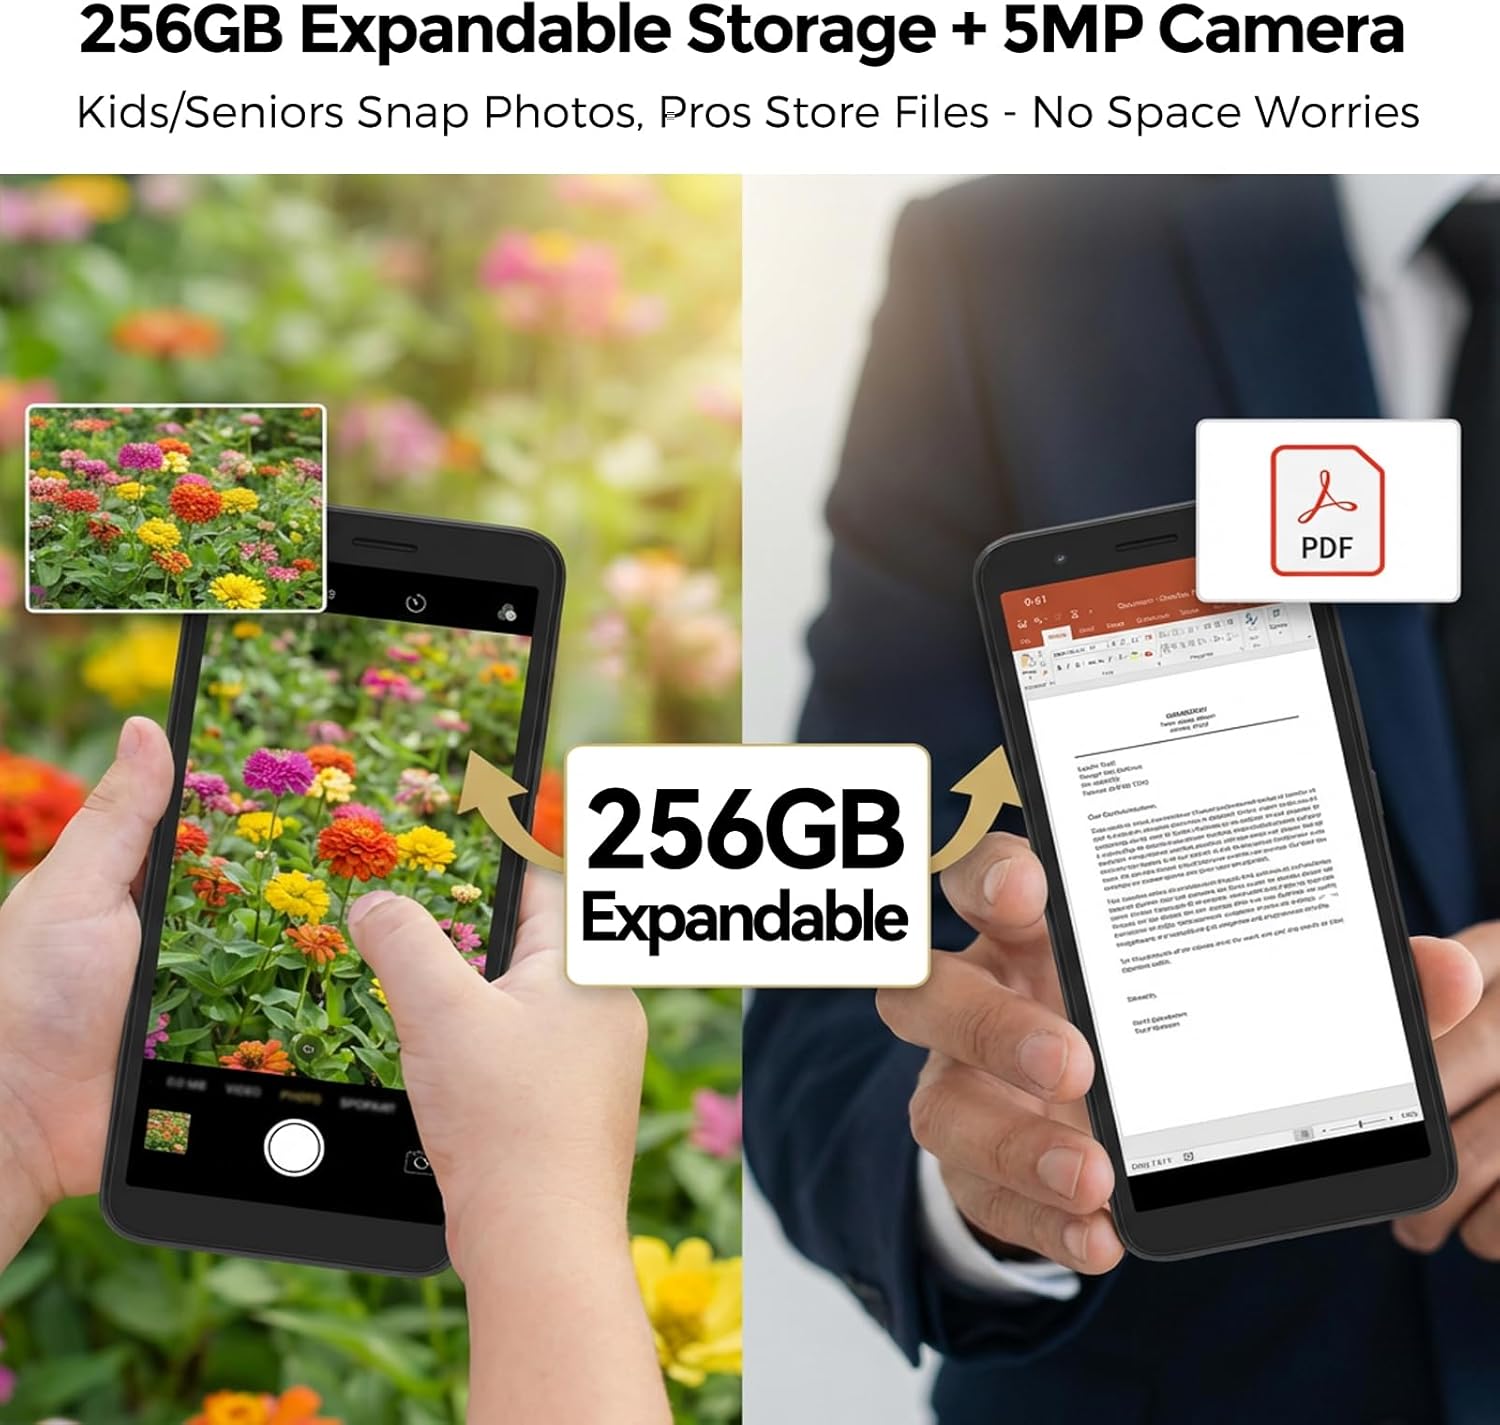
Your MIRO A1 comes with 32GB of internal storage, expandable up to 256GB via a MicroSD card.
- Norėdami patikrinti saugyklos naudojimą, eikite į Nustatymai > Saugykla.
- Perkelkite nuotraukas, vaizdo įrašus ir kt files to the MicroSD card to free up internal space.

6 pav.: Išplečiama saugykla
4.5. Wi-Fi ryšys
- Eikite į Nustatymai > Tinklas ir internetas > „Wi-Fi“.
- Įjunkite „Wi-Fi“.
- Iš sąrašo pasirinkite norimą tinklą ir, jei būsite paraginti, įveskite slaptažodį.
5. Priežiūra
5.1. Akumuliatoriaus priežiūra
- Venkite ekstremalių temperatūrų, kurios gali pabloginti akumuliatoriaus veikimo laiką.
- Nepalikite telefono įkrauto ilgai, kai jis pasiekia 100 % įkrovą.
- Jei akumuliatorius yra išimamas, įsitikinkite, kad jis tinkamai įdėtas.
5.2. Prietaiso valymas
- Telefono ekraną ir korpusą valykite minkštu, nepūkuotu audiniu.
- Venkite naudoti stiprių cheminių medžiagų ar abrazyvinių medžiagų.
- Laikykite prievadus švarius nuo dulkių ir šiukšlių.
5.3. Programinės įrangos atnaujinimai
Periodically check for system updates to ensure your phone has the latest features and security patches. Go to Nustatymai > Sistema > Sistemos naujinimas.
6. Problemų sprendimas
6.1. Telefonas neįsijungia
- Įsitikinkite, kad baterija tinkamai įdėta ir įkrauta.
- Connect the phone to the charger and wait a few minutes before attempting to power on again.
- Jei baterija yra išimama, pabandykite ją išimti ir vėl įdėti.
6.2. Tinklo problemos
- Patikrinkite, ar SIM kortelė tinkamai įdėta.
- Verify that your mobile data is enabled in Nustatymai > Tinklas ir internetas > Mobilusis tinklas.
- Iš naujo paleiskite telefoną.
- Confirm with your carrier that your plan is active and compatible with an unlocked 4G device.
6.3. Storage Full
- Ištrinkite nereikalingas programas, nuotraukas ir vaizdo įrašus.
- Judėti files to a MicroSD card if one is installed.
- Išvalyti programų talpyklos duomenis Nustatymai > Programėlės ir pranešimai > [Programėlės pavadinimas] > Saugykla ir talpykla.
6.4. Gamyklinių parametrų atkūrimas
If persistent issues occur, a factory reset may be necessary. This will erase all data on your phone. Back up important data before proceeding.
- Eikite į Nustatymai > Sistema > Atstatymo parinktys.
- Pasirinkite Ištrinti visus duomenis (atkurti gamyklinius).
- Patvirtinkite savo sprendimą.
7. Specifikacijos
| Funkcija | Specifikacija |
|---|---|
| Prekės ženklas | MIRO |
| Modelio pavadinimas | MIRO A1 |
| Operacinė sistema | Android 14 Go Edition |
| RAM atmintis | 2 GB |
| Vidinė saugykla | 32 GB |
| Išplečiama saugykla | Iki 256 GB („MicroSD“) |
| Ekrano dydis | 5.99 colių |
| Rezoliucija | 576 x 1152 |
| Galinė kamera | 5 MP |
| Priekinė kamera | 2 MP |
| Baterijos talpa | 3000 mAh |
| SIM kortelių lizdų skaičius | Dual SIM (Nano) |
| Ryšys | 4G, Wi-Fi, Bluetooth, 3.5mm Headphone Jack, USB Type C |
| Biometrinis saugumas | Pirštų atspaudų atpažinimas |
| Svoris | 182 g (6.42 uncijos) |
8. Garantija ir palaikymas
8.1. Informacija apie garantiją
The MIRO A1 smartphone comes with a 1 metų ribota garantija from the date of purchase. This warranty covers manufacturing defects. It does not cover damage caused by misuse, accidents, unauthorized modifications, or normal wear and tear.
8.2. Pagalba klientams
For technical assistance, warranty claims, or further inquiries, please contact MIRO customer support through the retailer where you purchased the device or refer to the official MIRO websvetainė kontaktinei informacijai.


