
Įvadas
This manual provides detailed instructions for the installation, operation, and maintenance of your Ossuret 7-inch Android 14 Car Stereo. Please read this manual thoroughly before using the product to ensure proper functionality and to prevent damage.
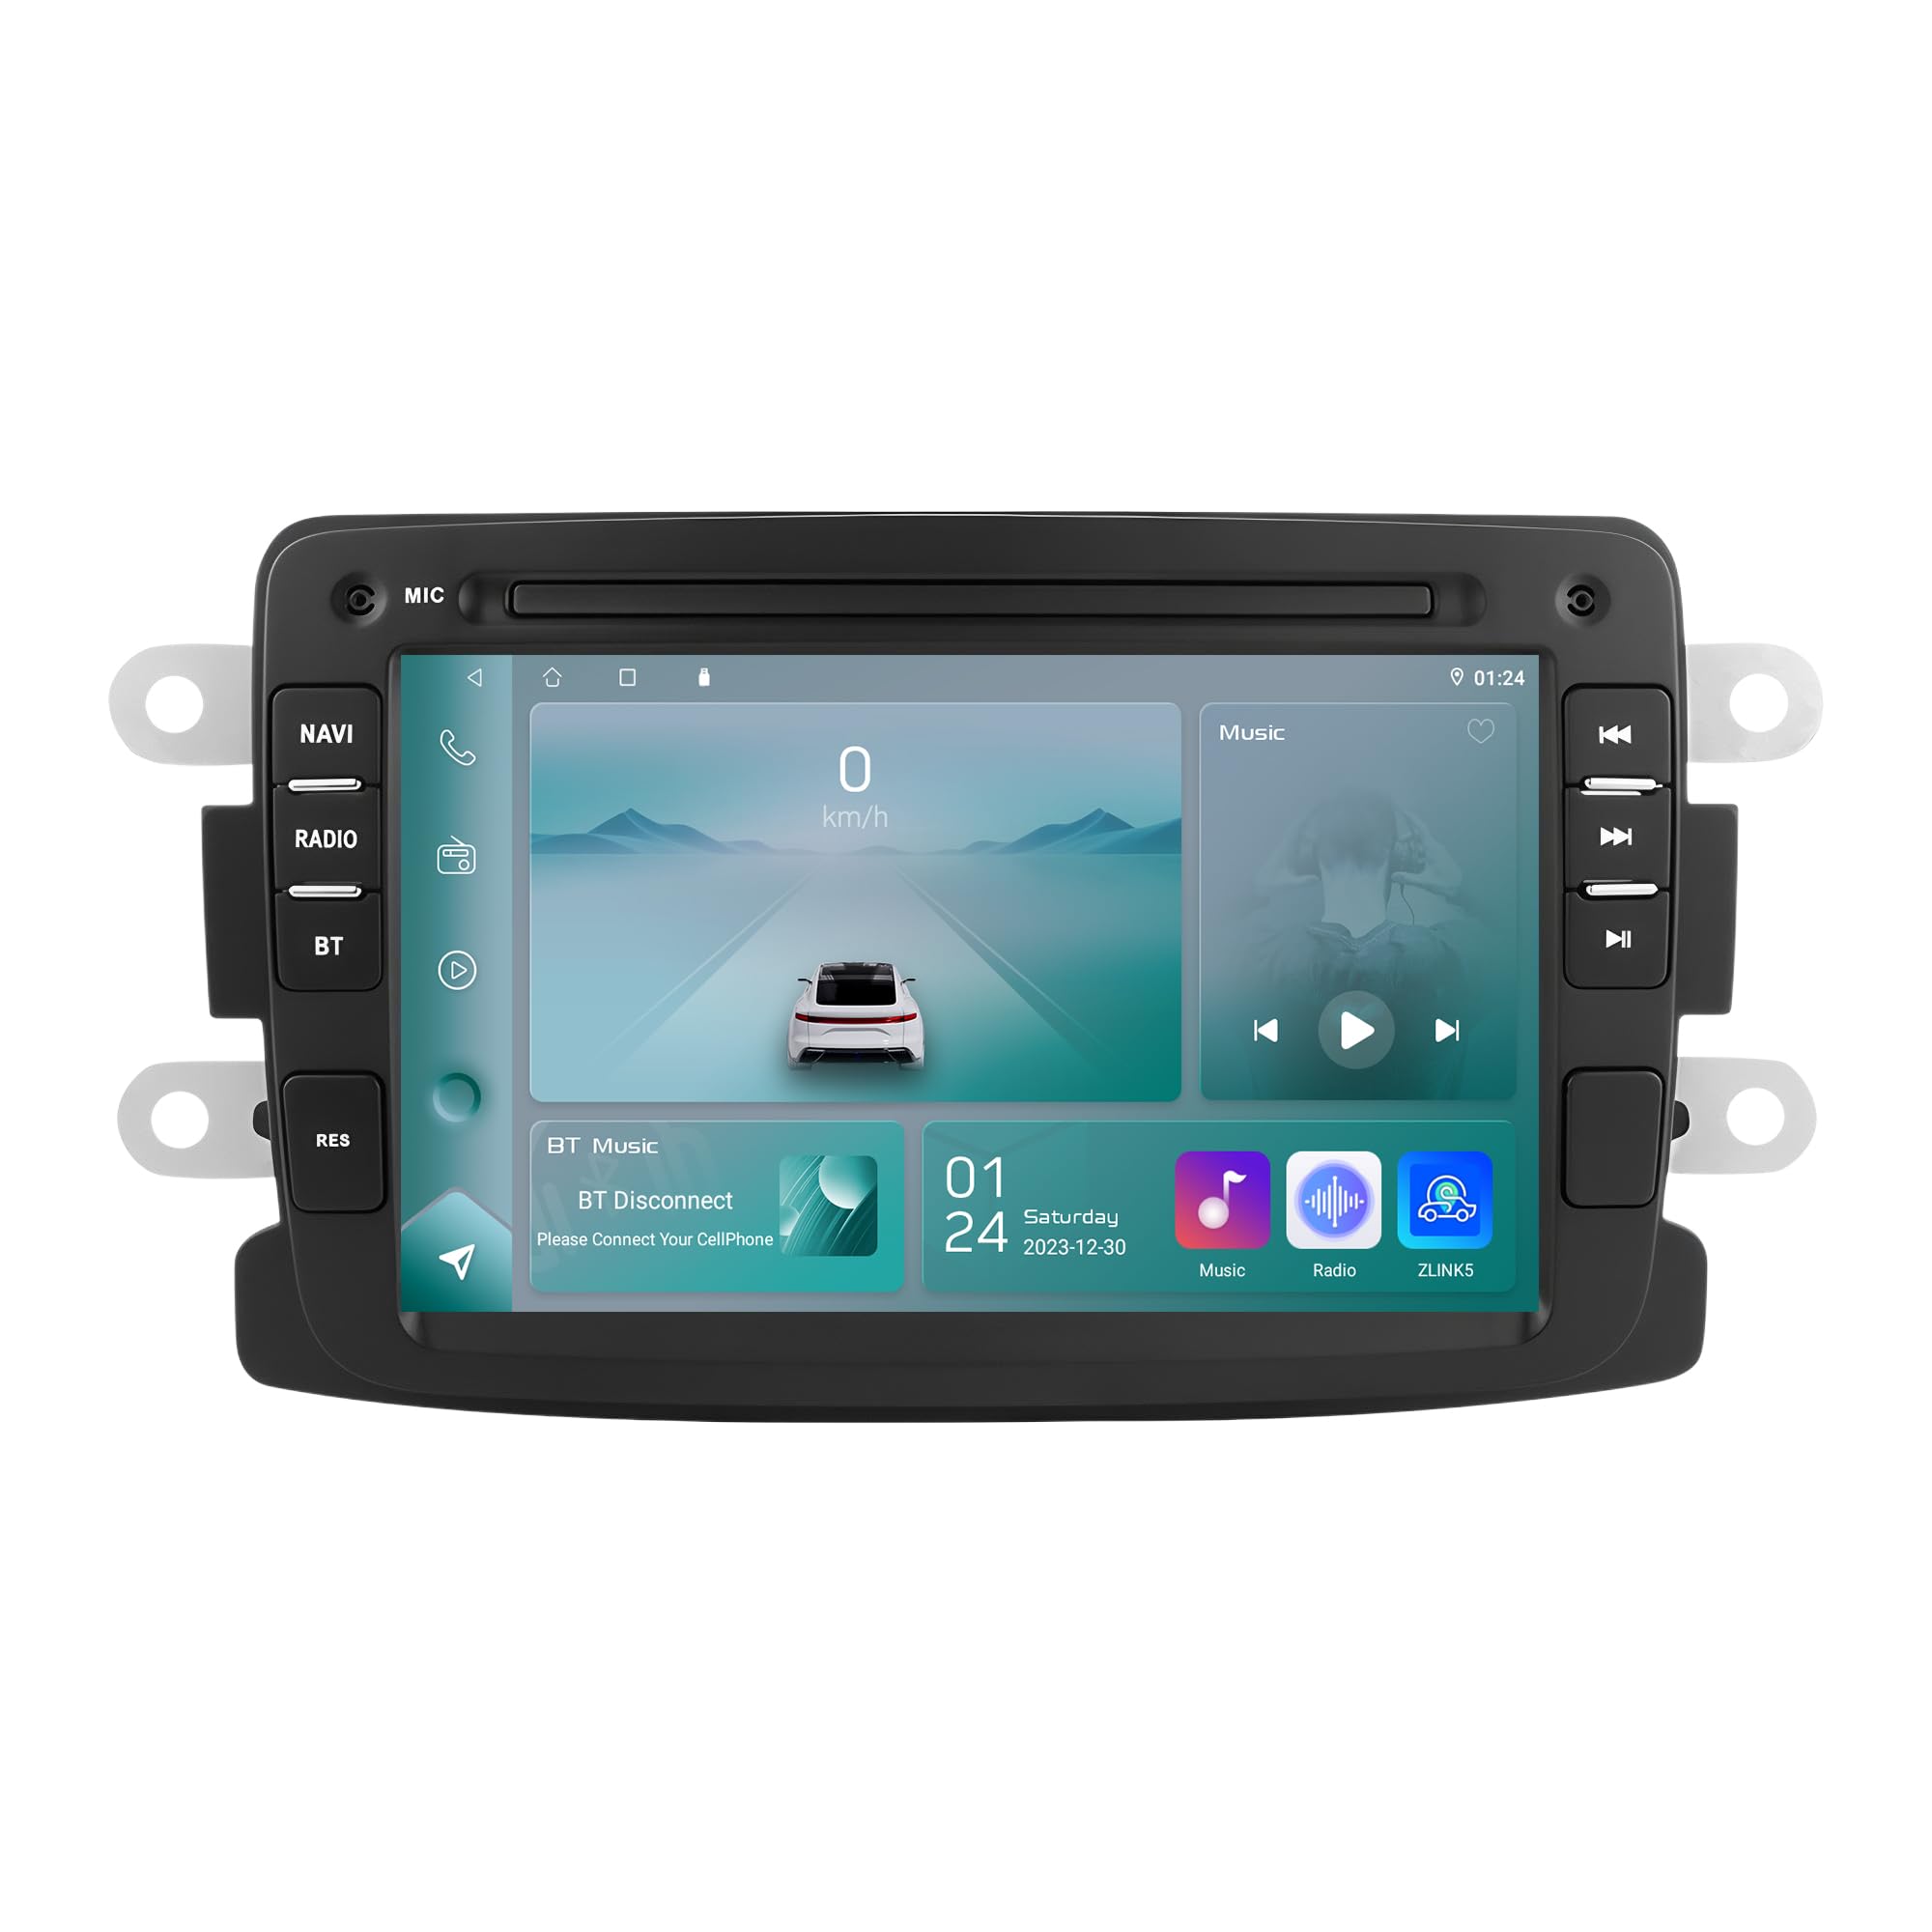
Figure 1: Ossuret 7-Inch Android 14 Car Stereo. This image shows the main unit with its display.
Suderinamumas su transporto priemone
This car stereo is designed for specific vehicle models. Please verify your vehicle's compatibility before installation.
- For Dacia: Logan (2012-2017), DOKKER (2012-2017), Duster (2011-2017), Sandero (2012-2017), Lodgy (2012-2017)
- „Renault“: „Captur“ (2013–2017), simbolis (2013–2017)
- For LADA: Xray 2 (Note: Some steering wheel control buttons may not function with LADA Xray 2)
Kas yra dėžutėje
Ensure all components listed below are present in the package before proceeding with installation.

2 pav.: Pakuotės turinys. This image displays all items included with your Ossuret car stereo, such as various cables, adapters, and the main unit.
- USB kabelis
- RCA diržai
- GPS antena
- Galinio kameros įvesties RCA kabelis
- Išorinis mikrofonas
- 4 kontaktų USB kabelis
- 6 kontaktų USB kabelis
- Maitinimo kabelis
- Canbus dekoderis
- Radijo antenos adapterio kabelis
- Radijo antenos adapteris
Diegimo vadovas
Professional installation is recommended. Disconnect the vehicle's battery before starting the installation process. Refer to your vehicle's specific wiring diagrams for accurate connections.

3 pav.: Prieš ir po įdiegimo. This image illustrates the visual transformation of the dashboard after the Ossuret car stereo is installed, replacing the original unit.
Bendrieji diegimo žingsniai:
- Paruošimas: Įsitikinkite, kad transporto priemonė išjungta, o akumuliatorius atjungtas.
- Pašalinti seną įrenginį: Atsargiai nuimkite esamą automobilio stereo sistemą ir apdailos plokštes.
- Prijunkite laidus: Connect the power cable, RCA harness, GPS antenna, and other necessary cables to the new Ossuret unit. Ensure all connections are secure.
- „Canbus“ dekoderis: If your vehicle requires a Canbus decoder (included), connect it as per the wiring diagram to ensure proper communication with vehicle systems.
- Bandymo funkcionalumas: Before fully reassembling the dashboard, reconnect the battery and test the basic functions of the stereo (power, audio, touch screen).
- Saugus vienetas: Tvirtai pritvirtinkite naują stereo sistemą prie prietaisų skydelio angos.
- Surinkti iš naujo: Reinstall all trim panels and ensure a neat finish.
Operating Your Car Stereo
Pagrindinės operacijos
- Maitinimo įjungimas/išjungimas: Norėdami įjungti arba išjungti įrenginį, paspauskite ir palaikykite nuspaudę maitinimo mygtuką (paprastai esantį priekiniame skydelyje).
- Garsumo valdymas: Adjust the volume using the physical knob or the on-screen controls.
- Jutiklinis ekranas: Navigate through menus and applications using the capacitive touch screen.
- Pagrindinis ekranas: Access the main Android interface by pressing the Home button or icon.
Belaidis „Carplay“ / „Android Auto“
The unit supports wireless Apple Carplay and Android Auto via the pre-installed Zlink application. This allows seamless integration of your smartphone's features onto the car stereo display.

Figure 4: Carplay and Android Auto System. This image demonstrates how your smartphone's interface can be mirrored and controlled directly from the car stereo screen.
- Įsitikinkite, kad jūsų išmaniajame telefone įjungti „Wi-Fi“ ir „Bluetooth“.
- Automobilio stereo sistemoje atidarykite programą „Zlink“.
- Follow the on-screen prompts to connect your phone via Bluetooth or Wi-Fi.
- Prijungus, stereo ekrane pasirodys su telefonu suderinamos programėlės.
"Bluetooth" funkcija
Prijunkite mobilųjį telefoną per „Bluetooth“, kad galėtumėte skambinti laisvų rankų įranga ir transliuoti garsą.

5 pav.: „Bluetooth“ funkcionalumas. This image highlights the hands-free calling feature and the built-in microphone for clear communication.
- Poravimas: Go to the Bluetooth settings on the stereo and your phone. Ieškokite available devices and select "Ossuret" (or similar name). Enter the PIN if prompted (usually 0000).
- Skambinimas laisvų rankų įranga: Once paired, you can make and receive calls directly from the stereo. The built-in microphone captures your voice.
- „Bluetooth“ muzika (A2DP): Stream audio from your phone to the car stereo. Control playback (play/pause, skip) from the stereo screen.
- Telefonų knygos atsisiuntimas: The unit supports downloading your phone's contact list for easy access.
GPS navigacija
The car stereo features integrated GPS navigation with preloaded European maps and supports online navigation apps.

6 pav.: GPS navigacija. This image shows the detailed map interface with navigation guidance and support for various navigation applications.
- Navigacija neprisijungus: Use the preloaded maps without an internet connection.
- Naršymas internete: Connect to Wi-Fi and use popular navigation apps like Google Maps, Waze, etc.
- Nurodymai balsu: Receive turn-by-turn voice directions.
- Dviejų zonų funkcija: Navigate while listening to music or other audio.
USB jungtis
Connect external USB devices for media playback or data transfer. The unit supports up to 2TB external memory.

7 pav.: USB jungtis. Šis paveikslėlis iliustruoja file browsing capability when a USB device is connected, allowing access to various media and data files.
- Įkiškite USB atmintinę į tam skirtą USB prievadą.
- Prisijunkite prie file manager or media player application to browse and play content.
Daugialypės terpės atkūrimas
The unit supports a wide range of audio and video formats for an enhanced entertainment experience.

Figure 8: Multimedia Playback. This image shows the car stereo playing a video, indicating its support for various multimedia formats.
- Muzikos formatai: MP3, WMA, AAC, RM, FLAC ir kt.
- Vaizdo įrašų formatai: MPEG-1/2/4, H264, H263, VC1, RV, RMVB, DivX, Sorenson Spark, Spark, VP8, AVS Stream, etc.
- Vaizdo formatas: JPG / BMP / JEPG / GIF / PNG
Vairo valdymas
The car stereo is compatible with your vehicle's factory steering wheel controls, allowing you to manage volume, tracks, and channels without taking your hands off the wheel. This feature helps minimize distractions while driving.
Galinis View Kameros įvestis
Įrenginys palaiko galinį view camera (not included). When the vehicle is shifted into reverse gear, the display will automatically switch to the rear camera feed, providing a clear view of obstacles behind the vehicle and assisting with safe parking.
Priežiūra ir priežiūra
- Ekrano valymas: Use a soft, lint-free cloth to gently wipe the touch screen. Avoid abrasive cleaners or solvents that may damage the screen.
- Bendras valymas: Laikykite įrenginį švarų nuo dulkių ir šiukšlių. Išorę valykite minkšta, sausa šluoste.
- Temperatūra: Venkite įrenginio ilgalaikio laikymo tiesioginiuose saulės spinduliuose, itin aukštose temperatūrose ar didelėje drėgmėje.
- Programinės įrangos atnaujinimai: Periodiškai tikrinkite gamintojo websvetainėje ieškokite visų galimų programinės įrangos atnaujinimų, kad užtikrintumėte optimalų našumą ir naujas funkcijas.
Trikčių šalinimas
If you encounter issues, refer to the table below for common problems and their solutions. If the problem persists, contact customer support.
| Problema | Galima priežastis | Sprendimas |
|---|---|---|
| Įrenginys neįsijungia. | Atsilaisvinęs maitinimo laidas, perdegęs saugiklis, automobilio akumuliatoriaus problema. | Patikrinkite maitinimo laidus ir jungtis. Patikrinkite transporto priemonės saugiklius. Įsitikinkite, kad transporto priemonės akumuliatorius įkrautas. |
| Nėra garso. | Per mažas garsumas, įjungtas nutildymas, netinkamas garso šaltinis, garsiakalbio laidų problema. | Padidinkite garsumą. Patikrinkite, ar įjungtas nutildymo režimas. Pasirinkite tinkamą garso šaltinį. Patikrinkite garsiakalbių jungtis. |
| Jutiklinis ekranas nereaguoja. | Programinės įrangos triktis, ekrano kalibravimo problema. | Restart the unit. If available, perform screen calibration in settings. |
| Bluetooth ryšio problemos. | Telefonas neaptinkamas, neteisingas susiejimas, trukdžiai. | Ensure phone Bluetooth is on and discoverable. Delete previous pairings and re-pair. Move phone closer to the unit. |
| GPS signalas prarastas arba netikslus. | GPS antenos užstojimas, prastas palydovų signalas, pasenę žemėlapiai. | Įsitikinkite, kad GPS antena turi laisvą view dangaus. Jei reikia, atnaujinkite žemėlapius. |
Techninės specifikacijos
| Funkcija | Specifikacija |
|---|---|
| Prekės ženklas | Ossuret |
| Operacinė sistema | Android 14 |
| RAM | 2 GB |
| ROM | 32 GB |
| CPU | 4 branduolių * A53 1.5 GHz |
| Ekrano dydis | 7 colių |
| Jutiklinio ekrano tipas | Kapacinis jutiklinis ekranas |
| Ekrano raiška | 1024 x 600 |
| Ryšio technologija | „Bluetooth“, USB, „Wi-Fi“ |
| Ypatingos savybės | Android Auto, Apple CarPlay, GPS Navigation, Steering Wheel Control, Rear Camera Input |
| Suderinami įrenginiai | Išmanusis telefonas |
| Garso išvesties režimas | Stereo |
| Kanalų skaičius | 2.0 |
| Kontrolės metodas | Lytėjimo |
| USB prievado suderinamumas | Iki 2 TB išorinės atminties |
| Garantija | 1 metai |
| Kilmės šalis | Kinija |
Garantija ir palaikymas
Informacija apie garantiją
Šis „Ossuret“ automobilio stereofoninis įrenginys turi 1 metų garantija nuo įsigijimo datos. Ši garantija taikoma gamybos defektams ir gedimams įprasto naudojimo metu. Išsaugokite pirkimo įrodymą, jei galėtumėte pateikti pretenzijas dėl garantijos.
Pagalba klientams
For technical assistance, troubleshooting beyond this manual, or warranty inquiries, please contact Ossuret customer support through the retailer where the product was purchased or visit the official Ossuret websvetainė kontaktinei informacijai.