
1. Įvadas
Thank you for choosing the Nisanuki T9W3 Mini WiFi Camera. This compact and versatile camera is designed for discreet surveillance, offering 1080P HD video, two-way audio, night vision, and motion detection capabilities. This manual provides detailed instructions for setting up, operating, and maintaining your camera to ensure optimal performance and longevity.
2. Produktas baigtasview
Pagrindinės funkcijos:
- Dual Recording Options: Operates with or without 2.4 GHz WiFi for flexible recording.
- 1080P „Full HD“ vaizdo įrašas: Captures clear video with a 130-degree wide-angle lens.
- Patobulintas našumas esant prastam apšvietimui: Sensitive image sensor for high-contrast images even in dim conditions.
- PIR Motion Detection & Siren Alarm: Smart motion detection with instant app alerts and optional siren activation.
- Dvipusis garsas: Real-time two-way communication via the mobile application.
- Įrenginio bendrinimas: Share camera access with multiple users globally.
- Lankstus saugojimas: Supports up to 256GB Micro SD card (not included) and optional cloud storage.
- Ilgas baterijos veikimo laikas: Built-in rechargeable battery provides 5-6 hours of continuous recording.
- Kompaktiškas ir nešiojamas dizainas: Easy installation and discreet placement.
Pakuotės turinys:
- Nisanuki T9W3 Mini WiFi Camera
- Mounting accessories (e.g., magnetic mount, screws)
- USB-C įkrovimo laidas
- SD card adapter (for PC/laptop)
- Vartotojo vadovas
3. Sąranka
3.1 Kameros įkrovimas
Before first use, fully charge the camera using the provided USB-C cable. Connect the cable to the camera's charging port and a standard USB power adapter (not included). The charging indicator light will show the charging status.
3.2 „Micro SD“ kortelės įdėjimas (pasirinktinai)
For local video storage, insert a Micro SD card (up to 256GB, not included) into the designated slot on the camera. Ensure the card is inserted correctly. The camera will automatically format the card upon first use or when detected.

Image: The camera supports both Micro SD card storage and optional cloud storage. It features a high-capacity rechargeable battery.
3.3 WiFi Connection (for Remote Access)
- Download the companion mobile application from your device's app store. Refer to the packaging or included quick start guide for the app name.
- Įjunkite fotoaparatą.
- Atidarykite programą ir vadovaukitės ekrane pateikiamomis instrukcijomis, kad pridėtumėte naują įrenginį.
- Select the option to connect via WiFi. Ensure your smartphone is connected to a 2.4 GHz WiFi network. The camera does not support 5 GHz WiFi.
- Follow the app's prompts to connect the camera to your WiFi network. This usually involves scanning a QR code generated by the app with the camera lens or entering WiFi credentials.
- Once connected, you can access the camera remotely from anywhere via the app.

Image: The camera offers dual recording options: remote viewing and control via WiFi, or direct recording to a Micro SD card without WiFi.
3.4 Standalone Recording (Without WiFi)
If WiFi is not available or desired, the camera can record directly to a Micro SD card. Simply ensure a formatted SD card is inserted, and the camera will begin recording based on its default settings (e.g., continuous recording or motion-activated recording). Real-time viewing will not be available in this mode.
3.5 Įdėjimas ir montavimas
The camera's compact design allows for versatile placement. Use the included mounting accessories (e.g., magnetic base, screws) to secure the camera in your desired location. Ensure the camera has a clear line of sight to the area you wish to monitor.

Image: The mini camera's compact size and included stand allow for discreet placement in various indoor environments.
4. Naudojimo instrukcijos
4.1 Tiesiogiai View ir nuotolinio valdymo pultą
Once connected to WiFi, open the mobile application to access the live video feed. From the app, you can:
- View vaizdo įrašas realiuoju laiku.
- Užmegzkite dvipusį garso ryšį.
- Take snapshots or record video manually.
- Adjust camera settings (e.g., recording mode, motion detection sensitivity).
- Turn the camera on or off remotely.
4.2 Judesio aptikimas ir įspėjimai
The camera features intelligent PIR motion detection. When motion is detected, the camera will:
- Send instant alerts to your mobile application.
- Begin recording video (if configured).
- Optionally activate a siren alarm through the app to deter intruders.
Adjust motion detection sensitivity and alert preferences within the app settings.

Image: The camera provides intelligent PIR motion detection alerts and can trigger a siren alarm via the app.
4.3 Dvipusis garso ryšys
Utilize the two-way audio feature through the mobile app to communicate with individuals near the camera. This is useful for checking on pets, children, or speaking to visitors.

Image: The camera supports enhanced two-way audio, allowing real-time communication through the app.
4.4 Naktinis matymas
The camera is equipped with advanced night vision capabilities, allowing it to capture clear images in low-light conditions. The sensitive image sensor ensures high-contrast video even when ambient light fades.
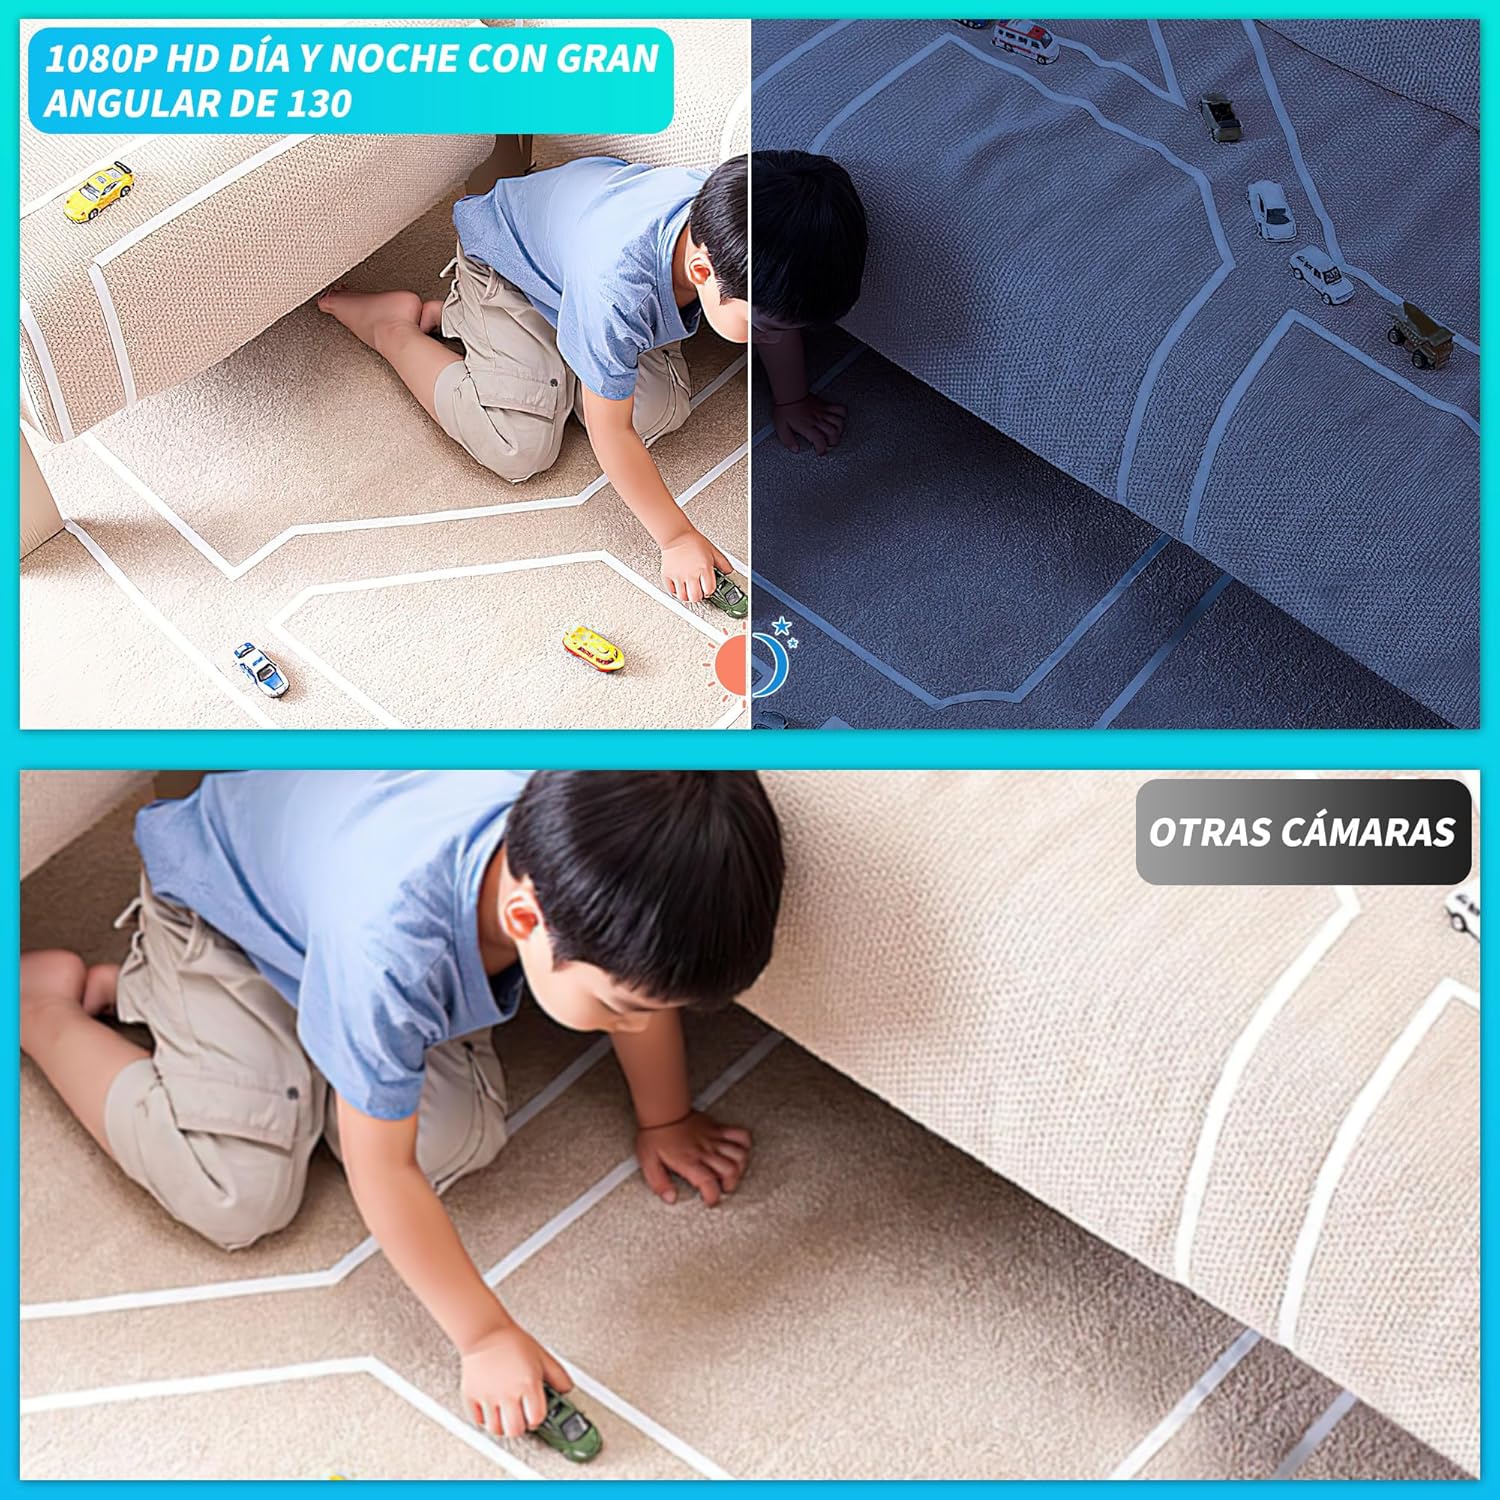
Image: The camera provides 1080P HD video with a 130-degree wide angle, offering clear day and night vision.
4.5 Įrenginio bendrinimas
You can share access to your camera with family members or trusted individuals through the mobile application. This allows multiple users to monitor the same location simultaneously.
5. Priežiūra
5.1 Valymas
Gently wipe the camera lens and body with a soft, dry cloth. Do not use liquid cleaners or abrasive materials, as they may damage the camera components.
5.2 Akumuliatoriaus priežiūra
To prolong battery life, avoid exposing the camera to extreme temperatures. If storing the camera for an extended period, ensure it is partially charged (around 50%) and recharge it every few months.
5.3 Saugykla
Kai nenaudojate fotoaparato, laikykite jį vėsioje, sausoje vietoje, toliau nuo tiesioginių saulės spindulių ir drėgmės.
6. Problemų sprendimas
- Kamera neįsijungia: Įsitikinkite, kad akumuliatorius įkrautas. Prijunkite fotoaparatą prie maitinimo šaltinio naudodami USB-C laidą.
- Nepavyko prisijungti prie „WiFi“:
- Ensure your WiFi network is 2.4 GHz. The camera does not support 5 GHz.
- Patikrinkite savo „Wi-Fi“ slaptažodžio tikslumą.
- Perkelkite kamerą arčiau „Wi-Fi“ maršrutizatoriaus.
- Iš naujo paleiskite maršrutizatorių ir kamerą.
- No recording to SD card:
- Įsitikinkite, kad „Micro SD“ kortelė įdėta teisingai.
- Check if the SD card is formatted. Format it via the app if necessary.
- Verify that the SD card is not full.
- Ensure the recording settings in the app are configured correctly.
- Prasta vaizdo kokybė:
- Nuvalykite fotoaparato objektyvą.
- Ensure adequate lighting for optimal performance, especially during the day.
- Check your internet connection speed if viewing remotely.
- App alerts not received:
- Įsitikinkite, kad programėlės nustatymuose įjungtas judesio aptikimas.
- Check your phone's notification settings for the camera app.
- Įsitikinkite, kad jūsų telefone yra aktyvus interneto ryšys.
7. Specifikacijos
| Modelio pavadinimas | T9W3 |
| Prekės ženklas | Nisanuki |
| Ryšio technologija | Belaidis ryšys (Wi-Fi) |
| Naudojimas viduje / lauke | Vidinis |
| Montavimo tipas | Stalo laikiklis |
| Vaizdo įrašymo raiška | 1080p |
| Gaminio matmenys (I x P x A) | 40 x 40 x 60 mm (4 x 4 x 6 cm) |
| Produkto svoris | 160 g |
| Baterijos tipas | Lithium Polymer (1 non-standard battery included) |
| Saugojimo palaikymas | Micro SD card (up to 256GB), Cloud Storage (optional subscription) |
| Įtraukti komponentai | Mini camera, mounting accessories, USB-C cable, SD card adapter |
8. Saugos informacija
- Saugokite fotoaparatą nuo vandens ar drėgmės.
- Venkite ekstremalių temperatūrų ar tiesioginių saulės spindulių.
- Laikyti vaikams ir naminiams gyvūnėliams nepasiekiamoje vietoje.
- Naudokite tik pridedamą įkrovimo laidą arba sertifikuotą lygiavertį laidą.
- Nebandykite patys išardyti ar taisyti fotoaparato.
- Išmeskite gaminį ir baterijas atsakingai laikydamiesi vietinių taisyklių.
9. Garantija ir palaikymas
For warranty information and technical support, please refer to the documentation included with your purchase or contact the manufacturer directly. Keep your proof of purchase for warranty claims.