
Produktas baigtasview
The pTron Studio Pro are wireless over-ear headphones designed for extended listening and clear communication. They feature an ergonomic design with soft earpads and an adjustable headband for comfortable wear. Key features include long battery life, advanced audio drivers, and versatile connectivity options.
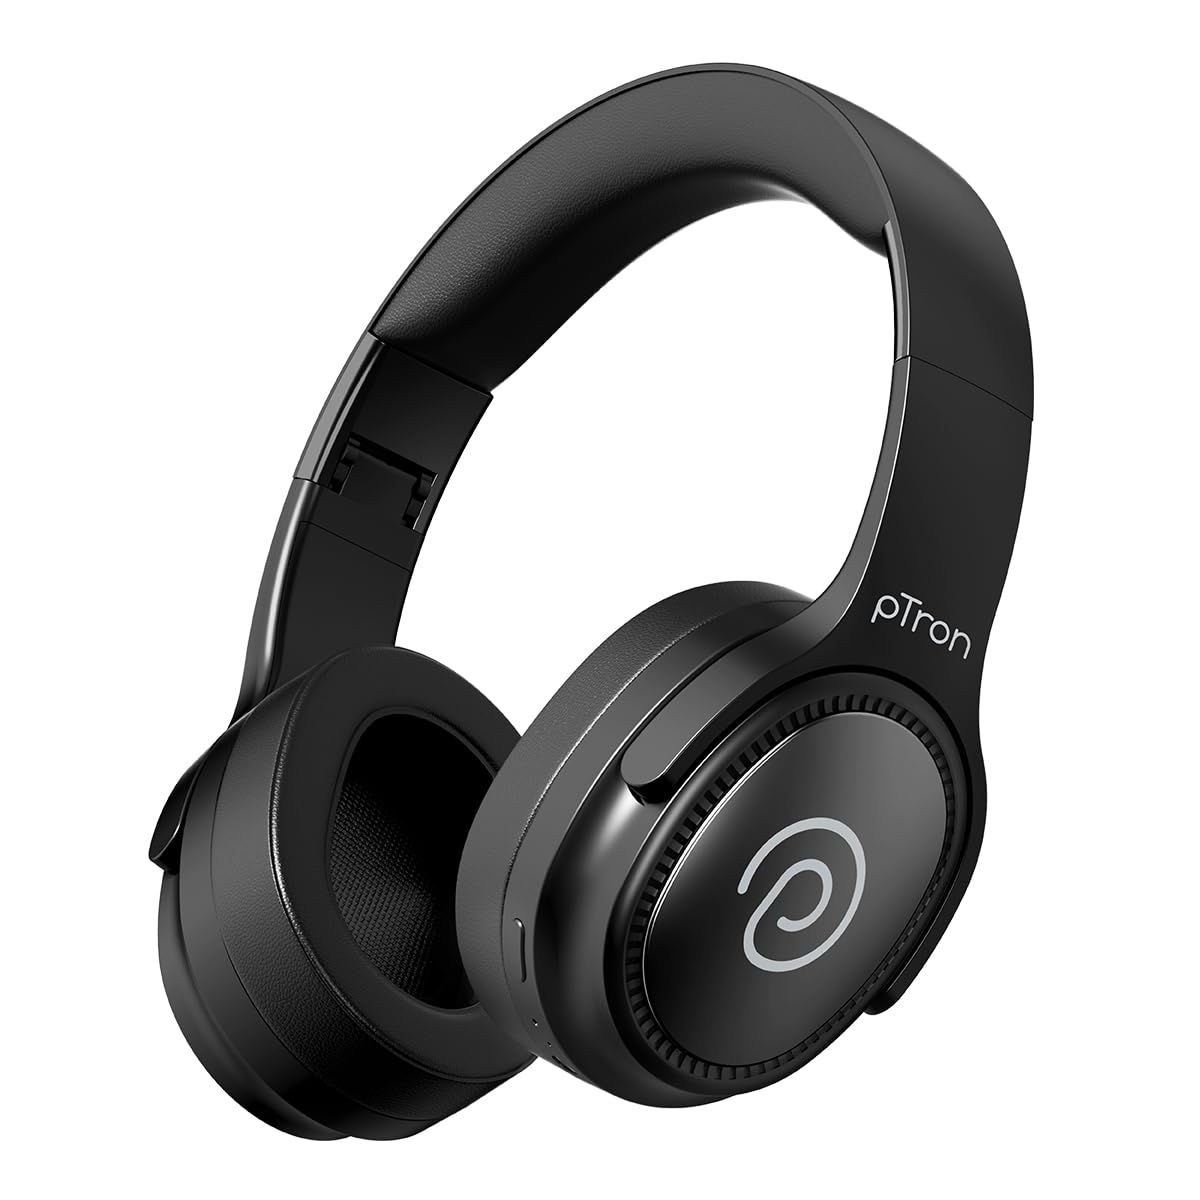
Image: pTron Studio Pro Wireless Over-Ear Headphones in Jet Black, showcasing elegantiškas dizainas.
Pagrindinės savybės
- Prailgintas grojimo laikas: Up to 65 hours of music playback on a single full charge.
- Greitas įkrovimas: 2.5 hours for a full charge via Type-C. A 10-minute charge provides approximately 4 hours of playtime.
- Aukštos kokybės garsas: Equipped with 40mm Neody Drivers for pristine stereo sound.
- Išvalyti skambučius: Built-in HD Microphone with TruTalk AI-ENC (Environmental Noise Cancellation) for crystal-clear calls.
- Išplėstinis ryšys: Fast Bluetooth v5.4 for instant pairing and stable connection.
- Dviejų įrenginių susiejimas: Seamlessly connect and switch between two devices simultaneously.
- Universalūs režimai: Dedicated Low-Latency Gaming Mode and Music Mode.
- Atsparumas vandeniui: IPX4 rating, making them resistant to water splashes and sweat.
- Comfort & Portability: Ergonomic, lightweight, and foldable design with soft earpads and an adjustable headband for a perfect fit and easy storage.
- Lengvas valdymas: Multi-functional buttons for managing music, calls, and activating voice assistant.

Image: Infographic detailing the main features of the pTron Studio Pro headphones, including battery life, drivers, and connectivity.
Kas yra dėžutėje
Upon unboxing your pTron Studio Pro headphones, you will find the following items:
- pTron Studio Pro Wireless Over-Ear Headphones
- Įkrovimo laidas (C tipas)
- Vartotojo vadovas
Video: An official product video demonstrating the unboxing and key features of the pTron Studio Pro headphones.
Produkto išdėstymas ir valdikliai
Familiarize yourself with the physical components and control buttons of your pTron Studio Pro headphones.

Vaizdas: Išsamus view of the multi-function control buttons located on the ear cup, including power, volume, and track controls.
Control Button Functions:
| Mygtukas / veiksmas | Funkcija |
|---|---|
| Maitinimo mygtukas (ilgas paspaudimas) | Įjungimas / išjungimas, susiejimo režimo įjungimas |
| Paleidimo / pauzės mygtukas (vieną kartą paspaudus) | Groti / pristabdyti muziką, atsiliepti / baigti skambutį |
| Paleidimo / pauzės mygtukas (ilgas paspaudimas) | Atmesti skambutį, įjungti balso asistentą |
| Garsumo didinimas (+) (vienas paspaudimas) | Padidinti garsumą |
| Garsumo mažinimas (-) (vieną kartą paspaudus) | Sumažinti garsumą |
| Garsumo didinimas (+) (ilgas paspaudimas) | Kitas takelis |
| Garsumo mažinimas (-) (ilgas paspaudimas) | Ankstesnis takelis |
| Mode Button (Single Press) | Perjungti žaidimo režimą ir muzikos režimą |
Sąranka
1. Ausinių įkrovimas
- Prijunkite pridedamą C tipo įkrovimo laidą prie ausinių įkrovimo prievado.
- Connect the other end of the cable to a USB power source (DC5V-1A max.).
- LED indikatorius rodys įkrovimo būseną. Pilnas įkrovimas trunka maždaug 2.5 valandas.
- A 10-minute charge can provide up to 4 hours of playtime.

Image: The pTron Studio Pro headphones highlighting the Type-C charging port and emphasizing the 65-hour playtime.
2. „Bluetooth“ poravimas
- Įsitikinkite, kad ausinės yra visiškai įkrautos.
- Press and hold the Power button until the LED indicator flashes red and blue alternately, indicating pairing mode.
- Savo įrenginyje (išmaniajame telefone, planšetiniame kompiuteryje, nešiojamajame kompiuteryje) įjunkite „Bluetooth“ ir ieškokite galimų įrenginių.
- Select "pTron Studio Pro" from the list of devices.
- Once connected, the LED indicator will turn solid blue or stop flashing.
3. Dual Device Pairing
- Sujunkite ausines su pirmuoju įrenginiu, kaip aprašyta aukščiau.
- Išjunkite „Bluetooth“ pirmame įrenginyje. Ausinės vėl įsijungs susiejimo režimu.
- Sujunkite ausines su antruoju įrenginiu.
- Iš naujo įjunkite „Bluetooth“ pirmajame įrenginyje. Ausinės turėtų automatiškai prisijungti prie abiejų įrenginių.
- You can now switch audio playback between the two connected devices.

Image: The headphones connected to both a laptop and a smartphone, demonstrating the dual device pairing feature.
4. Wired Connection (3.5mm Aux-in)
- Insert one end of a 3.5mm audio cable (not included) into the Aux-in port on the headphones.
- Kitą laido galą prijunkite prie garso šaltinio 3.5 mm lizdo.
- Ausinės automatiškai persijungs į laidinį režimą.

Image: The headphones connected to a smartphone using a 3.5mm Aux-in cable, illustrating wired music playback.
Naudojimo instrukcijos
Maitinimo įjungimas/išjungimas
- Maitinimas: Paspauskite ir palaikykite maitinimo mygtuką maždaug 3 sekundes, kol užsidegs LED indikatorius.
- Išjungti: Paspauskite ir palaikykite maitinimo mygtuką maždaug 5 sekundes, kol užges LED indikatorius.
Muzikos valdikliai
- Leisti / pristabdyti: Vieną kartą paspauskite mygtuką „Paleisti / pristabdyti“.
- Kitas takelis: Ilgai paspauskite garsumo didinimo (+) mygtuką.
- Ankstesnis takelis: Ilgai paspauskite garsumo mažinimo (-) mygtuką.
- Pagarsink: Single press the Volume Up (+) button.
- Patildyti: Single press the Volume Down (-) button.
Skambučių valdikliai
- Atsiliepti / Baigti skambutį: Vieną kartą paspauskite mygtuką „Paleisti / pristabdyti“.
- Atmesti skambutį: Ilgai paspauskite paleidimo/pauzės mygtuką.
Balso asistentas
- Suaktyvinti „Voice Assistant“: Long press the Play/Pause button (after rejecting a call, if applicable, or when not on a call).
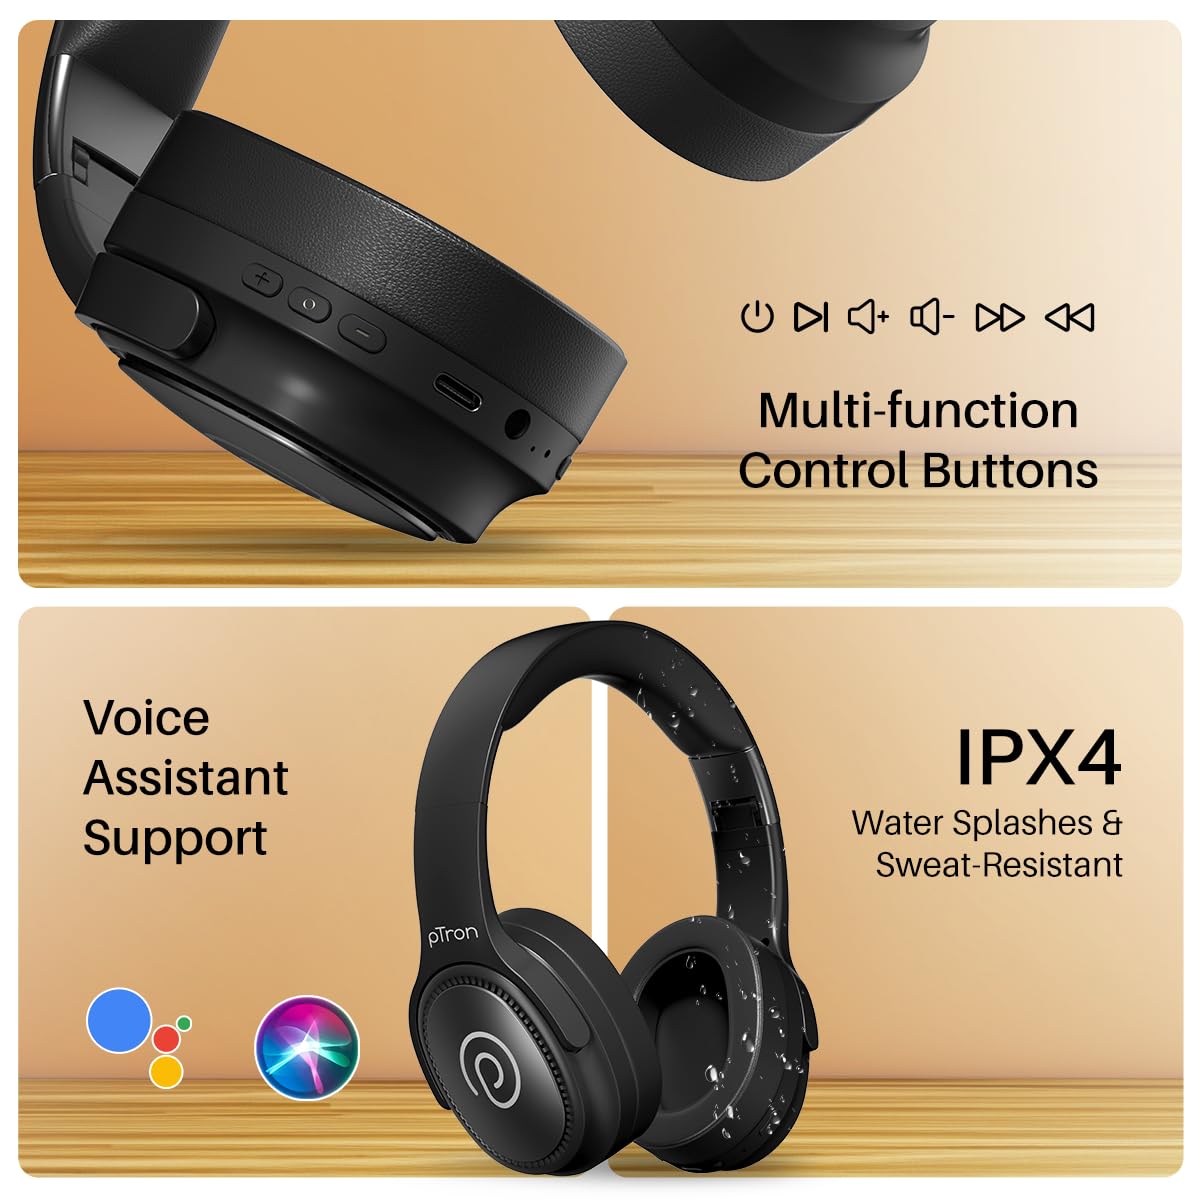
Image: The headphones illustrating support for voice assistants like Google Assistant and Siri, along with their IPX4 water-resistant rating.
Game & Music Modes
- Perjungti režimus: Single press the Mode button to toggle between Low-Latency Gaming Mode and standard Music Mode.
Priežiūra
To ensure the longevity and optimal performance of your pTron Studio Pro headphones, follow these maintenance guidelines:
- Valymas: Ausinėms valyti naudokite minkštą, sausą šluostę. Nenaudokite abrazyvinių valiklių ar tirpiklių.
- Saugykla: Kai nenaudojate, laikykite ausines vėsioje, sausoje vietoje. Sulankstomas dizainas leidžia jas kompaktiškai laikyti.
- Vandens ekspozicija: While rated IPX4 for water splashes and sweat resistance, avoid submerging the headphones in water or exposing them to heavy rain. Dry them thoroughly if they get wet.
- Įkrovimas: Use only the provided Type-C cable and a compatible power adapter (DC5V-1A max.) for charging.
- Venkite ekstremalių temperatūrų: Nelaikykite ausinių itin aukštoje arba žemoje temperatūroje.
Trikčių šalinimas
If you encounter any issues with your pTron Studio Pro headphones, refer to the following common troubleshooting steps:
| Problema | Sprendimas |
|---|---|
| Ausinės neįsijungia. | Įsitikinkite, kad ausinės yra visiškai įkrautos. Prijunkite prie maitinimo šaltinio ir patikrinkite įkrovimo indikatorių. |
| Nepavyksta susieti su įrenginiu. | Make sure Bluetooth is enabled on your device and the headphones are in pairing mode (LED flashing red/blue). Move closer to the device. Forget previous pairings on your device and try again. |
| Nėra garso arba garsas per mažas. | Check the volume levels on both the headphones and your connected device. Ensure the headphones are correctly paired. If using Aux-in, ensure the cable is fully inserted. |
| Skambučių kokybė prasta. | Ensure the microphone is not obstructed. Move to an area with less environmental noise. Check your device's network signal. |
| Ausinės dažnai atsijungia. | Ensure there are no obstacles between the headphones and your device. Keep within the Bluetooth range (10 meters). Avoid strong electromagnetic interference. |
Specifikacijos
| Funkcija | Detalė |
|---|---|
| Prekės ženklas | pTronas |
| Modelio pavadinimas | Studija |
| Ausų išdėstymas | Virš ausies |
| Bluetooth versija | 5.4 |
| Bluetooth diapazonas | 10 metrų |
| Garso tvarkyklės dydis | 40 milimetrų |
| Varža | 32 omai |
| Vidutinis akumuliatoriaus veikimo laikas | 65 valandų |
| Akumuliatoriaus įkrovimo laikas | 2.5 valandų |
| Įkrovimo prievadas | C tipas |
| Atsparumo vandeniui lygis | IPX4 (atsparus vandeniui) |
| Mikrofonas | Built-in HD Mic with AI-ENC |
| Ausinių lizdas | 3.5 mm lizdas |
| Valdymo tipas | Call Control, Push Button |
| Produkto savybės | Fast Charging, Foldable, Microphone Included, Noise Isolation, Surround Sound |
| Prekės svoris | 200 gramų |
| Medžiaga | Akrilnitrilo butadieno stirenas (ABS) |
| Suderinami įrenginiai | Mobilieji telefonai, stacionarūs kompiuteriai, nešiojamieji kompiuteriai, planšetiniai kompiuteriai |
Garantija ir palaikymas
Your pTron Studio Pro headphones come with a manufacturer's warranty and dedicated customer support.
- Garantija: 6 Months Manufacturer Warranty from the Date of Purchase on Manufacturing Defects Only.
- Gamintojo kontaktai: Building A1, Red Box Creative Park, No. 3 Huancheng South Road, Bantian Street, Longgang District, Shenzhen City, China 518116.
- Customer Care Contact Details: 40-67138888 / Support@ptron.in
- Importuotojo kontaktinis asmuo: PALRED ELECTRONICS PVT. LTD., 56 SY.NR., 1 aukštas, GUNDLAPOCHAMPALLY VILLAGE, TECHNOLOGIJŲ PARKAS MTP, TSIIC-IALA NACHARAM, HAIDARABADAS - 500076, TELANGANA, INDIJA.