
KERUI 16CH 5MP Hybrid 6-in-1 DVR
KERUI 16CH 5MP Hybrid 6-in-1 DVR User Manual
Model: 16CH 5MP Hybrid 6-in-1 DVR
1. Įvadas
This manual provides comprehensive instructions for the installation, operation, and maintenance of your KERUI 16 Channel Security Recorder DVR. This device is a 5MP Hybrid 6-in-1 surveillance video recorder designed for robust security monitoring, supporting AHD/TVI/CVI/CVBS/IP XVI camera types with human detection and 24/7 recording capabilities.
Kas yra dėžutėje:
- 1 x 16 Channel DVR
- 1 x 3 TB kietasis diskas (iš anksto įdiegtas)
- 1x maitinimo adapteris
- 1 x USB pelė
- 1 x Greitos pradžios vadovas
- Screws for HDD installation (if not pre-installed)
2. Important Camera Compatibility Notice
To ensure proper functionality and avoid compatibility issues, please confirm your camera's resolution and frame rate specifications before connecting to the DVR. Incorrect camera types or settings may prevent normal operation or display issues.
2.1. DVR Supported Specifications:
- 5MP (5MN): Frame rate ≤ 12fps
- 4MP (4MN): Frame rate ≤ 15fps
- 1080P (XVI): Frame rate ≤ 15fps
Pastaba: Ensure that both the HDMI cable and the monitor support HDMI 1.6 or higher. Using incompatible HDMI versions may result in no signal or display issues.
2.2. How to Verify Compatibility:
Prieš pirkimąasing or connecting, verify that your camera specifications and HDMI cable specifications match those of your monitor (HDMI interface). Refer to your camera's user manual or contact the camera vendor directly for specific camera and HDMI specifications.
Svarbu: Some cameras support multiple resolution modes (e.g., 5MN, 4MN, 3MN, 1080N). If this applies, confirm with the camera seller how to switch the resolution mode. The selected mode must meet the supported resolution and frame rate listed above.

Image: Table illustrating camera frame rate and resolution compatibility with the DVR. It shows support for 5MN, 4MN, and 1080N resolutions based on frames per second (fps).
3. Sąranka ir diegimas
3.1. Initial Hardware Connection:
- Prijungti monitorių: Prijunkite monitoriaus HDMI arba VGA kabelį prie atitinkamo DVR prievado.
- Prijunkite USB pelę: Įkiškite USB pelę į vieną iš DVR USB prievadų.
- Prijungti kameras: Connect your surveillance cameras to the DVR's video input ports (V1-V16) using BNC cables. Ensure secure connections.
- Maitinimas: Connect the DVR power adapter to the DVR and then to a power outlet. The system will boot up.
Video: This video demonstrates the physical connection process for the DVR, including connecting the monitor, USB mouse, camera video input cables, and power supply. It shows the initial boot-up sequence and menu navigation.

Image: Diagram showing the rear panel of the DVR with various input/output ports labeled, including video inputs (V1-V16), VGA, HDMI, USB, Audio In/Out, Network, and Power input. This illustrates the hybrid 6-in-1 compatibility.
3.2. Network Connection for Remote Access:
To utilize remote monitoring features via the mobile application, the DVR must be connected to your network. If the network cable is not connected, remote access will not be available.
- Prijunkite tinklo kabelį: Plug an Ethernet cable into the network interface (RJ45 port) on the back of the DVR and connect the other end to your router or network switch.
- Patikrinkite ryšį: Once connected, the network indicator lights on the DVR's network port should illuminate, indicating an active connection.

Image: Diagram illustrating the simple connection for remote access, showing the DVR connected to a router via an Ethernet cable, and a camera connected to the DVR. It also shows a smartphone displaying the live view iš fotoaparato.
4. Operacija
4.1. Initial System Configuration:
Upon first boot-up, the system may prompt you for initial setup, including network settings (DHCP). Confirm these settings as appropriate for your network environment.
Navigate the DVR menu using the connected USB mouse. The main menu typically includes options for Record, Alarm, System, Advanced, Info, and Logout.
4.2. Mobile Application Setup:
Į view your cameras remotely, download the XMEye Pro or Icssee application from your smartphone's app store (available on iOS and Android). Follow these steps to connect:
- Atsisiųsti programą: Ieškokite "XMEye Pro" or "Icssee" in the App Store or Google Play.
- Registruotis / Prisijungti: Sukurkite paskyrą arba prisijunkite prie programėlės.
- Pridėti įrenginį: Tap the "+" icon to add a new device. You can scan the QR code displayed on your DVR's monitor (if available) or manually enter the device ID.
- View Tiesioginis tiekimas: Once the device is added, you can select cameras to view live feeds and access recorded footage.
Image: Diagram showing the simple connection for remote access, including downloading the XMEye Pro app and enjoying live view. A QR code for app download is also visible.
Atsisiųskite XMEye programą: http://d.xmeye.net/Xmeye

Image: Illustration of remote monitoring capabilities on various devices (smartphone, tablet, PC) showing live views from security cameras. Includes icons for App Store and Google Play downloads.
4.3. Įrašymas ir atkūrimas:
The DVR supports 24/7 continuous recording with its pre-installed 3TB hard drive. It utilizes H.265+ encoding technology for efficient storage and improved image quality.
- Įrašas: Configure recording schedules and modes (continuous, motion-triggered) via the "Record" menu.
- Atkūrimas: Prieiga įrašyta footage through the "Playback" option in the main menu. The smart playback function allows quick searching by date, time, or event type (person/vehicle).

Image: Depicts 24/7 non-stop recording and advanced smart playback features, showing a timeline with event markers for quick retrieval of specific moments.

Image: Compares H.265+ and H.264 video compression, highlighting that H.265+ requires less storage and offers longer recording times while maintaining video quality.
4.4. AI Intelligent Detection:
The DVR features advanced AI intelligent detection for people and vehicles, reducing false alarms.
- Judesio aptikimas: Configure motion detection areas and sensitivity levels to focus on critical zones.
- Human/Vehicle Detect: Receive notifications (app push, email, text message with snapshot) when human or vehicle activity is detected.

Image: Illustrates AI motion detection distinguishing between humans and vehicles, showing app notifications for detected events.
5. Priežiūra
5.1. Hard Drive Management:
The DVR comes with a pre-installed 3TB hard drive and supports expansion up to 14TB. Regular maintenance ensures optimal recording performance.
- Hard Drive Identification: If the hard disk is not identified, check if the hard disk port is disconnected. Reinsert the hard disk port if necessary.
- Formatavimas: If the system detects no storage space, the hard disk may need to be formatted. In some cases, it might need to be formatted twice. Access hard drive settings via the "Storage" menu under "Advanced".
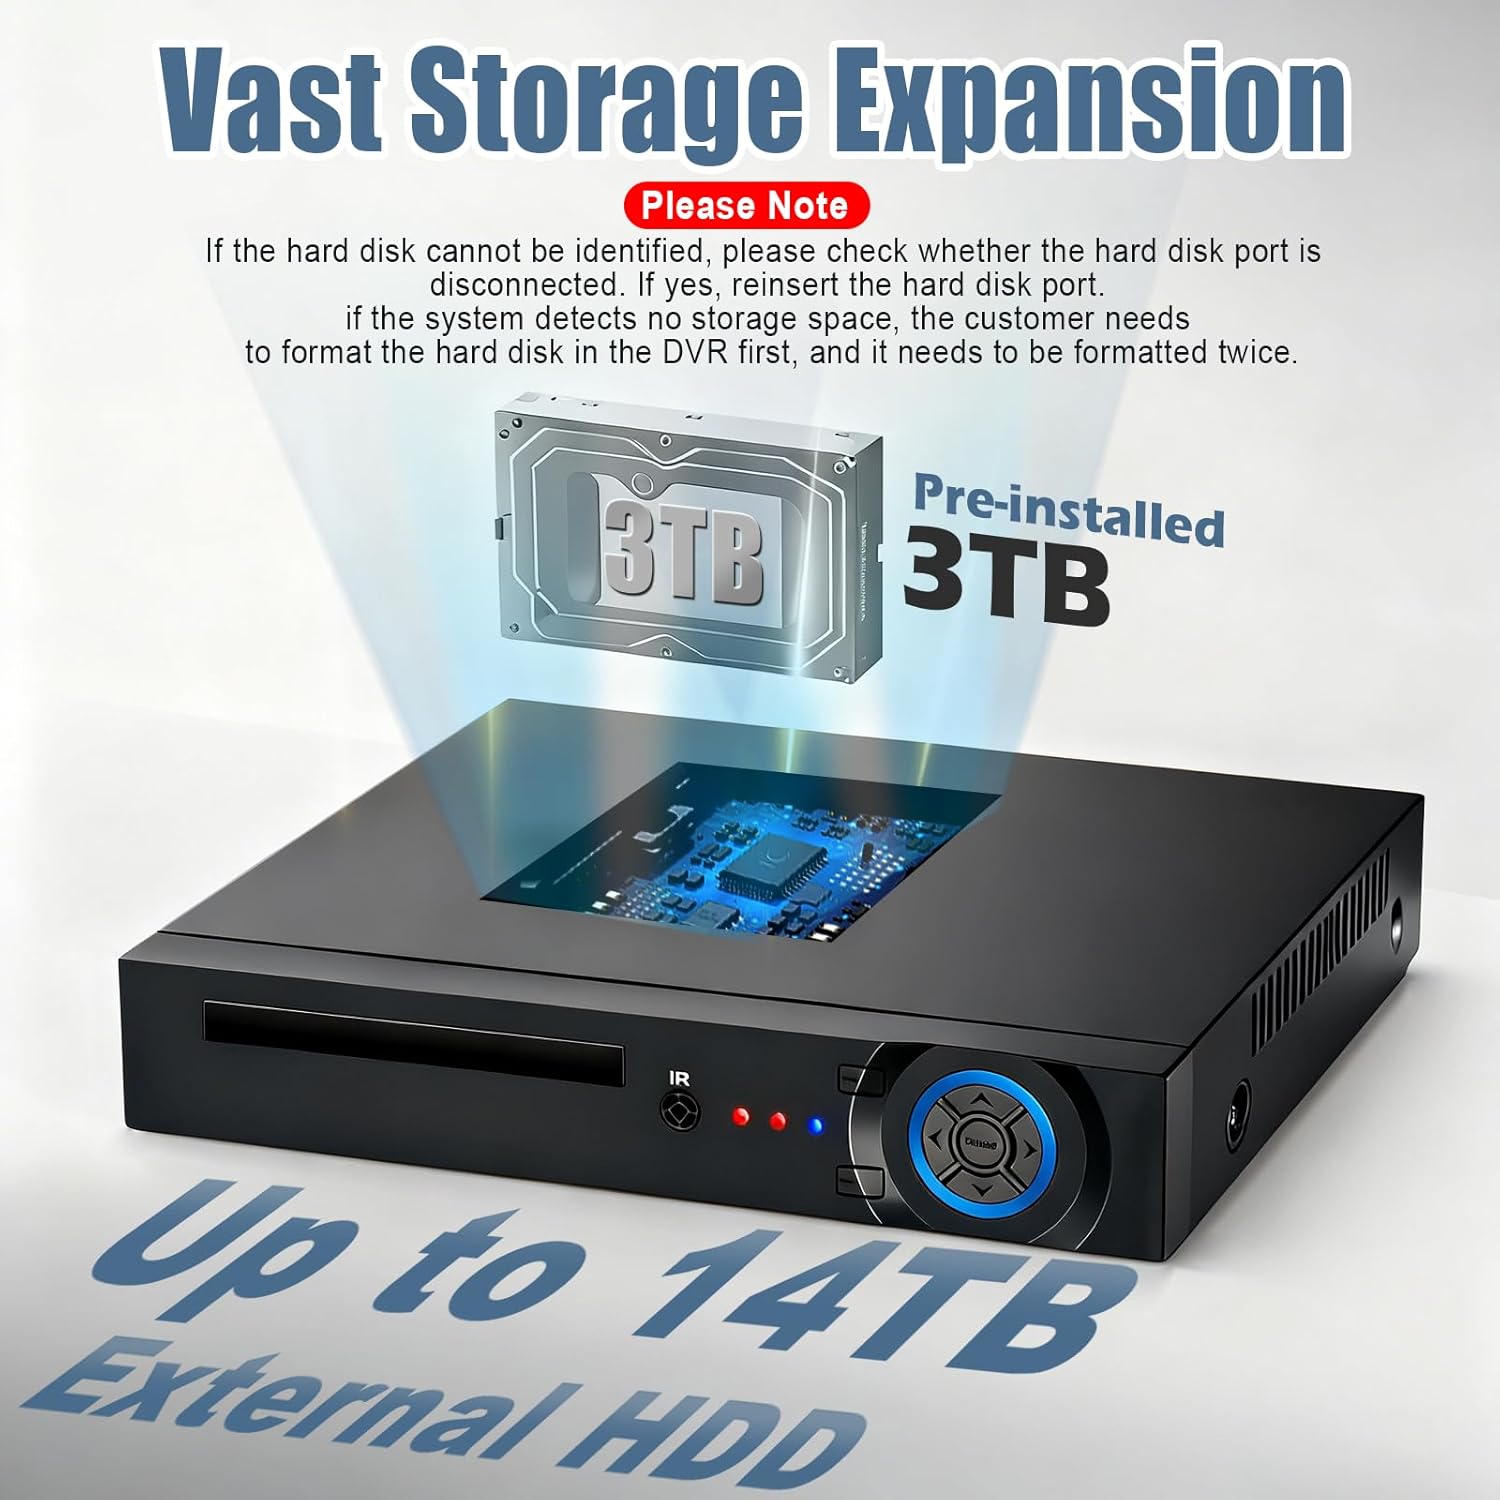
Image: Shows the DVR with a pre-installed 3TB hard drive and indicates support for up to 14TB external HDD expansion. Includes a note about troubleshooting hard drive identification and formatting.
5.2. System Updates:
Periodically check for firmware updates to ensure your DVR has the latest features and security enhancements. Updates can typically be found in the "Upgrade" section under "Advanced" in the main menu.
6. Problemų sprendimas
6.1. No Video Signal on Monitor:
- Patikrinkite kabelius: Ensure HDMI/VGA cables are securely connected to both the DVR and the monitor.
- Monitoriaus įvestis: Patikrinkite, ar monitorius nustatytas į teisingą įvesties šaltinį (HDMI/VGA).
- Suderinamumas: Confirm that your monitor and HDMI cable meet the required specifications (HDMI 1.6 or higher).
- Camera Power/Connection: Ensure cameras are powered on and correctly connected to the DVR's video input ports.
6.2. Remote Access Issues:
- Tinklo prisijungimas: Verify the DVR is connected to the internet via an Ethernet cable and that your router has an active internet connection.
- Prisijungimas prie programėlės: Ensure you are logged into the correct account on the mobile application.
- Įrenginys pridėtas: Confirm the DVR device has been successfully added to your mobile application.
- Ugniasienės / maršrutizatoriaus nustatymai: Check your router's firewall settings to ensure they are not blocking the DVR's access to the internet. Port forwarding may be required in some network configurations.
6.3. Hard Drive Not Detected/Recording:
- Fizinis ryšys: Power off the DVR, open the casing, and ensure the hard drive's data and power cables are securely connected.
- Formatavimas: Access the "Storage" menu in the DVR settings and format the hard drive. If issues persist, try formatting it a second time.
- Kietojo disko sveikata: If the issue continues, the hard drive may be faulty and require replacement.
7. Specifikacijos
| Funkcija | Specifikacija |
|---|---|
| Modelis | 16CH 5MP Hybrid 6-in-1 DVR |
| Vaizdo įrašų įėjimai | 16 Channels (AHD/TVI/CVI/CVBS/IP XVI) |
| Maksimali skiriamoji geba | 5MP (2592x1944 pixels) |
| Vaizdo įrašų suspaudimas | H.265 + |
| Kietojo disko dydis | 3 TB (iš anksto įdiegta) |
| Atminties talpa | Up to 14 TB (External HDD support) |
| Ryšio technologija | Ethernet |
| Suderinami įrenginiai | Cameras (AHD/TVI/CVI/CVBS/IP XVI) |
| AI funkcijos | Human Detection, Vehicle Detection |
| Nuotolinė prieiga | iOS/Android App (XMEye Pro, Icssee), PC (VMS) |
| Pakuotės matmenys | 11.18 x 7.87 x 1.96 colio |
| Prekės svoris | 2.4 svaro |
8. Garantija ir palaikymas
For warranty information and technical support, please refer to the documentation included with your product or visit the official KERUI websvetainę. Taip pat galite susisiekti tiesiogiai su pardavėju dėl pagalbos.
Grąžinimo politika: This product is eligible for a 30-day refund/replacement policy.
Apsaugos planai: Extended protection plans are available for purchase. Please refer to the product listing for details on 2-Year, 3-Year, and Complete Protect options.
Ask a question about this manual
Ask about setup, troubleshooting, compatibility, parts, safety, or missing instructions. Manuals+ will review the question and use this page’s manual context to help answer it.