1. Įvadas
This manual provides detailed instructions for the setup, operation, maintenance, and troubleshooting of your Gawfolk 24.5 Inch 300Hz Gaming Monitor, Model GF245C. This monitor features a 24.5-inch FHD 1080p VA panel, a 300Hz refresh rate, 1ms response time, Adaptive Sync technology, 98% sRGB color gamut, and low blue light/flicker-free technology for an enhanced viewpatirtį.
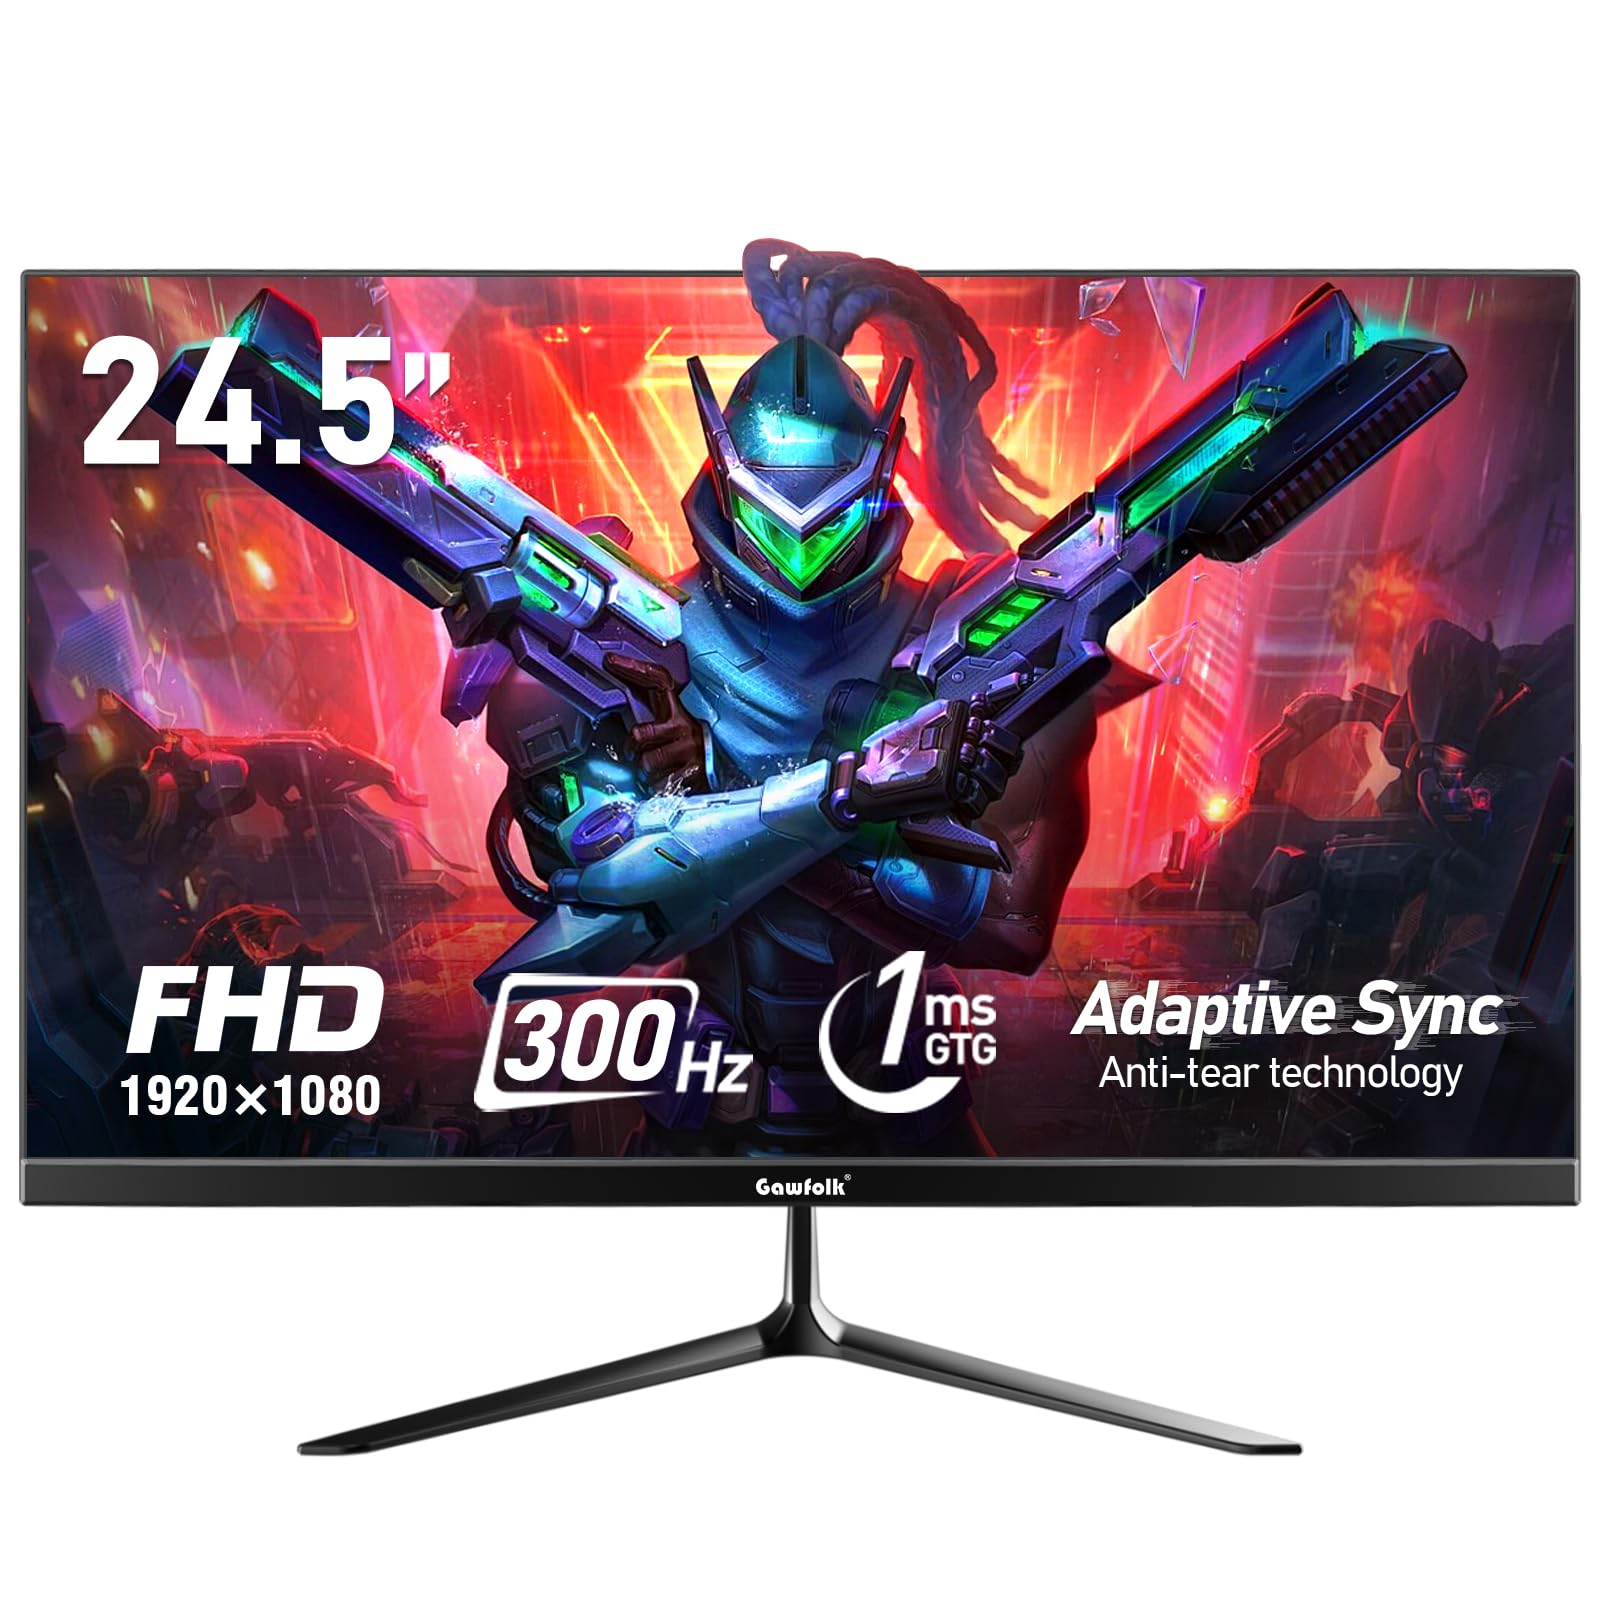
1 pav.: priekis view of the Gawfolk 24.5 Inch 300Hz Gaming Monitor.
2. Sąrankos instrukcijos
2.1 Pakuotės turinys
- Gawfolk 24.5 Inch Gaming Monitor
- Monitoriaus stovas (pagrindas ir kaklelis)
- Maitinimo adapteris
- DisplayPort (DP) kabelis
- Vartotojo vadovas
2.2 Stovo surinkimas
- Atsargiai išimkite monitoriaus ir stovo komponentus iš pakuotės.
- Pritvirtinkite stovo kaklelį prie monitoriaus skydelio naudodami pateiktus varžtus.
- Pritvirtinkite stovo pagrindą prie stovo kaklelio, pritvirtindami jį nurodytu varžtu.
- Surinktą monitorių padėkite ant stabilaus, lygaus paviršiaus.
2.3 Jungiamieji kabeliai
Prieš jungdami bet kokius įrenginius, įsitikinkite, kad monitorius ir kompiuteris yra išjungti.
- Maitinimo jungtis: Connect the power adapter to the monitor's DC input port, then plug the adapter into a power outlet.
- Vaizdo jungtis: Connect one end of the provided DisplayPort (DP) cable to the DP port on your computer's graphics card and the other end to the DP input on the monitor. Alternatively, use an HDMI cable to connect to an HDMI port.
- Garso išvestis: If desired, connect external speakers or headphones to the 3.5mm audio output port on the monitor.

Figure 2: Monitor dimensions and port layout.
2.4 Tvirtinimas prie sienos (pasirinktinai)
The monitor supports VESA wall mounting with a 75x75mm pattern. A wall mounting bracket is not included and must be purchased separately. Follow the instructions provided with your VESA mount for proper installation.

Figure 3: Monitor compatible with 75x75mm VESA wall mounting.
3. Naudojimo instrukcijos
3.1 Maitinimo įjungimas/išjungimas
- To power on the monitor, press the power button located on the back or bottom of the monitor.
- Norėdami išjungti, paspauskite ir palaikykite maitinimo mygtuką, kol ekranas išsijungs.
3.2 Ekrano meniu naršymas
The On-Screen Display (OSD) menu allows you to adjust various monitor settings. Use the joystick or buttons (location may vary slightly) on the back or bottom of the monitor to navigate the menu.
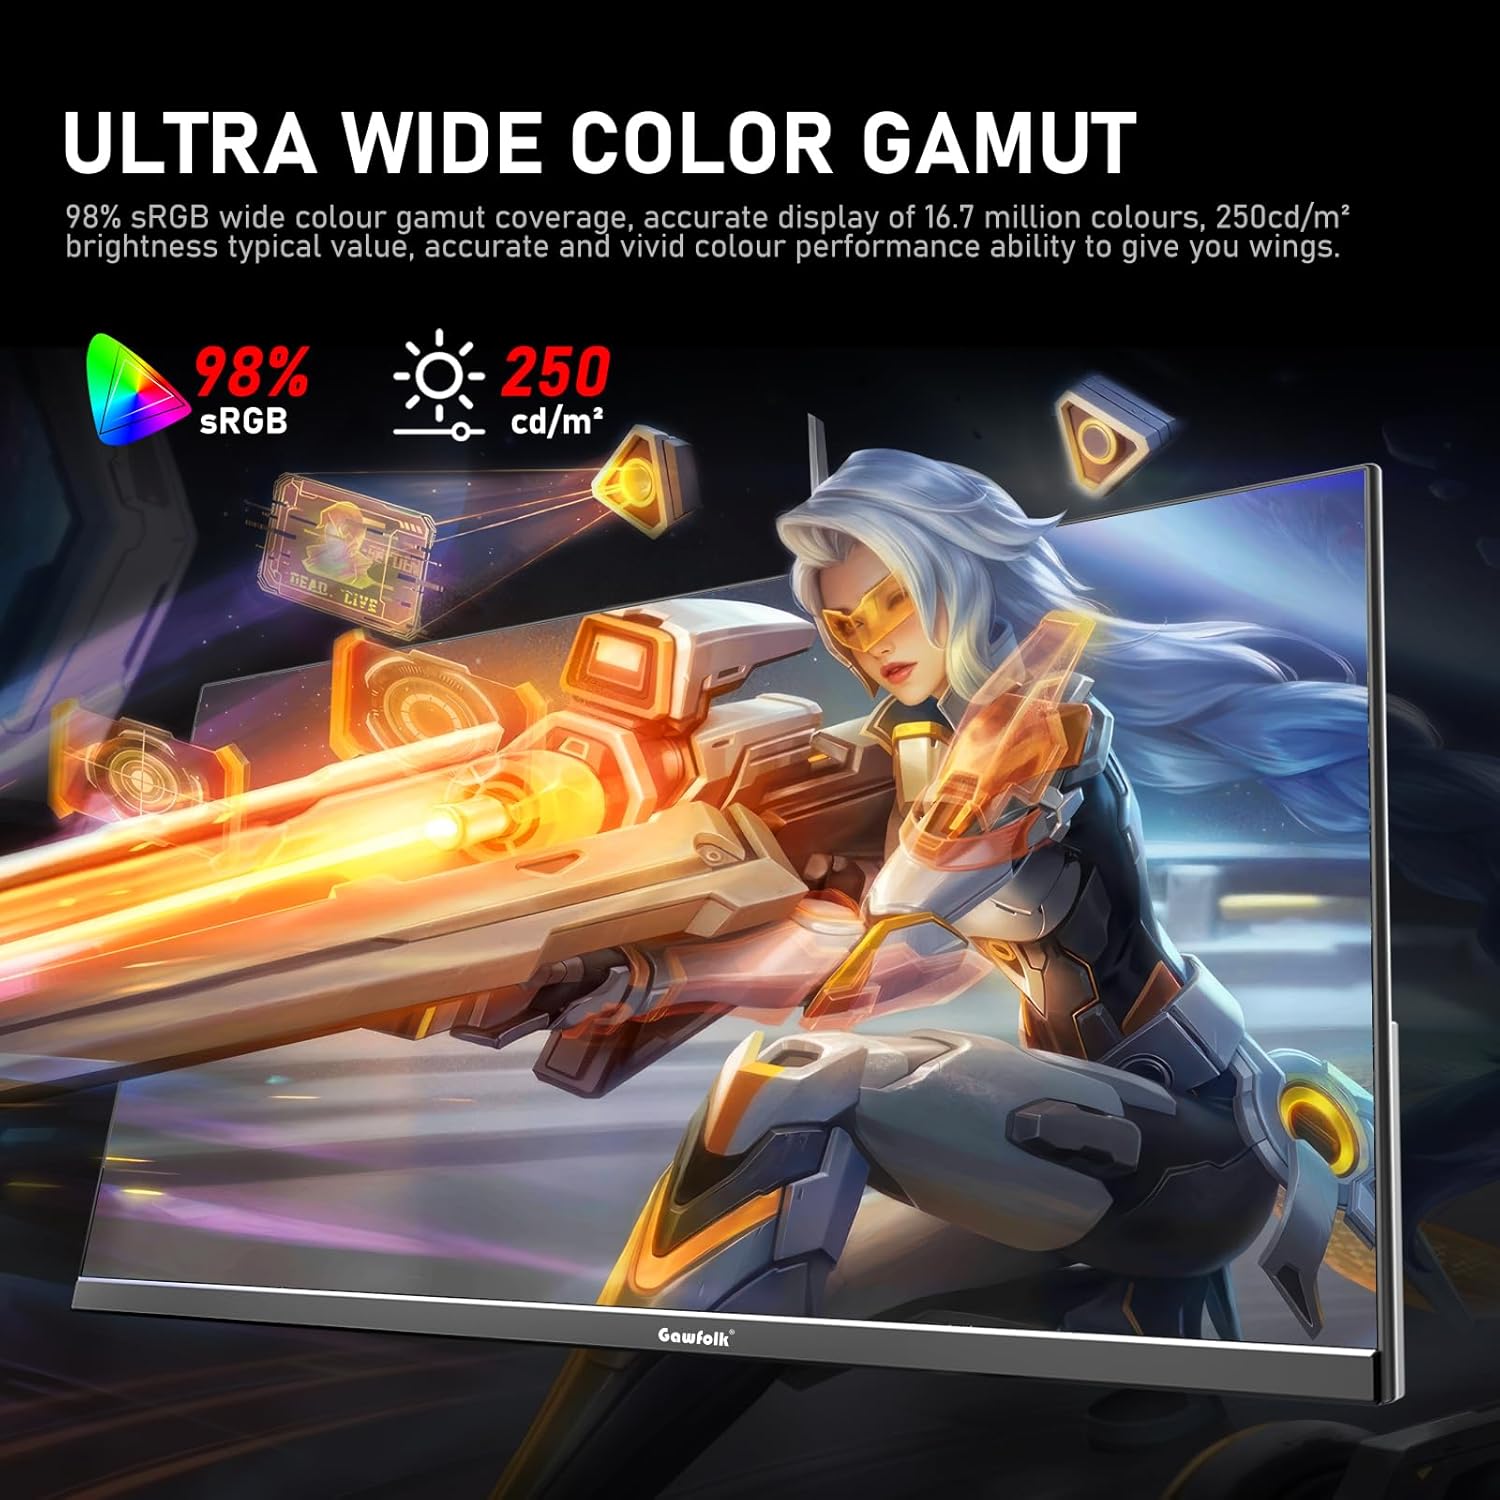
Figure 4: On-Screen Display (OSD) menu for monitor settings.
3.3 Įvesties pasirinkimas
Access the OSD menu and navigate to the 'Input' or 'Source' section to select between HDMI and DisplayPort inputs.
3.4 Ekrano nustatymų reguliavimas
- Ryškumas / kontrastas: Koreguokite šiuos nustatymus OSD meniu, kad jie atitiktų jūsų poreikius. viewaplinką.
- Spalvų nustatymai: Fine-tune color temperature, gamma, and other color parameters for optimal visual quality. The monitor supports 98% sRGB for rich colors.
- Atnaujinimo dažnis: The monitor supports up to 300Hz via DisplayPort and up to 120Hz via HDMI. To change the refresh rate, connect the monitor via the appropriate cable and adjust the display settings within your computer's operating system.

Figure 5: Connectivity options and refresh rate capabilities.
3.5 Adaptyvioji sinchronizavimo technologija
This monitor supports Adaptive Sync (FreeSync/G-Sync compatible) to minimize input latency and reduce screen tearing and stuttering during gaming and video playback. Ensure Adaptive Sync is enabled in both the monitor's OSD menu and your graphics card settings.

Figure 6: Visual demonstration of Adaptive Sync technology reducing screen tearing.
3.6 Low Blue Light and Flicker-Free
The monitor incorporates DC global dimming technology for a flicker-free display and a low blue light mode. Activate the low blue light mode in the OSD menu to reduce eye strain during prolonged use.

Figure 7: Illustration of Flicker-Free Technology for eye comfort.
4. Priežiūra
4.1 Monitoriaus valymas
- Prieš valydami visada išjunkite monitorių ir atjunkite jį nuo elektros tinklo.
- Lengvai naudokite minkštą, nepūkuotą audinį dampnuplaukite vandeniu arba švelniu, neabrazyviniu ekrano valikliu.
- Nepurkškite valiklio tiesiai ant ekrano.
- Venkite naudoti alkoholio, amoniako ar abrazyvinių valiklių, nes jie gali pažeisti ekrano paviršių.
4.2 Bendroji priežiūra
- Laikykite monitorių atokiau nuo tiesioginių saulės spindulių, per didelio karščio ir drėgmės.
- Užtikrinkite tinkamą vėdinimą aplink monitorių, kad jis neperkaistų.
- Venkite dėti sunkių daiktų ant monitoriaus ar jo laidų.
5. Problemų sprendimas
Jei kyla problemų dėl monitoriaus, žr. šiuos dažniausiai pasitaikančius sprendimus:
5.1 Nėra vaizdo / Juodas ekranas
- Įsitikinkite, kad maitinimo laidas yra tvirtai prijungtas tiek prie monitoriaus, tiek prie maitinimo lizdo.
- Verify that the video cable (DP or HDMI) is firmly connected to both the monitor and your computer.
- Patikrinkite, ar monitoriaus OSD meniu pasirinktas teisingas įvesties šaltinis.
- Iš naujo paleiskite kompiuterį.
- Jei įmanoma, išbandykite monitorių su kitu įrenginiu arba kabeliu, kad nustatytumėte problemą.
5.2 Mirgantis ekranas
- Ensure the video cable is securely connected. A loose connection can cause flickering.
- Check your graphics card drivers and update them if necessary.
- Disable Adaptive Sync in your graphics card settings and the monitor's OSD menu to see if the issue persists.
- Verify that the refresh rate is set correctly in your computer's display settings.
5.3 Image Quality Issues (Blurry, Distorted)
- Įsitikinkite, kad jūsų kompiuterio ekrano skiriamoji geba nustatyta pagal monitoriaus natūraliąją skiriamąją gebą (1920 x 1080).
- Adjust the brightness, contrast, and color settings in the OSD menu.
- If using an analog connection (not applicable for this monitor's inputs but general advice), ensure auto-adjustment is performed.
5.4 No Audio from Monitor Speakers/Audio Out
- Ensure the audio output is selected correctly in your computer's sound settings.
- Check the volume level on both the monitor (via OSD) and your computer.
- If using external speakers/headphones, ensure they are properly connected to the monitor's audio output.
6. Specifikacijos
| Funkcija | Specifikacija |
|---|---|
| Prekės ženklas | Gawfolk |
| Modelio numeris | GF245C |
| Ekrano dydis | 24.5 colių |
| Rezoliucija | FHD 1080p (1920 x 1080 pikselių) |
| Krašto santykis | 16:9 |
| Atnaujinimo dažnis | 300 Hz (DP), 120 Hz (HDMI) |
| Reagavimo laikas | 1 milisekundė (GTG) |
| Ekrano technologija | VA skydelis |
| Viewing kampas | 178 laipsnių |
| Ryškumas | 250 kandelų |
| Spalvų gama | 98% sRGB |
| Kontrasto santykis | 3500:1 |
| Ryšys | DisplayPort, HDMI, 3.5mm Audio Out |
| Adaptyvusis sinchronizavimas | FreeSync, G-Sync Compatible |
| Papildomos funkcijos | Flicker-Free, Low Blue Light, Frameless Design |
| Montavimo tipas | Desk Mount, VESA Wall Mount (75x75MM) |
| Elemento matmenys (D x P x A) | 6.42 "D x 21.93" P x 15.75" A |
| Prekės svoris | 3.48 kilogramo |
7. Garantija ir palaikymas
7.1 Informacija apie garantiją
The Gawfolk 24.5 Inch 300Hz Gaming Monitor (Model GF245C) comes with a vienerių metų garantija covering quality problems from the date of purchase.
7.2 Aptarnavimas po pardavimo
Mes teikiame a 12 mėnesių aptarnavimas po pardavimo. If you encounter any problems when using the monitor, please communicate with us in a timely manner for assistance. For support, please refer to the contact information provided with your purchase or visit the official Gawfolk websvetainę.