
1. Įvadas
Thank you for choosing the DIYtoolifz Cordless Grease Gun. This manual provides essential information for the safe and efficient operation, maintenance, and troubleshooting of your new tool. Please read this manual thoroughly before initial use and retain it for future reference.
2. Saugos informacija
WARNING: Always wear appropriate personal protective equipment (PPE), including safety glasses and gloves, when operating the grease gun.
- Užtikrinkite, kad darbo vieta būtų gerai apšviesta ir be kliūčių.
- Do not operate the grease gun near flammable materials or in explosive atmospheres.
- Always disconnect the battery pack before performing any adjustments, changing accessories, or storing the tool.
- Use only recommended grease types (NLGI #0, #1, #2).
- Rankas ir drabužius laikykite toliau nuo judančių dalių.
- Do not point the grease gun nozzle at yourself or others. High-pressure grease can penetrate skin and cause serious injury. Seek immediate medical attention if skin penetration occurs.
- Store the tool and accessories in a secure, dry place, out of reach of children.
3. Sąranka
3.1. Akumuliatoriaus įdėjimas
This grease gun is compatible with DeWalt 20V battery packs (e.g., DCB204, DCB205, DCB206, DCB208). For optimal performance and sustained 12,000 PSI pressure, a 4.0Ah or higher capacity battery is recommended. (Battery and charger are not included).

Figure 3.1: Battery compatibility and recommendations.
3.2. Loading Grease
The grease gun supports both 14 oz standard grease cartridges and bulk grease loading.
- To load a cartridge: Unscrew the barrel from the gun head. Insert a 14 oz grease cartridge, ensuring the pull-tab is removed. Reattach the barrel securely.
- To load bulk grease: Unscrew the barrel. Use a spatula or similar tool to fill the barrel with bulk grease. Ensure the plunger is fully retracted before filling. Reattach the barrel securely.

Figure 3.2: Dual loading system for cartridge and bulk grease.
3.3. Oro valymas
Before first use or after changing grease, it is crucial to purge air from the system to ensure proper operation.
- Loosen the air bleed valve (typically a small knob near the hose connection) by rotating it counter-clockwise approximately two turns.
- Press the trigger until grease (not air) begins to emerge from the nozzle.
- Firmly close the air bleed valve by rotating it clockwise.
Video 3.1: This video demonstrates the proper installation of a grease cartridge, purging air from the system, and basic operation of the cordless grease gun.
3.4. Attaching Hose and Couplers
The grease gun comes with a 39.4-inch flexible hose and four versatile couplers (90°, lock-on, pointed tip, standard) to suit various greasing needs.
- Screw the flexible hose securely onto the grease gun's outlet.
- Select the appropriate coupler for your application and attach it to the end of the flexible hose. Ensure a tight connection to prevent leaks.

Figure 3.3: The 39.4-inch flexible hose allows access to hard-to-reach fittings.

Figure 3.4: The four versatile couplers for different greasing programos.
4. Naudojimo instrukcijos
4.1. Rankenos reguliavimas
The 2-in-1 rotating handle allows for quick switching between a pistol grip for precision in tight spaces and a straight grip for extended reach and leverage.
- To adjust, locate the handle rotation mechanism.
- Rotate the handle to the desired position (pistol or straight) until it locks securely into place.

Figure 4.1: The 2-in-1 rotating handle for versatile grip options.
4.2. LED darbo žibinto naudojimas
The built-in LED work light illuminates dark or hard-to-reach areas, ensuring precise lubrication.
- LED lemputė įsijungia automatiškai, kai paspaudžiamas gaidukas.
- Position the grease gun to direct the light onto the fitting you intend to grease.

Figure 4.2: Built-in LED light for illuminating work areas.
4.3. Greasing Procedure
- Įsitikinkite, kad akumuliatorius įkrautas ir tinkamai sumontuotas.
- Attach the appropriate coupler to the grease fitting. For lock-on couplers, align the coupler over the fitting, press the levers until it clicks, then pull the trigger. To disconnect, press the levers again.
- Press the trigger to dispense grease. The gun delivers a fast 8 oz/min flow rate and up to 12,000 PSI pressure.
- Release the trigger when the desired amount of grease has been applied.
4.1 vaizdo įrašas: metimas per sekundęview vaizdo demonstracijaasing the DIYtoolifz cordless grease gun's features, including its compatibility with DeWalt 20V batteries, high-pressure output, and ease of use in various applications.
5. Priežiūra
5.1. Valymas
- Regularly wipe down the grease gun and hose with a clean cloth to remove excess grease and debris.
- Clean couplers after each use to prevent clogging and ensure proper connection.
5.2. Sandėliavimas
Store the grease gun and its accessories in the provided sturdy hard carrying case. This protects the tool from damage and keeps all components organized.
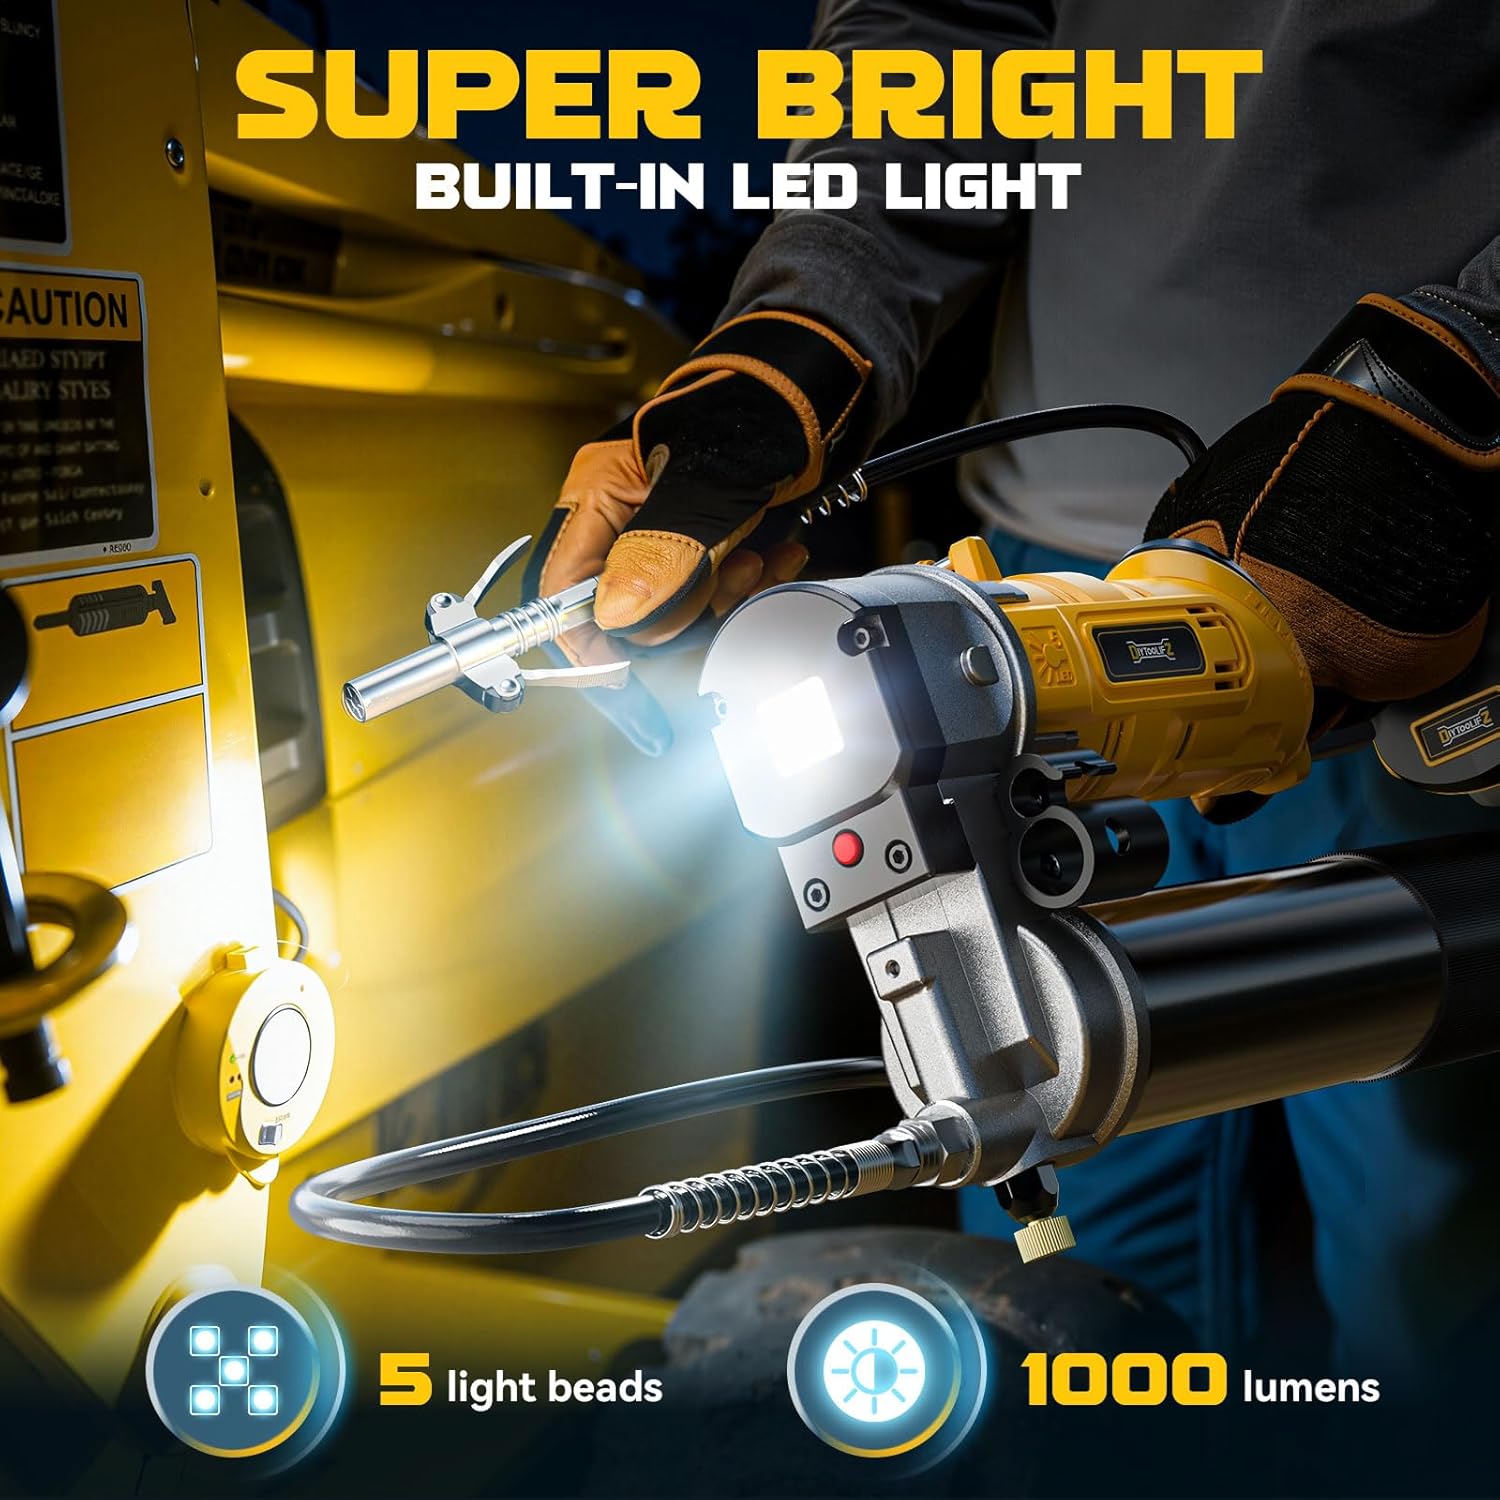
Figure 5.1: The custom-fitted hard carrying case for organized storage.
6. Problemų sprendimas
| Problema | Galima priežastis | Sprendimas |
|---|---|---|
| Neišleidžiami riebalai | Oras sistemoje | Purge air from the system (refer to Section 3.3). |
| Empty grease cartridge/barrel | Replace cartridge or refill with bulk grease. | |
| Clogged nozzle or coupler | Clean or replace the nozzle/coupler. | |
| Silpnas riebalų srautas | Žemas akumuliatoriaus įkrovimas | Įkraukite arba pakeiskite bateriją. |
| Incorrect grease type | Ensure compatible grease (NLGI #0, #1, #2) is used. | |
| Grease leaks from connections | Loose hose or coupler connection | Tvirtai priveržkite visas jungtis. |
| Damaged hose or coupler | Pakeiskite pažeistus komponentus. |
7. Specifikacijos
| Funkcija | Specifikacija |
|---|---|
| Prekės ženklas | „Pasidaryk pats“ įrankiai |
| Modelis | Elektrinis tepimo pistoletas |
| Suderinamumas | DeWalt 20V Battery (Tool Only) |
| Maksimalus slėgis | 12,000 PSI |
| Srauto greitis | 8 oz/min |
| Tepalo talpa | 14 oz Cartridge / Bulk Grease |
| Grease Type Compatibility | NLGI #0, #1, #2 |
| Žarnos ilgis | 39.4 colių |
| Savybės | 2-in-1 Rotating Handle, LED Work Light, Shoulder Strap, Hard Carrying Case |
| Prekės svoris | 10.65 svaro |
| Pakuotės matmenys | 17.32 x 13.7 x 5.16 colio |
8. Garantija ir palaikymas
For warranty information, technical support, or to purchase replacement parts, please refer to the contact information provided with your product packaging or visit the official DIYtoolifz websvetainėje. Išsaugokite pirkimo kvitą kaip pirkimo įrodymą.