
1. Įvadas
This manual provides detailed instructions for the safe and effective operation, maintenance, and troubleshooting of your Ralcam Articulating Borescope Endoscope Camera. Please read this manual thoroughly before using the device to ensure optimal performance and longevity.

Image 1.1: Ralcam Articulating Borescope Endoscope Camera with its carrying case and flexible probe.
2. Svarbi saugos informacija
Kad išvengtumėte sužalojimų ar įrenginio sugadinimo, visada laikykitės šių saugos priemonių:
- Nebandykite ardyti ar modifikuoti įrenginio.
- Laikykite prietaisą atokiau nuo ekstremalių temperatūrų, tiesioginių saulės spindulių ir korozinių skysčių.
- Ensure the probe is clean and dry before and after use, especially when inspecting wet environments.
- Nenaudokite prietaiso aplinkoje, kurioje yra degių ar sprogių dujų.
- Laikyti vaikams nepasiekiamoje vietoje.
- The probe is designed for inspection purposes only; do not use it to manipulate objects or for medical applications.
3. Pakuotės turinys
Patikrinkite, ar pakuotėje yra visi reikalingi daiktai:
- 1x Ralcam Articulating Borescope Unit
- 1x USB-C įkrovimo laidas
- 1x nešiojimo dėklas
- 1x 32GB TF Card (pre-installed or separate)
- 1x vartotojo vadovas

Image 3.1: The complete packing list, showing the borescope, charging cable, carrying case, and 32GB TF card.
4. Produktas baigtasview
The Ralcam Articulating Borescope is designed for detailed visual inspection in hard-to-reach areas. Key features include:
- 4.3 colių HD IPS ekranas: Provides clear, real-time images and videos.
- 210° Dual-Direction Articulating Probe: Allows flexible navigation and viewkampų.
- 6.2mm Diameter Probe: Enables access into narrow openings.
- 6 Adjustable LEDs: Illuminates dark inspection areas with customizable brightness.
- IP67 vandeniui atsparus zondas: Suitable for use in wet or submerged conditions.
- Apsauga nuo aukštos temperatūros: Automatically shuts off if the probe exceeds 90°C.
Pagrindiniai komponentai

Image 4.1: The 210° dual-direction bendable probe, demonstrating its ability to navigate and inspect various angles within confined spaces.

Image 4.2: The 4.3-inch 1280x720 HD IPS display, highlighting its clear and detailed image reproduction.

Image 4.3: The slim 6.2mm diameter micro camera probe, shown next to a penny to illustrate its compact size for accessing tight areas.

Image 4.4: An illustration of the 1280x720P HD pixel camera, emphasizing its capability for clear and detailed imaging.
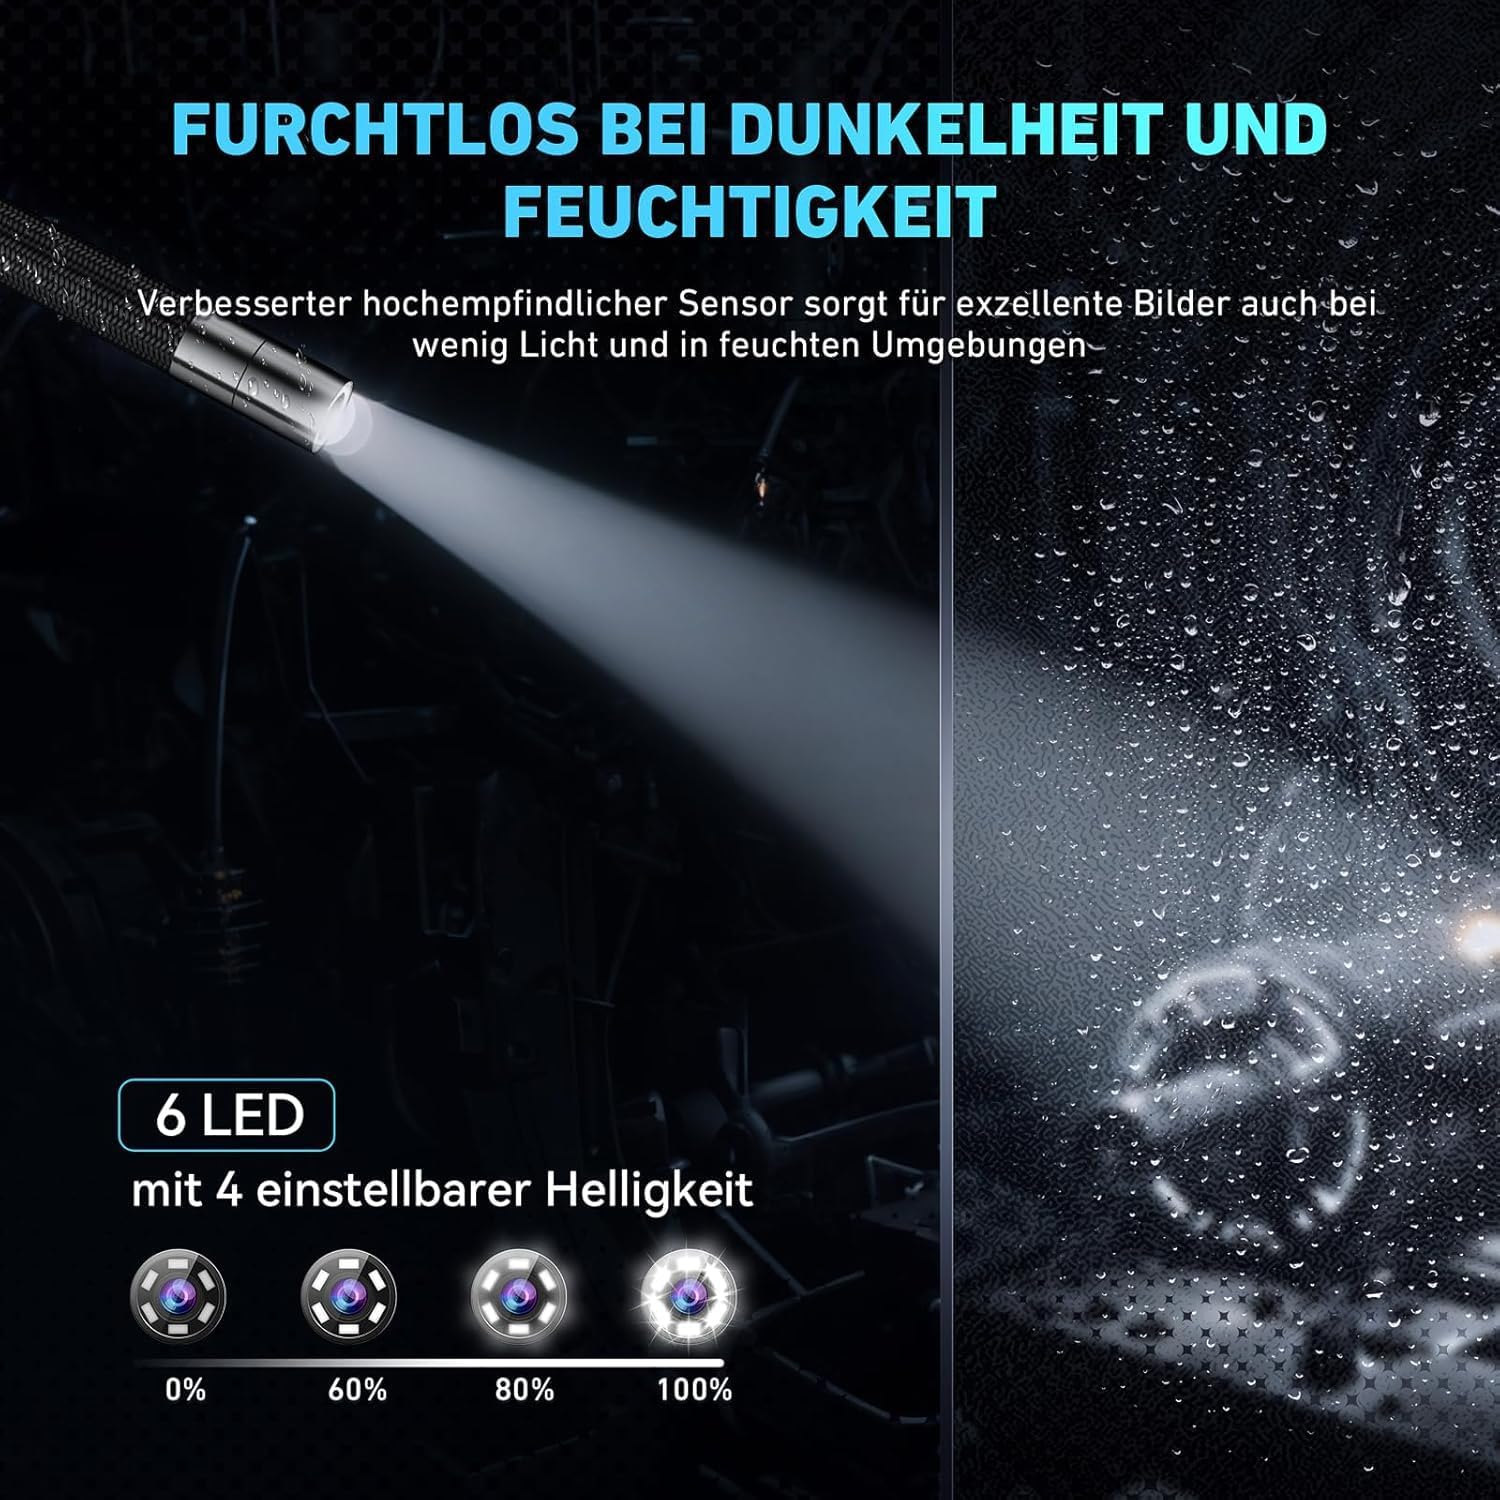
Image 4.5: The probe tip equipped with 6 adjustable LEDs, demonstrating various brightness settings for optimal visibility in dark conditions.

Image 4.6: The IP67 waterproof probe, shown in a water environment to illustrate its resistance to liquids.
5. Sąranka
5.1 Įrenginio įkrovimas
Before first use, fully charge the borescope. Connect the provided USB-C charging cable to the device's USB-C port and the other end to a standard USB power adapter (not included) or a computer's USB port. The charging indicator will show the charging status. A full charge provides up to 3 hours of continuous use.

Image 5.1: The borescope being charged via its USB-C port, also indicating its capability for data transfer to a PC.
5.2 Atminties kortelės įdėjimas
The device comes with a 32GB TF card. Locate the TF card slot, usually on the side of the main unit. Insert the TF card with the gold contacts facing down until it clicks into place. To remove, gently push the card in until it springs out.

Image 5.2: The memory card slot and the included 32GB TF card, showing its capacity for storing images and videos.
5.3 Įjungimas / išjungimas
Press and hold the power button (usually marked with a power symbol) for a few seconds to turn the device on. The screen will light up. To turn off, press and hold the power button again until the screen shuts down.
6. Naudojimo instrukcijos
6.1 Sąsajos naršymas
The borescope features a user-friendly interface with several buttons for control:
- Maitinimo mygtukas: Įjungia/išjungia įrenginį.
- OK/Capture Button: Confirms selections or captures photos/starts/stops video recording.
- Meniu mygtukas: Pasiekia nustatymus ir parinktis.
- Mygtukai aukštyn / žemyn / kairėn / dešinėn: Naršo meniu ir koreguoja nustatymus.
6.2 Adjusting Probe Articulation
The 210° dual-direction articulation is controlled by a joystick or wheel on the handle. Move the control to bend the probe tip in the desired direction, allowing you to inspect various angles without repositioning the entire cable.

Image 6.1: The flexible, tungsten-braided probe demonstrating its 210° rotation capability for comprehensive inspection.
6.3 LED ryškumo reguliavimas
Press the LED brightness button (often marked with a light bulb icon) to cycle through different brightness levels for the 6 LEDs on the probe tip. Adjust as needed for optimal illumination in various inspection environments.
6.4 Nuotraukų ir vaizdo įrašų darymas
Nors viewgyvas footage, press the OK/Capture button once to take a photo. To record a video, press and hold the OK/Capture button for a few seconds; press again to stop recording. All captured media will be saved to the inserted TF card.
6.5 High-Temperature Protection
The borescope is equipped with a high-temperature protection feature. If the probe temperature exceeds 90°C, the device will automatically shut down to prevent damage. Allow the probe to cool down before resuming operation. Normal operating temperature range is -10°C to +50°C, with a warning at 80°C.

Image 6.2: The borescope's unique temperature protection technology, showing a warning on the screen when the probe temperature approaches 90°C.
7. Priežiūra
7.1 Zondo ir sieto valymas
- Zondas: After each use, especially in dirty or wet environments, gently wipe the probe tip and cable with a soft, damp cloth. For stubborn grime, use a mild, non-abrasive cleaner. Ensure the probe is completely dry before storage.
- Ekranas: Use a soft, lint-free cloth to clean the display screen. Do not use harsh chemicals or abrasive materials that could scratch the screen.
7.2 Saugykla
Store the borescope and its accessories in the provided carrying case in a cool, dry place, away from direct sunlight and extreme temperatures. Ensure the probe cable is coiled loosely and not kinked.
8. Problemų sprendimas
If you encounter issues with your Ralcam borescope, refer to the table below for common problems and solutions:
| Problema | Galima priežastis | Sprendimas |
|---|---|---|
| Įrenginys neįsijungia | Išsikrovęs akumuliatorius; netinkamai paspaustas maitinimo mygtukas | Charge the device fully; Press and hold the power button for several seconds |
| Ekrane nėra vaizdo | Probe cable not connected securely; Device malfunction | Ensure probe cable is firmly connected; Contact customer support if issue persists |
| Vaizdas neryškus arba tamsus | LED brightness too low; Lens dirty; Insufficient light | Adjust LED brightness; Clean the probe lens; Ensure adequate ambient light if possible |
| Nepavyksta išsaugoti nuotraukų / vaizdo įrašų | TF card full or not inserted; TF card error | Check TF card insertion; Delete old files or replace card; Format TF card (backup data first) |
| Probe articulation not working | Mechanism jammed; Damage to probe cable | Do not force articulation; Inspect cable for damage; Contact customer support |
| Device shuts down unexpectedly | High-temperature protection activated; Low battery | Allow probe to cool down; Recharge the device |
9. Techninės specifikacijos
| Funkcija | Specifikacija |
|---|---|
| Modelio pavadinimas | Articulating Borescope 6.2mm |
| Ekrano dydis | 4.3 colių |
| Ekrano raiška | 1280x720 HD IPS ekranas |
| Zondo skersmuo | 6.2 mm |
| Probe Articulation | 210° Dual-Direction |
| Zondo kabelio ilgis | 1 Meter (Semi-Rigid) |
| šviesos diodai | 6 Adjustable High-Intensity LEDs |
| Atsparumas vandeniui | IP67 (zondas) |
| Baterija | 2200mAh Rechargeable (up to 3 hours operation) |
| Darbinė temperatūra | -10°C to +50°C (Warning at 80°C, Shutdown at 90°C) |
| Sandėliavimas | Supports 32GB TF Card (included) |
| Prekės svoris | 2.23 svaro |
| Pakuotės matmenys | 12.44 x 8.66 x 3.03 colio |
10. Garantija ir klientų aptarnavimas
Ralcam offers a 12 mėnesių garantija for this Articulating Borescope Endoscope Camera. This warranty covers manufacturing defects and issues arising from normal use.
For technical assistance, warranty claims, or any questions regarding your device, please contact Ralcam customer support through the retailer's platform or the contact information provided with your purchase. Please have your model number and purchase date ready when contacting support.