
1. Įvadas
This manual provides detailed instructions for the setup, operation, and maintenance of your new Indoor Security Camera. This device is designed to enhance home security and provide monitoring capabilities for various needs, including baby, pet, and elderly care. Please read this manual thoroughly before using the product to ensure proper function and safety.
2. Produktas baigtasview
The Indoor Security Camera features a compact design with advanced functionalities for comprehensive indoor surveillance. It includes pan and tilt capabilities, two-way audio, night vision, and intelligent motion detection.

2.1 Pakuotės turinys
- Vidinė apsaugos kamera
- Maitinimo adapteris
- Tvirtinimo rinkinys (varžtai, sieniniai kaiščiai)
- Vartotojo vadovas
3. Pagrindinės savybės
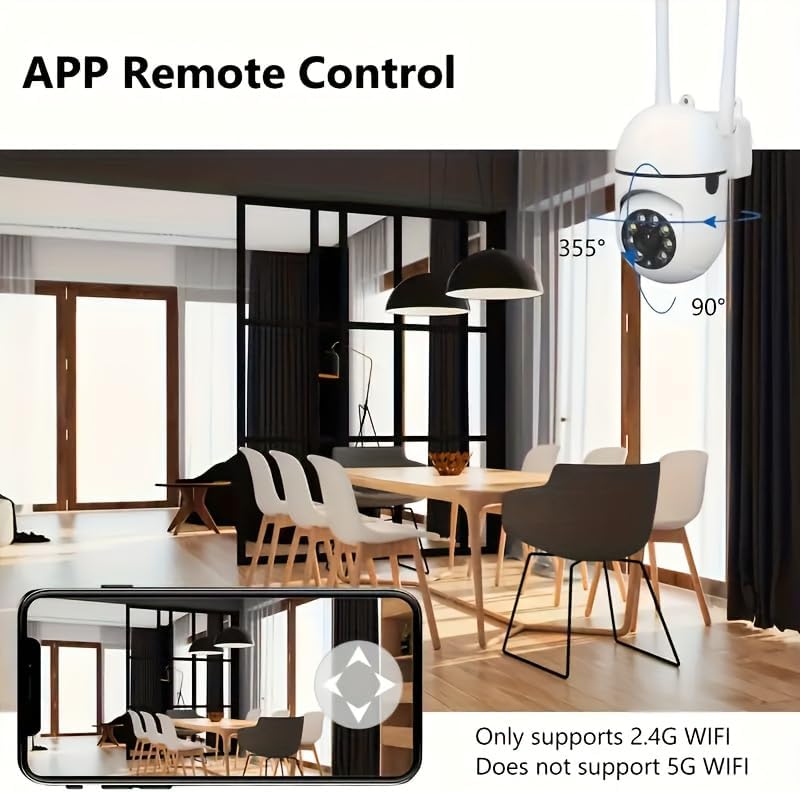
- 355° pasukimas ir 90° pakreipimas: Nuotoliniu būdu valdyti kamerą viewing angle to cover a wide area.
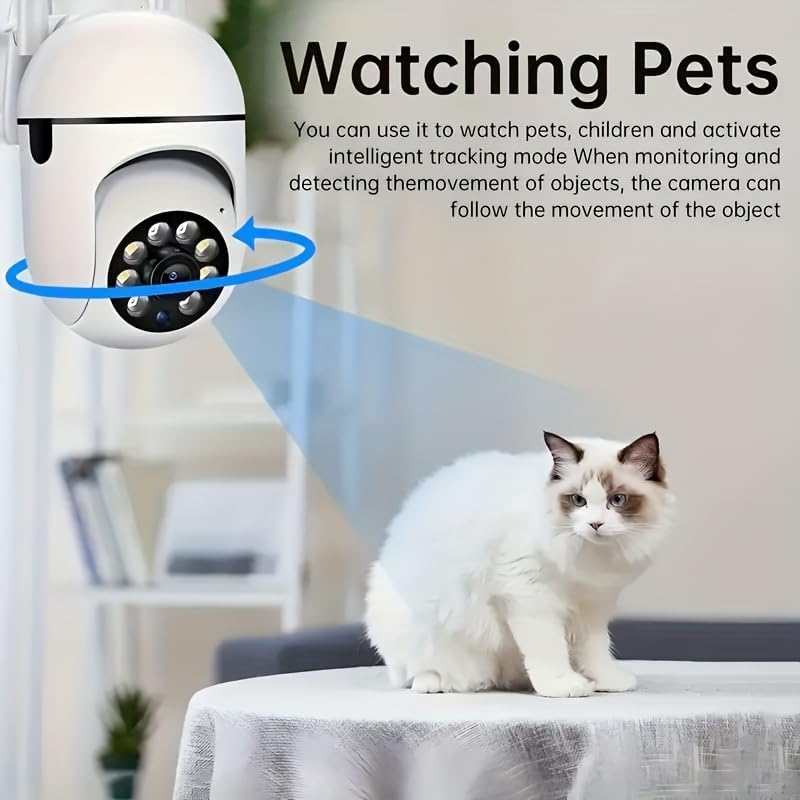
- AI Motion Detection & Human Tracking: Intelligently detects human movement and can automatically track the subject.
- Dvipusis garsas: Integruotas mikrofonas ir garsiakalbis leidžia bendrauti realiuoju laiku.
- Naktinis matymas: Provides clear video monitoring in low-light or no-light conditions.
- 2.4 GHz Wi-Fi ryšys: Connects to your home network for remote access (Note: 5GHz Wi-Fi is not supported).
- Multi-person Sharing: Allows multiple authorized users to view live streams simultaneously.


4. Sąrankos vadovas
4.1 Įjungimas
- Prijunkite maitinimo adapterį prie fotoaparato maitinimo įvesties prievado.
- Įjunkite maitinimo adapterį į standartinį elektros lizdą.
- The camera will power on, and an indicator light will typically flash, indicating it is ready for setup.
4.2 Programėlės atsisiuntimas ir įdiegimas
Ieškokite the companion application (e.g., 'Smart Home Cam' or similar, refer to packaging for exact name) in your device's app store (App Store for iOS, Google Play Store for Android) and install it.
4.3 Prisijungimas prie „Wi-Fi“.
- Atidarykite įdiegtą programą savo išmaniajame telefone.
- Susikurkite naują paskyrą arba prisijunkite, jei ją jau turite.
- Follow the in-app instructions to add a new device. This usually involves scanning a QR code on the camera or selecting the camera model from a list.
- When prompted, select your 2.4 GHz „Wi-Fi“ tinklas ir įveskite slaptažodį. Ensure your phone is also connected to the 2.4GHz network during setup.
- The camera will connect to your Wi-Fi network. A solid indicator light usually signifies a successful connection.
4.4 Kameros montavimas (pasirinktinai)
If you wish to mount the camera on a wall or ceiling:
- Choose a suitable location with a clear view and within range of your Wi-Fi signal.
- Use the provided mounting template (if included) to mark screw positions.
- Drill pilot holes and insert wall plugs if mounting into drywall.
- Secure the mounting bracket (if applicable) with screws.
- Pritvirtinkite fotoaparatą prie tvirtinimo laikiklio.
5. Naudojimo instrukcijos
5.1 Tiesiogiai View
Once connected, open the app and select your camera to view the live feed. You can pinch to zoom or rotate your phone for a full-screen view.
5.2 Pakreipimo ir pasukimo valdymas
Tiesioginiame eteryje view screen, use the directional controls (often a joystick-like interface) within the app to remotely pan (horizontal movement) and tilt (vertical movement) the camera lens.
5.3 Dvipusis garsas
To use two-way audio, tap the microphone icon in the app. Speak into your phone, and your voice will be transmitted through the camera's speaker. Tap the speaker icon to listen to audio from the camera's location.
5.4 Judesio aptikimas ir įspėjimai
- Programėlėje eikite į kameros nustatymus.
- Locate the 'Motion Detection' or 'Alarm Settings' section.
- Enable motion detection and adjust sensitivity levels as needed.
- Configure alert notifications (e.g., push notifications to your phone).
- Enable 'Human Tracking' if available, to have the camera follow detected human movement.
5.5 Įrašymas ir atkūrimas
The camera typically supports local storage via a microSD card (not included) or cloud storage (subscription may be required). Refer to the app for specific recording and playback options.
- Vietinis įrašas: Insert a microSD card (up to 128GB, Class 10 recommended) into the camera's slot. Recordings will be stored on the card.
- Atkūrimas: Prieiga įrašyta footage through the 'Playback' or 'History' section in the app.
5.6 Įrenginio prieigos bendrinimas
To allow other users to view your camera's feed:
- In the app, go to the camera settings.
- Find the 'Share Device' or 'Invite Members' option.
- Follow the instructions to invite other users, typically by entering their account ID or scanning a QR code.
6. Priežiūra
6.1 Kameros valymas
Norėdami išlaikyti optimalų veikimą, periodiškai valykite fotoaparato objektyvą ir korpusą minkštu, sausu skudurėliu. Venkite naudoti stiprias chemines medžiagas ar abrazyvines medžiagas.
6.2 Firmware atnaujinimai
Regularly check for firmware updates through the camera's settings in the app. Firmware updates can improve performance, add new features, and enhance security.
6.3 Saugojimo valdymas
Jei naudojate „microSD“ kortelę, periodiškai ją peržiūrėkiteview ir tvarkyti saugomą maistątage. You may need to format the card occasionally to ensure continuous recording and optimal performance.
7. Problemų sprendimas
| Problema | Galima priežastis | Sprendimas |
|---|---|---|
| Kamera neįsijungia | Power adapter not connected; faulty outlet | Ensure power adapter is securely connected; try a different outlet. |
| Nepavyksta prisijungti prie „Wi-Fi“. | Incorrect Wi-Fi password; 5GHz network selected; camera too far from router | Verify Wi-Fi password; ensure you are connecting to a 2.4GHz network; move camera closer to the router. |
| Prasta vaizdo kokybė | Weak Wi-Fi signal; dirty lens | Improve Wi-Fi signal strength; clean the camera lens. |
| Neveikia dvipusis garsas | Microphone/speaker muted in app; app permissions | Check app settings to ensure audio is enabled; verify app has microphone permissions on your phone. |
| Judesio įspėjimai negaunami | Judesio aptikimas išjungtas; programėlės pranešimai išjungti; neteisingas jautrumas | Enable motion detection and notifications in app settings; adjust sensitivity. |
7.1 Fotoaparato nustatymas iš naujo
If you encounter persistent issues, you may need to reset the camera to its factory settings. Locate the reset button (often a small pinhole) on the camera. Use a pin or paperclip to press and hold the button for approximately 5-10 seconds until the camera indicates a reset (e.g., a voice prompt or indicator light change). After resetting, you will need to set up the camera again from scratch.
8. Specifikacijos
- Pan diapazonas: 355°
- Pakreipkite Range: 90°
- Ryšys: Wi-Fi 2.4GHz (IEEE802.11b/g/n)
- Saugykla: „MicroSD“ kortelė (iki 128 GB, nepridedama)
- Maitinimo įvestis: DC 5V/1A (typical)
- Naktinis matymas: Infraraudonieji šviesos diodai
- Garsas: Two-way (built-in microphone and speaker)
- Darbinė temperatūra: nuo 0°C iki 50°C (32°F iki 122°F)
9. Garantija ir palaikymas
This product comes with a standard manufacturer's warranty. Please refer to the product packaging or the retailer's website for specific warranty terms and conditions. For technical support or further assistance, please contact the customer service provided by your retailer or the product manufacturer.