
1. Įvadas
This manual provides comprehensive instructions for the installation, operation, and maintenance of your Anlapus 3MP 2K Window Camera. This camera is designed for indoor security, offering 2K resolution, night vision, AI human/vehicle detection, two-way talk, and flexible magnetic setup for monitoring outdoor areas through a window.
2. Pakuotės turinys
Patikrinkite pakuotę, ar joje yra šie daiktai:
- Anlapus 3MP 2K Window Camera
- USB Power Cable (long)
- Maitinimo adapteris
- Magnetic Mounting Brackets (various types, including 20° tilt mount)
- Lipnios kabelių spaustukai
- Vartotojo vadovas (šis dokumentas)
- Mounting Stickers
3. Sąrankos vadovas
3.1. Fotoaparato įjungimas
- Prijunkite USB maitinimo laidą prie fotoaparato maitinimo prievado.
- Prijunkite kitą USB kabelio galą prie pateikto maitinimo adapterio.
- Įjunkite maitinimo adapterį į standartinį elektros lizdą.
- The camera will power on and indicate its status (e.g., an LED light).
3.2. Programos diegimas
The Anlapus 3MP 2K Window Camera operates with the Vsees App.
- Download the "Vsees" app from your mobile device's app store (App Store for iOS or Google Play Store for Android).
- Install the app and create an account if you are a new user, or log in with your existing credentials.
3.3. Prisijungimas prie Wi-Fi
The camera supports both 2.4 GHz and 5 GHz dual-band Wi-Fi for a stronger network connection.

Image: The camera supports both 2.4 GHz for wider coverage and 5 GHz Wi-Fi for faster speeds, ensuring a robust network connection.
- Open the Vsees app and tap the "+" icon to add a new device.
- Follow the on-screen instructions to select your camera model and connect it to your home Wi-Fi network. This typically involves scanning a QR code displayed on your phone with the camera or entering your Wi-Fi credentials.
- Ensure your mobile device is connected to the same Wi-Fi network during the initial setup.
3.4. Kameros montavimas
The Anlapus Window Camera features a quick and easy magnetic setup, requiring no tools for repositioning.
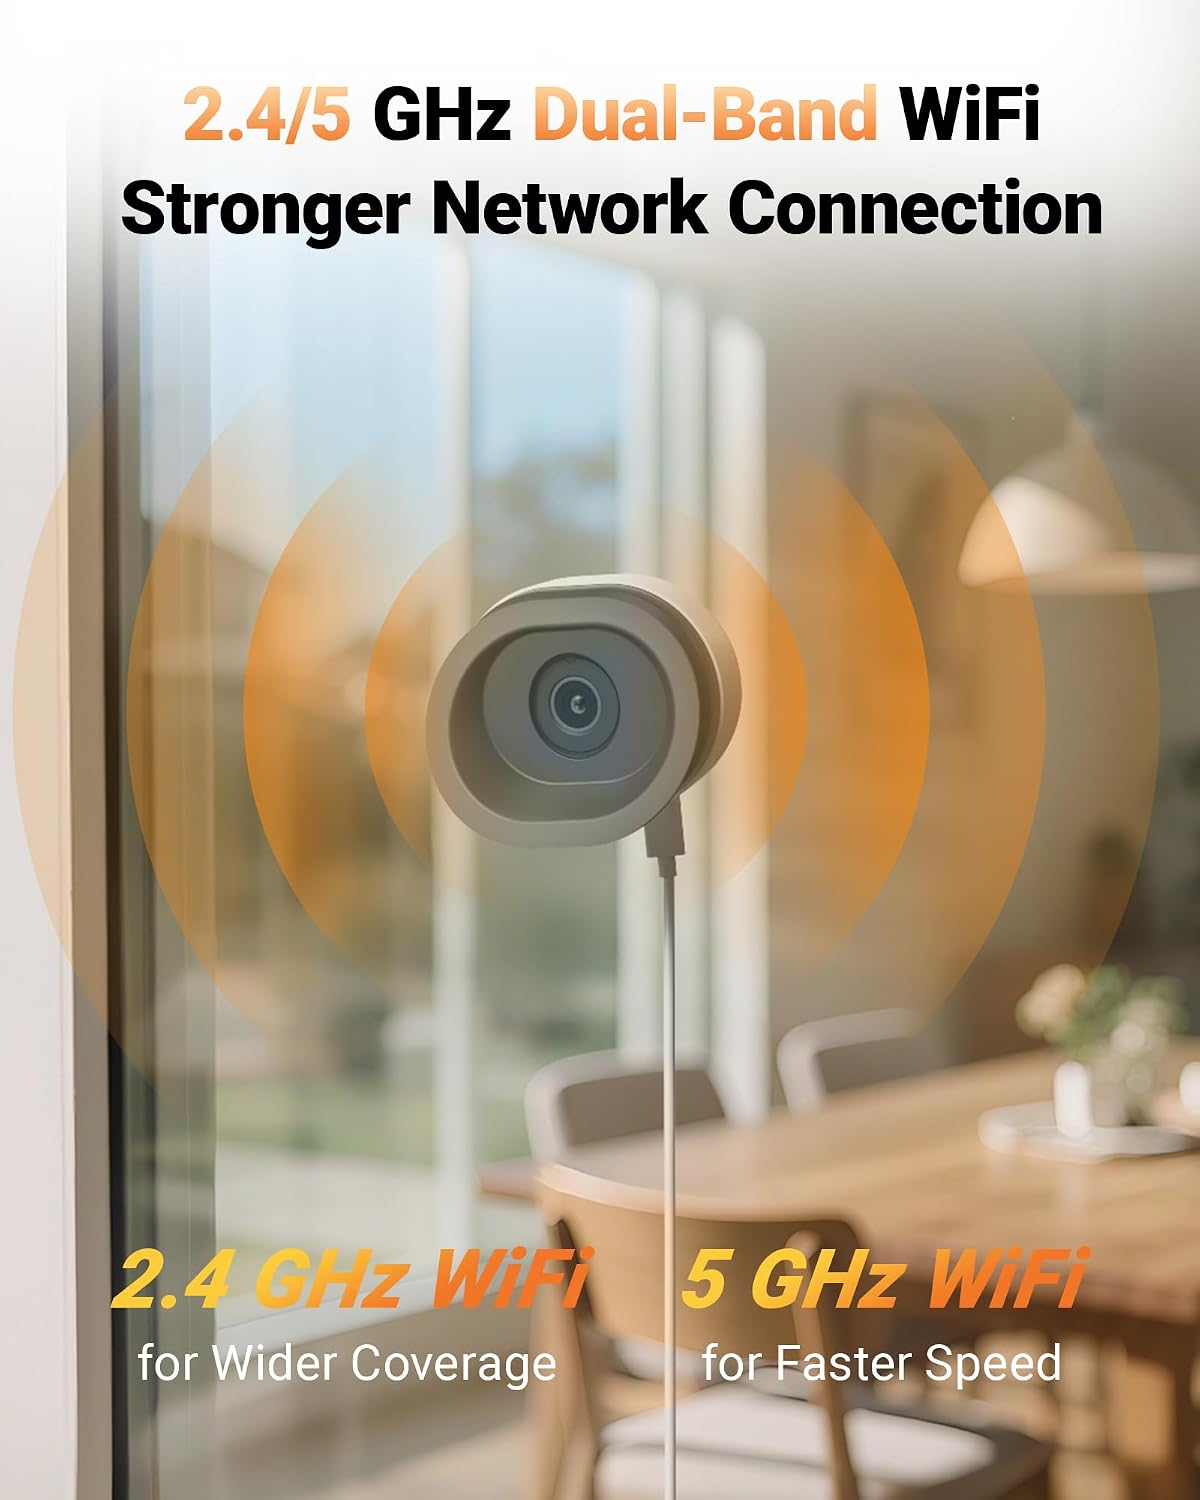
Image: The camera's magnetic base allows for quick, tool-free installation and easy repositioning on compatible mounting stickers.
Choose a suitable window for placement. The camera is designed for versatile window placement, including 2nd-floor windows, garage windows, balcony windows, and storefront windows, without requiring outdoor mounting, preventing vandalism, or theft.

Vaizdas: pvzamples of versatile window placements, demonstrating the camera's suitability for various indoor monitoring scenarios without outdoor installation.
The camera comes with multiple magnetic brackets, including a 20° tilt mount for higher windows and a level mount. The magnetic design allows you to easily attach and detach the camera from the mounting stickers.

Image: A comparison showing the wider outdoor view achieved with the 20° tilt mount, ideal for higher windows, versus a standard level mount.
The camera also features multi-directional tilt capabilities, allowing you to adjust the angle (up, down, left, right) for optimal viewing.

Image: Illustrations showing the camera's ability to tilt in multiple directions (down, up, left, right) for flexible viewkampų.
- Clean the window surface where you intend to mount the camera.
- Apply the adhesive mounting sticker to the clean window surface.
- Attach the desired magnetic bracket (e.g., 20° tilt mount) to the sticker.
- Place the camera onto the magnetic bracket. Adjust the camera angle as needed.
- Use the included adhesive cable clips to neatly route the power cable along the window frame or wall.
4. Naudojimo instrukcijos
4.1. Gyvai View
Access the Vsees app on your mobile device. Select your camera from the device list to view the live feed. You can pinch to zoom and pan across the live video.
4.2. Dvipusis pokalbis
Kamera palaiko dvipusį garso ryšį. Tiesioginio vaizdo transliacijos metu view interface of the Vsees app, tap the microphone icon to speak through the camera's speaker. Tap the speaker icon to listen to audio from the camera's vicinity.
4.3. Įrašymas ir atkūrimas
The camera supports 24/7 continuous recording or motion-triggered recording. You can store footage locally using a microSD card (not included) or via cloud storage (subscription may be required).
- Vietinė saugykla: Insert a formatted microSD card into the camera's designated slot. Configure recording settings (continuous or event-based) within the Vsees app.
- Atkūrimas: In the Vsees app, navigate to the playback section for your camera. Use the timeline to review įrašytas footage.
4.4. Dirbtinio intelekto žmonių ir transporto priemonių aptikimas
The camera features AI-powered human and vehicle detection, providing accurate alerts and reducing false alarms.

Image: The camera's AI detection identifies and distinguishes between persons, vehicles, and pets, sending relevant alerts to your device.
- Enable AI detection in the Vsees app settings for your camera.
- Configure alert preferences, such as push notifications to your mobile device.
4.5. Naktinis matymas
The camera provides clear night vision, including full-color night images with true AI-ISP technology and an F1.0 super aperture, without requiring a spotlight.

Image: The Anlapus A60 Pro camera offers full-color night vision with no glare, providing clearer images compared to traditional infrared or spotlight-based night vision.
4.6. Anti-Glare & Anti-Reflection
The camera is designed with anti-glare and anti-reflection technology to ensure clear viewing through windows, minimizing distortions often seen with traditional indoor cameras.

Image: A side-by-side comparison demonstrating the Anlapus A60 Pro's ability to provide a clear, reflection-free view through a window, unlike a traditional indoor camera.
5. Priežiūra
- Valymas: Švelniai nuvalykite fotoaparato objektyvą ir korpusą minkštu, sausu skudurėliu. Venkite naudoti stiprias chemines medžiagas ar abrazyvinius valiklius.
- Firmware atnaujinimai: Regularly check the Vsees app for available firmware updates. Keeping your camera's firmware updated ensures optimal performance and security. Follow the app's instructions for any update procedures.
- Vieta: Ensure the camera is not exposed to direct sunlight for extended periods, as this can cause the housing to warm up.
6. Problemų sprendimas
- Kamera neprisijungia prie „Wi-Fi“:
- Įsitikinkite, kad jūsų „Wi-Fi“ tinklas yra aktyvus ir pasiekiamas.
- Patikrinkite, ar įvedėte teisingą „Wi-Fi“ slaptažodį.
- Pabandykite iš naujo paleisti maršrutizatorių ir kamerą.
- Confirm your phone is connected to the same Wi-Fi network during setup.
- Prasta vaizdo kokybė:
- Check if the camera lens is clean.
- Ensure there is sufficient lighting, especially during night vision.
- Verify the camera is positioned correctly to avoid reflections or glare from the window.
- Nėra judesio aptikimo įspėjimų:
- Ensure motion detection is enabled in the Vsees app settings.
- Patikrinkite judesio aptikimo jautrumo nustatymus.
- Patikrinkite, ar jūsų mobiliajame įrenginyje įjungti programėlės pranešimai.
- Two-way talk not working:
- Check your phone's microphone and speaker permissions for the Vsees app.
- Įsitikinkite, kad kameros mikrofonas ir garsiakalbis nėra uždengti.
- Patikrinkite stabilų interneto ryšį.
- Camera feels warm:
- It is normal for the camera housing to feel warm during operation. However, ensure it is not placed in direct sunlight or in an enclosed space with poor ventilation.
7. Techninės specifikacijos
| Funkcija | Specifikacija |
|---|---|
| Prekės ženklas | Anlapus |
| Modelio numeris | Lango kamera |
| Rekomenduojami naudojimo būdai | Patalpų apsauga |
| Ryšio technologija | Wired (Power), Wireless (Wi-Fi) |
| Ypatingos savybės | Easy to Install, Night Vision, AI Human/Vehicle Detection, 2-Way Talk, Magnetic Setup, Anti-Glare/Anti-Reflection |
| Suderinami įrenginiai | Vsees App |
| Maitinimo šaltinis | Su laidu elektra |
| Prekės matmenys (I x P x A) | 3.39 x 3.06 x 3.15 colio |
| „Wi-Fi“ palaikymas | 2.4GHz / 5GHz Dual-Band |
| Rezoliucija | 3MP 2K |
8. Garantija ir palaikymas
Anlapus products are designed for reliability and performance. For specific warranty details, please refer to the warranty card included in your product packaging or visit the official Anlapus websvetainę.
For technical support, troubleshooting assistance, or any inquiries regarding your Anlapus 3MP 2K Window Camera, please contact Anlapus customer support through their official website or the Vsees app.
Internetiniai ištekliai:
- Anlapus Official Websvetainė: www.anlapus.com (Pastaba: tai yra vietos žymeklis URLteisingą informaciją rasite faktinėje gaminio dokumentacijoje. websvetainę.)
- Vsees App Support: Check the 'Help' or 'FAQ' section within the Vsees application.