
1. Įvadas
Thank you for choosing the INOVIVA Portable Countertop Ice Maker. This manual provides essential information for the proper setup, operation, and maintenance of your ice maker. Please read it thoroughly before use and retain it for future reference.
2. Saugos instrukcijos
- Įsitikinkite, kad ledo gaminimo aparatas pastatytas ant stabilaus, lygaus paviršiaus, atokiau nuo tiesioginių saulės spindulių ir šilumos šaltinių.
- Nemerkite prietaiso, maitinimo laido ar kištuko į vandenį ar kitus skysčius.
- Vandens rezervuare naudokite tik geriamąjį vandenį.
- Veikiant ledo gaminimo aparatui, laikykite vaikus atokiau nuo jo.
- Prieš valydami arba kai ilgesnį laiką nenaudojate prietaiso, atjunkite jį nuo elektros tinklo.
- Nenaudokite prietaiso su pažeistu laidu ar kištuku.
3. Produktas baigtasview
Familiarize yourself with the components of your INOVIVA Portable Countertop Ice Maker.
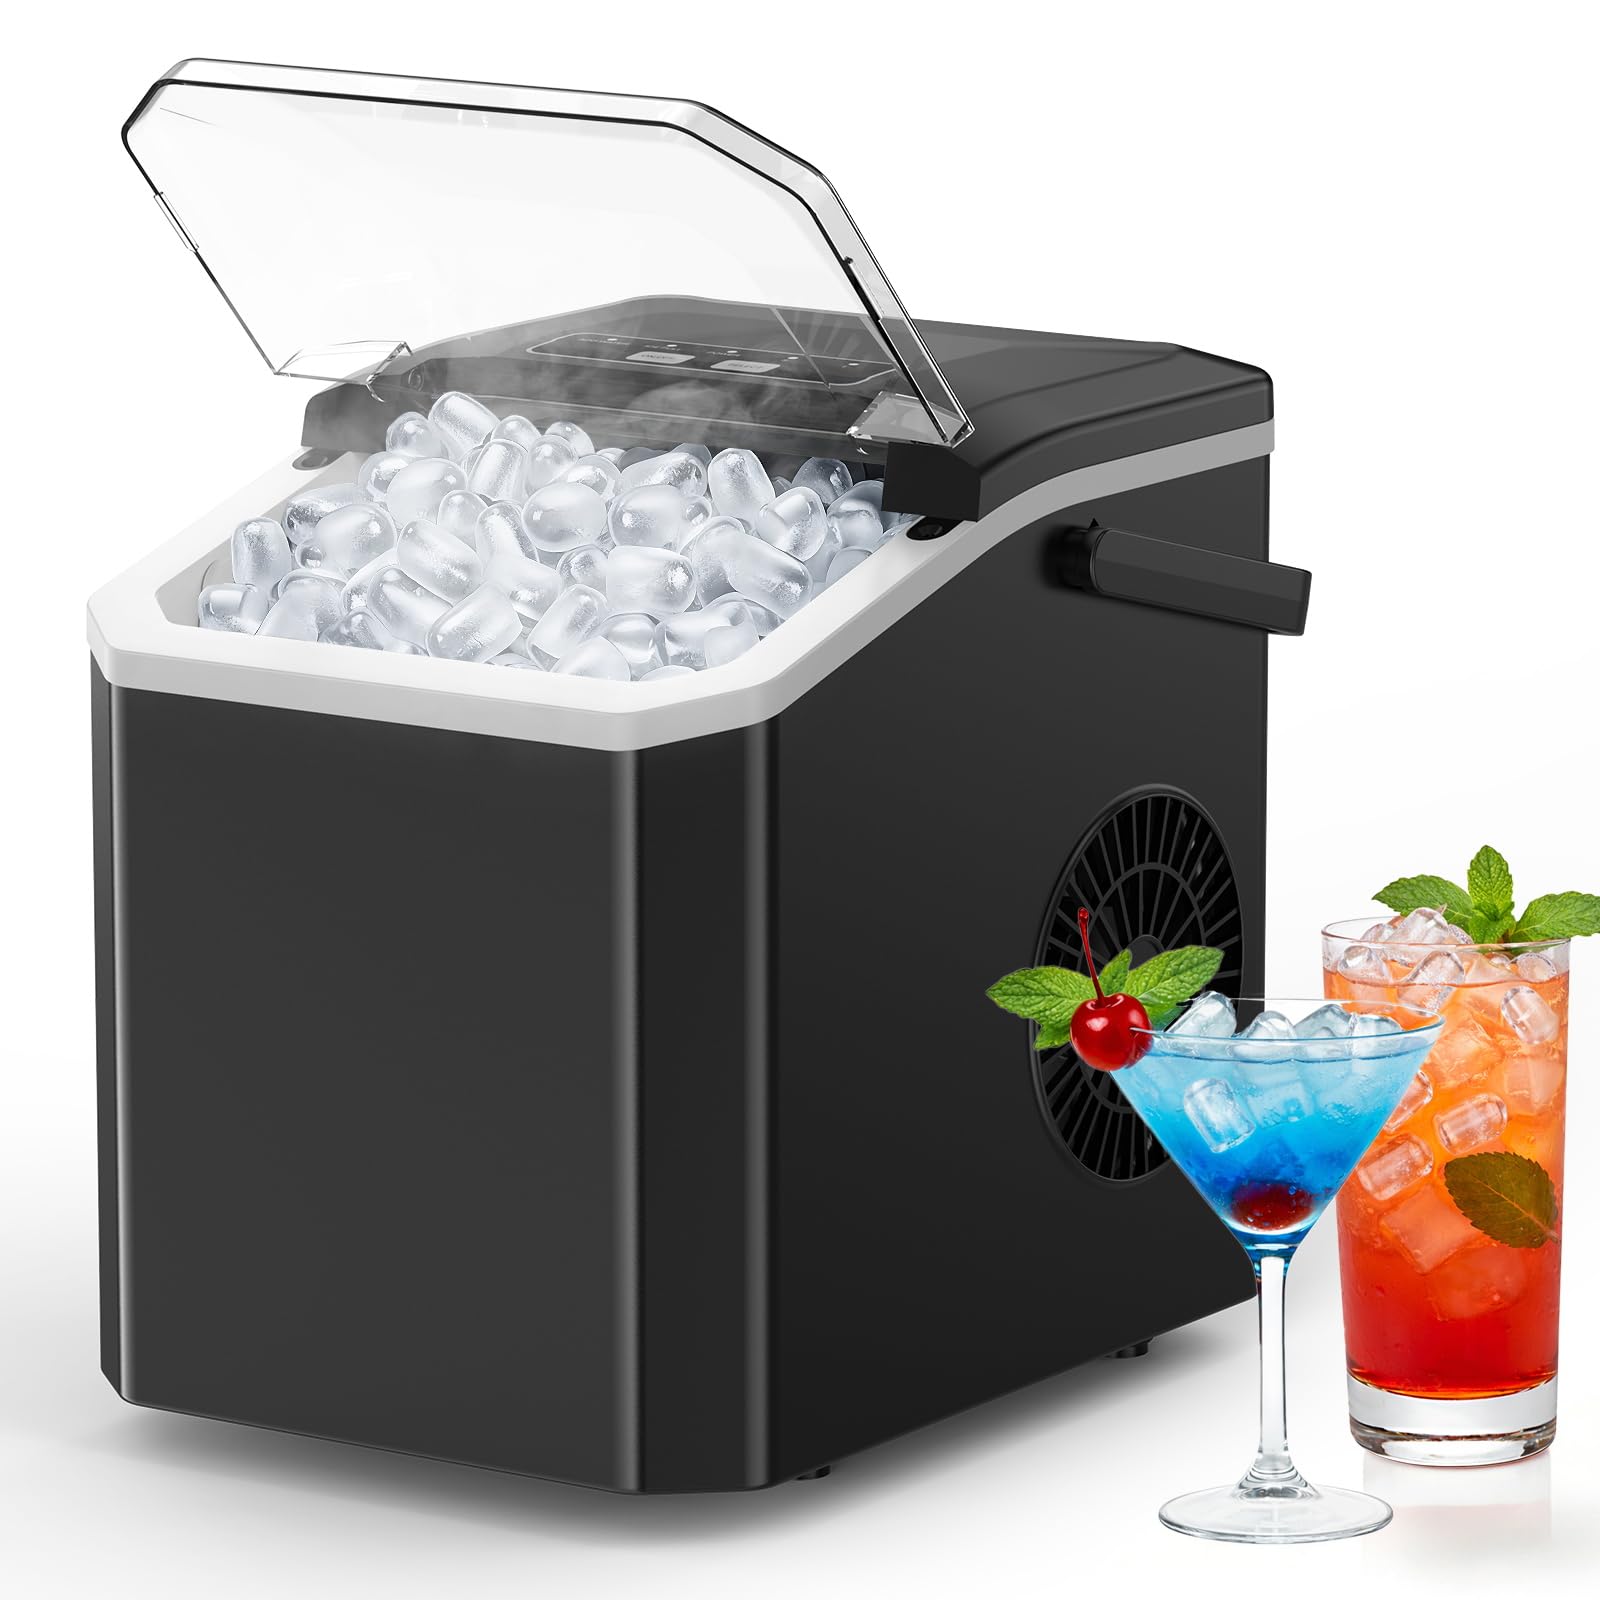
Figure 1: INOVIVA Portable Countertop Ice Maker (Model YH16T)
- Valdymo skydelis: Features "ADD WATER", "ICE FULL", "POWER" indicators, and "ON/OFF", "SELECT" buttons.
- Ledo krepšelis: Detachable for easy ice transfer and cleaning.
- Vandens rezervuaras: Holds 1.4 liters of water for continuous ice production.
- Ledo kaušelis: Įtraukta higieniškam ledo išėmimui.
- Nešiojama rankena: Lengvam transportavimui.
4. Sąranka
- Išpakavimas: Carefully remove the ice maker from its packaging. Remove all packing materials, including tape and protective films.
- Pradinis valymas: Prieš pirmą kartą naudodami, ledo gaminimo aparato vidų, įskaitant vandens rezervuarą ir ledo krepšelį, išvalykite minkštu skudurėliu ir švelniu plovikliu. Kruopščiai nuplaukite švariu vandeniu.
- Vieta: Place the ice maker on a flat, stable, and heat-resistant surface. Ensure there is at least 4 inches (10 cm) of clearance around the unit for proper ventilation. Avoid placing it near heat sources or in direct sunlight.
- Maitinimo jungtis: Plug the power cord into a grounded electrical outlet (120V/60Hz).
- Pridėti vandens: Atidarykite dangtelį ir pripildykite vandens rezervuarą geriamojo vandens iki MAX užpildymo linijos. Neperpildykite.

Figure 2: Initial Setup - Adding Water and Powering On
5. Naudojimo instrukcijos
- Maitinimas: Paspauskite ĮJUNGTA/IŠJUNGTA button to turn on the ice maker. The "POWER" indicator will illuminate.
- Pasirinkite ledo dydį: Paspauskite PASIRINKTI button to choose between two ice cube sizes:
- Mažas (S): Approximately 20mm diameter x 25mm length. Chills drinks quickly.
- Didelis (L): Approximately 25mm diameter x 30mm length. Melts more slowly.
- Ledo gamyba: The ice maker will begin its first ice-making cycle, which takes approximately 6 minutes. Subsequent cycles will be faster. The unit can produce up to 26.5 lbs of ice per 24 hours.
- Ledo pilnumo jutiklis: When the ice basket is full, the "ICE FULL" indicator will light up, and the ice maker will automatically pause operation. Remove ice from the basket to resume production.
- Pridėti vandens indikatorių: If the water level in the reservoir is too low, the "ADD WATER" indicator will illuminate, and the ice maker will stop. Add more potable water to resume.

Figure 3: Choosing Ice Cube Size

Figure 4: Infrared Sensor for Ice Full Detection
6. Priežiūra
- Savaiminio išsivalymo funkcija: To activate the automatic self-cleaning cycle, press and hold the ĮJUNGTA/IŠJUNGTA button for 3 seconds. The cycle lasts approximately 20 minutes. This helps maintain cleanliness and fresh ice.
- Reguliarus valymas:
- Prieš valydami ledo gaminimo aparatą išjunkite jį iš elektros tinklo.
- Išimkite ledo krepšį.
- Drain any remaining water from the reservoir by removing the drain plug located at the bottom of the unit.
- Nuvalykite vidų minkšta šluoste dampnuplaukite švelniu ploviklio tirpalu. Kruopščiai nuplaukite švariu vandeniu.
- Dry all parts completely before reassembling and storing.
- Saugykla: If the ice maker will not be used for an extended period, drain all water, clean the unit, and store it in a dry, well-ventilated area.

Figure 5: Automatic Self-Cleaning Cycle
7. Problemų sprendimas
| Problema | Galima priežastis | Sprendimas |
|---|---|---|
| Šviečia indikatorius „ĮPILKITE VANDENS“. | Vandens rezervuaras tuščias arba vandens lygis per žemas. | Į rezervuarą įpilkite geriamojo vandens iki MAX užpildymo linijos. |
| Šviečia indikatorius „LEDAS PILNAS“. | Ledo krepšelis pilnas. | Išimkite ledą iš krepšelio. Ledo gamyba bus atnaujinta automatiškai. |
| Ledo gaminimo aparatas negamina ledo. |
|
|
| Ledo kubeliai per maži arba per gumuluoti. |
|
|
8. Specifikacijos
| Funkcija | Detalė |
|---|---|
| Prekės ženklas | inoviva |
| Modelio pavadinimas | YHZB |
| Modelio numeris (dalies numeris) | YH16T |
| Gaminio matmenys (D x P x A) | 8.86 "D x 11.22" P x 11.57" A |
| Vandens rezervuaro talpa | 1.4 litrai |
| Ice Production per Day | 26.5 svaro |
| First Ice Making Time | apytiksliai 6 minučių |
| Vattage | 100 vatų |
| ttage | 120 voltų |
| Šaldymo agentas | R600a |
| Medžiagos tipas | Akrilnitrilo butadieno stirenas |
| Įtraukti komponentai | Ice maker, ice scoop, ice basket, user manual |
9. Garantija ir palaikymas
For warranty information or technical support, please refer to the contact details provided with your purchase documentation or visit the official INOVIVA websvetainėje. Išsaugokite pirkimo kvitą kaip pirkimo įrodymą bet kokiems garantiniams prašymams.
The product may be eligible for extended protection plans. Please check your purchase details for available options.