Įvadas
This manual provides detailed instructions for the assembly, operation, and maintenance of the Jamara 98358 100 Pieces JR Plug Kit. This kit is designed for creating custom JR-style connections, commonly used in remote control (RC) models and various electronic projects. It includes components necessary for assembling 100 individual JR plugs.
Rinkinio turinys
The Jamara 98358 kit contains 100 sets of components for JR plugs. Each set typically includes:
- JR-style connector housings (male and/or female)
- Metal crimp pins (male and/or female)
Please verify all components are present upon opening the package.
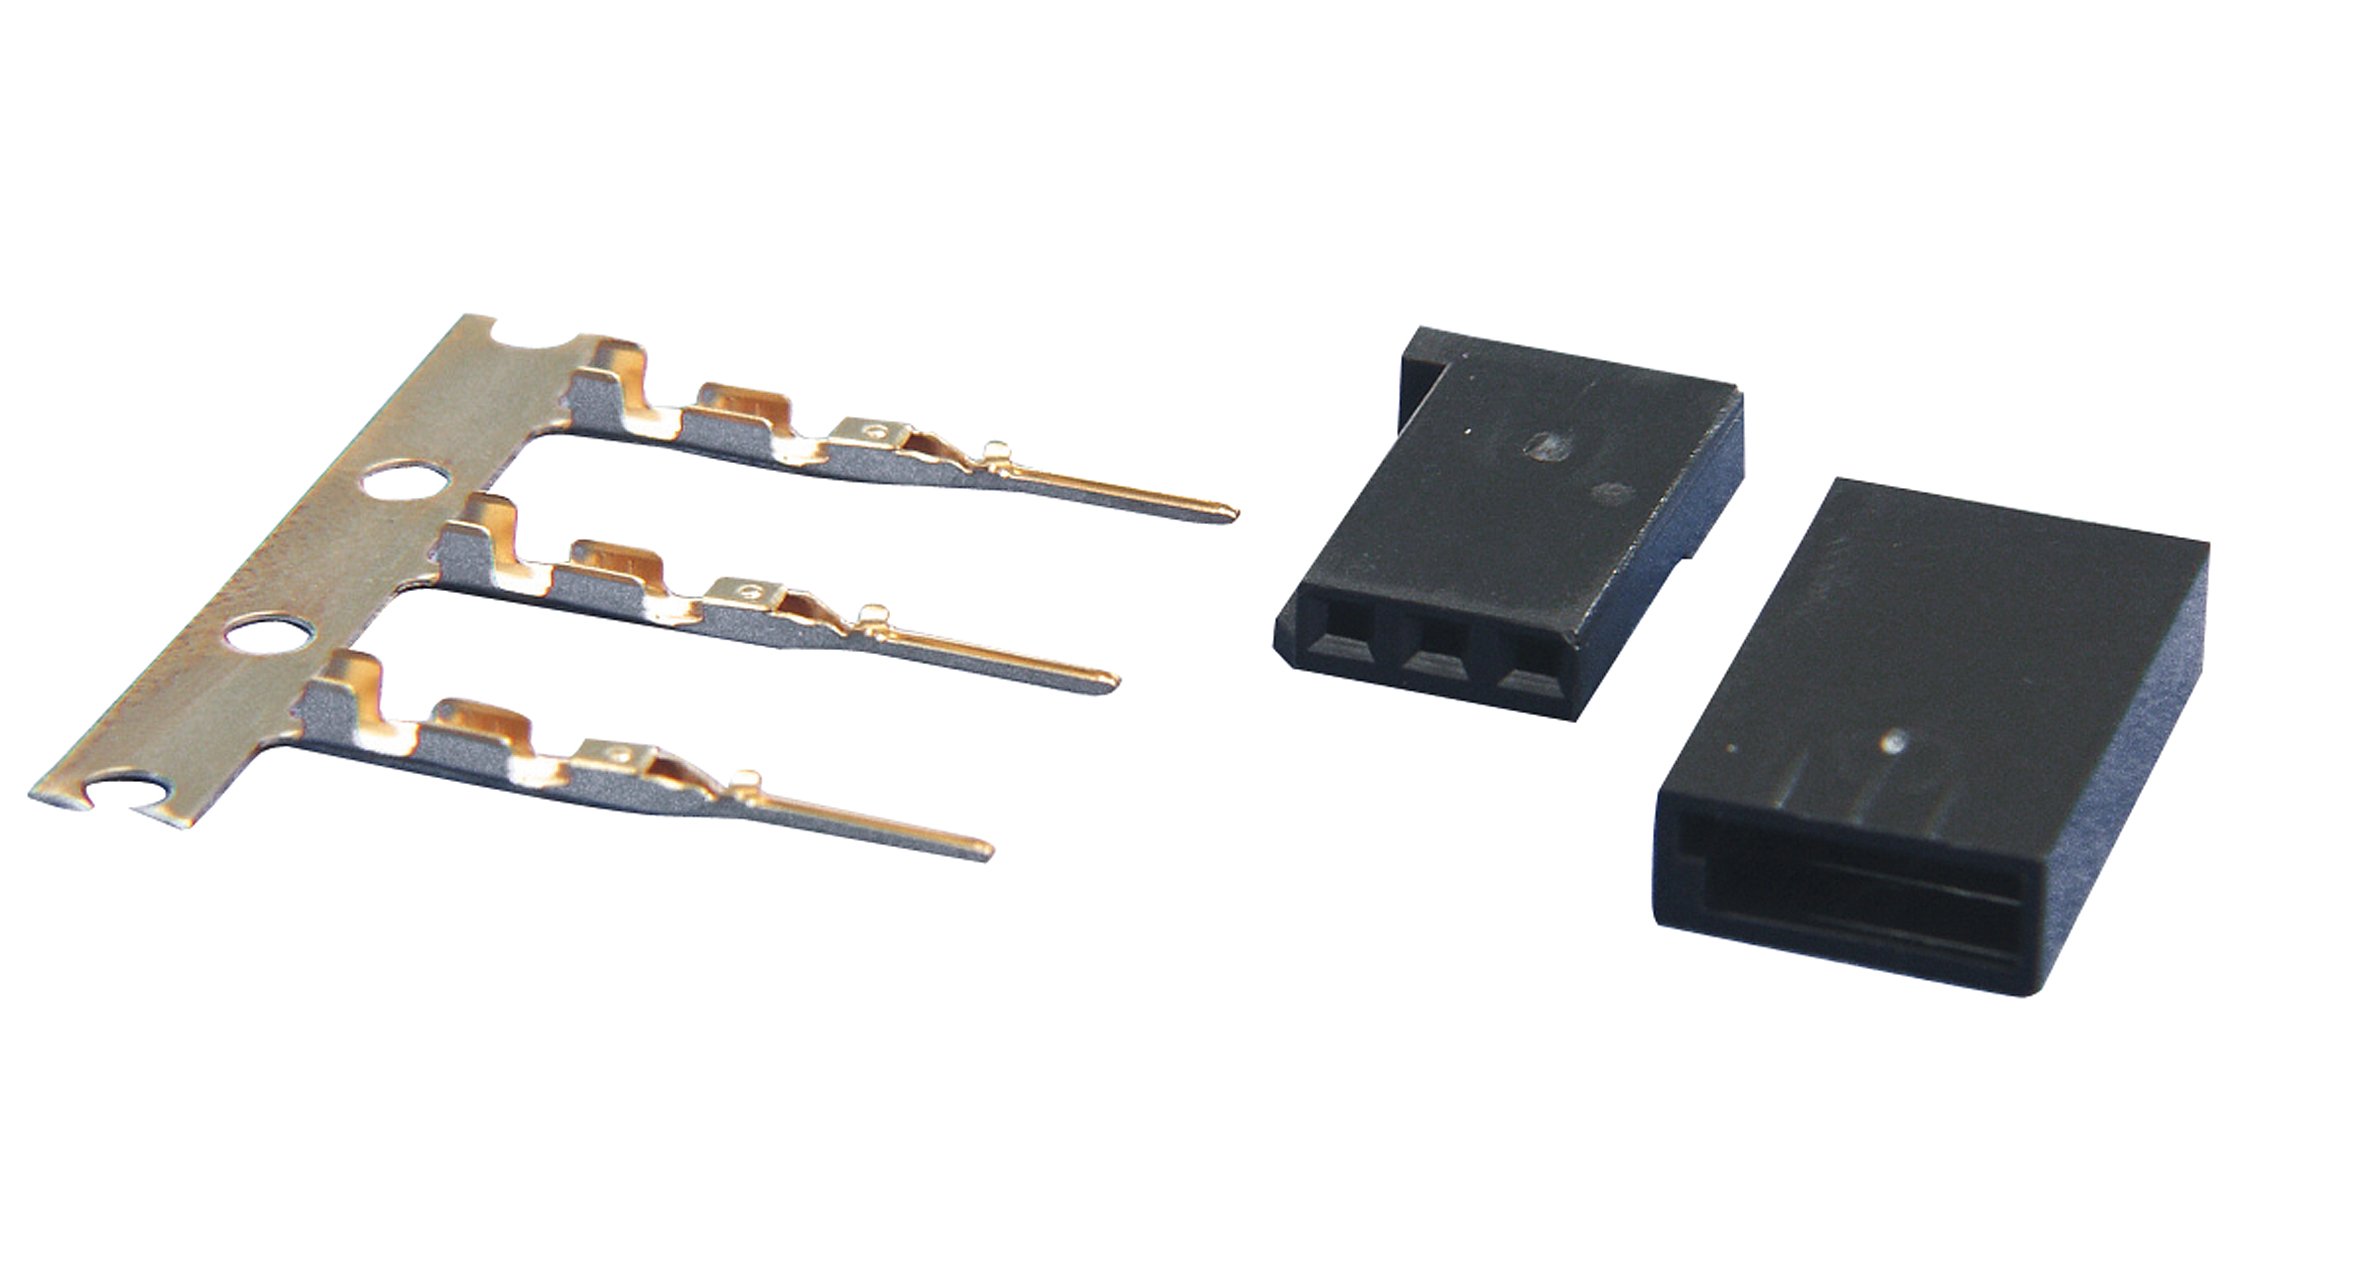
Image: An assortment of JR plug components, including plastic housings and metal crimp pins, illustrating the contents of the Jamara 98358 kit.
Sąranka ir surinkimas
Assembling JR plugs requires precision and the correct tools. Follow these steps carefully:
Reikalingi įrankiai:
- Wire strippers (suitable for small gauge wires)
- Crimping tool (specifically designed for small electrical pins, e.g., Dupont or servo crimping tool)
- Small pliers or tweezers (optional, for fine adjustments)
Surinkimo žingsniai:
- Paruoškite laidus: Carefully strip approximately 2-3mm of insulation from the end of each wire you intend to connect. Ensure the wire strands are not damaged.
- Crimp Pins: Place a metal crimp pin into the crimping tool. Insert the stripped end of a wire into the pin. Ensure the wire conductor is fully seated in the inner crimp section and the insulation is seated in the outer crimp section. Crimp firmly to secure both the conductor and the insulation. A proper crimp should be mechanically strong and electrically sound.
- Insert Pins into Housing: Observe the JR connector housing. Note the small tabs or slots inside. Carefully push the crimped pin into the correct slot in the housing until you hear or feel a click. The pin should be securely locked in place and not pull out easily. Ensure correct polarity (e.g., signal, positive, negative) according to your application's wiring diagram.
- Patikrinkite ryšius: Gently tug on each wire to confirm the pins are securely locked in the housing. Visually inspect for any exposed wire strands or bent pins.
Saugos priemonės:
- Always disconnect power from any electronic components before working with wiring.
- Use appropriate safety glasses to protect your eyes from small flying parts.
- Ensure proper ventilation if using any soldering materials (though not typically required for crimping).
Operating the JR Plugs
Once assembled, JR plugs are designed for reliable electrical connections in various applications, particularly in RC models for servos, receivers, and battery connections.
Prisijungimas:
Align the male and female connectors, ensuring the correct orientation. Gently push them together until they are fully seated. Avoid forcing the connection, as this can bend pins or damage housings.
Atjungiama:
Grasp both the male and female connector housings firmly and pull them apart. Do not pull on the wires, as this can damage the crimped connections or pull pins out of the housing.
Poliškumas:
Always ensure correct polarity when connecting JR plugs. Incorrect polarity can damage electronic components. Standard JR wiring typically follows a specific color code (e.g., brown/black for negative, red for positive, orange/yellow/white for signal), but always verify with your specific device's documentation.
Priežiūra
Proper maintenance ensures the longevity and reliability of your JR plug connections.
- Reguliarus patikrinimas: Periodically inspect connectors for signs of wear, corrosion, bent pins, or damaged insulation.
- Valymas: If contacts appear dirty or corroded, gently clean them with a specialized electrical contact cleaner and a non-abrasive tool (e.g., cotton swab). Ensure the cleaner evaporates completely before reconnecting.
- Saugykla: Store unused pins and housings in a dry, dust-free environment to prevent corrosion and damage. Keep assembled cables neatly organized to prevent tangling and stress on connections.
Trikčių šalinimas
If you encounter issues with your JR plug connections, consider the following:
Poor or Intermittent Connection:
- Check Crimps: Ensure the wire is securely crimped to the pin. A loose crimp can cause intermittent contact. Re-crimp or replace the pin if necessary.
- Bent or Damaged Pins: Inspect pins for any bends or damage. Straighten bent pins carefully with small pliers or replace the pin/connector if severely damaged.
- Korozija: Clean any visible corrosion on the metal contacts.
- Incorrect Insertion: Ensure the pins are fully inserted and locked into the housing.
Difficulty Inserting/Removing Connectors:
- Sutapimas: Ensure the male and female connectors are perfectly aligned before attempting to connect.
- Nuolaužos: Check for any foreign objects or debris inside the connector housings that might obstruct insertion.
- Damaged Housing: Inspect the plastic housing for cracks or deformities that could impede connection.
Specifikacijos
| Funkcija | Detalė |
|---|---|
| Gaminio matmenys | 11.81 x 11.81 x 11.81 colio |
| Prekės svoris | 4.2 uncijos |
| Prekės modelio numeris | 98358 |
| Gamintojas | Jamara (JAMXM) |
| Gamintojo rekomenduojamas amžius | 3 metai ir daugiau |
| Išleidimo data | 1 m. rugpjūčio 2018 d |
Garantija ir palaikymas
This product is covered by the standard manufacturer's warranty. For specific warranty details, claims, or technical support, please refer to the official Jamara websvetainėje arba susisiekite tiesiogiai su jų klientų aptarnavimo tarnyba. Išsaugokite pirkimo kvitą kaip pirkimo įrodymą.