Įvadas
The Williams JHWM-618 is a 1/4-inch drive shallow SAE socket, specifically designed with a 6-point, 9/16-inch size. It features SUPERTORQUE lobular openings, engineered to provide superior turning power while minimizing the risk of deforming the fastener. This socket is crafted for maximum engagement on 6-point fasteners and boasts a high-polished chrome finish for durability and ease of cleaning. This manual provides essential information for the proper use, maintenance, and understanding of your Williams socket.
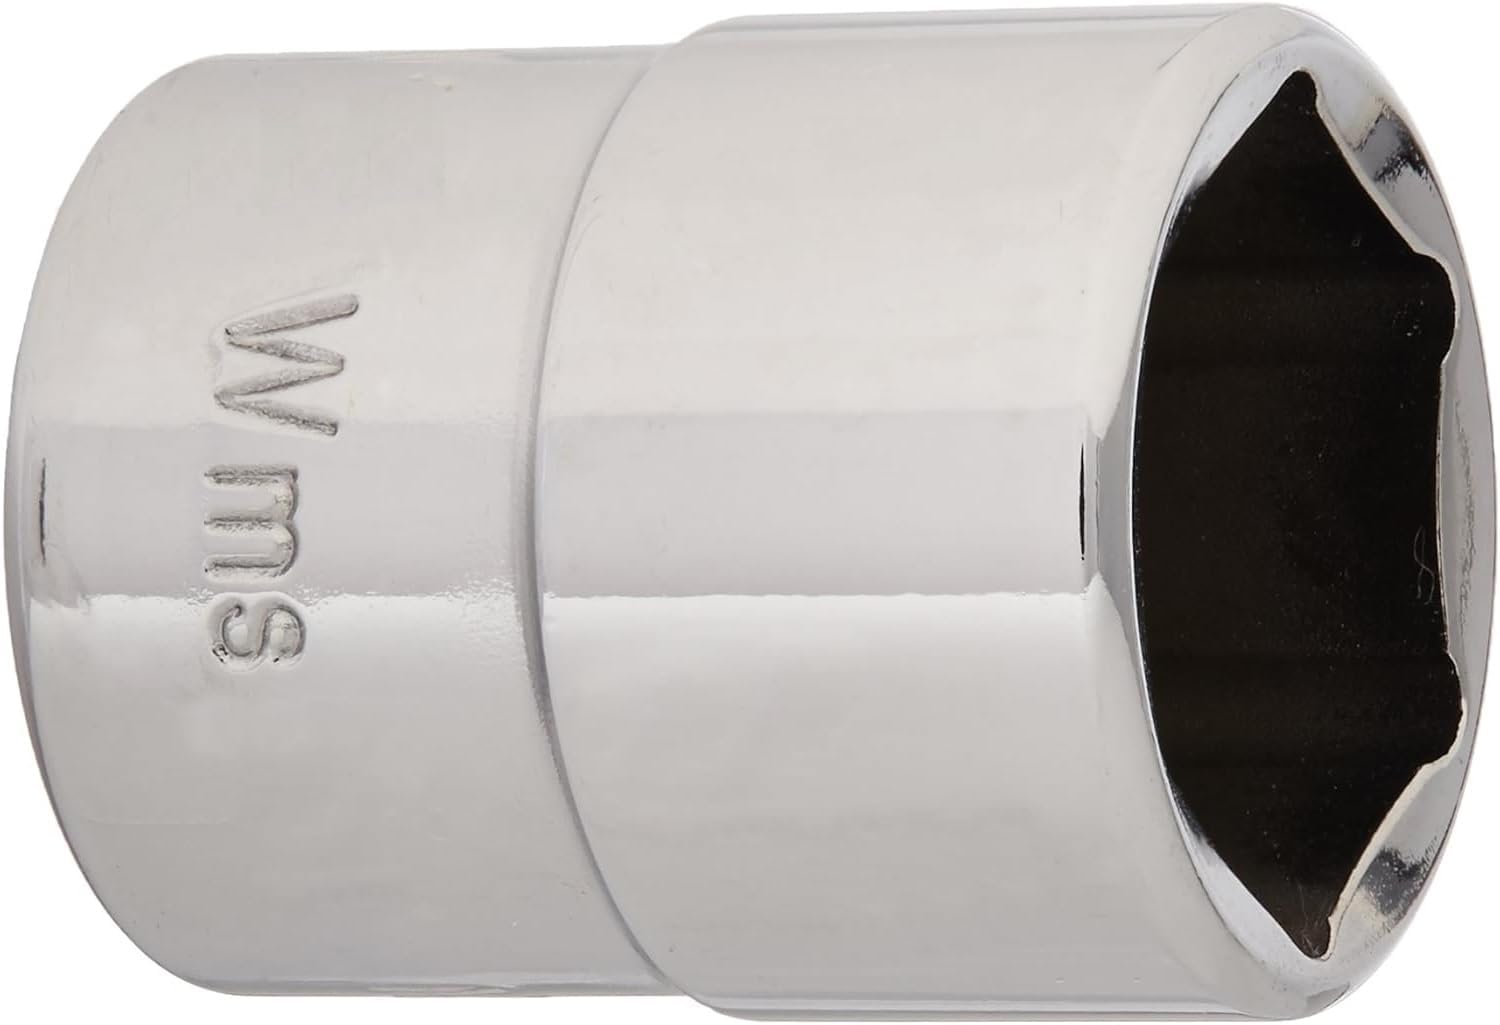
Figure 1: Williams JHWM-618 1/4-inch Drive Shallow SAE Socket.
Pagrindinės savybės
- SUPERTORQUE Lobular Openings: Engineered for enhanced turning power and reduced fastener deformation.
- 6-Point Fastener Engagement: Designed for maximum contact and secure grip on 6-point fasteners.
- High-Polished Chrome Finish: Provides excellent durability against industrial conditions and allows for easy cleaning.
- Patvari konstrukcija: Cold formed from alloy steel, precision machined, and fully heat-treated for long-lasting performance.
- Standard SAE Size: 9/16-inch size for common SAE applications.

Figure 2: Key features of Williams SUPERTORQUE sockets, highlighting the lobular openings and chrome finish.
Sąranka ir diegimas
The Williams JHWM-618 socket is designed for use with any standard 1/4-inch square drive tool, such as a ratchet, breaker bar, or torque wrench.
- Select the Drive Tool: Choose a 1/4-inch square drive tool appropriate for your task. Ensure the drive tool is clean and free of debris.
- Pritvirtinkite lizdą: Align the square opening on the back of the JHWM-618 socket with the square drive end of your tool. Push the socket firmly onto the drive until it clicks into place, indicating a secure connection.
- Patikrinkite ryšį: Gently pull on the socket to ensure it is securely seated on the drive tool before applying force.

Figure 3: Proper attachment and use of a socket with a ratchet on a fastener.
Naudojimo instrukcijos
Once the socket is securely attached to your drive tool, it is ready for operation.
- Lizdo padėtis: Place the 9/16-inch opening of the socket squarely over the 6-point fastener you intend to turn. Ensure the socket is fully seated on the fastener to prevent slipping and damage.
- Taikyti jėgą: Apply steady and controlled rotational force to the drive tool. For tightening, turn clockwise; for loosening, turn counter-clockwise. The SUPERTORQUE design will help distribute force evenly across the fastener.
- Ištraukite lizdą: Once the task is complete, remove the socket from the fastener. Then, detach the socket from the drive tool by pulling it off.
Note: Always use the correct size socket for the fastener to prevent rounding or damage to both the fastener and the socket.
Priežiūra ir priežiūra
Proper maintenance will ensure the longevity and performance of your Williams JHWM-618 socket.
- Valymas: After each use, wipe the socket clean with a dry cloth to remove dirt, grease, and debris. The high-polished chrome finish is designed for easy cleaning.
- Saugykla: Store the socket in a dry environment to prevent rust. A tool chest or socket rail is ideal for organized storage.
- Patikra: Periodically inspect the socket for any signs of wear, cracks, or damage. Discontinue use if any damage is observed to prevent injury or further damage to fasteners.
- Tepimas: While not typically required for sockets, ensure that the drive tool you are using is properly maintained and lubricated according to its own instructions.
Trikčių šalinimas
Most issues with a socket are related to improper use or selection.
- Lizdo užslydimas ant tvirtinimo elemento:
- Ensure the socket size (9/16-inch) matches the fastener exactly.
- Verify the socket is fully seated on the fastener.
- Check if the fastener is rounded or damaged; if so, specialized tools may be required.
- Lizdas neprisijungia prie pavaros įrankio:
- Confirm the drive tool is a 1/4-inch square drive.
- Check for any obstructions or debris in the socket's drive opening or on the drive tool's end.
- Socket Appears Damaged:
- Nedelsiant nutraukite naudojimą.
- Contact Williams customer support for assistance or replacement if under warranty.
Techninės specifikacijos
| Specifikacija | Detalė |
|---|---|
| Modelio numeris | JHWM-618 |
| Disko dydis | 1/4 Inch Square |
| Lizdų dydis | 9/16 colio |
| Point Count | 6 taškas |
| Medžiaga | Chrome Alloy Steel |
| Apdailos tipas | High-Polished Chrome |
| Prekės svoris | 0.96 uncijos |
| Gaminio matmenys | 2 x 1.5 x 1.75 colio |
| Pavaros galo skersmuo | 3/4 colio |
| Working End Diameter | 3/4 colio |
| Broach Depth | 1/2 colio |
| Bolt Clearance Depth | 17/32 colio |
| Bolt Clearance Diameter | 17/32 colio |

Figure 4: Detailed specifications for Williams 1/4" Drive Shallow SAE Sockets.

Figure 5: Dimensional diagram of a shallow socket, indicating measurement points.
Garantija ir palaikymas
Williams has been manufacturing high-quality industrial tools for over 140 years, building a legacy of trust and reliability. The company is committed to producing tools that are strong, safe, and dependable, designed to withstand demanding industrial environments.
For specific warranty information, product support, or inquiries regarding your Williams JHWM-618 socket, please refer to the official Williams website or contact their customer service directly. You can also visit the official Williams store on Amazon for more information and product offerings:


