1. Įvadas
This manual provides detailed instructions for the safe and efficient operation of your Crenova XPE350 Mini Portable Projector. Please read this manual thoroughly before using the projector and retain it for future reference. The Crenova XPE350 is designed for home and backyard theater use, offering a compact and portable solution for displaying media from various sources.
2. Produktas baigtasview
The Crenova XPE350 is a mini portable projector featuring a 480x320 resolution and 150 lumens brightness. Its compact design makes it suitable for various environments. Below are key components and features.
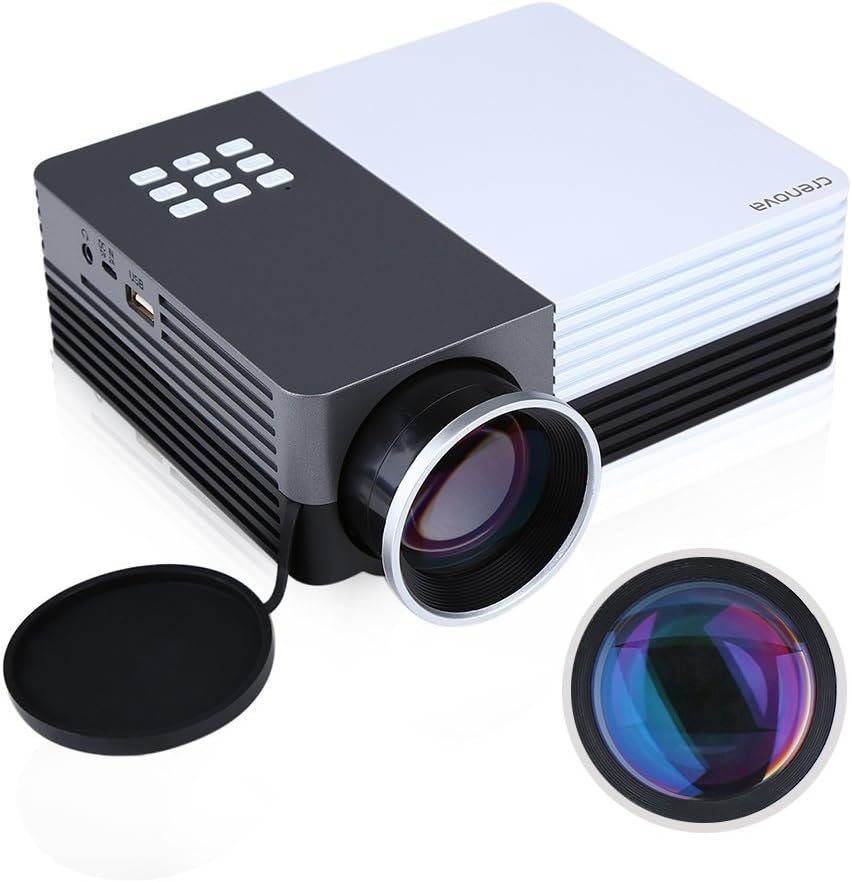
2.1 paveikslas: Crenova XPE350 Mini Portable Projector. This image shows the overall design of the projector, highlighting its compact form factor and front lens.

2.2 paveikslas: The Crenova XPE350 projector held in a hand, demonstrating its compact and portable size. A close-up inset highlights the glass lens, indicating clear image projection.
2.3 Pakuotės turinys
Išpakuodami patikrinkite, ar yra visi toliau išvardyti daiktai ir ar jie yra geros būklės:
- Crenova XPE350 Mini Portable Projector
- Nuotolinio valdymo pultas
- Kintamos srovės adapteris
- AV kabelis
- Vartotojo vadovas (šis dokumentas)

2.3 paveikslas: Contents of the Crenova XPE350 Projector package. This image displays the projector, remote control, power adapter, AV cable, and the printed user manual.
2.4 Projektoriaus komponentai
Susipažinkite su įvairiomis projektoriaus dalimis:
- Objektyvas: Projektuoja vaizdą ekrane.
- Funkciniai mygtukai: Control basic projector functions.
- angos: For heat dissipation. Ensure they are not obstructed.
- Įvesties prievadai: VGA, HDMI, AV, USB, SD Card Slot.
- Garso išvestis: Ausinių lizdas.
- Keystone koregavimas: Koreguoja trapecijos formos vaizdo iškraipymus.
- Maitinimo sąsaja: Jungiamas prie kintamosios srovės adapterio.

2.4 paveikslas: Iš arti view of the projector's function buttons, lens, and ventilation vents. These are essential for basic control and maintaining optimal operating temperature.

2.5 paveikslas: Išsamus view of the Crenova XPE350 projector's various input and output ports, including VGA, HDMI, AV, USB, headphone jack, mobile power input, SD card slot, and power interface. Also visible is the keystone adjustment dial.
3. Sąranka
3.1 Maitinimo jungtis
- Connect the AC power adapter to the "Power Interface" port on the projector.
- Kitą maitinimo adapterio galą prijunkite prie tinkamo elektros lizdo.
- Užsidegs projektoriaus maitinimo indikatoriaus lemputė.
3.2 Įvesties šaltinių prijungimas
The Crenova XPE350 supports various input sources. Choose the appropriate connection method for your device:

3.1 paveikslas: Diagram illustrating various devices that can be connected to the Crenova XPE350 projector, including laptops, desktop computers, DVD players, game consoles, speakers, mobile hard disks, USB drives, SD cards, digital cameras, tablet PCs, and TV set-top boxes.
- HDMI: For high-definition digital video and audio from devices like laptops, game consoles, or streaming sticks.
- VGA: For connecting to computers with a VGA output.
- APIE: For connecting older devices using the included AV cable (e.g., DVD players, some game consoles).
- USB: Skirtas leisti mediją files tiesiai iš USB atmintinės.
- SD kortelė: Skirtas leisti mediją files directly from an SD memory card.
- MHL (Mobile High-Definition Link): Some smartphones and tablets with MHL-out function can connect via HDMI for screen mirroring. Note: Most Android smartphones do not support MHL function.

3.2 paveikslas: Illustration of the MHL (Mobile High-Definition Link) feature, showing how a tablet and smartphone can mirror their screens to the projector. This feature requires the source device to support MHL-out.
3.3 Projektoriaus padėties nustatymas
Place the projector on a stable, flat surface. Ensure there is adequate ventilation around the projector to prevent overheating. The distance from the screen will determine the image size.
4. Naudojimo instrukcijos
4.1 Įjungimas / išjungimas
- Norėdami įjungti: Press the power button on the projector or the remote control. The projector lamp apšvies.
- Norėdami išjungti: Press the power button again. The projector will shut down.
4.2 Vaizdo kokybės reguliavimas
- Fokuso reguliavimas: Rotate the lens ring (refer to Figure 2.4) until the projected image is clear and sharp.
- Keystone korekcija: Use the keystone adjustment dial (refer to Figure 2.5) to correct trapezoidal distortion if the projector is not perfectly perpendicular to the screen.
4.3 Įvesties šaltinio pasirinkimas
After connecting your desired input device, press the "Source" button on the remote control or the projector's function panel to cycle through available input options (HDMI, VGA, AV, USB, SD Card) and select the correct one.
4.4 Media Playback (USB/SD Card)
Insert a USB flash drive or SD card into the respective port. The projector's interface will typically prompt you to select the media type (e.g., Photo, Music, Movie, Text) for playback. Navigate using the remote control's arrow keys and "OK" button.
5. Priežiūra
5.1 Objektyvo valymas
Gently wipe the projector lens with a soft, lint-free cloth specifically designed for optical surfaces. Do not use abrasive cleaners or excessive force, as this can scratch the lens.
5.2 Vėdinimas
Ensure the projector's ventilation vents (refer to Figure 2.4) are clear of obstructions to allow for proper airflow. Blocked vents can lead to overheating and reduced lamp gyvenimą.
5.3 Lamp Gyvenimas
The Crenova XPE350 projector features a long-life lamp, estimated at 20,000 hours under normal operating conditions, thanks to its SmartEco technology.

5.1 paveikslas: Illustration highlighting the Crenova XPE350 projector's long lamp life of 20,000 hours, supported by SmartEco technology, indicating energy efficiency and durability.
6. Problemų sprendimas
- Nėra galios:
- Įsitikinkite, kad maitinimo adapteris yra tvirtai prijungtas tiek prie projektoriaus, tiek prie veikiančio elektros lizdo.
- Patikrinkite, ar šviečia maitinimo indikatoriaus lemputė.
- Nėra paveiksliuko:
- Verify that the correct input source is selected (HDMI, VGA, AV, USB, SD).
- Patikrinkite visas kabelių jungtis tarp projektoriaus ir šaltinio įrenginio.
- Įsitikinkite, kad šaltinio įrenginys įjungtas ir skleidžia signalą.
- Neryškus vaizdas:
- Sureguliuokite objektyvo fokusavimo žiedą, kol vaizdas bus ryškus.
- Įsitikinkite, kad projektavimo paviršius yra lygus, o projektorius yra optimaliu atstumu.
- Vaizdas yra trapecijos formos:
- Use the keystone adjustment dial to correct the image shape.
- Pastatykite projektorių kuo statmeniau ekranui.
- Nėra garso:
- Patikrinkite garsumo nustatymus ir projektoriuje, ir šaltinio įrenginyje.
- If using external speakers, ensure they are properly connected to the headphone jack and powered on.
- For HDMI connections, ensure the source device is sending audio.
- Nuotolinio valdymo pultas neveikia:
- Įsitikinkite, kad tarp nuotolinio valdymo pulto ir projektoriaus IR imtuvo nėra jokių kliūčių.
- Pakeiskite nuotolinio valdymo pulto baterijas.
7. Specifikacijos
| Funkcija | Specifikacija |
|---|---|
| Modelis | XPE350 |
| Prekės ženklas | Krenova |
| Rezoliucija | 480x320 |
| Ryškumas | 150 liumenų |
| Lamp Gyvenimas | 20,000 hours (SmartEco) |
| Ypatinga funkcija | Nešiojami |
| Formos faktorius | Nešiojami |
| Montavimo tipas | Stalviršio laikiklis |
| Prekės svoris | 2.45 svaro |
| Pakuotės matmenys | 11.2 x 7.1 x 4.4 colio |
| Spalva | 150 Lumens-Black |
8. Garantija ir palaikymas
For warranty information or technical support, please refer to the documentation included with your purchase or contact Crenova customer service. Keep your purchase receipt as proof of purchase for warranty claims.
For further assistance, please visit the official Crenova websvetainėje arba susisiekite su jų palaikymo kanalais.


