1. Įvadas
This manual provides essential information for the safe and efficient operation of your InFocus IN112a SVGA DLP Projector. Please read it thoroughly before using the projector and retain it for future reference. The InFocus IN112a is designed to deliver clear and bright projections for various applications, featuring SVGA resolution, HDMI connectivity, and 3D support.
2. Saugos informacija
Kad nesugadintumėte projektoriaus ir užtikrintumėte naudotojo saugumą, laikykitės šių saugos priemonių:
- Do not look directly into the projector lens kai lamp įjungtas. Intensyvi šviesa gali pažeisti akis.
- Užtikrinkite tinkamą vėdinimą. Neužblokuokite ventiliacijos angų.
- Only qualified service personnel should open the projector casing. Viduje nėra dalių, kurias galėtų aptarnauti vartotojas.
- Naudokite tik prie projektoriaus pridėtą maitinimo laidą.
- Laikykite projektorių toliau nuo vandens ar drėgnos aplinkos.
- Projektorius lamp contains mercury. Dispose of lamps according to local regulations. Visit www.lamprecycle.org Norėdami gauti daugiau informacijos.

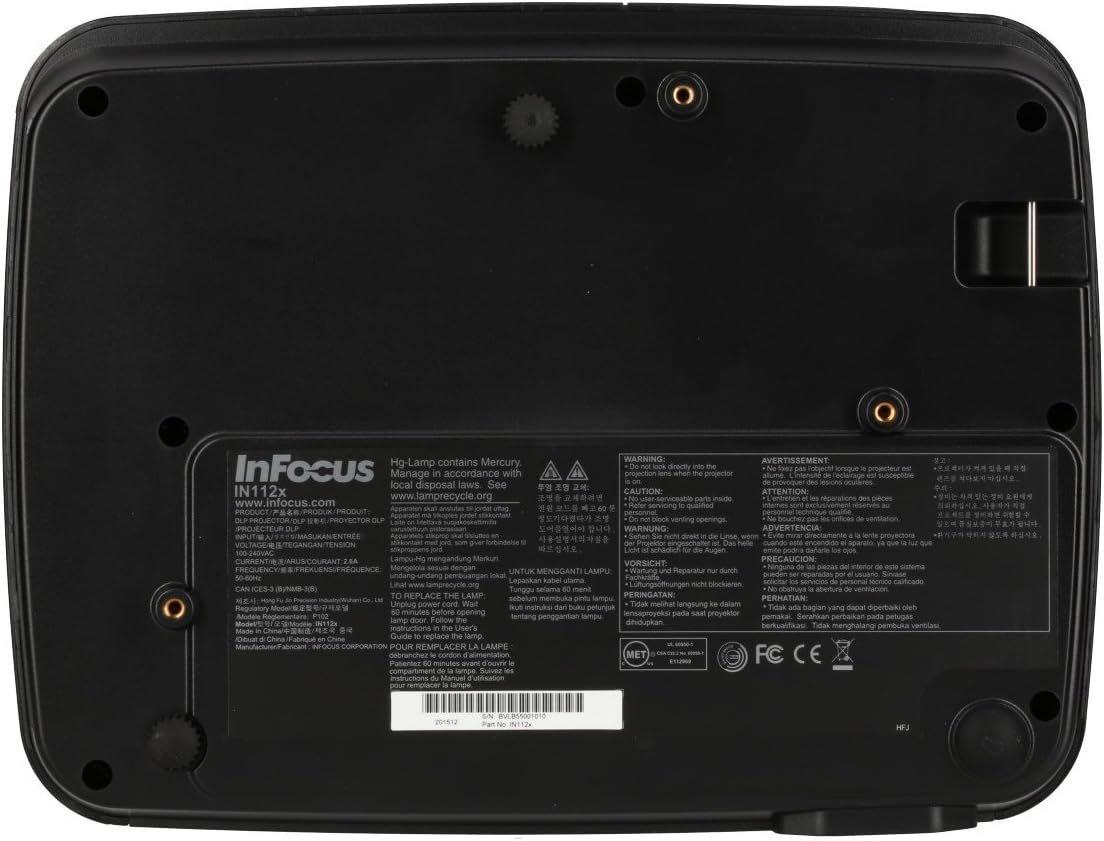
Vaizdas: Apačia view of the InFocus IN112a projector, displaying various warning labels, regulatory compliance marks (like CE, FCC), and information regarding the mercury content in the lamp ir perdirbimo instrukcijas.
3. Produktas baigtasview
3.1. Projector Dimensions

Vaizdas: priekis view of the InFocus IN112a projector, illustrating its physical dimensions. The projector measures approximately 292 mm in width, 220 mm in depth, and 108 mm in height.
3.2. Viršutinio skydelio valdikliai
Vaizdas: Viršus view of the InFocus IN112a projector, highlighting the control panel. This panel includes buttons for power, menu access, source selection, and directional navigation for menu adjustments.
The top panel features buttons for power on/off, menu access, input source selection, and navigation arrows for adjusting settings within the on-screen display (OSD) menu. The focus and zoom rings are located near the lens.
3.3. Galinio skydelio jungtys

Vaizdas: Galinis view of the InFocus IN112a projector, displaying its comprehensive array of connectivity ports. These include HDMI 1.4, two VGA inputs (Computer 1, Computer 2), a VGA monitor output, S-Video, Composite video, two 3.5mm stereo audio inputs, one 3.5mm stereo audio output, an RS232C control port, and a USB-B port.
The rear panel provides a variety of connection options:
- HDMI 1.4: Skaitmeniniam vaizdo ir garso įėjimui.
- VGA (Computer 1, Computer 2): Two inputs for analog computer signals.
- VGA Monitor Out: Skirta išoriniam monitoriui prijungti.
- Sudėtinis vaizdo įrašas: Standartinės raiškos vaizdo įvesčiai.
- „S-Video“: For enhanced standard definition video input.
- Audio In (3.5mm x 2): For stereo audio input.
- Garso išvestis (3.5 mm): For stereo audio output to external speakers.
- RS232C: Projektoriaus valdymui kompiuteriu arba valdymo sistema.
- USB-B: Dėl techninės priežiūros arba programinės įrangos atnaujinimų.
4. Sąranka
4.1. Įdėjimas
Position the projector on a stable, flat surface or mount it securely to a ceiling. Ensure there is adequate space around the projector for ventilation. The distance from the screen will determine the image size. Refer to the specifications section for throw ratio details.
4.2. Maitinimo prijungimas
Connect the supplied power cord to the projector's power inlet and then to a grounded electrical outlet. The power LED will illuminate, indicating standby mode.
4.3. Vaizdo šaltinių prijungimas
Connect your video source (e.g., computer, Blu-ray player, cable box) to the appropriate input port on the projector's rear panel using a compatible cable. For best quality, use the HDMI input.
- HDMI: Connect an HDMI cable from your source to the projector's HDMI port.
- VGA: Connect a VGA cable from your computer to either the Computer 1 or Computer 2 port.
- Composite/S-Video: Connect the respective cable for older video sources.
4.4. Garso prijungimas
If using VGA, Composite, or S-Video inputs, connect an audio cable from your source's audio output to one of the projector's 3.5mm Audio In ports. HDMI carries both video and audio, so a separate audio connection is not typically needed for HDMI sources.
4.5. Fokusavimo ir priartinimo reguliavimas
After powering on the projector and displaying an image, rotate the Fokusavimo žiedas around the lens until the image is sharp and clear. Use the Zoom žiedas , kad pakoreguotumėte vaizdo dydį pagal savo ekraną.
5. Operacija
5.1. Įjungimas/išjungimas
- Norėdami įjungti: Press the Power button on the projector's top panel or the remote control. The power indicator will turn green.
- Norėdami išjungti: Press the Power button twice. The projector will enter a cooling cycle, and the power indicator will turn red (standby) once complete.
5.2. Įvesties šaltinio pasirinkimas
Press the "Source" button on the projector or remote control repeatedly to cycle through available input sources (HDMI, VGA1, VGA2, S-Video, Video). The projector will automatically detect an active signal if "Auto Source" is enabled in the menu.
5.3. Meniu naršymas
Press the "Menu" button to access the On-Screen Display (OSD) menu. Use the directional arrows to navigate through menu options and the "Enter" button to select. Press "Menu" again to exit.
5.4. 3D Content Playback
The IN112a supports 3D content from Blu-ray players, cable boxes, dish services (over HDMI), and PC-based 3D content at 120Hz. To view 3D content, you will need 144 Hz DLP Link 3D glasses (sold separately).
- Ensure your 3D source is connected via HDMI.
- Play 3D content from your source.
- Turn on your 144 Hz DLP Link 3D glasses. The projector should automatically detect the 3D signal.
6. Priežiūra
6.1. Cleaning the Projector Lens
Gently wipe the lens with a soft, lint-free cloth specifically designed for optical surfaces. Do not use abrasive cleaners or excessive force, as this can scratch the lens.
6.2. Lamp Pakeitimas
Projektorius lamp tarnavimo laikas yra iki 10 000 valandų. Kai lamp life is nearing its end, a warning message may appear, or the lamp indicator LED may illuminate. Refer to the full service manual for detailed lamp pakeitimo instrukcijos. Įspėjimas: Lamp yra gyvsidabrio. Išmeskite naudotą lamppagal vietinius aplinkosaugos reglamentus.
6.3. Oro filtrų valymas
Regularly clean the air filters to ensure proper ventilation and prevent overheating. Dust and debris can accumulate, reducing cooling efficiency. Gently remove the filter cover and clean the filter with a soft brush or vacuum cleaner. Replace the filter cover securely.
7. Problemų sprendimas
| Problema | Galima priežastis | Sprendimas |
|---|---|---|
| Vaizdas nerodomas |
|
|
| Vaizdas neryškus |
|
|
| Nėra garso |
|
|
| Projektorius perkaito ir išsijungia |
|
|
8. Specifikacijos
| Funkcija | Detalė |
|---|---|
| Modelio numeris | IN112X |
| Ekrano technologija | DLP |
| Gimtoji raiška | SVGA (800 x 600) |
| Ryškumas | Iki 3200 liumenų |
| Kontrasto santykis | 15,000:1 |
| Lamp Gyvenimas | Iki 10,000 valandų |
| Ryšys | HDMI 1.4, VGA x 2, Composite video, S-Video, 3.5 mm stereo in x 2, 3.5mm stereo out, VGA monitor out, RS232C, USB-B |
| 3D palaikymas | Yes (requires 144 Hz DLP Link 3D glasses) |
| Metimo santykis | 1.9 - 2.09 |
| Gaminio matmenys | 14.25 x 12 x 7.75 colio (apytiksliai 36.2 x 30.5 x 19.7 cm) |
| Prekės svoris | 5.4 svaro (apie 2.45 kg) |
| Rekomenduojamas naudojimas | Viduje/lauke |
| Ypatinga funkcija | Integruoti garsiakalbiai |
9. Garantija ir palaikymas
For warranty information and technical support, please refer to the documentation included with your purchase or visit the official InFocus websvetainėje. Išsaugokite pirkimo įrodymą garantiniams reikalavimams.


