1. Įvadas
This manual provides instructions for the safe and efficient operation of your Pretul LED Rechargeable Flashlight, Model 24080. Please read this manual thoroughly before use and retain it for future reference.

Image 1.1: Packaging of the Pretul LED Rechargeable Flashlight, Model 24080. The packaging displays the brand "Pretul", model number "24080 LILE-5P", "RECARGABLE RECHARGEABLE", "Linterna plástica Plastic flashlight LED", "Ángulo del haz Cerrado 10°", "150m", "70 LÚMENES", "6.5h DURACIÓN", and "2X BATERÍA ION LITIO".
2. Saugos informacija
Always observe the following safety precautions to prevent injury or damage to the flashlight:
- Nežiūrėkite tiesiai į LED šviesą.
- Laikyti vaikams nepasiekiamoje vietoje.
- Nebandykite ardyti ar modifikuoti žibintuvėlio.
- Saugokite, kad žibintuvėlis nepatektų į ekstremalią temperatūrą ar drėgmę.
- Use only the specified charging method.
3. Produktas baigtasview
The Pretul LED Rechargeable Flashlight is designed for general illumination. It features a durable ABS plastic body and an integrated rechargeable battery.
3.1 Komponentai
- LED šviesos šaltinis
- Maitinimo mygtukas
- Rechargeable Battery (internal)
- Integrated Charging Plug
- ABS Plastic Casing

3.1 vaizdas: priekis view of the Pretul LED Rechargeable Flashlight. The image shows the yellow body of the flashlight with a black front bezel around the lens and a black power button on top.
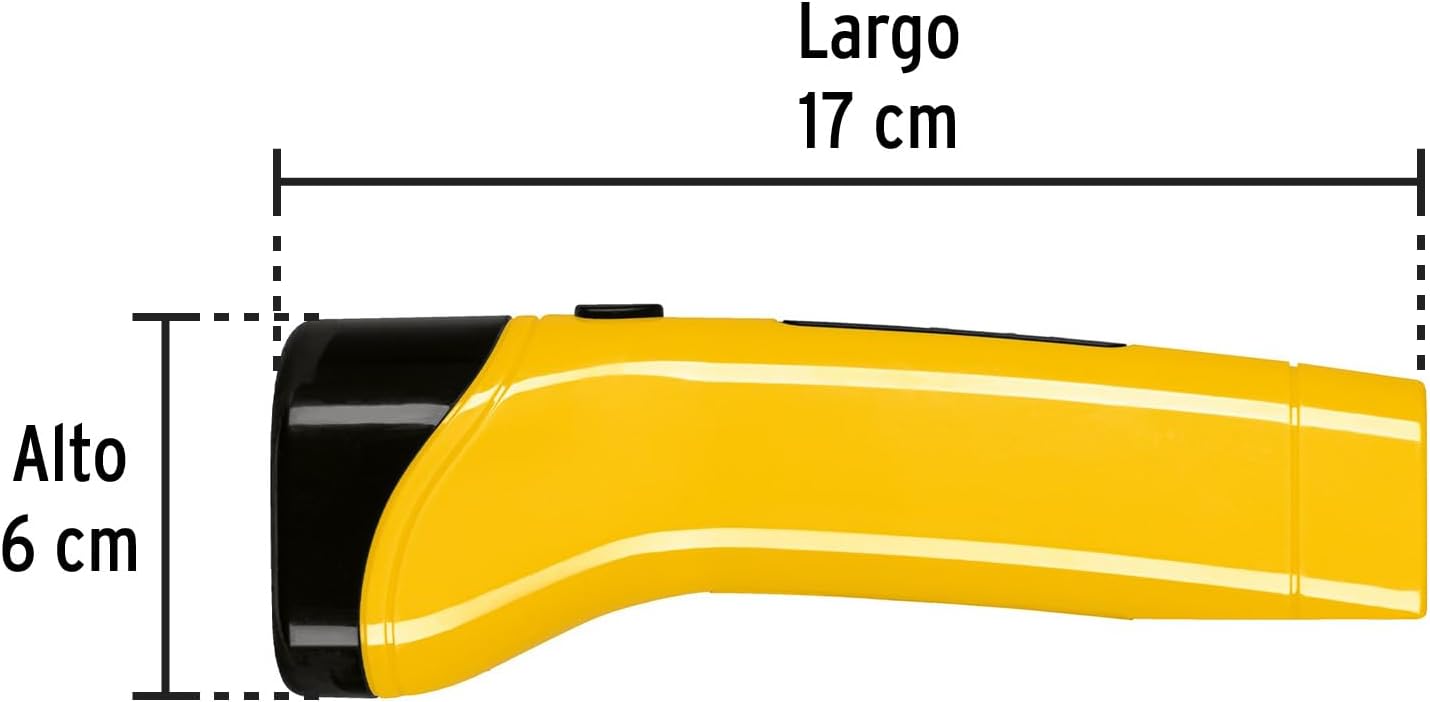
3.2 paveikslėlis: Šonas view of the Pretul LED Rechargeable Flashlight. This view highlights the ergonomic shape of the yellow ABS plastic body and the black front section.

3.3 paveikslas: Nugara view of the Pretul LED Rechargeable Flashlight. This image shows the rear of the flashlight, which typically houses the integrated charging plug.
4. Sąranka
4.1 Pradinis mokestis
Before first use, fully charge the flashlight. The flashlight features an integrated plug for direct connection to an electrical outlet.
- Locate the integrated charging plug at the rear of the flashlight.
- Extend the plug and insert it directly into a standard electrical outlet (120V AC).
- The charging indicator light (if present) will illuminate, indicating the flashlight is charging.
- Pilnam įkrovimui pakanka maždaug 6.5 valandų.
- Once fully charged, remove the flashlight from the outlet and retract the plug.

Image 4.1: Diagram illustrating the direct connection of the flashlight's integrated plug into an electrical outlet for charging. The text "Conexión directa a la corriente eléctrica" translates to "Direct connection to electrical current".
5. Naudojimo instrukcijos
5.1 Įjungimas / išjungimas
Press the power button located on the top of the flashlight to turn the light on. Press the button again to turn the light off.
5.2 Light Beam Characteristics
The flashlight provides a focused beam with a 10-degree closed angle, capable of illuminating objects up to 150 meters away.
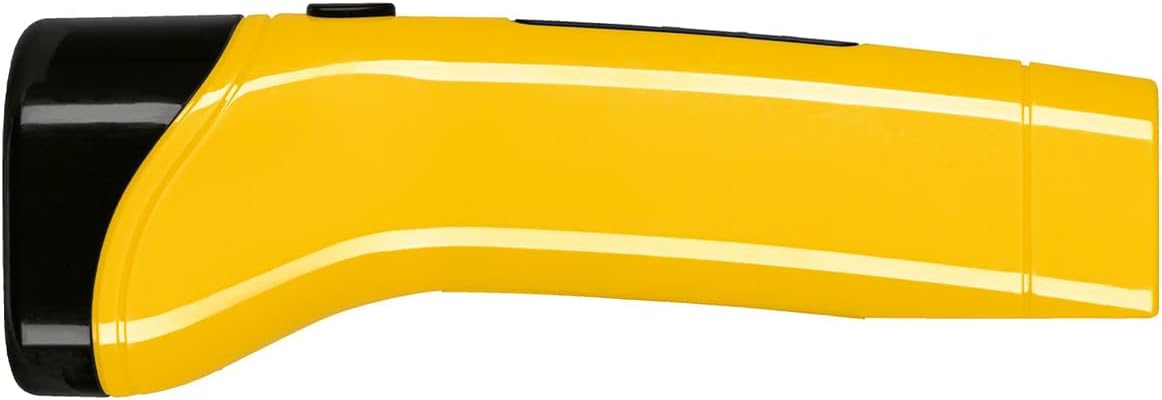
Image 5.1: Diagram illustrating the flashlight's beam characteristics. It shows a "Haz de ángulo cerrado" (closed angle beam) of 10 degrees and a projection distance of "150 m".
6. Priežiūra
6.1 Valymas
Wipe the flashlight with a soft, dry cloth. Do not use abrasive cleaners or solvents.
6.2 Akumuliatoriaus priežiūra
To prolong battery life, recharge the flashlight regularly, even if not in frequent use. Avoid completely draining the battery before recharging.
7. Problemų sprendimas
| Problema | Galima priežastis | Sprendimas |
|---|---|---|
| Žibintuvėlis neįsijungia. | Baterija išsikrovusi. | Charge the flashlight for 6.5 hours. |
| Šviesa blanki. | Žemas akumuliatoriaus įkrovimas. | Įkraukite žibintuvėlį. |
| Žibintuvėlis neįkraunamas. | Improper connection to outlet; faulty outlet. | Ensure plug is fully inserted. Try a different electrical outlet. |
8. Specifikacijos
| Funkcija | Detalė |
|---|---|
| Modelis | 24080 (LILE-5P) |
| Prekės ženklas | Kaina |
| Šviesos šaltinis | LED |
| Ryškumas | 20 Lumens (as per product description) / 70 Lumens (as per packaging image) |
| Spindulio kampas | 10 degrees (closed angle) |
| Sijos atstumas | Iki 150 metrų |
| Maitinimo šaltinis | Įkraunama baterija (ličio jonų) |
| Įkrovimo laikas | Maždaug 6.5 val |
| Medžiaga | ABS Plastic (primary) / Aluminum (as per some specifications) |
| Prekės svoris | 0.23 kilogramo (8.2 uncijos) |
| Pakuotės matmenys | 10.5 x 4 x 2.5 colio |
Note: There is a discrepancy in the listed brightness. The product title and description state 20 lumens, while the packaging image indicates 70 lumens. Please refer to the product packaging for the most accurate information.
9. Garantija ir palaikymas
The product packaging indicates a 1-year warranty. For warranty claims or technical support, please contact Pretul customer service through their official channels. Refer to the product packaging or Pretul's official websvetainė kontaktinei informacijai.


