1. Įvadas
This manual provides detailed instructions for the installation, operation, and maintenance of the GeoVision GV-MFD2501-6F 2MP Mini Fixed Dome IP Security Camera. Please read this manual thoroughly before using the product to ensure proper setup and functionality. Keep this manual for future reference.
1.1 Produktas baigtasview
The GV-MFD2501-6F is a compact 2-megapixel mini fixed dome IP camera designed for various surveillance applications. It features a 2.3mm lens, super low lux capabilities, and supports network connectivity for remote monitoring.
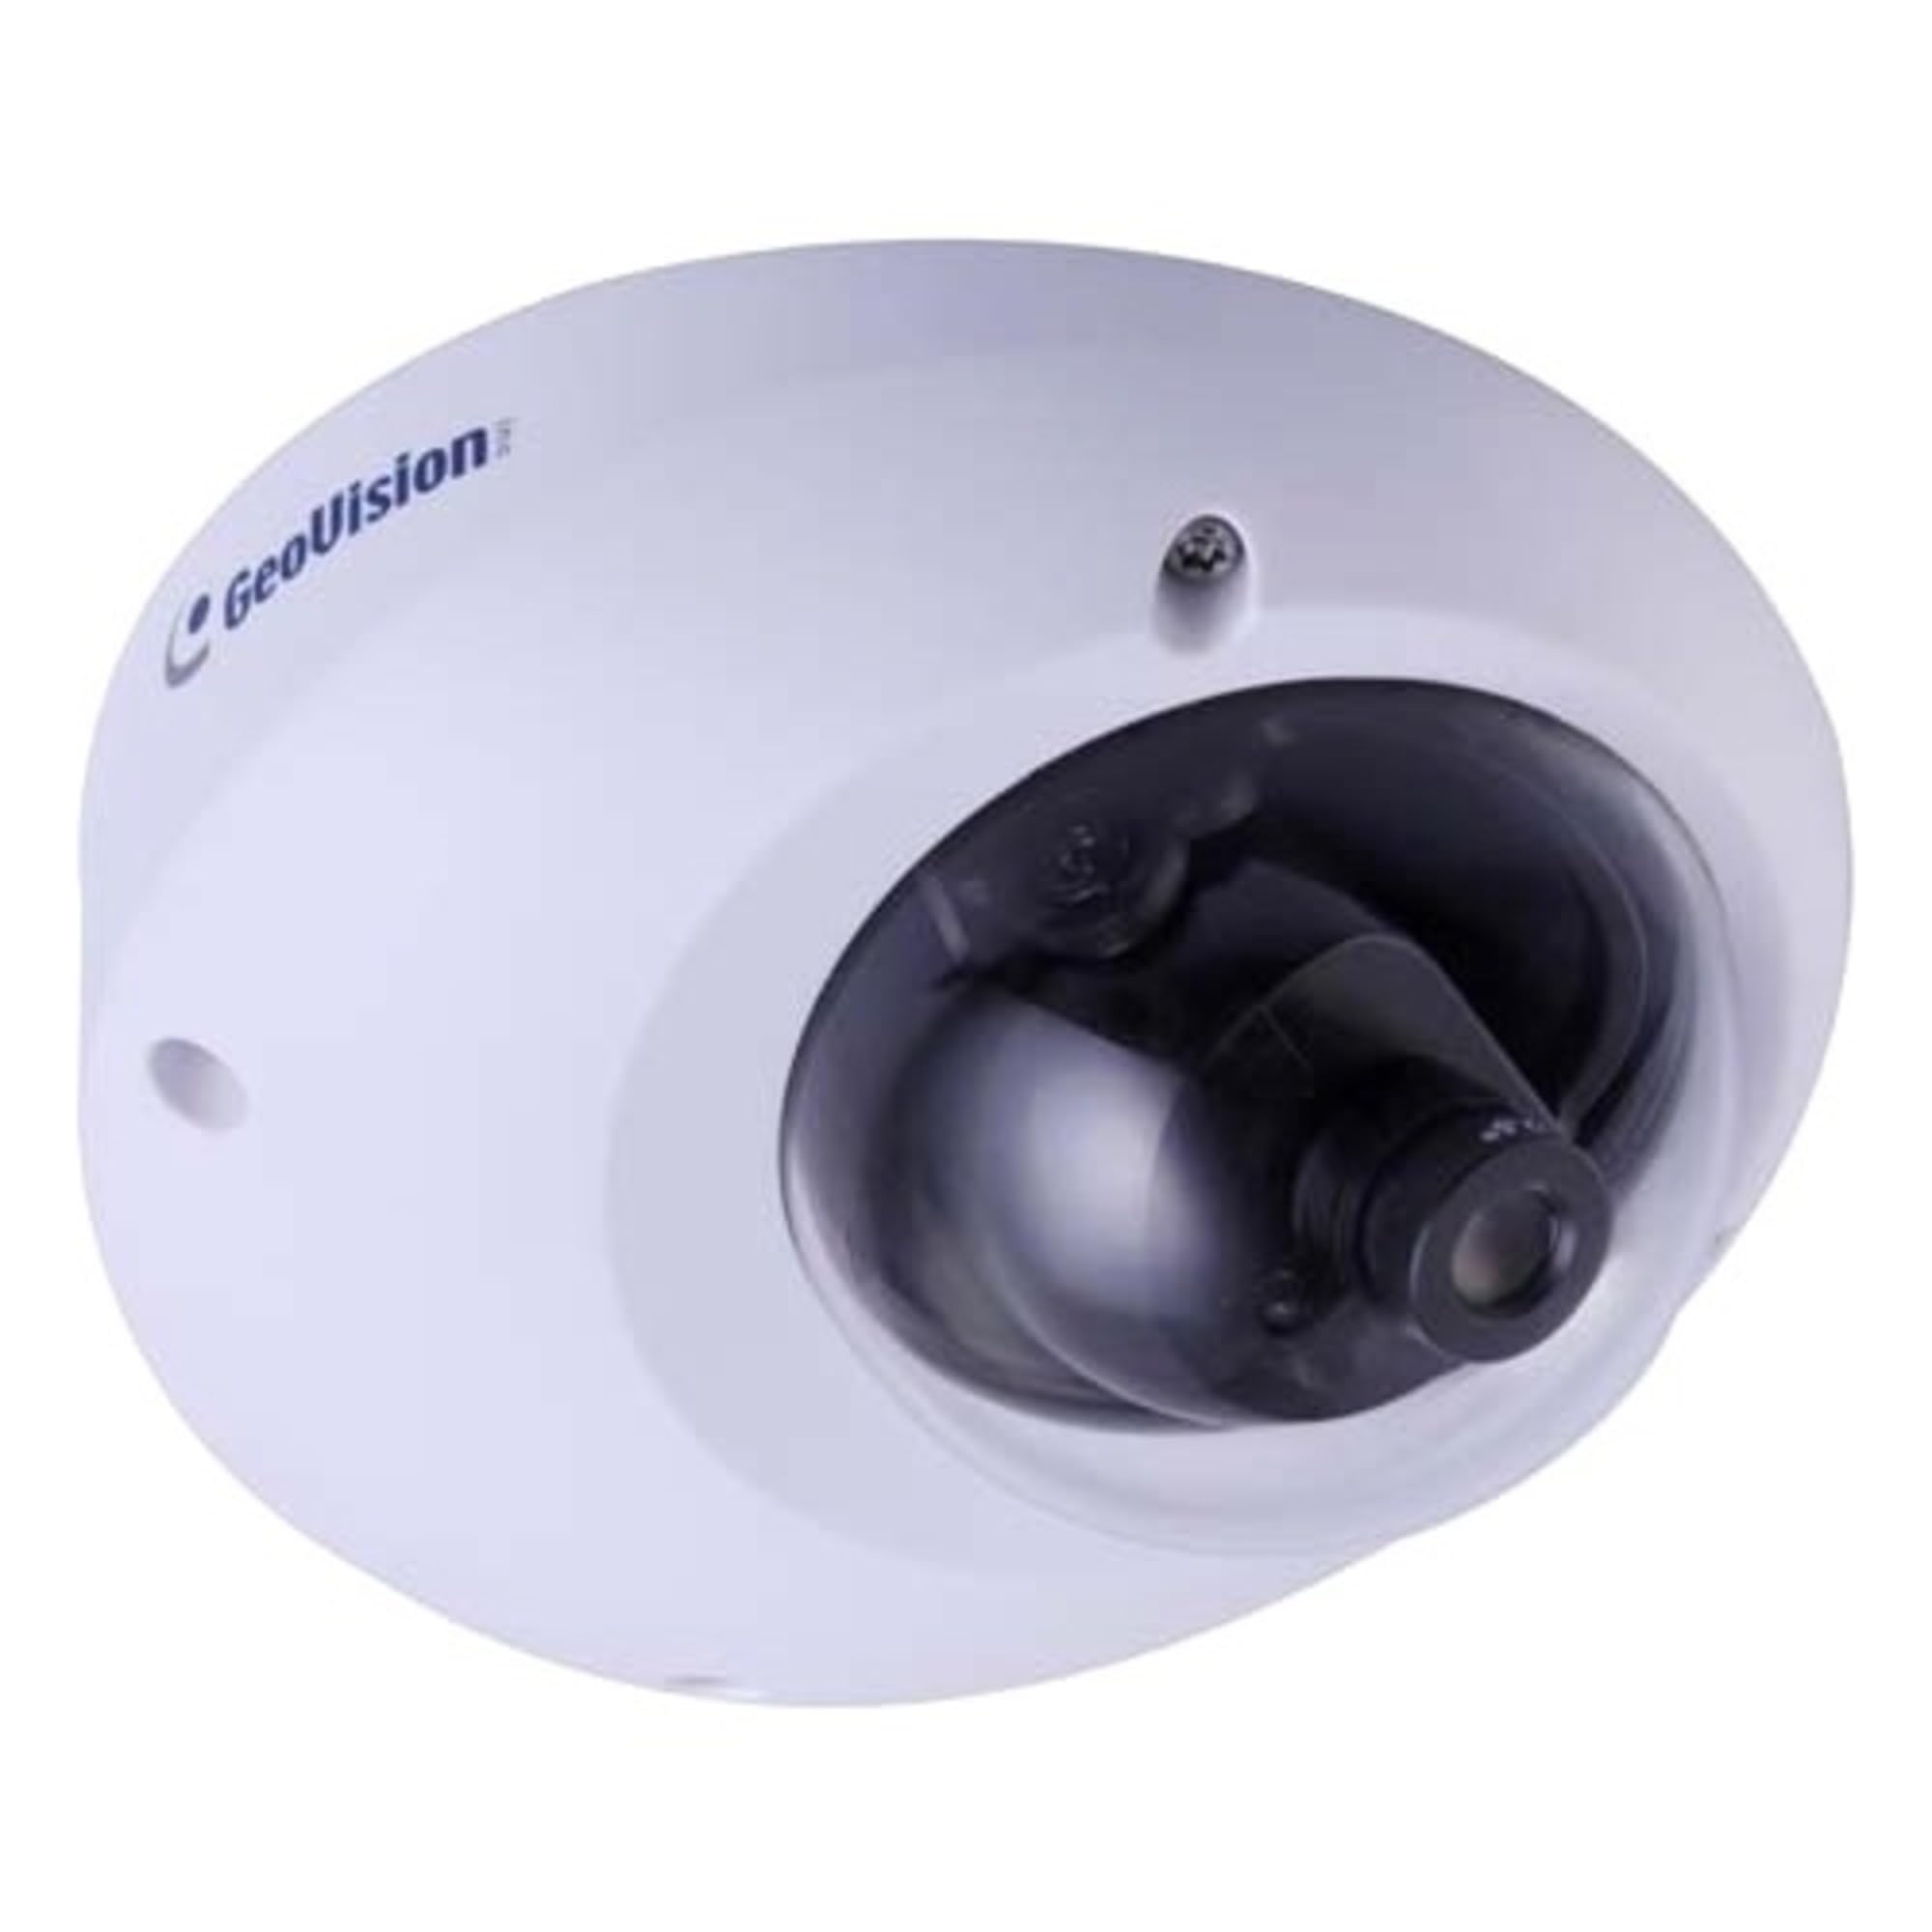
Figure 1.1: GeoVision GV-MFD2501-6F Mini Fixed Dome IP Security Camera. This image shows the compact design of the camera, highlighting its dome shape and lens.
1.2 Pakuotės turinys
Verify that all items are present in the package. If any items are missing or damaged, contact your dealer immediately.
- GV-MFD2501-6F IP Camera
- Montavimo varžtų komplektas
- Diegimo vadovas
- Programinės įrangos kompaktinis diskas (arba atsisiuntimo nuoroda)
- Vandeniui atspari jungtis (jei taikoma)
2. Saugos informacija
WARNING: To prevent fire or shock hazard, do not expose this unit to rain or moisture.
- Use only the power adapter specified for this device.
- Do not open the camera housing. Refer all servicing to qualified personnel.
- Avoid placing the camera in direct sunlight, near heat sources, or in areas with high humidity or dust.
- Užtikrinkite tinkamą vėdinimą aplink kamerą.
- Prieš valydami ar atlikdami techninę priežiūrą, atjunkite maitinimą.
3. Sąranka
3.1 Fizinis įrengimas
The GV-MFD2501-6F is designed for indoor use. Choose a suitable mounting location that provides the desired field of view ir yra pasiekiamas tinklo ir maitinimo kabeliais.
- Paruoškite montavimo paviršių: Gręžimo skylėms pažymėti naudokite pateiktą tvirtinimo šabloną (jei yra).
- Gręžimo skylės: Išgręžkite pagrindines skyles tvirtinimo varžtams.
- Apsaugokite fotoaparatą: Attach the camera base to the mounting surface using the provided screws.
- Sureguliuoti kampą: Loosen the adjustment screws to position the camera lens for the desired viewing angle, then tighten the screws to secure it.
Figure 3.1: Illustrative diagram of camera mounting. This image would typically show the steps for securing the camera to a ceiling or wall, including screw placement and cable routing.
3.2 Laidai ir jungtys
Connect the camera to your network and power source.
- Ethernet kabelis: Connect an Ethernet cable from your network switch or router to the camera's RJ-45 port. If using Power over Ethernet (PoE), this single cable provides both power and data.
- Maitinimo adapteris (jei nenaudojate PoE): If PoE is not available, connect a compatible 12V DC power adapter (not included) to the camera's power input port.
Figure 3.2: Diagram showing camera wiring connections. This image would illustrate how to connect the Ethernet cable and, if necessary, the power adapter to the camera's ports.
3.3 Pradinė tinklo konfigūracija
After physical installation and connection, configure the camera for network access.
- Maitinimas: Prijunkite kamerą prie maitinimo šaltinio. Kamera atliks savikontrolės testą.
- Atraskite kamerą: Use the GeoVision GV-IP Device Utility (available on the GeoVision website) to discover the camera on your local network. The utility will display the camera's IP address.
- Prieiga Web Sąsaja: Atidarykite a web browser (e.g., Chrome, Firefox) and enter the camera's IP address in the address bar.
- Prisijungimas: Enter the default username (e.g., "admin") and password (e.g., "admin" or "1234"). You will be prompted to change the password upon first login for security.
- Tinklo nustatymai: Navigate to the network settings to configure IP address (DHCP or Static), subnet mask, gateway, and DNS settings as required by your network environment.
4. Naudojimo instrukcijos
Once configured, the camera can be accessed and managed through its web interface or compatible GeoVision VMS software.
4.1 Tiesiogiai View
Iš web interface, navigate to the "Live View" section to see the real-time video feed from the camera. You can adjust video stream settings such as resolution, frame rate, and quality here.
4.2 Įrašymo nustatymai
Configure recording schedules, motion detection recording, and continuous recording options. Recordings can be stored on a network-attached storage (NAS), local storage (if supported), or a GeoVision NVR/VMS.
4.3 Judesio aptikimas
Set up motion detection zones and sensitivity levels. When motion is detected, the camera can trigger recording, send email alerts, or activate other alarm outputs.
4.4 Nuotolinė prieiga
To access the camera remotely, ensure your network router is configured for port forwarding (if not using a VPN or cloud service). Refer to your router's manual for port forwarding instructions. GeoVision also offers mobile applications for remote viewing.
5. Priežiūra
5.1 Kameros valymas
Regularly clean the camera lens and housing to ensure optimal image quality. Use a soft, dry cloth. For stubborn dirt, a slightly damp Galima naudoti šluostę su švelniu plovikliu, po to nusausinti sausą šluostę. Nenaudokite abrazyvinių valiklių ar tirpiklių.
5.2 Firmware atnaujinimai
Reguliariai tikrinkite „GeoVision“ website for firmware updates. Firmware updates can provide new features, performance improvements, and security enhancements. Follow the instructions provided with the firmware update package carefully.
5.3 Slaptažodžių valdymas
Regularly change your camera's password to a strong, unique password to prevent unauthorized access.
6. Problemų sprendimas
| Problema | Galima priežastis | Sprendimas |
|---|---|---|
| Kamera nemaitinama | Power adapter unplugged or faulty; PoE not active. | Check power connections. Ensure PoE switch/injector is active. Test with a known good power source. |
| Nėra vaizdo kanalo | Network cable disconnected; incorrect IP address; firewall blocking access. | Verify Ethernet cable connection. Use GV-IP Device Utility to find camera. Check network settings and firewall rules. |
| Nepavyksta prisijungti | Incorrect username/password. | Ensure correct credentials. If forgotten, refer to the GeoVision website for password reset procedures (may require physical access). |
| Prasta vaizdo kokybė | Dirty lens; improper focus; low light conditions; incorrect video settings. | Clean the lens. Adjust focus if applicable. Ensure adequate lighting. Check resolution, frame rate, and compression settings. |
7. Specifikacijos
The following are key specifications for the GeoVision GV-MFD2501-6F camera:
- Modelis: 84-MFD2501-6F1U
- Rezoliucija: 2 megapikselio
- Objektyvas: 2.3 mm fiksuotas objektyvas
- Ryšys: Bevielis Note: While "Wireless" is listed in specifications, this IP camera primarily uses wired Ethernet for reliable data transmission and PoE. Wireless functionality may refer to specific optional modules or control methods.
- Galia: PoE (maitinimas per Ethernet) arba 12 V nuolatinė srovė (adapteris nepridedamas)
- Matmenys: Maždaug 21 x 18.6 x 9.3 cm (siuntinio matmenys)
- Svoris: Approximately 487 g (Parcel Weight)
- Darbinė temperatūra: (Information not provided, typical range is -10°C to 50°C)
- Gamintojas: GeoVision
8. Garantija ir palaikymas
8.1 Informacija apie garantiją
GeoVision products typically come with a limited warranty. For specific warranty terms and conditions, please refer to the warranty card included with your product or visit the official GeoVision websvetainėje. Išsaugokite pirkimo įrodymą garantiniams reikalavimams.
8.2 Techninė pagalba
For technical assistance, product inquiries, or troubleshooting beyond this manual, please contact GeoVision customer support or your authorized GeoVision dealer. Visit the official GeoVision websvetainė (www.geovision.com.tw) for support resources, FAQs, and contact information.


