1. Įvadas
The TP-Link AD7200 Wireless Wi-Fi Tri-Band Gigabit Router, model Talon AD7200, is designed to provide advanced wireless connectivity for your home or office network. This router utilizes 802.11ad technology to deliver ultra-fast, multi-band Wi-Fi speeds across 2.4GHz, 5GHz, and 60GHz bands. Key features include 4-Stream technology, MU-MIMO for efficient multi-device performance, beamforming for targeted signals, and a powerful 1.4GHz dual-core CPU for uninterrupted high-speed connections.
This manual provides essential information for the proper installation, configuration, and use of your Talon AD7200 router.
2. Kas yra dėžutėje
Prašome patikrinti, ar pakuotėje yra visi reikalingi daiktai:
- Talon AD7200 Multi-Band Wi-Fi Router
- Maitinimo blokas
- Ethernet kabelis
- Greito montavimo vadovas
3. Sąranka
3.1 Fizinis ryšys
- Išjungti: Disconnect the power from your modem and router (if replacing an existing one).
- Prijungti modemą: Connect one end of the provided Ethernet cable to your modem's LAN port and the other end to the blue 'Internet' port on the back of the Talon AD7200 router.
- Įjungus modemą: Power on your modem and wait for it to fully initialize (usually indicated by stable status lights).
- Maršrutizatoriaus įjungimas: Connect the power adapter to the router's power input and plug it into a power outlet. Press the Power On/Off button if necessary. Wait for the router's indicator lights to stabilize.

1 pav.: galinis view of the Talon AD7200 router with power and Ethernet connections. The blue port is for the internet connection from your modem, and the yellow ports are for wired LAN devices.
3.2 Pradinė konfigūracija
Maršrutizatorių galite konfigūruoti naudodami web naršyklėje arba „TP-Link Tether“ programėlėje.
- Prisijunkite prie maršrutizatoriaus: Connect your computer or mobile device to the router's default Wi-Fi network (SSID and password are typically found on a label on the bottom of the router). Alternatively, connect a computer to one of the yellow LAN ports using an Ethernet cable.
- Prieigos valdymo sąsaja: Atidarykite a web naršyklę ir įveskite numatytąjį prieigos adresą (pvz.,
http://tplinkwifi.netorhttp://192.168.0.1). Follow the on-screen instructions to create a login password and set up your Wi-Fi network name (SSID) and password. - Antenos padėtis: For optimal signal strength and coverage, position the router's antennas vertically. Adjust them as needed to improve signal in specific areas.
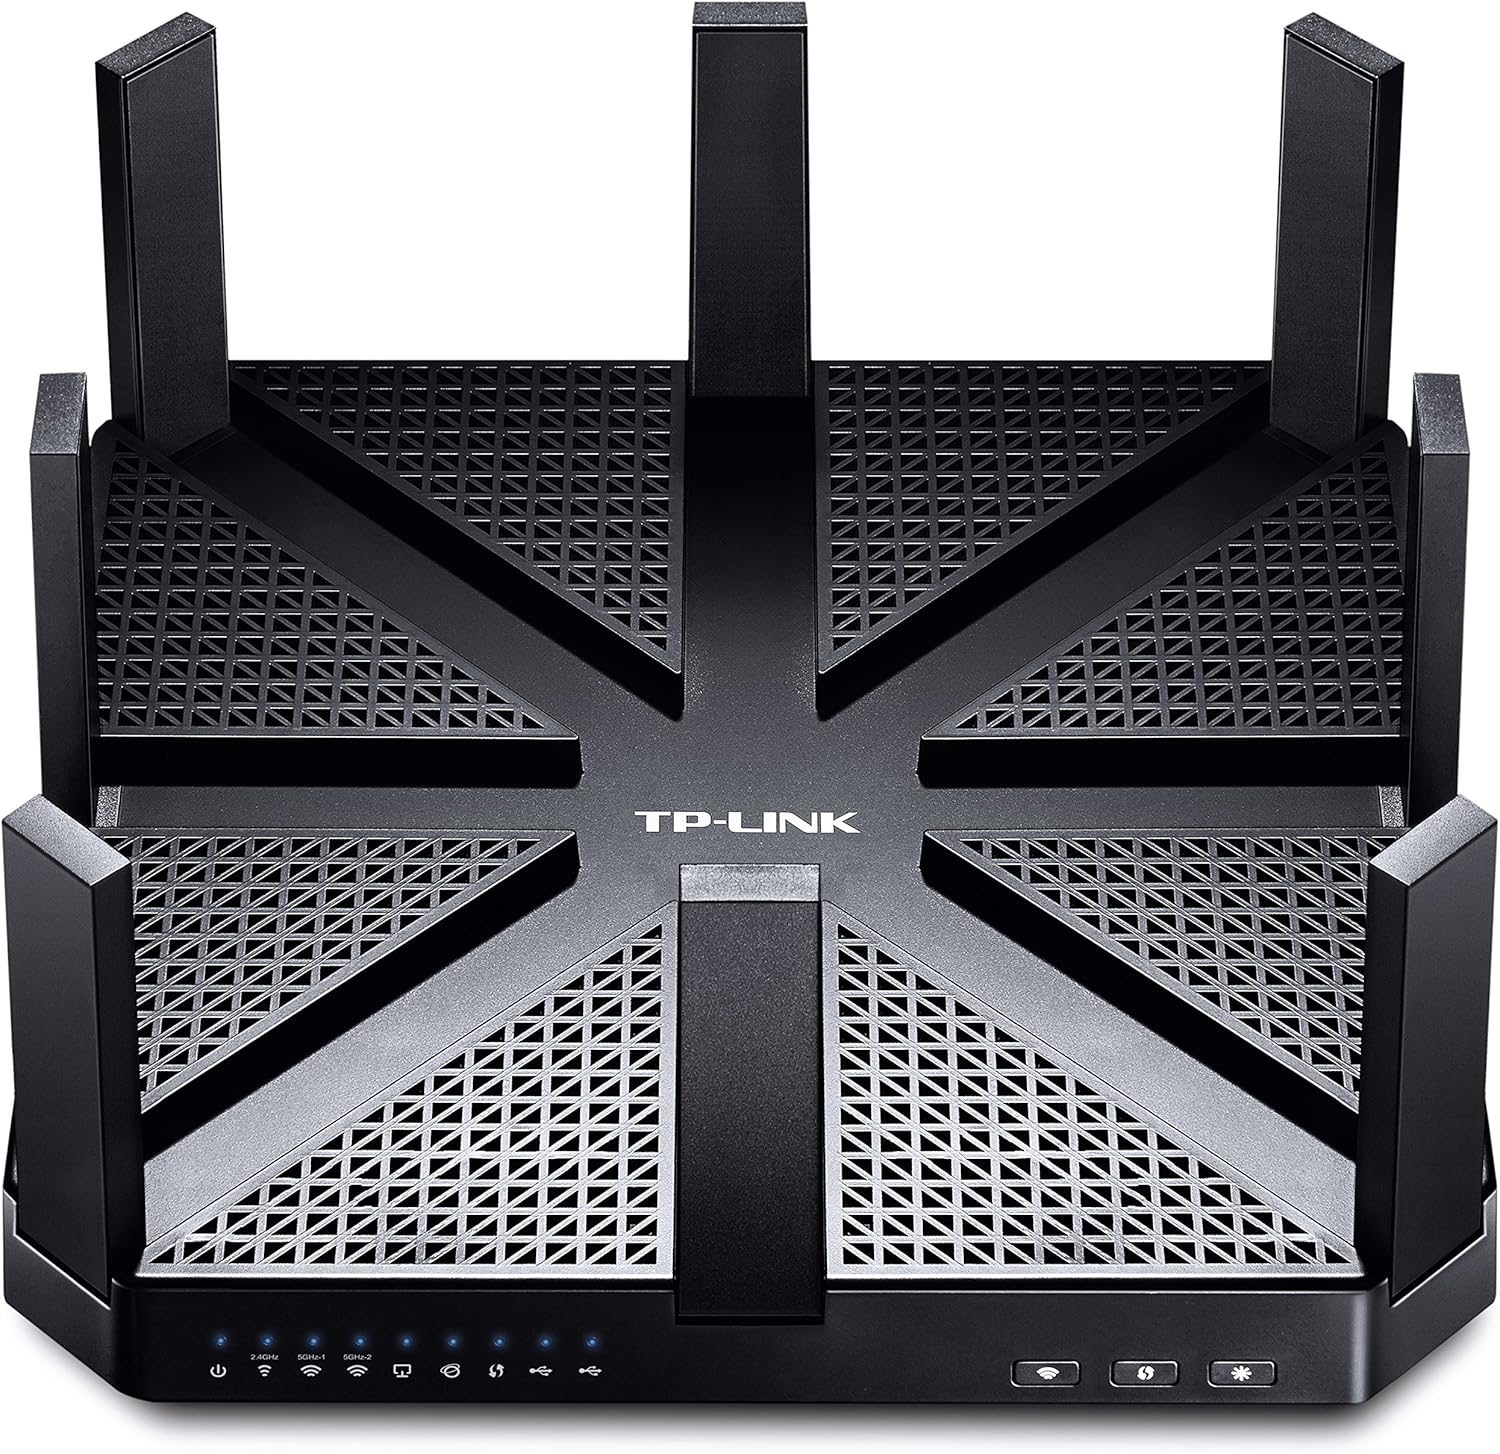
2 paveikslas: viršuje view of the Talon AD7200 router with its eight antennas extended for maximum coverage.
4. Maršrutizatoriaus valdymas
4.1 Belaidės juostos
The Talon AD7200 is a Tri-Band router, offering three distinct Wi-Fi bands:
- 2.4GHz (800Mbps): Provides wider coverage and better penetration through walls, suitable for general internet use and older devices.
- 5GHz (1733Mbps): Offers higher speeds and less interference, ideal for streaming 4K video, online gaming, and bandwidth-intensive applications in closer proximity to the router.
- 60GHz (4600Mbps): Delivers ultra-fast, in-room wireless connections using 802.11ad technology. This band is best for very high-speed data transfers over short distances within the same room, as its signal does not penetrate walls effectively.
4.2 Išplėstinės funkcijos
- MU-MIMO technologija: Enables the router to communicate with multiple devices simultaneously, improving overall network efficiency and reducing buffering.
- Spindulio formavimas: Focuses Wi-Fi signals directly towards connected devices, enhancing signal strength and reliability, especially for devices further away.
- Svečių tinklas: Sukurkite atskirą „Wi-Fi“ tinklą svečiams, kad jūsų pagrindinis tinklas būtų saugus ir privatus.
- Tėvų kontrolė: Manage and monitor internet access for children's devices, including setting time limits and content filters.
- VPN palaikymas: The router supports VPN functionality for secure remote access and privacy.
1 vaizdo įrašas: Oficialus asmuoview of the TP-Link AD7200 Multi-band Wi-Fi Router, highlighting its features and benefits.
5. Priežiūra
5.1 Firmware atnaujinimai
Regularly check for and install firmware updates to ensure optimal performance, security, and access to new features. Updates can typically be found on the TP-Link support website or through the router's management interface.
5.2 Optimalus išdėstymas
Place the router in a central location in your home, away from obstructions and interference sources (e.g., microwaves, cordless phones). Elevating the router can also improve signal distribution.
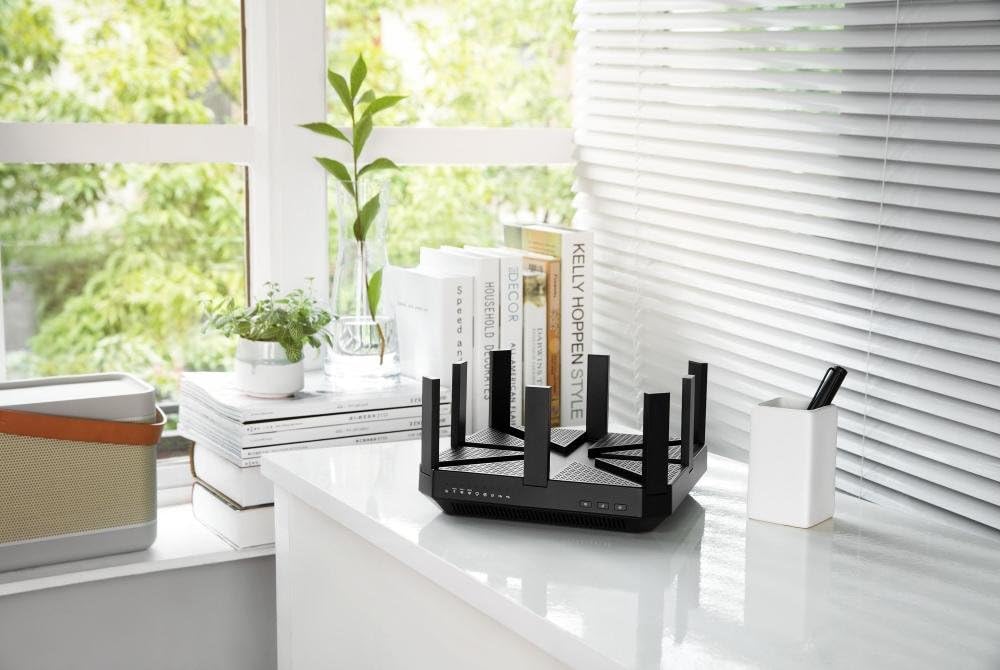
Figure 3: The Talon AD7200 router positioned on a desk, illustrating a typical home setup. Proper placement is crucial for optimal Wi-Fi coverage.
5.3 Įprastas perkrovimas
Rebooting your router periodically (e.g., once a month) can help clear its memory and resolve minor network issues, improving overall stability and performance.
6. Problemų sprendimas
6.1 Nėra interneto ryšio
- Patikrinkite visas kabelio jungtis tarp modemo ir maršrutizatoriaus.
- Iš naujo paleiskite modemą ir maršrutizatorių.
- Patikrinkite savo interneto paslaugų teikėjo (IPT) ryšio būseną.
6.2 Lėtas „Wi-Fi“ greitis
- Ensure your devices are connected to the appropriate Wi-Fi band (5GHz or 60GHz for higher speeds).
- Sumažinkite trukdžius perkeldami maršrutizatorių toliau nuo kitų elektroninių prietaisų.
- Update your device's wireless drivers and the router's firmware.
- Consider the number of devices connected and their bandwidth usage.
6.3 Gamyklinių parametrų atkūrimas
If you encounter persistent issues, you may need to perform a factory reset. Locate the 'Reset' button on the back of the router (often a small pinhole button). With the router powered on, press and hold the reset button for about 10 seconds until the lights flash. This will restore the router to its default factory settings, requiring you to reconfigure it.
7. Specifikacijos
| Funkcija | Detalė |
|---|---|
| Prekės ženklas | TP-Link |
| Modelio pavadinimas | Talon AD7200 |
| Belaidis tipas | 802.11ad |
| Dažnių juostos klasė | Trijų dažnių juosta (2.4 GHz, 5 GHz, 60 GHz) |
| Wi-Fi greitis | Up to 7200Mbps (2.4GHz: 800Mbps, 5GHz: 1733Mbps, 60GHz: 4600Mbps) |
| Ryšio technologija | „Wi-Fi“, laidinis |
| Ethernet prievadai | 4 x gigabito LAN, 1 x gigabito WAN |
| USB prievadai | 2 x USB 3.0 prievadai |
| Ypatinga funkcija | WPS |
| Procesorius | 1.4GHz Dual-Core CPU |
| Matmenys (IxPxH) | 9 x 9 x 1.7 colio |
| Svoris | 4 svaro |
| Operacinės sistemos palaikymas | Microsoft Windows 98SE, NT, 2000, XP, Vista, Windows 7, Windows 8/8.1/10, MAC OS, NetWare, UNIX, Linux |
8. Garantija ir palaikymas
Dėl garantijos informacijos, techninės pagalbos ir papildomų išteklių apsilankykite oficialioje TP-Link svetainėje websvetainėje. Čia rasite DUK, trikčių šalinimo vadovus ir klientų aptarnavimo kontaktinę informaciją.
TP-Link palaikymas Websvetainė: www.tp-link.com/us/support/


