1. Įvadas
This manual provides detailed instructions for the installation, operation, maintenance, and troubleshooting of the Hikvision DS-9632NI-I8 32-Channel 4K Network Video Recorder (NVR). Please read this manual thoroughly before using the product to ensure proper and safe operation. Keep this manual for future reference.
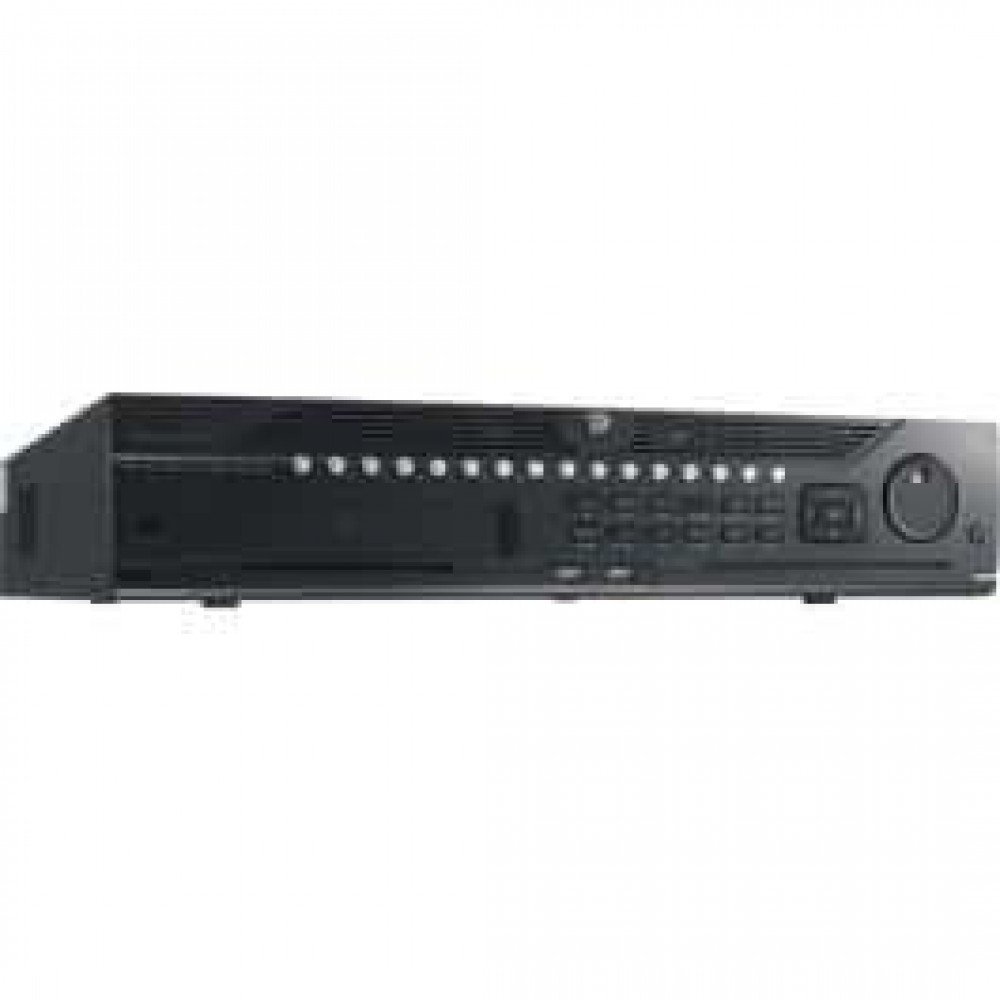
1 pav.: priekis view of the Hikvision DS-9632NI-I8 NVR, showing its robust chassis and various interface ports.
2. Saugos informacija
Always follow basic safety precautions to reduce the risk of fire, electric shock, and injury to persons. This includes, but is not limited to:
- Naudokite tik gamintojo nurodytą maitinimo adapterį.
- Užtikrinkite tinkamą vėdinimą, kad išvengtumėte perkaitimo.
- Saugokite NVR nuo vandens ar drėgmės.
- Avoid placing the NVR near heat sources or in direct sunlight.
- Visus techninės priežiūros darbus patikėkite kvalifikuotam techninės priežiūros personalui.
3. Pakuotės turinys
Verify that all items are present and in good condition. If any item is missing or damaged, contact your dealer immediately.
- Hikvision DS-9632NI-I8 NVR Unit
- Maitinimo adapteris / laidas
- USB pelė
- Varžtai HDD montavimui
- Greitos pradžios vadovas
- CD-ROM (containing software and full manual)
4. Sąranka
4.1 Aparatinės įrangos diegimas
- Prepare Hard Disk Drives (HDDs): The DS-9632NI-I8 supports up to 8 SATA HDDs. Install HDDs into the NVR chassis using the provided screws. Ensure each HDD is securely mounted.
- Prijunkite išorinius įrenginius:
- Prijunkite monitorių prie HDMI arba VGA išvesties prievado.
- Connect the included USB mouse to a USB port.
- Connect the NVR to your network using an Ethernet cable.
- Maitinimas: Connect the power adapter to the NVR and then to a power outlet. Press the power button on the front panel.
4.2 Pradinė konfigūracija
Upon first boot, the NVR will guide you through an initial setup wizard.
- Nustatyti administratoriaus slaptažodį: Create a strong password for the 'admin' user.
- Tinklo nustatymai: Configure network parameters (DHCP or Static IP). Ensure the NVR is accessible on your local network.
- Data ir laikas: Nustatykite teisingą datą, laiką ir laiko juostą.
- Kietojo disko inicijavimas: The NVR will prompt you to initialize the installed HDDs. This process will format the drives for recording.
- Add IP Cameras: Use the wizard to search for and add compatible Hikvision IP cameras to the NVR.
5. Naudojimo instrukcijos
5.1 Tiesiogiai View
Prisijungus NVR rodys tiesioginį vaizdą view interface, showing feeds from connected cameras. You can switch between different camera views ir išdėstymai.
- Viena kamera View: Double-click a camera window to view tai per visą ekraną.
- Išdėstymo pasirinkimas: Use the layout icons at the bottom of the screen to choose different grid arrangements (e.g., 4-channel, 9-channel).
5.2 Įrašų valdymas
The NVR supports continuous, scheduled, and event-triggered recording.
- Configure Recording Schedule: Eikite į Configuration > Storage > Schedule Settings to define recording times for each camera.
- Rankinis įrašymas: Tiesioginės transliacijos metu spustelėkite įrašymo piktogramą view sąsaja rankiniam įrašymui pradėti / sustabdyti.
5.3 Atkūrimas
Norėdami iš naujoview įrašytas footage:
- Eikite į Atkūrimas meniu.
- Pasirinkite norimą (-as) kamerą (-as) ir datos / laiko diapazoną.
- Norėdami naršyti įrašus, naudokite laiko juostą.
- Playback controls (play, pause, fast forward, rewind) are available.
5.4 Nuotolinė prieiga
Prie NVR galima prisijungti nuotoliniu būdu per web browser or Hik-Connect mobile app.
- Web Naršyklė: Enter the NVR's IP address into a web naršyklė.
- Hik-Connect: Download the Hik-Connect app, register an account, and add your NVR by scanning its QR code or entering its serial number.
6. Priežiūra
6.1 Firmware atnaujinimai
Regularly check for and install firmware updates to ensure optimal performance and security. Firmware can be downloaded from the official Hikvision websvetainę.
- Eikite į Configuration > System > Maintenance > Upgrade.
- Follow the on-screen instructions to perform the upgrade. Do not power off the NVR during the update process.
6.2 Kietojo disko valdymas
Monitor the health of your HDDs and manage storage space.
- Kietojo disko būsena: Check HDD status in Configuration > Storage > HDD Management.
- Perrašymo režimas: Configure the NVR to overwrite old recordings when storage is full (default behavior).
6.3 Valymas
Keep the NVR clean to prevent dust buildup, which can affect performance and lifespan.
- Power off and unplug the NVR before cleaning.
- Išorę valykite minkšta, sausa šluoste.
- Dulkėms iš ventiliacijos angų valyti naudokite suslėgtą orą.
7. Problemų sprendimas
| Problema | Galima priežastis | Sprendimas |
|---|---|---|
| Monitoriuje nėra vaizdo išvesties. | Atsilaisvinęs kabelis, neteisingas įvesties šaltinis monitoriuje, NVR neįjungtas. | Patikrinkite HDMI/VGA kabelio jungtis. Įsitikinkite, kad monitorius nustatytas teisingam įvesties režimui. Patikrinkite NVR maitinimą. |
| Nepavyksta nuotoliniu būdu pasiekti NVR. | Network configuration issues, firewall blocking, incorrect port forwarding. | Verify NVR network settings. Check router firewall and port forwarding rules. Ensure Hik-Connect is properly configured. |
| Cameras not recording. | Kietasis diskas (HDD) neinicializuotas, įrašymo grafikas nenustatytas, HDD pilnas. | Initialize HDDs. Configure recording schedule. Check HDD status and capacity. |
| Pamiršau administratoriaus slaptažodį. | Slaptažodis pamestas. | Refer to the full manual or Hikvision support for password reset procedures. This often involves a security code or a physical reset button. |
8. Specifikacijos
| Funkcija | Detalė |
|---|---|
| Modelis | DS-9632NI-I8 |
| Vaizdo įvestis | 32-Channel IP Video Input |
| Vaizdo išvestis | HDMI (up to 4K), VGA |
| Dekodavimo formatas | H.265+/H.265/H.264+/H.264 |
| Garso įvestis/išvestis | 1-ch, RCA (2.0 Vp-p, 1 kΩ) / 2-ch, RCA (Linear, 1 kΩ) |
| SATA | 8 SATA sąsajos 8 HDD |
| Talpa | Up to 10 TB for each HDD (example, actual capacity may vary) |
| Tinklo sąsaja | 2 RJ-45 10M/100M/1000M self-adaptive Ethernet interfaces |
| USB sąsaja | Priekinis skydelis: 2 × USB 2.0; Galinis skydelis: 1 × USB 3.0 |
| Matmenys (P × G × A) | 23 x 22 x 8 colių (apytiksliai) |
| Maitinimo šaltinis | 100–240 VAC, 50–60 Hz |
9. Garantija ir palaikymas
9.1 Ribota garantija
Hikvision products are covered by a limited warranty. The specific terms and duration of the warranty may vary by region and product type. Please refer to the official Hikvision webIšsamesnės informacijos apie garantiją ieškokite svetainėje arba pirkimo dokumentuose.
- Išsaugokite pirkimo įrodymą, kad galėtumėte kreiptis dėl garantijos.
- Unauthorized repairs or modifications may void the warranty.
9.2 Techninė pagalba
For technical assistance, product inquiries, or service requests, please contact Hikvision support through the following channels:
- Oficialus Websvetainė: Apsilankykite www.hikvision.com pagalbos išteklius, DUK ir kontaktinę informaciją.
- Klientų aptarnavimas: Refer to the contact details provided on the Hikvision websvetainė jūsų konkrečiam regionui.
- Įgalioti pardavėjai: Your authorized Hikvision dealer can also provide support and service.


