1. Įvadas
Thank you for choosing the Hyundai HY6000 Gasoline Generator. This manual provides essential information for the safe and efficient operation, maintenance, and troubleshooting of your generator. Please read this manual thoroughly before operating the unit and keep it for future reference.
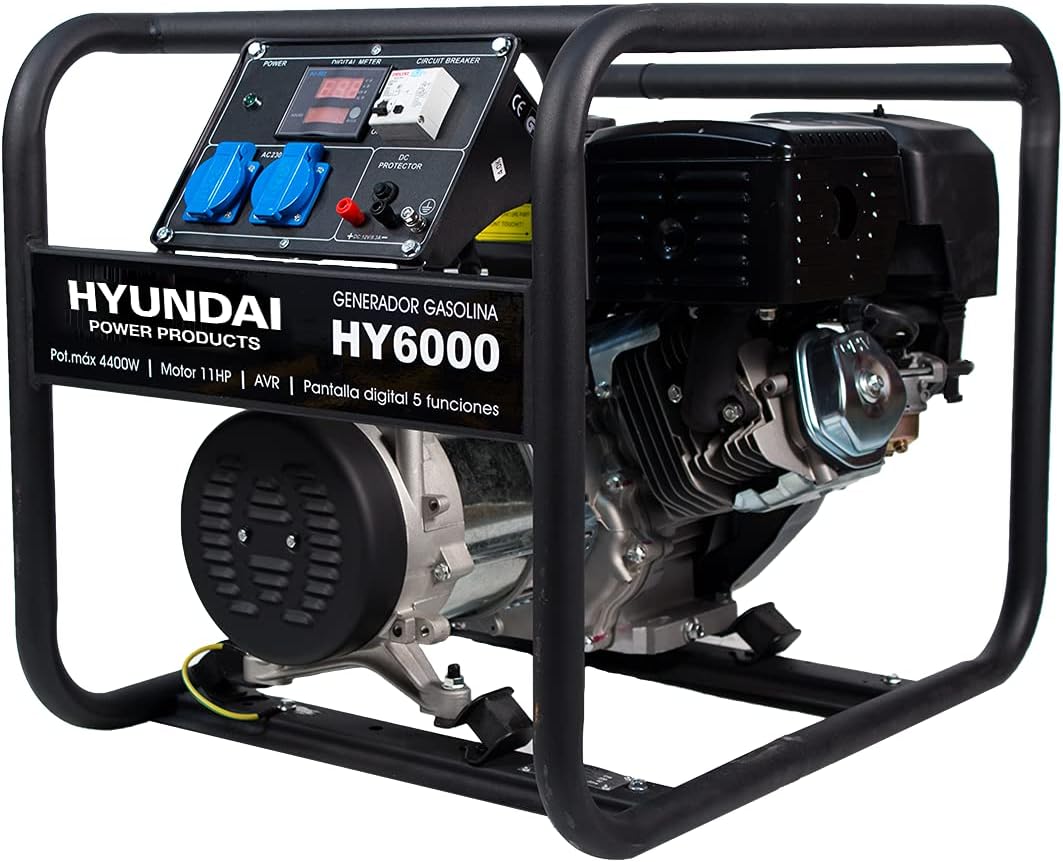
The Hyundai HY6000 is a robust 4-stroke OHV air-cooled gasoline generator designed for reliable power generation. It features a compact engine, easy installation, low maintenance, and a low fuel consumption rate. Key features include a digital LED display, overload protection, low oil alarm with automatic engine shutdown, and AVR voltage regulation for stable performance.
3. Sąranka ir paruošimas
3.1 Išpakavimas ir patikrinimas
Carefully remove the generator from its packaging. Inspect for any damage that may have occurred during shipping. If any damage is found, contact your dealer immediately.
3.2 Įdėjimas
Place the generator on a firm, level surface. Ensure there is adequate clearance around the unit for proper ventilation and to prevent heat buildup. Keep it at least 1 meter (3 feet) away from buildings or other equipment.
3.3 Variklio alyvos įpylimas
The generator is shipped without engine oil. Before first use, add the recommended engine oil (e.g., SAE 10W-30) to the crankcase. Refer to the oil fill cap or dipstick for the correct level. Do not overfill.
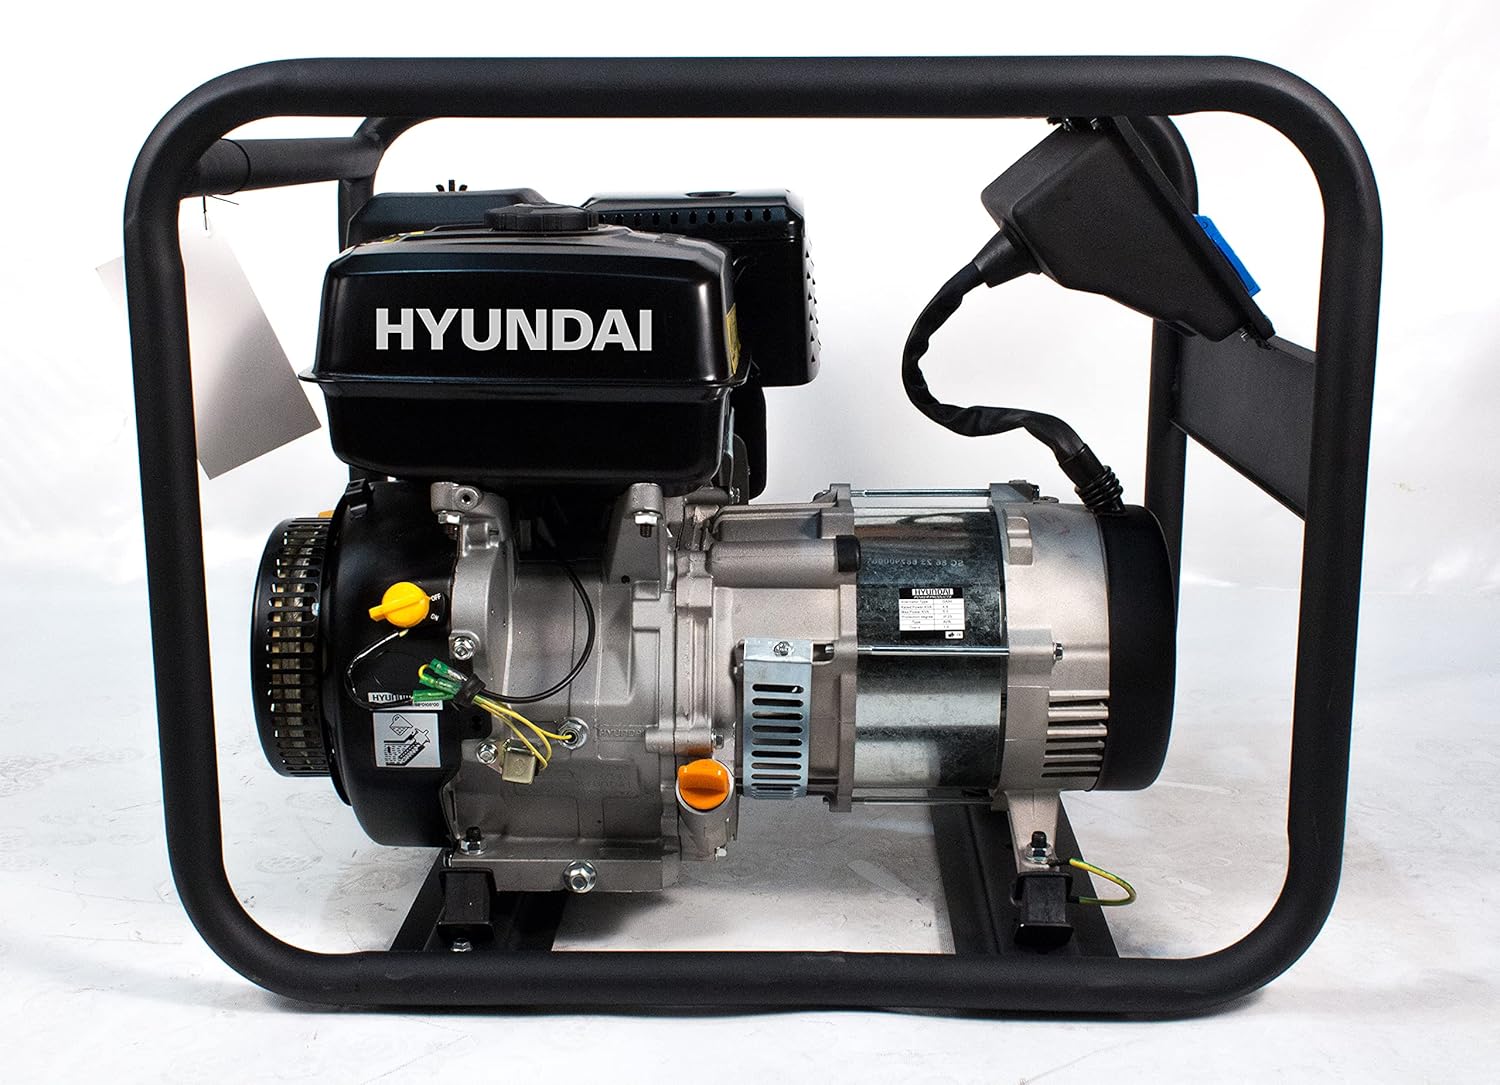
1 paveikslas: Šoninė view of the generator engine. The oil fill cap is typically located on the side of the engine block, often yellow or black, and may have a dipstick attached for checking oil level.
3.4 Degalų įpylimas
Use fresh, unleaded gasoline with an octane rating of 87 or higher. Fill the fuel tank carefully, avoiding spills. Do not fill above the red indicator or the bottom of the filler neck. Securely close the fuel cap after filling.
- Always refuel in a well-ventilated outdoor area.
- Prieš pildami degalus, įsitikinkite, kad variklis išjungtas ir atvėsęs.
- Do not smoke or use open flames near the generator.
3.5 Generatoriaus įžeminimas
For safety, the generator must be properly grounded. Connect a heavy-gauge copper wire from the generator's grounding terminal to an earth ground rod or other approved grounding source. Consult local electrical codes for specific requirements.
5. Priežiūra
Reguliarus techninis aptarnavimas yra labai svarbus generatoriaus ilgaamžiškumui ir patikimam veikimui. Prieš atlikdami bet kokią techninę priežiūrą, visada įsitikinkite, kad variklis yra išjungtas ir atvėsęs.
5.1 Techninės priežiūros grafikas
| Prekė | Kiekvienas naudojimas | Kas 25 val. / Kas mėnesį | Kas 100 val. / 6 mėnesius | Kas 300 val. / Kasmet |
|---|
| Patikrinkite variklio alyvos lygį | ✓ | | | |
| Išvalykite oro filtrą | | ✓ | | |
| Keisti variklio alyvą | | (First 20 hrs) | ✓ | |
| Patikrinkite uždegimo žvakę | | | ✓ | |
| Išvalykite kuro filtrą | | | | ✓ |
5.2 Variklio alyvos keitimas
Drain the old oil while the engine is warm. Remove the oil drain plug and allow all oil to drain into a suitable container. Replace the drain plug and refill with the recommended amount and type of new engine oil.
5.3 Oro filtro valymas
Remove the air filter cover and take out the foam filter element. Wash it in warm, soapy water, rinse thoroughly, and allow it to dry completely. Lightly oil the foam element with engine oil, squeeze out excess, and reinstall.
5.4 Uždegimo žvakės patikra
Remove the spark plug and inspect its condition. Clean any carbon deposits with a wire brush. Check the gap with a feeler gauge and adjust if necessary. Replace if the electrode is worn or damaged.
5.5 Saugykla
For long-term storage, drain the fuel tank and carburetor, or add a fuel stabilizer. Change the engine oil. Clean the generator thoroughly. Store in a clean, dry, well-ventilated area.
8. Garantija ir palaikymas
Information regarding warranty coverage and customer support is typically provided with your purchase documentation or can be found on the official Hyundai Power Products websvetainėje. Prašome išsaugoti pirkimo įrodymą garantiniams reikalavimams.
For technical assistance, spare parts, or service inquiries, please contact your authorized Hyundai dealer or the manufacturer's customer service department.