1. Įvadas
The ECHOGEAR Outlet Shelf is designed to provide a convenient, space-saving solution for organizing small electronics and other items up to 10 lbs. It easily installs onto existing wall outlets, offering a sturdy platform and integrated cable management to keep your space tidy and functional. This manual provides detailed instructions for installation, operation, and maintenance of your ECHOGEAR Outlet Shelf.
2. Kas yra dėžutėje
Įsitikinkite, kad pakuotėje yra visi komponentai:
- ECHOGEAR Outlet Shelf Unit
- Standard Wall Plate Cover
- Decora Wall Plate Cover
- Tvirtinimo detalės (varžtai)

Figure 2.1: Included components of the ECHOGEAR Outlet Shelf.
3. Specifikacijos
| Prekės ženklas | ECHOGEAR |
| Modelio numeris | EGOS1 (6543850200) |
| Medžiaga | Plastikiniai |
| Spalva | Baltas |
| Gaminio matmenys (D x P x A) | 5.32 colio gylis x 4.77 colio plotis x 6.84 colio aukštis (13.51 cm gylis x 12.12 cm plotis x 17.37 cm aukštis) |
| Prekės svoris | 13.6 uncijos |
| Svorio apribojimas | 10 svarų (4.5 kg) |
| Diegimo tipas | Wall Mount (over existing outlet) |
| Reikalingas surinkimas | Taip |

Figure 3.1: ECHOGEAR Outlet Shelf dimensions and weight capacity.
4. Saugos informacija
Please read and understand all safety information before installation and use.
- Do not exceed the weight limit of 10 lbs (4.5 kg). Overloading the shelf can cause damage to the product, the outlet, or personal injury.
- Ensure proper installation to avoid hazards. If you are unsure about any step, consult a qualified electrician.
- Always turn off power at the circuit breaker before working with electrical outlets.
- Laikykite mažus vaikus ir naminius gyvūnus atokiau nuo įrengimo vietos.
- Do not use the shelf in wet or damp locations unless the outlet is specifically rated for such environments.
5. Sąranka ir diegimas
The ECHOGEAR Outlet Shelf is designed for easy installation on most standard and Decora style outlets. A flathead screwdriver is typically the only tool required.
- Išjunkite maitinimą: For safety, turn off the power to the outlet at your home's circuit breaker before beginning installation.
- Remove Existing Wall Plate: Unscrew and remove the existing wall plate from your electrical outlet.
- Select New Wall Plate: Choose between the included Standard or Decora style wall plate cover that matches your existing outlet type.
- Position Shelf: Align the ECHOGEAR Outlet Shelf unit over the exposed outlet. The shelf is designed to fit snugly around the outlet.
- Saugi lentyna: Use the provided screws to secure the new wall plate and the shelf unit to the outlet. Ensure it is firmly attached and does not wobble.
- Route Cables (Optional): If using the cable management feature, lift the top cover of the shelf to reveal the built-in cable channel. Route your device's power cable through this channel to keep it tidy. You may coil excess cable within the compartment.
- Atkurti maitinimą: Once the shelf is securely installed, restore power at the circuit breaker.

Figure 5.1: Simple installation process.
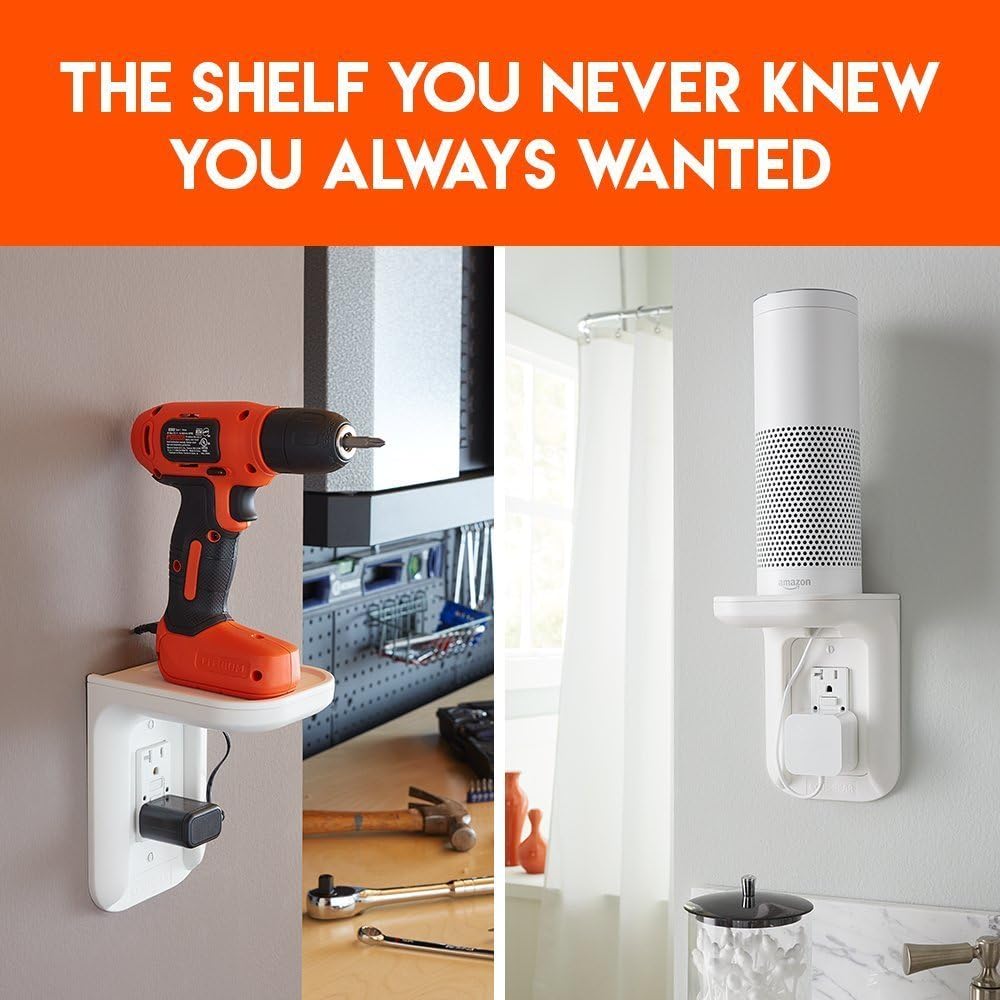
Figure 5.2: Choose the correct wall plate for your outlet type.
Diegimo vaizdo įrašas
Video 5.1: Official ECHOGEAR installation guide for the Outlet Shelf, demonstrating space-saving and cable management features.
Video 5.2: Installation demonstration of an outlet shelf with Decora style outlets, showing how to secure the shelf and manage cables.
6. Naudojimo instrukcijos
The ECHOGEAR Outlet Shelf provides a versatile platform for various devices.
- Įrenginio vieta: Place small electronics such as smart speakers (e.g., Sonos, Amazon Echo, Google Home), electric toothbrushes, or other items weighing up to 10 lbs directly on the shelf.
- Kabelių valdymas: Utilize the built-in cable channel by lifting the top cover. This allows you to neatly coil and hide excess power cables, providing a clean and streamlined look. For best results, consider using shorter cables for your devices.
- Outlet Access: The shelf design ensures that the lower outlet remains accessible for other plugs, even with a device on the shelf.
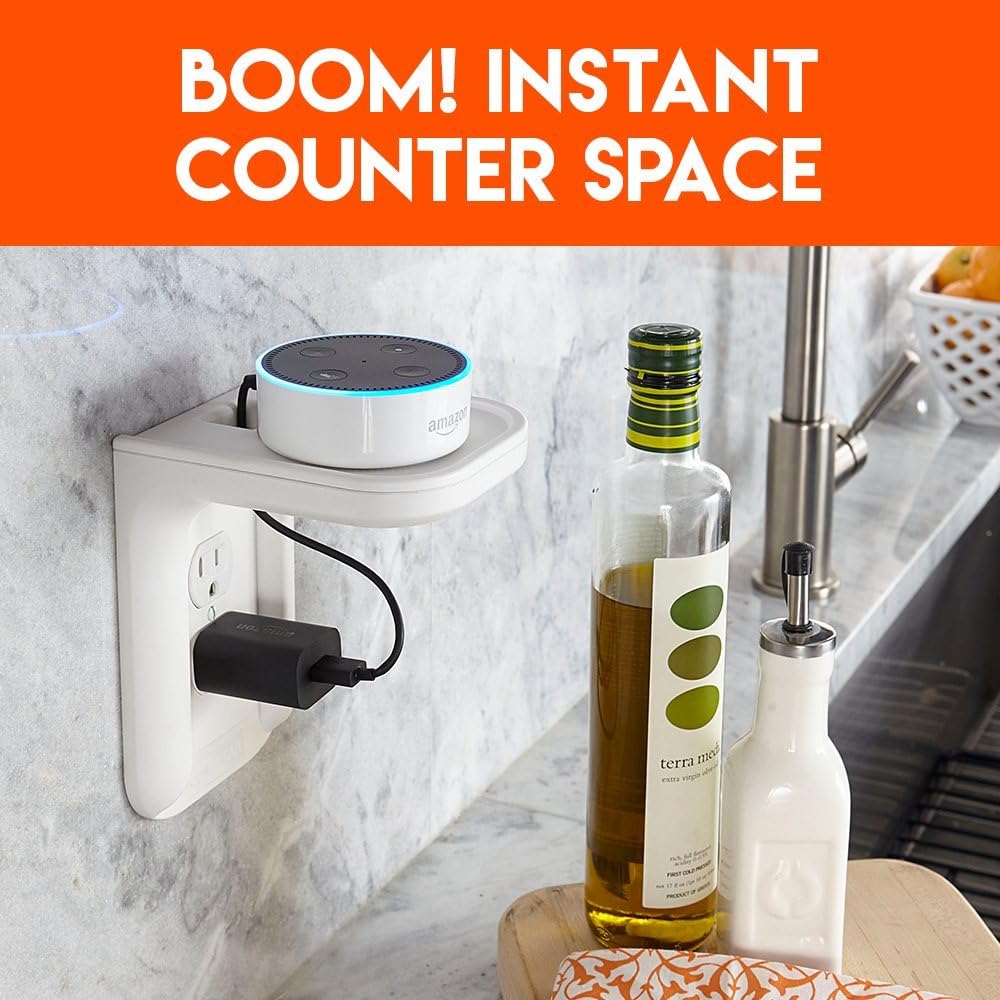
Figure 6.1: Shelf providing instant counter space for devices.

Figure 6.2: Built-in cable management for a tidy setup.
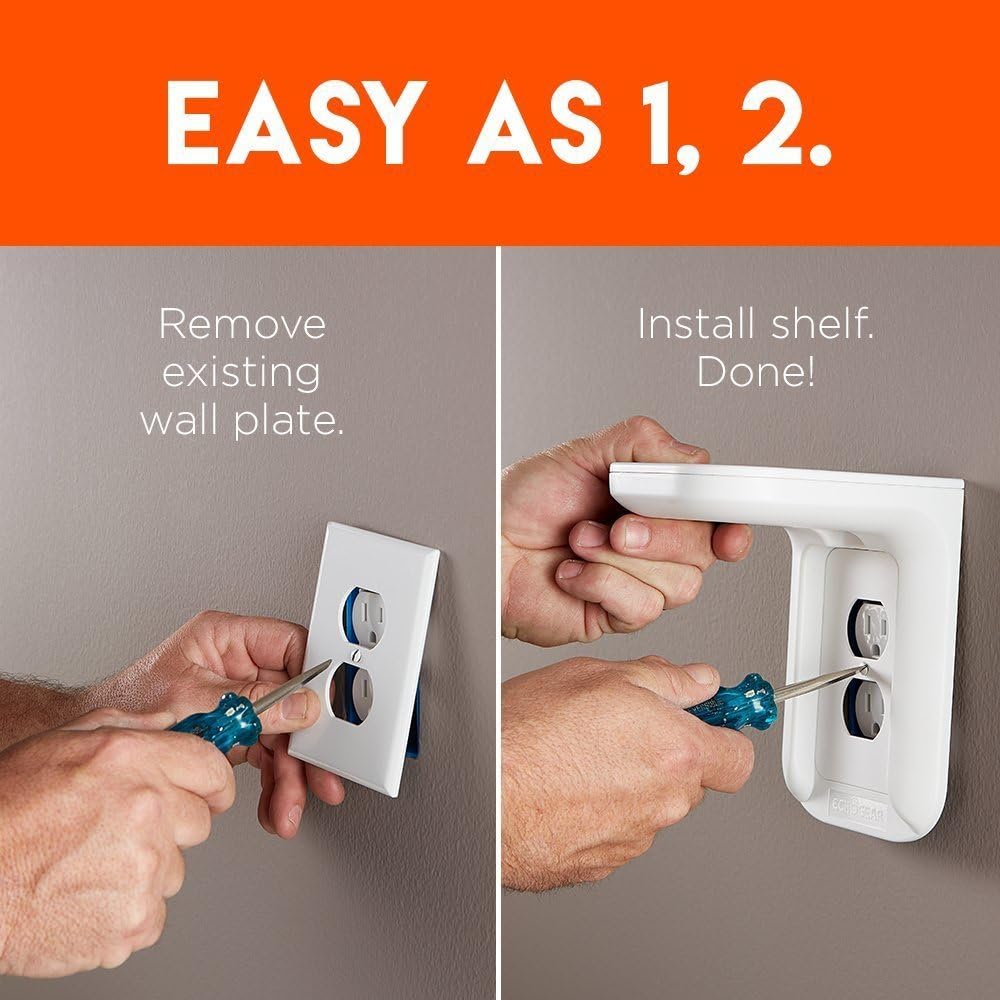
Figure 6.3: Versatile use for various small electronics.
7. Priežiūra
To keep your ECHOGEAR Outlet Shelf in optimal condition:
- Valymas: Wipe the shelf with a dry cloth as needed to remove dust and debris. Avoid using abrasive cleaners or harsh chemicals that could damage the finish.
- Patikra: Periodically check the mounting screws to ensure they remain tight and the shelf is securely attached to the outlet.
8. Problemų sprendimas
If you encounter any issues with your ECHOGEAR Outlet Shelf, refer to the following common solutions:
- Shelf is Loose/Wobbly: Ensure the mounting screws are fully tightened. If the issue persists, re-check that the correct wall plate was used and properly aligned during installation.
- Device Does Not Fit: Verify that your device's dimensions and weight are within the specified limits (max 10 lbs).
- Cables are Not Tidy: Ensure excess cable is properly coiled within the cable management compartment. Consider using a shorter power cable for your device if the existing one is too long.
For further assistance, please contact ECHOGEAR customer support.
9. Garantija ir palaikymas
ECHOGEAR products are designed for durability and performance. For specific warranty details and customer support, please refer to the warranty card included with your product or visit the official ECHOGEAR website. Our support team is available to assist with any questions or concerns regarding your Outlet Shelf.
Kontaktinė informacija:
- Websvetainė: www.echogear.com
- Support: Refer to website for contact options (phone, email, chat).


