1. Įvadas
This user manual provides comprehensive instructions for the installation, operation, and maintenance of your Audio System CO-600.5 High-Performance 5-Channel Class A/B Amplifier. To ensure optimal performance and safety, please read this manual thoroughly before using the product and retain it for future reference.
2. Saugos informacija
General Product Safety according to EU Regulation 2023/2028:
- Observe the manufacturer's instructions and operating instructions for switching off the power supply to the vehicle and in the retrofit products.
- The supply line to the retrofit product must not be longer than 30cm from the operating battery.
- Fasten retrofit devices and accessories properly.
- It is recommended that the retrofit devices/accessories be installed by a specialist workshop. Otherwise, product or vehicle damage and fire can occur.
Always disconnect the vehicle's battery before performing any installation or maintenance work to prevent electrical shock or damage.
3. Produktas baigtasview
The Audio System CO-600.5 is a high-performance 5-channel Class A/B amplifier designed for car audio systems. It features switchable High-Pass (HP) and Low-Pass (LP) filters, a full active mode, and includes a wired RTC remote control for convenient adjustments. The amplifier supports an input sensitivity range of 0.2V to 6V and includes a high-level RCA input with automatic turn-on capability.
Pagrindinės funkcijos:
- 5-Channel Class A/B Ampgyvybingesnis
- Switchable High-Pass (HP) and Low-Pass (LP) Filters
- Full Active Mode
- Wired RTC Remote Control Included
- Input Sensitivity: 0.2V - 6V
- High-Level RCA Input with Auto-On
- Power Output: 4 x 60W RMS (4 Ohm) / 4 x 85W RMS (2 Ohm) and 1 x 250W RMS (4 Ohm mono) / 1 x 350W RMS (2 Ohm mono)
Produktas Views

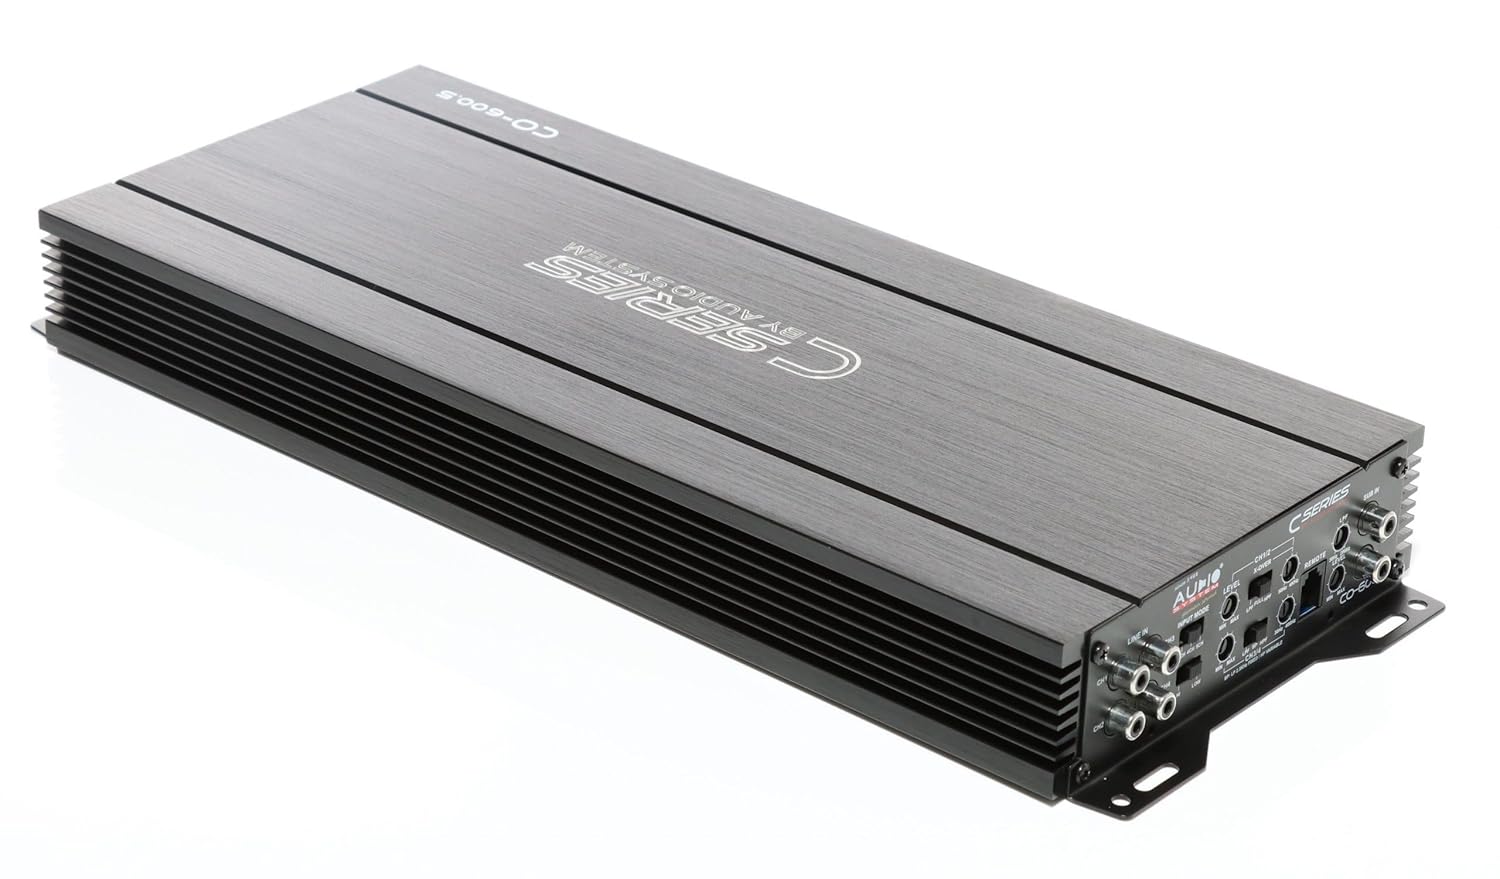
3.1 paveikslas: viršuje view of the CO-600.5 amplifier, highlighting its sleek design and branding.

3.2 pav.: priekis view iš amplifier, displaying the cooling fins.
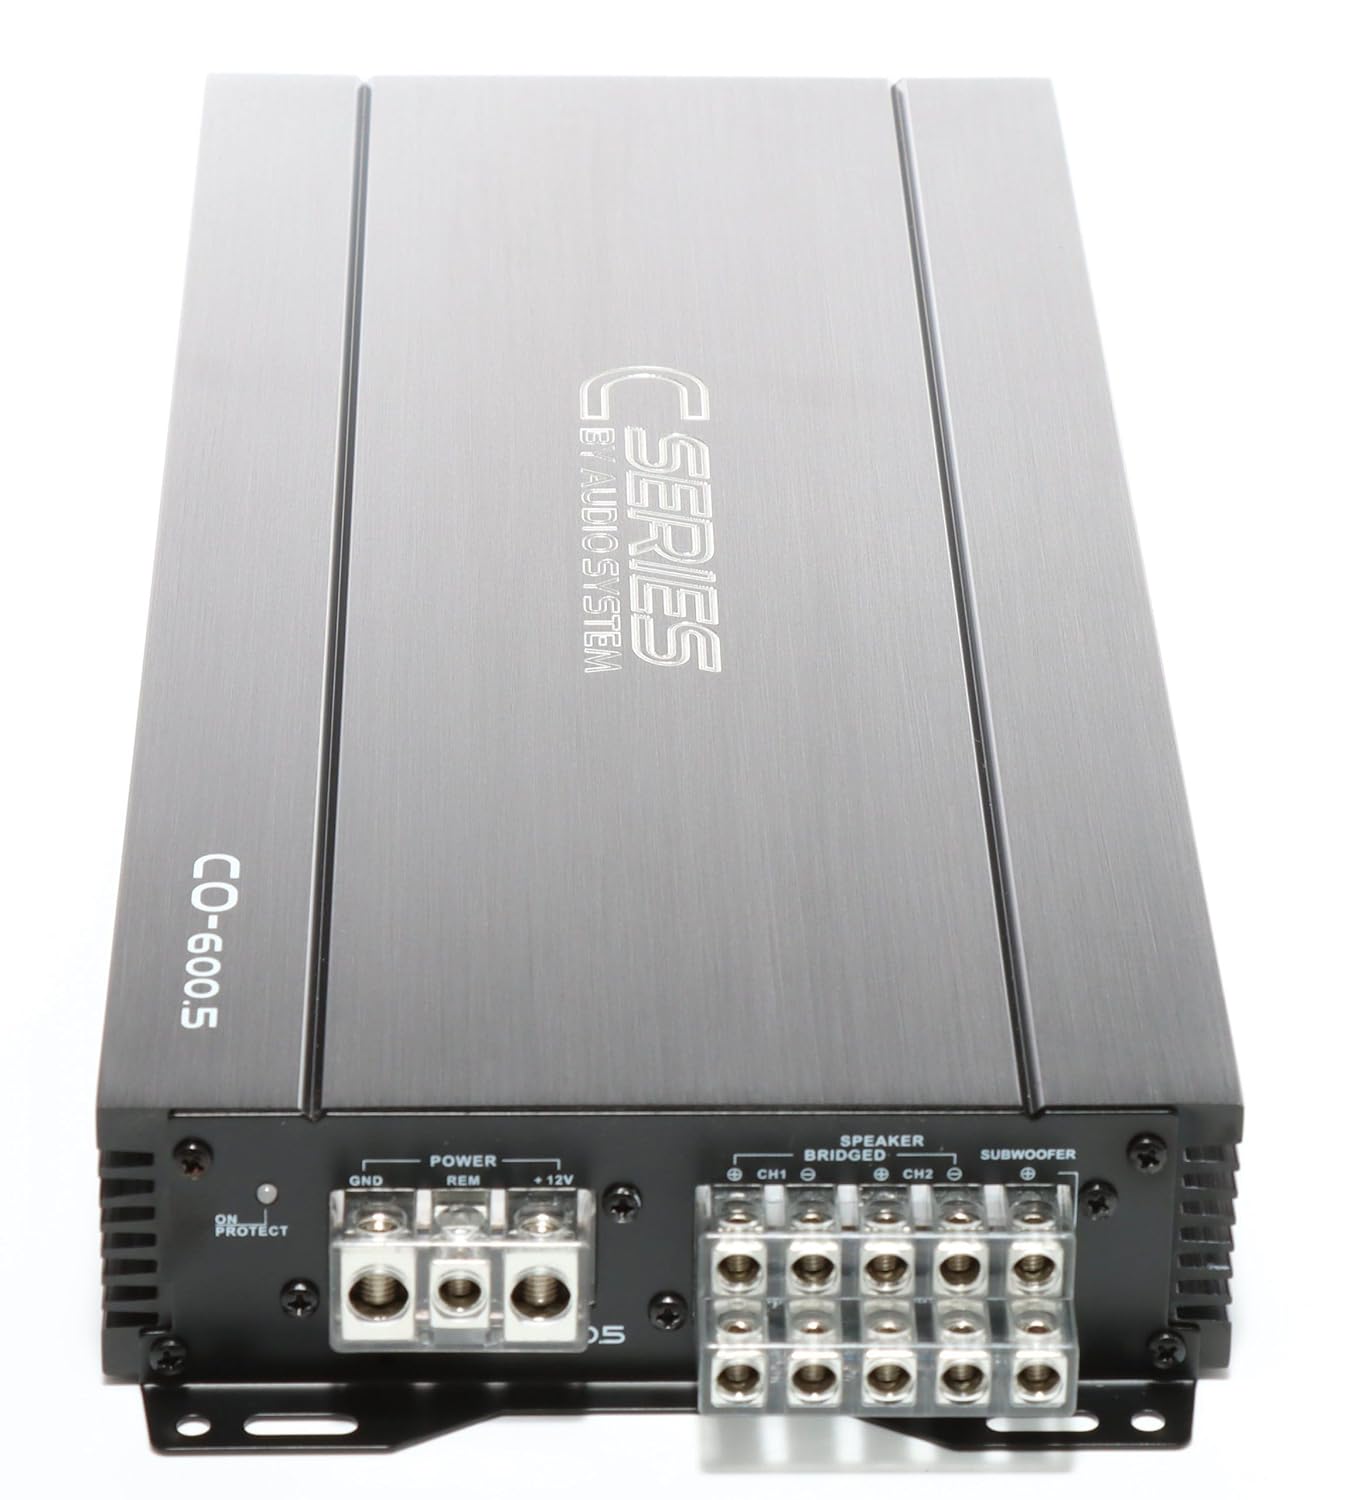
3.3 pav.: galinis view iš amplifier, detailing the power input (GND, REM, +12V) and speaker output terminals.

Figure 3.4: Input and control panel, featuring RCA inputs, gain level adjustments, and crossover frequency controls.
3.5 pav.: Kampinis view providing a comprehensive look at both connection sides of the ampgyvesnis.
4. Sąranka ir diegimas
Tinkamas montavimas yra labai svarbus jūsų įrenginio veikimui ir ilgaamžiškumui amplifier. It is highly recommended that installation be performed by a qualified professional.
4.1 Montavimo vieta
- Pasirinkite sausą, gerai vėdinamą vietą atokiau nuo tiesioginių saulės spindulių ir šilumos šaltinių.
- Užtikrinkite pakankamą oro cirkuliaciją aplink ampventiliatorius tinkamam aušinimui.
- Sumontuokite amplifier securely to a solid surface using appropriate hardware to prevent movement during vehicle operation.
4.2 Laidų jungtys
Prieš atlikdami bet kokius prijungimus, atjunkite neigiamą automobilio akumuliatoriaus gnybtą.
- Maitinimas (BATT+): Connect a fused power cable directly from the vehicle's positive battery terminal to the +12V terminal on the amplifier. Ensure the fuse is located within 30cm of the battery.
- Įžeminimas (GND): Connect a ground cable of the same gauge as the power cable to a clean, unpainted metal surface on the vehicle chassis. The connection point must be free of rust and paint.
- Nuotolinis (REM): Prijunkite nuotolinio įjungimo laidą iš pagrindinio įrenginio nuotolinio valdymo išvesties prie REM gnybto, esančio amplifier. This will turn the ampįjunkite ir išjunkite ližiiklį naudodami pagrindinį įrenginį.
- RCA įėjimai: Prijunkite pagrindinio įrenginio RCA išvestis prie amplifier's RCA inputs (CH1/2, CH3/4, SUB IN).
- Garsiakalbių išvestys: Connect your speakers to the corresponding speaker output terminals (CH1, CH2, CH3, CH4, SUBWOOFER). Observe correct polarity (+ to + and - to -).
5. Naudojimo instrukcijos
Kartą ampJei „lifier“ yra tinkamai sumontuotas ir prijungtas, galite tęsti pradinį nustatymą ir naudojimą.
5.1 Pradinis įjungimas
- Prijunkite automobilio neigiamą akumuliatoriaus gnybtą.
- Įjunkite pagrindinį įrenginį. amplifier should power on automatically via the remote wire. The power indicator LED on the amplifier should illuminate.
5.2 Stiprinimo lygio reguliavimas
The gain control (LEVEL) matches the amplifier's input sensitivity to the output of your head unit. This is not a volume control.
- Nustatykite amplifier's gain control to minimum (fully counter-clockwise).
- Nustatykite pagrindinio įrenginio garsumą maždaug į 75–80 % maksimalaus.
- Lėtai didinkite ampSukite „lifier“ stiprinimo valdiklį, kol išgirsite nedidelį iškraipymą, tada šiek tiek sumažinkite, kol garsas taps aiškus.
5.3 Dažnių kryžminimo nustatymai (X-OVER)
The CO-600.5 features switchable HP (High-Pass) and LP (Low-Pass) filters for precise sound tuning.
- HPF (aukšto dažnio filtras): Allows frequencies above the set point to pass through. Use for full-range speakers to prevent low frequencies that can cause distortion.
- LPF (žemo dažnio filtras): Allows frequencies below the set point to pass through. Use for subwoofers to prevent high frequencies.
- Adjust the crossover frequencies (e.g., 50Hz-250Hz for HPF, 30Hz-250Hz for LPF) according to your speaker specifications and listening preferences.
5.4 RTC Remote Control
The included wired RTC remote control allows for convenient adjustment of the subwoofer level from the driver's seat.
6. Priežiūra
The Audio System CO-600.5 ampLifteriui reikia minimalios priežiūros.
- Laikykite ampšvarus ir be dulkių. Valymui naudokite minkštą, sausą šluostę.
- Ensure all connections remain secure. Periodically check wiring for any signs of wear or corrosion.
- Nenaudokite stiprių cheminių medžiagų ar abrazyvinių valiklių valymui ampgyvesnis.
7. Problemų sprendimas
Jei kyla problemų dėl savo amplifier, žr. šias dažniausiai pasitaikančias problemas ir sprendimus:
| Problema | Galima priežastis | Sprendimas |
|---|---|---|
| Nėra maitinimo / Ampkeltuvas neįsijungia |
|
|
| Nėra garso išvesties |
|
|
| Iškraipytas garsas |
|
|
If the problem persists after attempting these solutions, please contact Audio System customer support or a qualified car audio technician.
8. Specifikacijos
| Funkcija | Detalė |
|---|---|
| Modelio numeris | 02002CO6005 |
| Kanalai | 5 (4 full-range + 1 mono/subwoofer) |
| Galia (RMS) |
|
| Įvesties jautrumas | 0.2 V–6 V |
| Filtrai | Switchable High-Pass (HP) and Low-Pass (LP) |
| Matmenys (produktas) | Apytiksliai 420 x 47 x 171 mm |
| Pakuotės matmenys | 59.99 x 19.99 x 15.01 cm |
| Pakuotės svoris | 1 kilogramų |
| ttage (veikia) | 6 Volts (Note: Typically car audio operates at 12V. Please refer to product labeling for exact operating voltage.) |
| Didžiausia tiekimo apimtistage | 6 voltų |
| Montavimo tipas | Paviršinis montavimas |
9. Garantija ir palaikymas
For warranty information, please refer to the documentation provided with your purchase or contact your authorized Audio System dealer. Warranty terms and conditions may vary by region and retailer.
For technical support, service, or inquiries regarding spare parts, please contact Audio System customer service directly or visit their official websvetainėje. Kontaktinė informacija paprastai pateikiama ant produkto pakuotės arba gamintojo websvetainę.
Gamintojas: Garso sistema
Gamintojo adresas: JRS Labs - The Art of Sound, Heinrich-Heine-Straße 13A, 63329 Rödermark


