1. Įvadas
The MARATHON 100 Hour Direct Entry Digital Tabletop Timer is designed to assist with precise time management for various tasks. Featuring a large, easy-to-read LCD display and a direct entry keypad, this timer offers both countdown and count-up functionalities, a clock mode, and memory presets for repetitive events. Its robust design includes a magnetic back and an integrated kickstand for versatile placement.
2. Produktas baigtasview
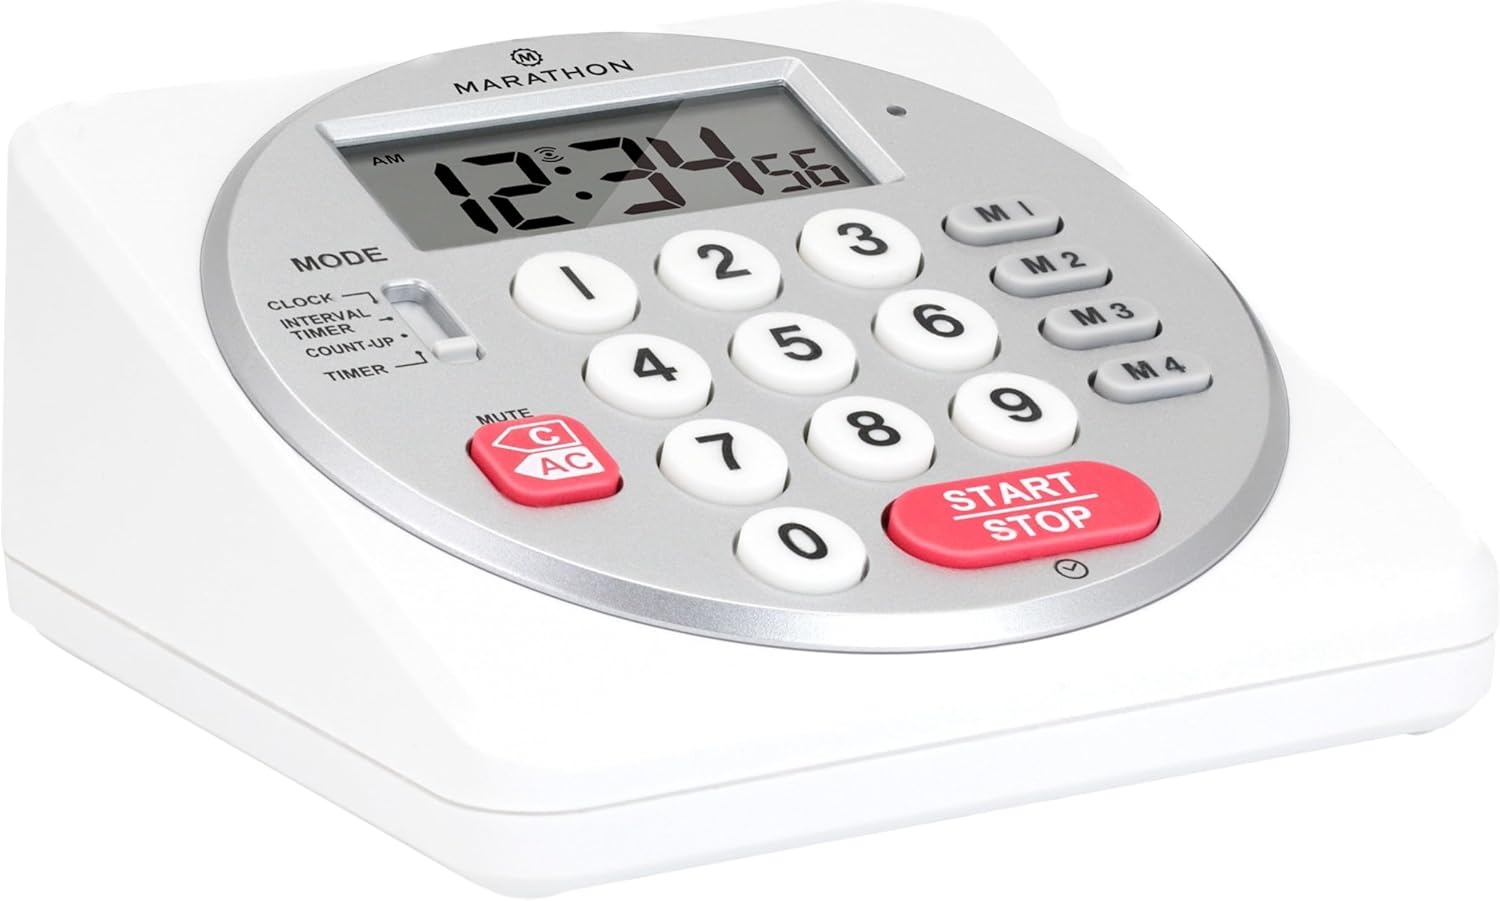
1 pav.: priekis view of the Marathon Digital Timer.
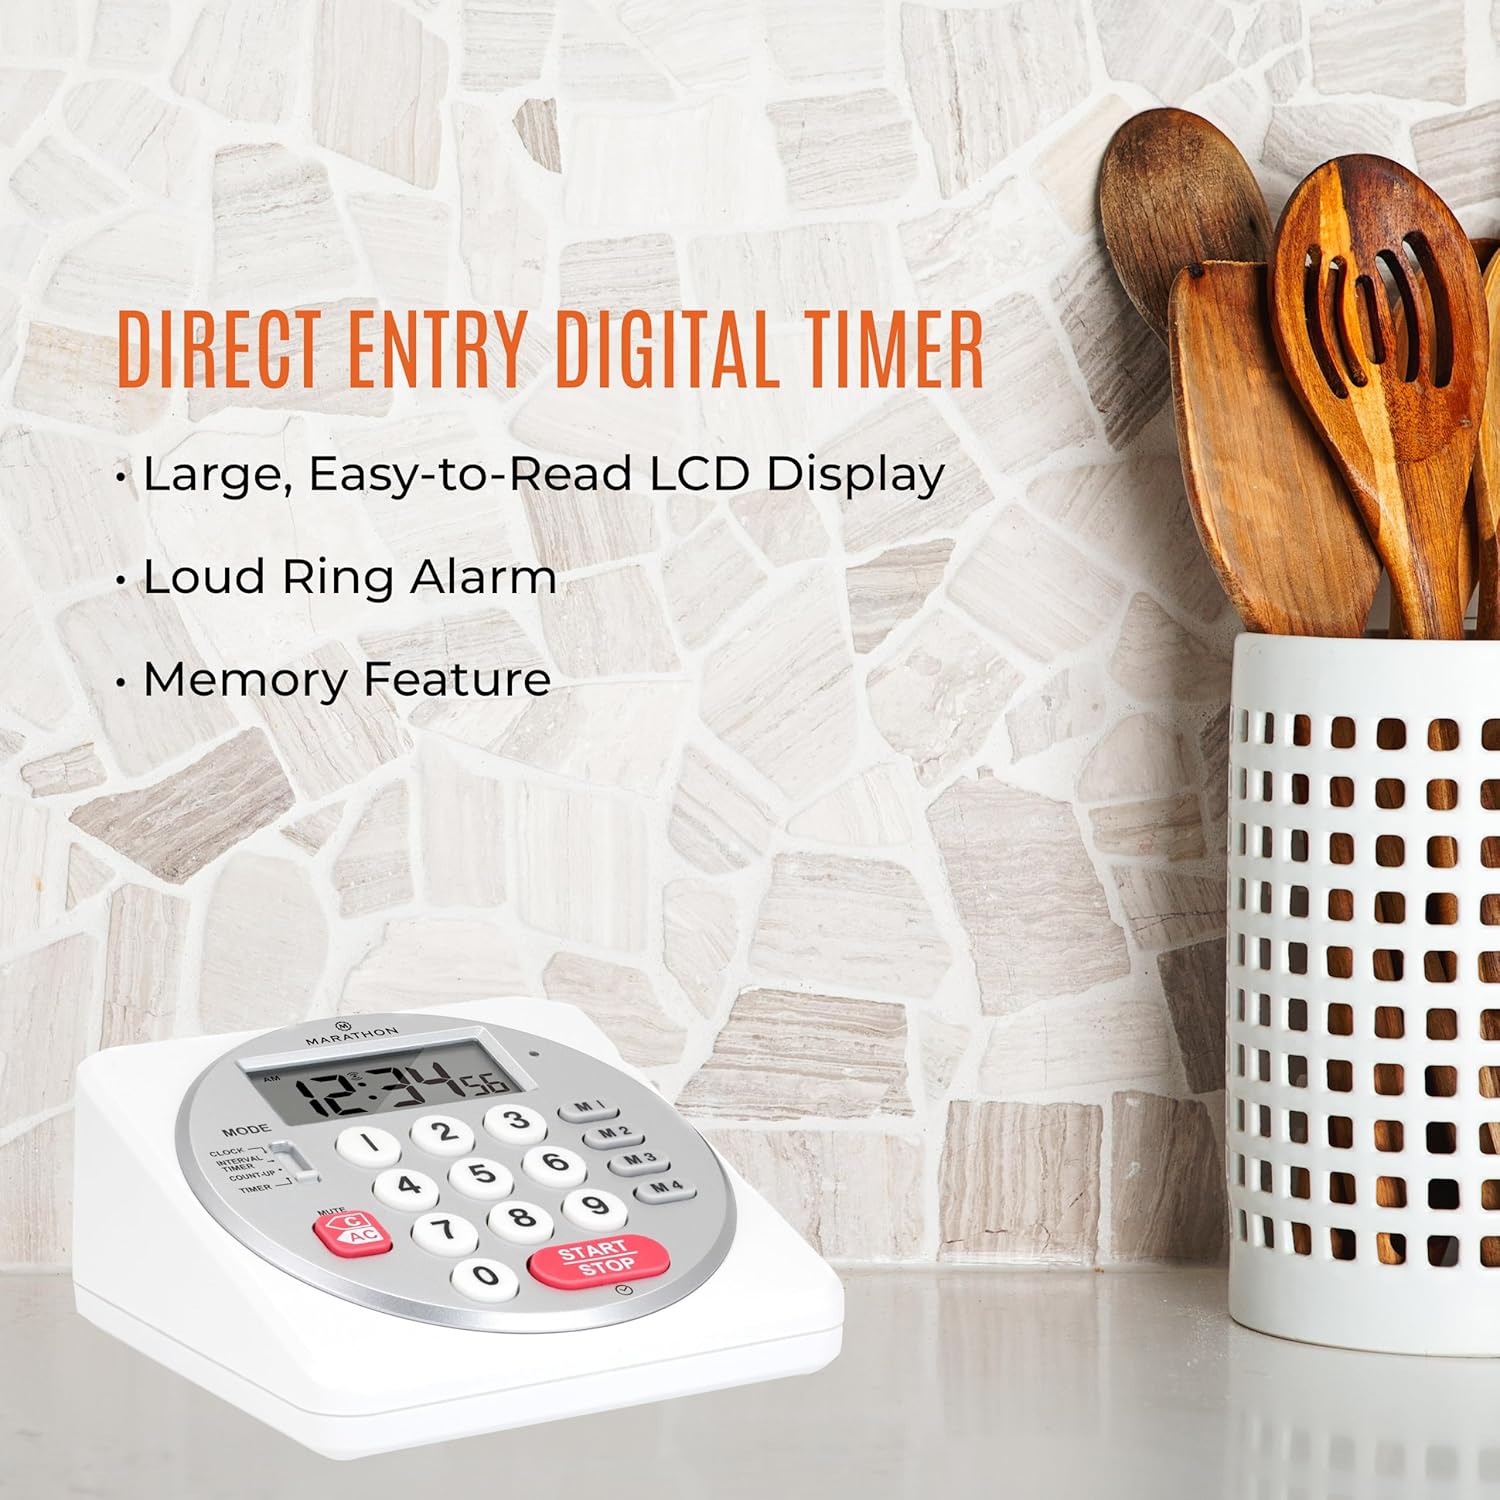
Figure 2: Timer on a kitchen counter, highlighting large display and loud alarm.

Figure 3: Timer showcasing dual function, included batteries, and versatile memory.
Pagrindinės funkcijos:
- Direct Entry Keypad: For quick and precise time setting.
- Didelis LCD ekranas: Easy-to-read numbers for clear visibility.
- Dual Function Alarm: Supports both countdown and count-up timing up to 99 hours, 59 minutes, and 59 seconds.
- Loud Ring Alarm: Audible across a room.
- LED indikatorius: Flashing light for silent alarm or hearing impairment assistance.
- Clock Feature: Displays time in 12-hour or 24-hour format when not in timer mode.
- Built-in Memory Function: Stores up to four consecutive times for interval timing and four memory presets for repetitive events.
- Universalus išdėstymas: Integrated kickstand for tabletop use and magnetic back for attachment to metal surfaces.
- Įtrauktos baterijos: Komplektuojamas su 2 AA baterijomis.
3. Sąranka
3.1. Akumuliatoriaus įdėjimas
- Raskite baterijų skyriaus dangtelį laikmačio gale.
- Atidarykite dangtelį.
- Insert two (2) AA batteries, ensuring correct polarity (+/-) as indicated inside the compartment. The timer comes with batteries included.
- Saugiai uždėkite akumuliatoriaus skyriaus dangtelį.

4 pav.: Nugara view with battery compartment and kickstand.
4. Naudojimo instrukcijos
4.1. Režimo pasirinkimas
Naudokite REŽIMAS switch located on the side of the timer to select between different functions:
- LAIKRODIS: Rodo dabartinį laiką.
- INTERVAL TIMER: For setting multiple consecutive timers.
- COUNT-UP: Functions as a stopwatch.
- LAIKMATIS: For setting a single countdown timer.

Figure 5: MODE switch for function selection.
4.2. Laikrodžio nustatymas
- Stumkite REŽIMAS pereiti prie LAIKRODIS.
- Paspauskite ir palaikykite NUSTATYTI mygtuką, kol pradės mirksėti laiko skaitmenys.
- Use the number keypad (0-9) to enter the desired time (HH:MM).
- Paspauskite NUSTATYTI dar kartą, kad patvirtintumėte ir išeitumėte iš laikrodžio nustatymo režimo.
- Norėdami perjungti tarp 12 valandų ir 24 valandų formato, paspauskite 12/24H button (if available, or refer to specific model instructions).
4.3. Setting a Countdown Timer (TIMER Mode)
- Stumkite REŽIMAS pereiti prie LAIKMATIS.
- Use the number keypad (0-9) to directly enter the desired countdown time (HH:MM:SS). The timer supports up to 99 hours, 59 minutes, 59 seconds.
- Paspauskite START/STOP mygtuką, kad pradėtumėte atgalinį skaičiavimą.
- Norėdami pristabdyti laikmatį, paspauskite START/STOP dar kartą. Norėdami tęsti, paspauskite dar kartą.
- When the countdown reaches zero, the alarm will sound, and the LED indicator will flash. The timer will then automatically begin counting up to show elapsed time since the alarm.
- To stop the alarm and clear the display, press the IŠVALYTI mygtuką.
4.4. Using the Count-Up Timer (COUNT-UP Mode)
- Stumkite REŽIMAS pereiti prie SUSKAIČIUOTI.
- Ensure the display shows 00:00:00. If not, press IŠVALYTI.
- Paspauskite START/STOP mygtuką, kad pradėtumėte skaičiuoti pirmyn.
- To pause the count-up, press START/STOP dar kartą. Norėdami tęsti, paspauskite dar kartą.
- To reset the count-up timer to zero, press IŠVALYTI.
4.5. Using Memory Functions (M1-M4 Presets)
The timer features four memory buttons (M1, M2, M3, M4) for storing and recalling frequently used times or for interval timing.
- In LAIKMATIS mode, enter the desired time using the number keypad.
- Press and hold one of the memory buttons (M1-M4) until the display confirms the time has been saved.
- To recall a saved time, simply press the corresponding memory button (M1-M4). The saved time will appear on the display, ready to start.
- For interval timing, set the first interval, save it to M1. Then set the second interval, save it to M2, and so on. You can then cycle through these presets as needed.
4.6. Signalo garsumo reguliavimas
The timer features a volume switch, typically located on the side or back, allowing you to select between different alarm levels (e.g., High, Low, Mute) or a flashing LED indicator for silent operation.
5. Priežiūra
- Nuvalykite laikmatį minkšta, damp Nenaudokite abrazyvinių valiklių ir nemerkite įrenginio į vandenį.
- Avoid exposing the timer to extreme temperatures or direct sunlight for prolonged periods.
- If the display becomes dim or the alarm weakens, replace the batteries promptly.
6. Problemų sprendimas
| Problema | Galima priežastis | Sprendimas |
|---|---|---|
| Laikmatis neįsijungia. | Baterijos išsikrovusios arba neteisingai įdėtos. | Patikrinkite baterijų poliškumą arba pakeiskite jas naujomis AA baterijomis. |
| Ekranas blankus. | Maža akumuliatoriaus energija. | Pakeiskite baterijas. |
| Signalizacija neskamba. | Alarm volume is set to mute or low. | Check the alarm volume switch and adjust as needed. |
| Laikmatis nereaguoja į mygtukų paspaudimus. | Unit may be in a locked state (if applicable) or requires a reset. | Remove and reinsert batteries to perform a hard reset. Check for any lock switches. |
7. Specifikacijos
- Modelis: TI030018WH
- Prekinis ženklas: MARATONAS
- Medžiaga: Plastikiniai
- Matmenys: 4.45 x 2.64 x 4.45 colio
- Prekės svoris: 7.1 uncijos
- Maitinimo šaltinis: 2 x AA baterijos (pridedamos)
- Max Timer Duration: 99 valandos 59 minutės 59 sekundės
- Savybės: Direct Entry, Dual Function (Count-up/Count-down), Clock, Memory Presets, LED Indicator, Magnetic Back, Kickstand
- UPC: 063442000342

6 pav.: Gaminio matmenys.
8. Garantija ir palaikymas
Dėl garantijos informacijos ar techninės pagalbos kreipkitės į oficialią gamintojo svetainę. websvetainėje arba susisiekite su jų klientų aptarnavimo skyriumi. Išsaugokite pirkimo kvitą kaip pirkimo įrodymą.


