1. Įvadas
The Ring Alarm Contact Sensor - 2nd Gen provides instant mobile alerts when doors and windows open in your home. Designed for easy installation and seamless integration with your existing Ring Alarm system, this sensor offers enhanced security and peace of mind. Its slim design allows for versatile placement on various frames.
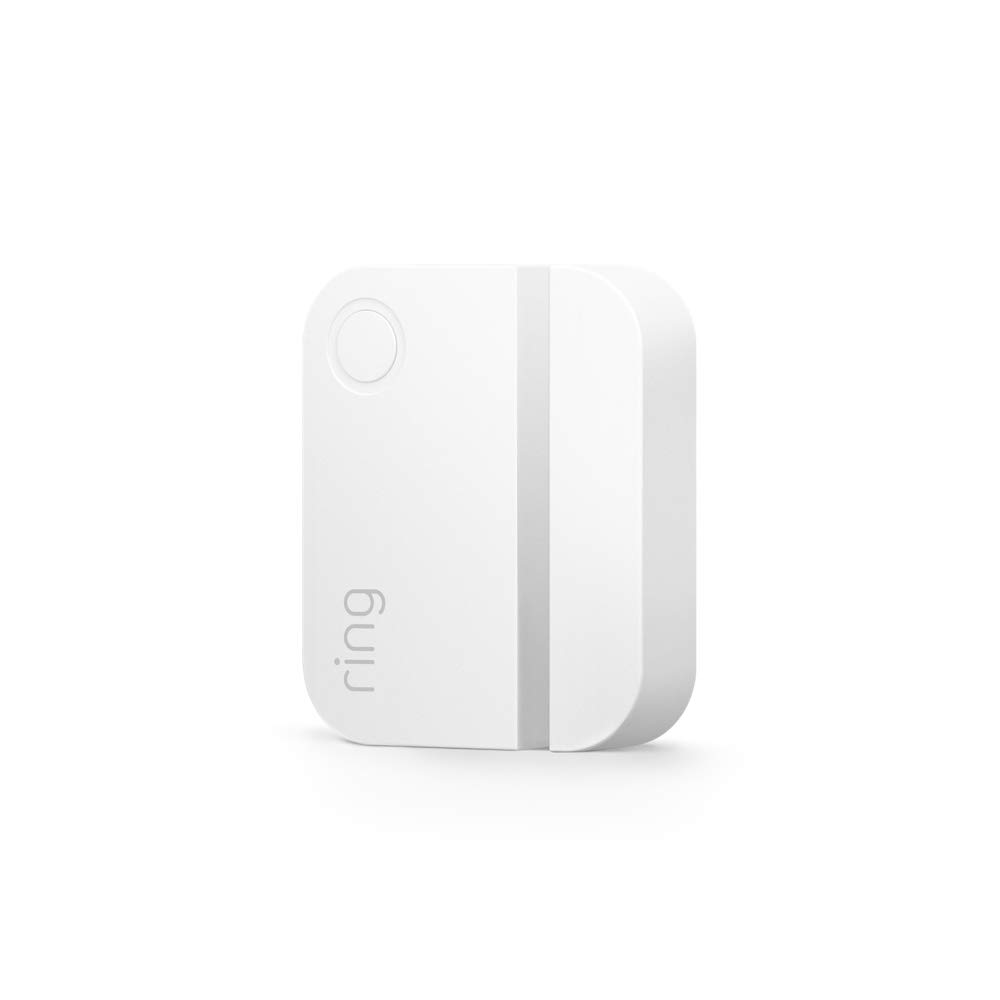
Image: The Ring Alarm Contact Sensor - 2nd Gen, a compact white device designed to detect opening and closing of doors and windows.
2. Sąranka ir diegimas
Installing your Ring Alarm Contact Sensor is a straightforward process, requiring no special tools. Ensure you have a Ring Alarm Base Station, as it is required for the sensor to function.
2.1 Pairing with Ring Alarm Base Station
- Open the Ring app on your mobile device.
- Navigate to the 'Devices' section and select 'Set Up a Device'.
- Follow the on-screen instructions to scan the QR code on your Contact Sensor. The sensor should connect quickly to your Base Station.
2.2 Jutiklio montavimas
The sensor consists of two parts: the main sensor unit and a smaller magnet. These two parts must be installed in close proximity to each other on a door or window frame.
- Identify a suitable location on your door or window frame where both parts can be mounted. The maximum distance between the two sensor parts when the door/window is closed should be 1 colio.
- The sensor comes with pre-applied adhesive tape for easy installation. Simply peel off the backing and firmly press the sensor parts onto the desired surfaces. The built-in adhesive is designed to hold well.
- Ensure that the alignment marks on both parts of the sensor are facing each other for optimal performance.
- When positioning, leave approximately ½ colio space on the non-magnet side of the main sensor unit to allow access to the battery compartment for future maintenance.

Image: The Ring Alarm Contact Sensor - 2nd Gen installed on a door frame, showing the main unit and the magnet aligned to detect opening and closing.
3. Jutiklio valdymas
Once installed and paired, your Contact Sensor will provide real-time alerts and integrate with your Ring Alarm system for comprehensive home security.
3.1 Mobile Alerts
You will receive instant mobile alerts on your smartphone whenever a door or window equipped with the sensor is opened. These alerts are delivered through the Ring app.
3.2 Ring App Control
The Ring app serves as your central dashboard for controlling and monitoring all your Ring devices, including the Contact Sensor. From the app, you can:
- View the status of your sensors (open/closed).
- Manage alert settings and notifications.
- Integrate with other Ring devices for a unified security experience.

Image: A smartphone screen displaying the Ring app dashboard, showing various connected devices like cameras and event history, allowing control from a single interface.
3.3 Ring Protect Subscription (Sold Separately)
For enhanced features and capabilities, consider a Ring Protect subscription. This subscription allows you to:
- Record 24/7 on eligible cameras.
- Scroll back in time to rewatch missed events.
- Receive alerts for people and packages (with compatible cameras).
- Access professional monitoring services for your Ring Alarm system.

Image: Hands holding a smartphone showing the Ring app's detailed control screen for a contact sensor, with options for event history, mode settings, and alert configurations.
4. Priežiūra
The Ring Alarm Contact Sensor is designed for long-lasting performance with minimal maintenance.
4.1 Akumuliatoriaus keitimas
The sensor is powered by two 3V CR2032 coin cell batteries, which provide an approximate battery life of 3 years under normal usage conditions. The Ring app will notify you when the battery level is low.
Norėdami pakeisti baterijas:
- Gently slide the main sensor unit off its mounting bracket or detach it from the adhesive.
- Locate the battery compartment. You may need to use a small tool to open it.
- Remove the old CR2032 batteries and insert two new 3V CR2032 batteries, ensuring correct polarity.
- Close the battery compartment and reattach the sensor unit to its mounting location.
5. Problemų sprendimas
If you encounter issues with your Ring Alarm Contact Sensor, try the following troubleshooting steps:
- Jutiklis nereaguoja: Check the battery level in the Ring app. If low, replace the batteries. Ensure the sensor parts are within 1 inch of each other when the door/window is closed.
- Nėra įspėjimų: Verify that notifications are enabled for the Contact Sensor in the Ring app settings. Ensure your Ring Alarm Base Station is online and connected to your network.
- Ryšio problemos: Confirm that the sensor is within the Z-Wave range (250-foot range to Base Station open air, line of sight). Obstructions like thick walls can reduce range.
- Sensor Detaching: If the adhesive is no longer holding, clean the mounting surface thoroughly and consider using stronger double-sided tape or screws for a more permanent installation.
- Nuolatinės problemos: If issues persist after basic troubleshooting, contact Ring Support for further assistance.
6. Specifikacijos
| Funkcija | Specifikacija |
|---|---|
| Galia | CR2032 coin cell batteries (x2) |
| Baterijos veikimo laikas | Maždaug 3 metai |
| Maksimalus atstumas tarp jutiklių | 1 inch (with ½” space on non-magnet side for battery access) |
| Eksploatavimo sąlygos | Indoor use, 32°F to 120°F (0°C to 49°C) |
| Matmenys | 1.56 x 2.09 col. x 0.55 col |
| Montavimas | Mounts to doors and windows, Ring Alarm Kit required |
| Ryšys | Z-Wave (250-foot range to Base Station open air, line of sight) |
7. Garantija ir palaikymas
7.1 Informacija apie garantiją
The Ring Alarm Contact Sensor - 2nd Gen includes a 1-year limited warranty and service. Use of the Ring Alarm Kit is subject to specific terms and conditions.
7.2 Pagalba klientams
For more information and support regarding your Ring Alarm Contact Sensor or the Ring Alarm Kit, please visit the official Ring support pages.
- General Ring Alarm Kit support: Žiedų parduotuvė „Amazon“ platformoje
- For monitoring licenses: ring.com/licenses


