Įvadas
This manual provides essential information for the safe and efficient operation of your Dual MCR 4 Portable DAB+/FM Radio. This device offers both digital DAB+ and analog FM radio reception, ensuring a wide range of listening options. Its color TFT display enhances usability by showing station names and additional information. With intuitive controls, auxiliary input, and headphone jack, the MCR 4 is designed for versatile and enjoyable audio experiences.
Saugos informacija
- Prieš naudodami įrenginį atidžiai perskaitykite visas instrukcijas.
- Laikykite prietaisą atokiau nuo vandens, drėgmės ir aukštos temperatūros.
- Nebandykite ardyti ar modifikuoti įrenginio. Visus techninės priežiūros darbus patikėkite kvalifikuotiems darbuotojams.
- Use only the provided power adapter or recommended battery types.
- Užtikrinkite tinkamą vėdinimą aplink įrenginį veikimo metu.
- Atsakingai išmeskite baterijas pagal vietinius reikalavimus.
Pakuotės turinys
Prašome patikrinti, ar pakuotėje yra visi reikalingi daiktai:
- Dual MCR 4 Main Unit
- Maitinimo adapteris
- Vartotojo vadovas
Produktas baigtasview
The Dual MCR 4 features a compact design with intuitive controls for easy access to its functions. Key components include:
- Color TFT Display: Rodo stoties informaciją, laiką ir meniu parinktis.
- Sukamoji rankenėlė: For tuning, volume control, and menu navigation.
- Atminties mygtukai: To save and recall your favorite radio stations.
- Teleskopinė antena: Optimaliam radijo signalo priėmimui.
- Auxiliary Input (AUX-IN): Located at the back, for connecting external audio devices.
- Ausinių lizdas: Located at the back, for private listening.
- Mechanical On/Off Switch: Located at the back, for direct power control.
- Passive Membrane: Located at the back, contributing to exceptional sound quality.
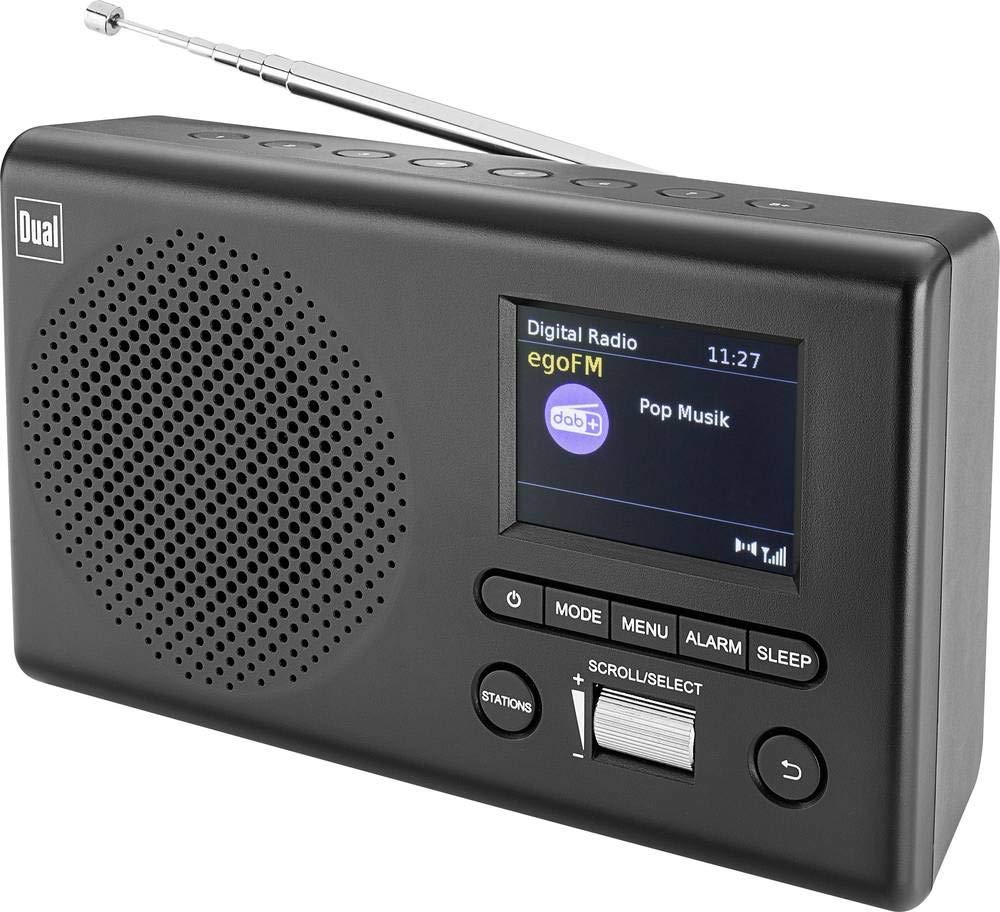
Vaizdas: priekis view of the Dual MCR 4 Portable DAB+/FM Radio, showing the color TFT display, rotary knob, and control buttons. The radio has a black and silver finish.
Sąranka
1. Įrenginio maitinimas
The Dual MCR 4 can be powered by either the included AC power adapter or batteries, offering portability.
- Naudojant kintamosios srovės adapterį: Connect the power adapter to the DC IN port on the back of the radio and plug the other end into a standard wall outlet.
- Baterijų naudojimas: Open the battery compartment on the bottom/back of the radio and insert the required batteries (type and quantity usually specified inside the compartment or in the full manual). Ensure correct polarity.
2. Antenos reguliavimas
Extend the telescopic antenna fully for optimal reception of both DAB+ and FM radio signals. Adjust its position for the best signal quality.
3. Initial Power On and Station Scan
After connecting power, switch on the radio using the mechanical ON/OFF switch at the back. The radio will typically perform an automatic station scan upon first use, searching for available digital (DAB+) and analog (FM) radio stations. This process may take a few moments.
Naudojimo instrukcijos
1. Pagrindinė operacija
- Maitinimo įjungimas/išjungimas: Use the mechanical switch at the back. For standby, a dedicated button on the front might be available (refer to physical unit).
- Garsumo valdymas: Rotate the main rotary knob to adjust the listening volume.
2. DAB+ Radio Mode
- Selecting DAB+ Mode: Press the MODE button (if available) or navigate through the menu using the rotary knob until DAB+ mode is selected.
- Stoties pasirinkimas: After an automatic scan, use the rotary knob to scroll through the list of available DAB+ stations. Press the knob to confirm your selection.
- Išankstinių nustatymų išsaugojimas: Tune to your desired station. Press and hold a memory button (e.g., 1-5) until the display confirms the station is saved.
- Išankstinių nustatymų atšaukimas: Briefly press the corresponding memory button to recall a saved station.
- Rodyti informaciją: The color TFT display will show station name, program information (DLS), and potentially station logos or slideshows.
3. FM radijo režimas
- Selecting FM Mode: Press the MODE button or navigate through the menu until FM mode is selected.
- Rankinis derinimas: Rotate the tuning knob to manually adjust the frequency.
- Automatinis nuskaitymas: Press and hold the tuning knob or a dedicated scan button to automatically search for the next available FM station.
- Išankstinių nustatymų išsaugojimas: Tune to your desired FM station. Press and hold a memory button until the display confirms the station is saved.
- Išankstinių nustatymų atšaukimas: Briefly press the corresponding memory button to recall a saved station.
4. Pagalbinė įvestis (AUX-IN)
Connect an external audio device (e.g., smartphone, MP3 player) to the AUX-IN port on the back of the radio using a 3.5mm audio cable. Select AUX mode on the radio to play audio from the connected device.
5. Ausinių naudojimas
For private listening, plug standard 3.5mm headphones into the headphone jack located on the back of the unit. The internal speaker will automatically mute.
Priežiūra
- Valymas: Radijo imtuvą valykite minkštu, sausu skudurėliu. Nenaudokite abrazyvinių valiklių ar tirpiklių.
- Saugykla: If storing for an extended period, remove batteries and store the unit in a cool, dry place.
- Antenos priežiūra: Su teleskopine antena elkitės atsargiai, kad jos nepažeistumėte.
Trikčių šalinimas
| Problema | Galimas sprendimas |
|---|---|
| Nėra galios |
|
| Prastas radijo priėmimas |
|
| Iš garsiakalbių nėra garso |
|
Specifikacijos
| Prekės ženklas | Dvigubas |
| Modelio numeris | 76074 |
| Spalva | Juoda, sidabrinė |
| Tiuningo technologija | DAB+, FM |
| Ryšio technologija | Pagalbinis (AUX-IN) |
| Ypatingos savybės | Portable, Color TFT Display |
| Suderinami įrenginiai | Headphones, External Audio Devices (via AUX-IN) |
| Maitinimo šaltinis | Mains (AC Adapter), Battery Powered |
| Įtraukti komponentai | Main Unit, Power Adapter, User Manual |
| Rekomenduojamas naudojimas | Muzika |
Garantija ir palaikymas
For warranty information and technical support, please refer to the specific warranty card included with your product or contact Dual customer service. The included user manual provides detailed instructions and contact information.


