1. Svarbios saugos instrukcijos
Always observe basic safety precautions to reduce the risk of fire, electric shock, and personal injury when operating power tools. Read all instructions carefully before use.
- Darbo zonos sauga: Darbo vieta turi būti švari ir gerai apšviesta. Netvarkingos arba tamsios vietos skatina nelaimingus atsitikimus. Nenaudokite elektrinių įrankių sprogioje aplinkoje, pavyzdžiui, ten, kur yra degių skysčių, dujų ar dulkių.
- Elektros sauga: Elektrinių įrankių kištukai turi atitikti lizdą. Niekada jokiu būdu nekeiskite kištuko. Venkite kūno kontakto su įžemintais paviršiais, tokiais kaip vamzdžiai, radiatoriai, viryklės ir šaldytuvai.
- Asmeninis saugumas: Visada dėvėkite akių apsaugos priemones. Dirbdami ilgą laiką, naudokite klausos apsaugos priemones. Tinkamai apsirenkite; nedėvėkite laisvų drabužių ar papuošalų. Laikykite plaukus, drabužius ir pirštines atokiau nuo judančių dalių.
- Įrankio naudojimas ir priežiūra: Nenaudokite elektrinio įrankio per jėgą. Naudokite savo darbui tinkamą elektrinį įrankį. Prieš atlikdami bet kokius pakeitimus, keisdami priedus ar padėdami elektrinius įrankius sandėliuoti, atjunkite kištuką nuo maitinimo šaltinio.
- Priežiūra: Prižiūrėkite elektrinius įrankius. Patikrinkite, ar nėra judančių dalių išsidėstymo ar surišimo, ar dalys nėra lūžusios ir ar nėra kitų sąlygų, galinčių turėti įtakos elektrinio įrankio veikimui. Jei sugadintas, prieš naudodami elektrinį įrankį suremontuokite.
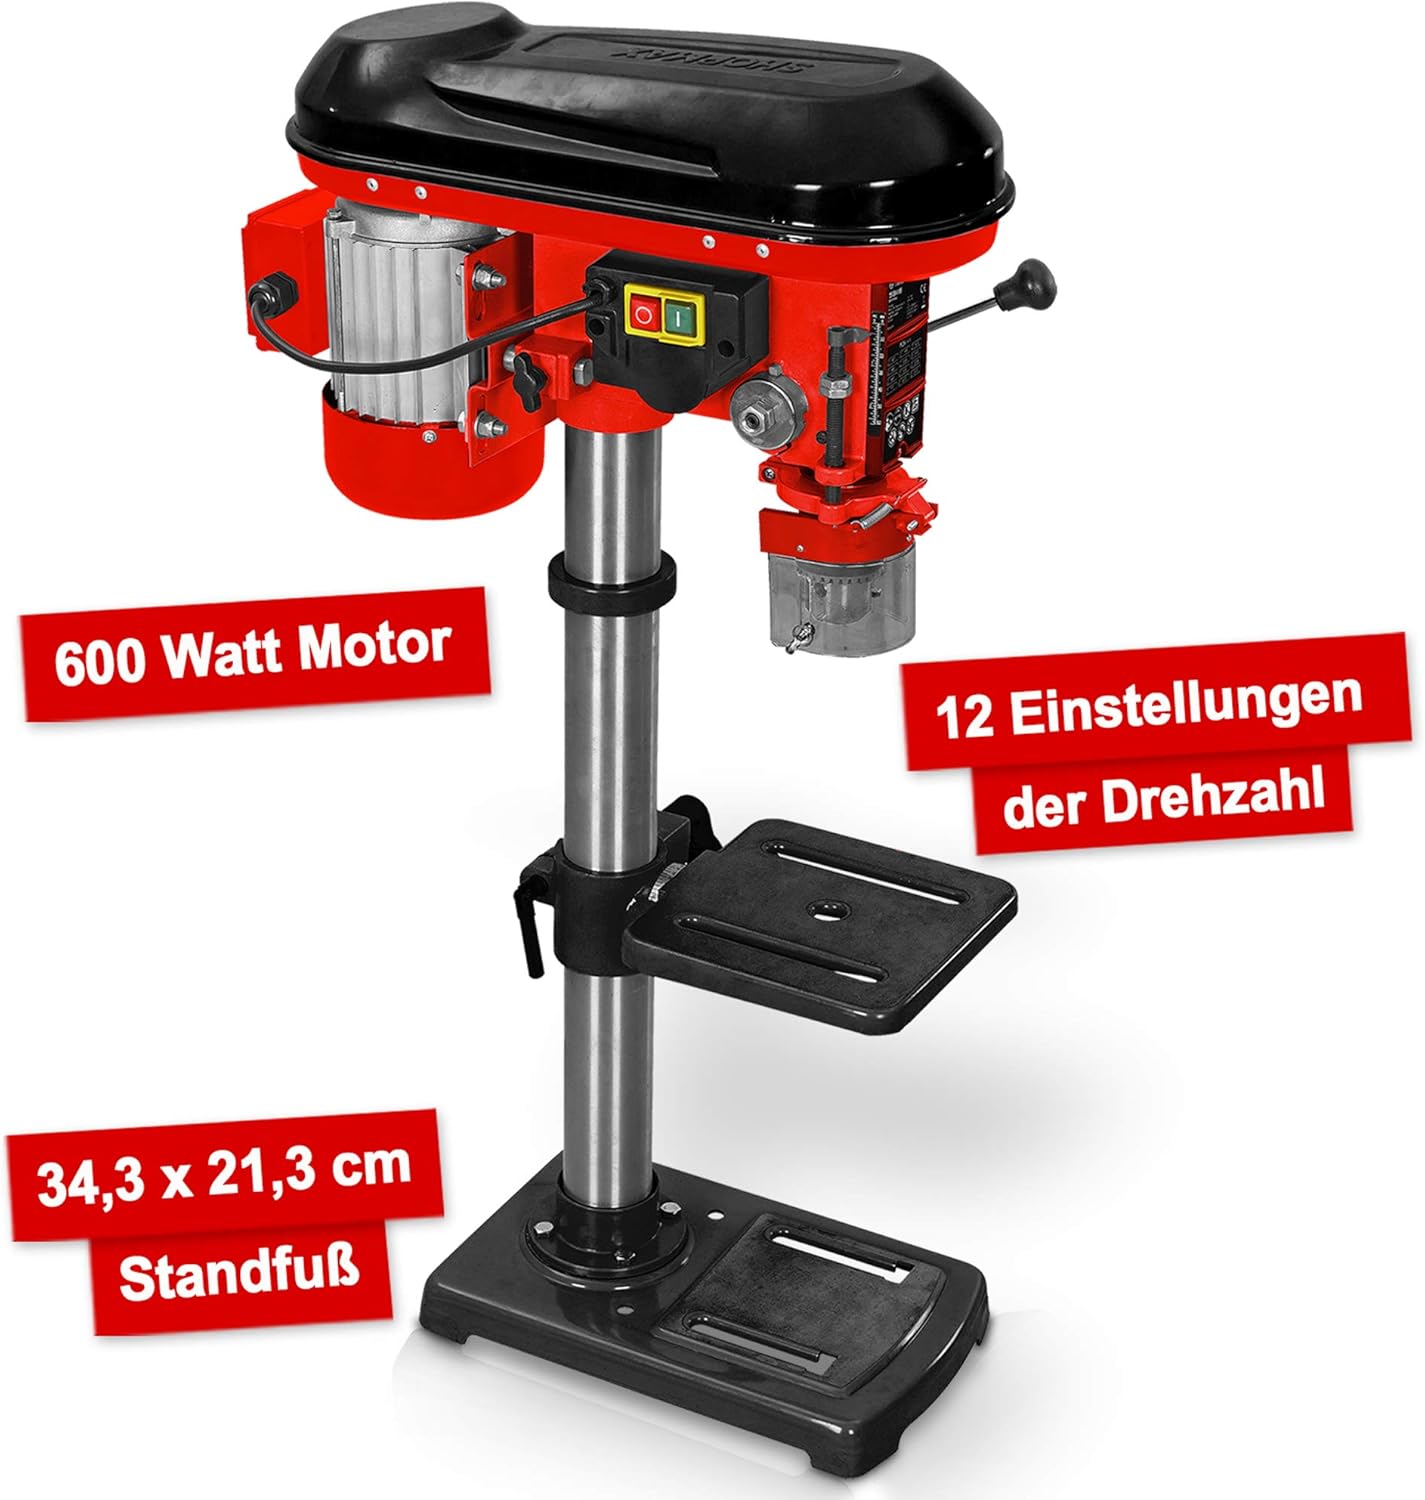
2. Produktas baigtasview ir komponentai
The Hecht Professional Pillar Drill is designed for precise drilling operations. Familiarize yourself with its main components for safe and effective use.

- Variklio korpusas: Contains the 600W motor and belt drive system.
- Galvos surinkimas: Includes the chuck, spindle, and depth stop.
- Stulpelis: The main support structure for the head assembly and drilling table.
- Drilling Table: Adjustable in height and angle for versatile drilling.
- Pagrindo plokštė: Provides stability and features mounting slots for securing to a workbench.
- Chuckas: Holds the drill bits securely (3-16 mm capacity).
- Speed Adjustment Lever: Used to change the drilling speed.
- Pašarų rankenos: Used to lower the chuck and drill bit into the workpiece.
- Įjungimo / išjungimo jungiklis: Power control for the drill.
- Chip Protection Guard: Transparent guard for safety during operation.
3. Sąranka ir surinkimas
Follow these steps to assemble and set up your pillar drill before initial use.
- Išpakavimas: Atsargiai išimkite visus komponentus iš pakuotės. Patikrinkite, ar nėra pažeidimų ir ar netrūksta dalių.
- Pagrindo plokštės montavimas: Place the base plate on a stable, level workbench. Secure it using appropriate bolts through the elongated slots on the base.
- Kolonos surinkimas: Mount the column securely onto the base plate according to the provided hardware.
- Drilling Table Attachment: Slide the drilling table assembly onto the column. Adjust its height and secure it with the locking handle.
- Head Assembly Mounting: Carefully place the head assembly onto the top of the column and secure it.
- Griebtuvo montavimas: Insert the chuck onto the spindle taper. Use a rubber mallet to gently tap it into place, ensuring a firm fit.
- Chip Guard: Attach the transparent chip protection guard around the chuck area.

4. Naudojimo instrukcijos
Understand how to properly operate your pillar drill for optimal performance and safety.
4.1 Selecting Drill Bits
Choose the appropriate drill bit for the material and desired hole size. The chuck accommodates bits from 3 mm to 16 mm. Ensure the drill bit is sharp and free from damage.
4.2 Grąžtų montavimas
- Įsitikinkite, kad gręžtuvas yra atjungtas nuo elektros tinklo.
- Open the chuck jaws using the chuck key.
- Insert the drill bit into the chuck, ensuring it is centered and seated firmly.
- Tighten the chuck jaws securely with the chuck key. Remove the chuck key immediately after tightening.
4.3 Greičio reguliavimas
The drill features 12 speed settings, adjustable via a belt drive system. Select the speed appropriate for your material and drill bit size. Lower speeds are generally for larger bits and harder materials, while higher speeds are for smaller bits and softer materials.


4.4 Adjusting Drilling Table
The drilling table can be adjusted in height and tilted up to +/- 45 degrees. Loosen the locking handle, position the table as required, and then securely tighten the handle.

4.5 Gręžimo gylio nustatymas
Use the depth stop mechanism to set the desired drilling depth. This ensures consistent hole depths for repetitive tasks.
4.6 Gręžimo procedūra
- Secure the workpiece firmly to the drilling table using clamps or a vise. Never hold the workpiece by hand.
- Adjust the table height and angle, and set the drilling depth.
- Pasirinkite tinkamą greitį.
- Turn on the drill using the On/Off switch.
- Slowly lower the drill bit into the workpiece using the feed handles, applying steady, even pressure.
- Pasiekus norimą gylį, grąžtą ištraukite iš ruošinio.
- Turn off the drill.
5. Priežiūra
Reguliarus techninis aptarnavimas užtikrina jūsų koloninio gręžtuvo ilgaamžiškumą ir saugų veikimą.
- Valymas: After each use, clean the drill of dust and chips. Use a brush or compressed air. Do not use solvents that may damage plastic parts.
- Tepimas: Periodically lubricate moving parts such as the column, spindle, and depth stop mechanism with light machine oil.
- Diržo įtempimas: Check the tension of the drive belt regularly. Adjust if necessary to prevent slippage and ensure proper power transmission. Refer to the belt diagram inside the motor housing cover.
- Griebtuvo priežiūra: Keep the chuck jaws clean and free of debris. If the chuck becomes stiff, clean and lightly lubricate it.
- Elektros laidas: Inspect the power cord for any damage. Replace if frayed or cut.
6. Problemų sprendimas
Šiame skyriuje aptariamos dažniausiai pasitaikančios problemos, su kuriomis galite susidurti naudodami koloninį gręžtuvą.
| Problema | Galima priežastis | Sprendimas |
|---|---|---|
| Gręžtuvas neprasideda | Nėra maitinimo šaltinio; Sugedęs jungiklis; Variklio problema | Check power connection and circuit breaker; Inspect switch for damage; Consult qualified service personnel. |
| Per didelė vibracija | Loose mounting; Unbalanced drill bit; Worn bearings | Tighten mounting bolts; Replace or re-center drill bit; Consult service personnel for bearing replacement. |
| Grąžtas slysta griebtuve | Chuck not tightened sufficiently; Oily chuck jaws; Damaged chuck jaws | Tighten chuck firmly with key; Clean chuck jaws; Replace chuck if damaged. |
| Variklis perkaista | Overloading; Insufficient ventilation; Prolonged use | Reduce load; Ensure clear ventilation; Allow motor to cool down. |
| Netikslus gręžimas | Loose workpiece; Worn drill bit; Misaligned table | Secure workpiece firmly; Replace drill bit; Check and adjust table alignment. |
7. Specifikacijos
Technical data for the Hecht Professional Pillar Drill.
| Funkcija | Specifikacija |
|---|---|
| Gamintojas | Hechtas |
| Prekės modelio numeris | Standbohrmaschine Hecht |
| Maitinimo šaltinis | Su laidu elektra |
| ttage | 230 voltų |
| Maksimali galia | 600 vatų |
| Maksimalus sukimosi greitis | 2700 aps./min |
| Greičių skaičius | 12 |
| Maksimalus Chuck dydis | 16 mm |
| Medžiaga | Metalas |
| Spalva | Red Pillar Drill |
| Pakuotės matmenys | 71 x 45 x 27 cm |
| Svoris | 23 kilograms (approx.) |
| Naudojimo aplinka | Vidinis |
| Nuorodos numeris | 8595614925655 |
8. Garantija ir palaikymas
For warranty information, please refer to the documentation provided with your purchase or contact the retailer. For technical support or spare parts inquiries, please contact Hecht customer service or your authorized dealer.
Please have your model number (Standbohrmaschine Hecht) and reference number (8595614925655) available when contacting support.