Įvadas
This user manual provides comprehensive instructions for the installation, operation, and maintenance of your Thinkware X1000 Dual Channel Dash Cam. The X1000 is designed to record high-quality video footage from both the front and rear of your vehicle, offering enhanced security and peace of mind. Please read this manual thoroughly before using the device to ensure proper functionality and safety.
Kas yra dėžutėje
Patikrinkite, ar pakuotėje yra visi komponentai:
- 2K QHD Main Unit (Front Dash Cam)
- 2K QHD Rear Cam
- 32GB MicroSD kortelė
- Laidų laidų kabelis
- Windshield Mount with 3M Tape
- (Optional: GPS Antenna, 12V Power Cable, Adhesive Wire Clips, Spare Mounting Tape, CS Info - may vary by package)

Image: Components included with the Thinkware X1000 Dash Cam system.
Produktas baigtasview
The Thinkware X1000 is a high-performance dual-channel dash cam system. Key features include:
- Dual 2K QHD Recording: Captures clear, detailed footage from both front and rear cameras (2560 x 1440 resolution).
- Sony STARVIS IMX335 Sensor: Ensures sharp video quality even in low-light conditions.
- Night Vision 3.0 with Real DOL HDR: Advanced technology for improved visibility and color accuracy at night.
- 3.5 colio IPS jutiklinis ekranas: Teikia tiesioginę transliaciją view, playback, and easy access to settings directly on the device.
- G jutiklis: Automatiškai aptinka smūgius ir išsaugo maistątage į apsaugotą aplanką.
- anti-File Korupcija: Safeguards recorded video files yra „microSD“ kortelėje.
- Smart Parking Surveillance Suite: Includes motion and impact detection, Time Lapse, and Energy Saving 2.0 modes (requires hardwiring).
- Pažangi vairuotojo pagalbos sistema (ADAS): Provides alerts for Lane Departure, Forward Collision, and Front Vehicle Departure (requires optional GPS antenna).

Image: The Thinkware X1000 Dash Cam system, showing the main unit, rear camera, and hardwiring cable.

Vaizdas: Priekinis stambus planas view of the Thinkware X1000 main unit, highlighting the QHD recorder lens.
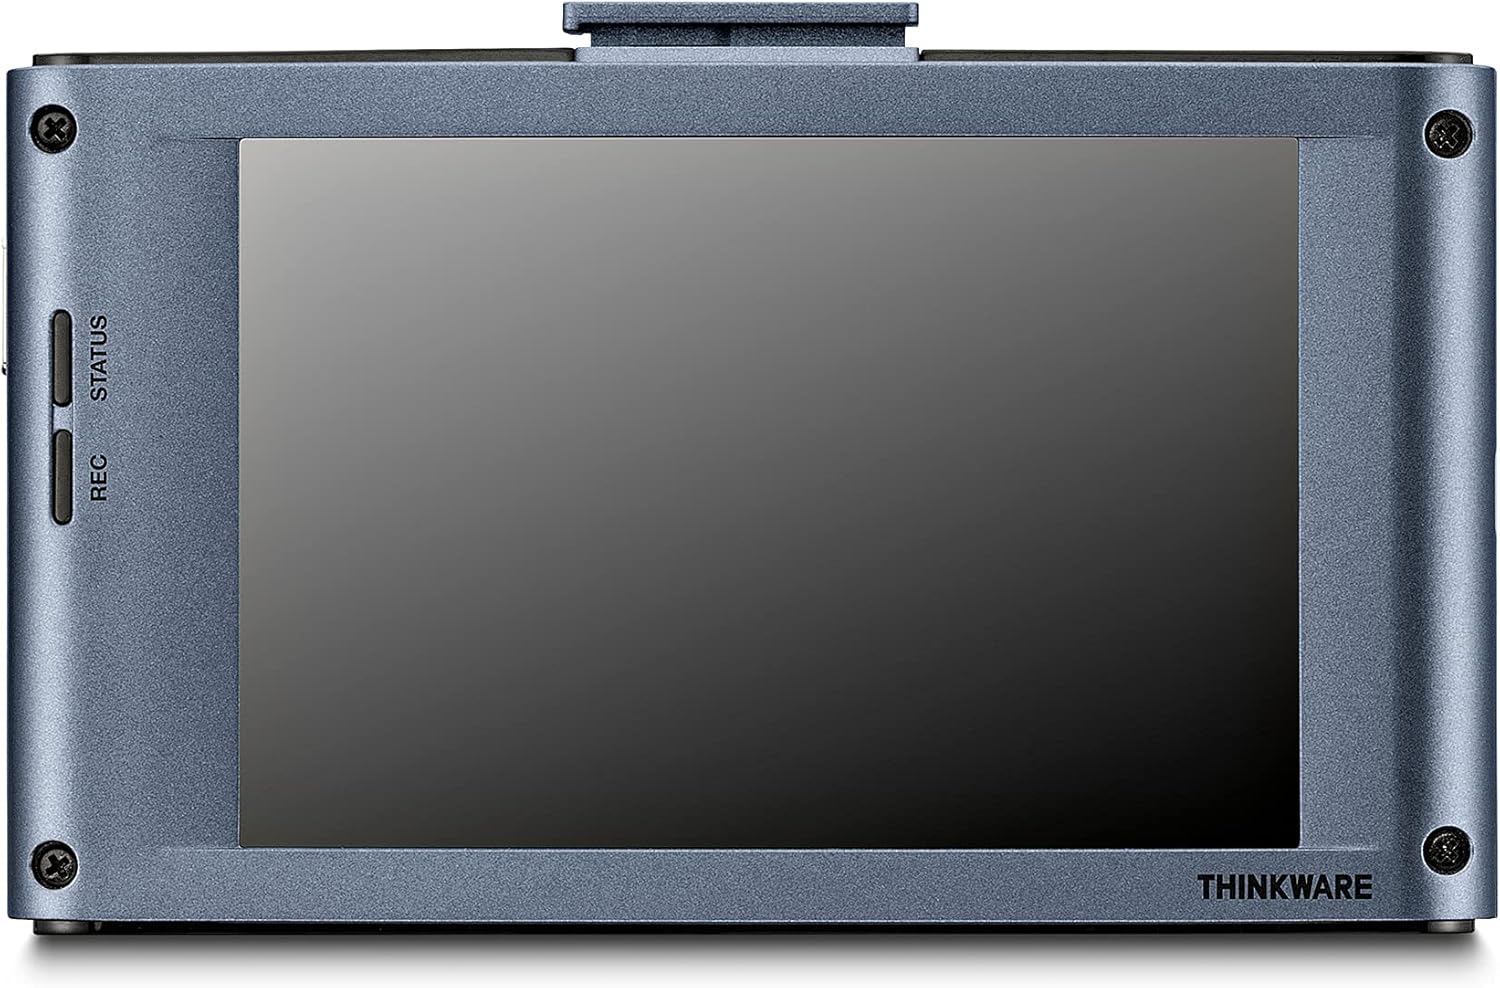
Vaizdas: Galinis view of the Thinkware X1000 main unit, displaying its 3.5-inch IPS touchscreen.
Sąranka ir diegimas
1. Paruoškite „MicroSD“ kortelę
Before first use, it is recommended to format the included 32GB MicroSD card using the dash cam's menu or the Thinkware PC Viewer software. This ensures optimal performance and compatibility.
2. Mount the Front Dash Cam
- Nuvalykite priekinio stiklo vietą, kurioje bus montuojamas vaizdo registratorius. Įsitikinkite, kad ji be dulkių ir riebalų.
- Attach the 3M adhesive tape to the windshield mount.
- Peel off the protective film from the adhesive tape and firmly press the mount onto the windshield, ideally behind the rearview veidrodis, kad nebūtų uždengtas view. Hold for at least 30 seconds.
- Slide the main unit onto the mounted bracket.
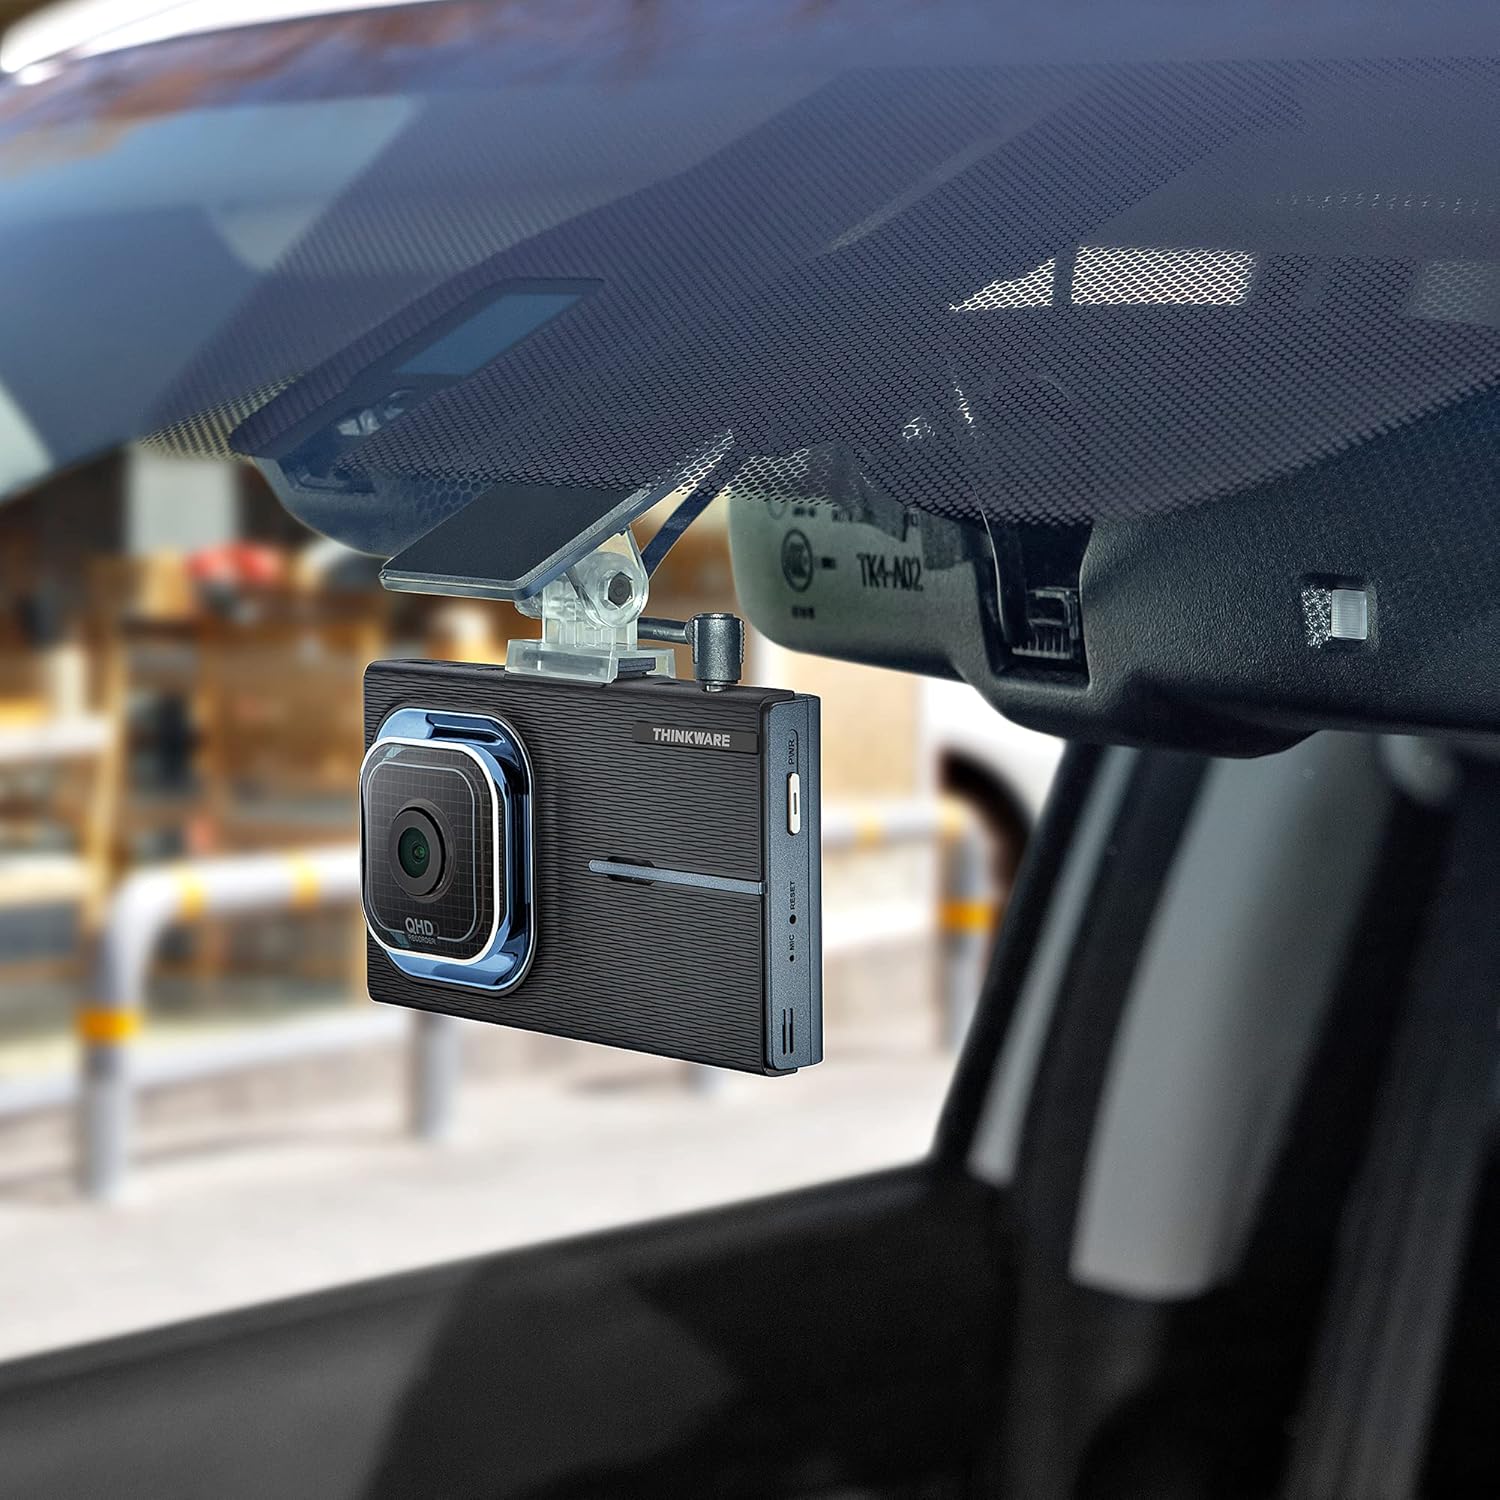
Image: The Thinkware X1000 main unit installed on a vehicle's windshield, positioned discreetly behind the rearview veidrodis.

Vaizdas: Interjeras view of the Thinkware X1000 Dash Cam mounted on the windshield, displaying its screen.
3. Įdiekite galinę kamerą
- Pritvirtinkite galinio vaizdo kamerą prie galinio priekinio stiklo, užtikrindami aiškų vaizdą view.
- Connect the rear camera cable to the rear camera and route it neatly along the vehicle's headliner and A-pillars to the main unit.
- Plug the rear camera cable into the appropriate port on the main unit (usually labeled "V-IN" or "REAR CAM").
4. Power Connection (Hardwiring)
The X1000 includes a hardwiring cable for continuous power and parking surveillance features. Professional installation is recommended for hardwiring.
- Connect the yellow wire (BATT) to a constant power fuse (always on).
- Connect the red wire (ACC) to an accessory power fuse (on when ignition is on).
- Prijunkite juodą laidą (GND) prie metalinio įžeminimo taško ant transporto priemonės važiuoklės.
- Plug the hardwiring cable into the DC-IN port on the main unit.
Alternatively, a 12V power cable (cigarette lighter adapter) can be used for basic recording, but parking surveillance features will not be available.

Vaizdas: Viršus view of the Thinkware X1000 main unit, illustrating the various connection ports for power, GPS, and the rear camera.
5. Optional GPS Antenna Installation
If you have the optional GPS antenna, connect it to the GPS port on the main unit. This enables speed logging, route tracking, and ADAS features.
Naudojimo instrukcijos
Maitinimo įjungimas/išjungimas
- The dash cam will automatically power on when the vehicle's ignition is turned on (if hardwired) or when connected to a 12V power source.
- To manually power off, press and hold the PWR button on the side of the unit.
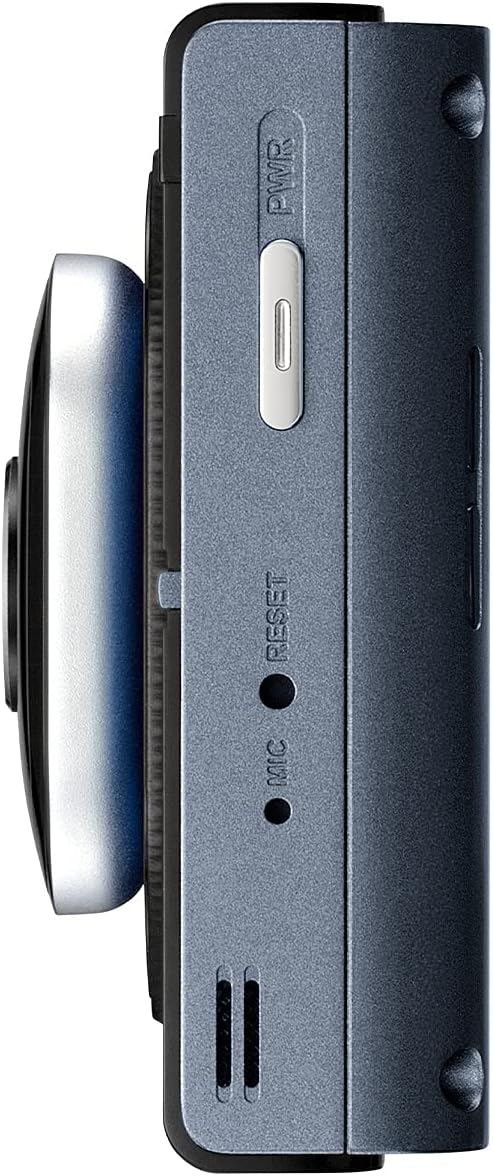
Vaizdas: Šoninė view of the Thinkware X1000 main unit, indicating the power button and reset pinhole.
Įrašymo režimai
The X1000 supports various recording modes:
- Nepertraukiamas įrašymas: Records automatically when the vehicle is in operation. Footage is saved in 1-minute segments.
- Incidento įrašas: Triggered by the G-sensor upon impact. These files are saved in a separate, protected folder and are not overwritten by continuous recording.
- Rankinis įrašymas: Press the REC button to manually initiate an event recording.
Jutiklinio ekrano naudojimas
The 3.5-inch IPS touchscreen allows for easy control:
- Tiesiogiai View: Rodo realaus laiko footage from the front and rear cameras.
- Atkūrimas: Review recorded videos directly on the device. Navigate through folders (Continuous, Incident, Manual, Parking).
- Nustatymai: Access and adjust various settings such as recording quality, G-sensor sensitivity, parking mode options, and ADAS settings.

Image: Visual comparison demonstrating the superior viewing angles of an IPS panel compared to a standard panel, as featured on the X1000's touchscreen.
Parkavimo stebėjimo režimai
When hardwired, the X1000 offers advanced parking surveillance features to protect your vehicle while parked:
- Judesio aptikimas: Records 20-second video clips when motion is detected around the vehicle.
- Poveikio aptikimas: Records 20-second video clips when an impact is detected while parked.
- Laiko įrašymas: Records continuously at 2 frames per second, compressing hours of footage into minutes.
- Energy Saving 2.0: Extends parking coverage by putting the dash cam into a low-power standby mode, waking up to record only when an impact is detected.

Image: Depiction of the dash cam's parking surveillance mode, showing motion detection in a parking environment.

Image: A battery indicator symbolizing the energy-saving feature of the parking surveillance mode, designed to extend recording time.
Išplėstinė pagalbos vairuotojui sistema (ADAS)
With the optional GPS antenna, the X1000 provides ADAS features to enhance driving safety:
- Eismo juostos išvažiavimo įspėjimo sistema (LDWS): Įspėja, jei jūsų automobilis išvažiuoja iš savo eismo juostos.
- Priekinio susidūrimo įspėjimo sistema (FCWS): Warns you of an impending collision with the vehicle ahead.
- Front Vehicle Departure Warning (FVDW): Notifies you when the vehicle in front starts to move from a standstill.

Image: A visual representation of the Advanced Driver Assistance System (ADAS) in action, showing alerts for lane departures and potential forward collisions.
Priežiūra
- „MicroSD“ kortelės valdymas: Regularly format the microSD card (e.g., once a month) to prevent data corruption and ensure optimal recording performance. The X1000 features Anti-File Corruption technology, but periodic formatting is still recommended.
- Valymas: Use a soft, dry cloth to clean the dash cam lens and touchscreen. Avoid abrasive cleaners or solvents.
- Firmware atnaujinimai: Check the Thinkware website periodically for firmware updates to ensure your dash cam has the latest features and bug fixes.

Vaizdas: Šoninė view of the Thinkware X1000 main unit, highlighting the microSD card slot for easy access and maintenance.

Image: A conceptual image representing the Anti-File Corruption technology, which protects recorded video files on the memory card from data loss.
Trikčių šalinimas
| Problema | Galima priežastis | Sprendimas |
|---|---|---|
| Vaizdo registratorius neįsijungia. | Atsilaisvinęs maitinimo jungtis, transporto priemonės maitinimo problema, sugedęs laidas. | Check all power cable connections. Ensure vehicle's ignition is on if using ACC power. Test with a different power source if possible. |
| Įrašymas sustoja arba footage yra sugadintas. | MicroSD card error, card full, incompatible card, card wear. | Format the microSD card. Try a new, high-quality microSD card. Ensure the card is Class 10 or higher. |
| Ekranas tuščias arba nereaguoja. | Programinės įrangos triktis, maitinimo problemos. | Perform a soft reset using the reset pinhole (refer to side view image). Ensure stable power supply. |
| Parkavimo režimas neveikia. | Not hardwired, incorrect hardwiring, low vehicle battery. | Ensure the dash cam is correctly hardwired to constant and accessory power. Check vehicle battery voltage. |
| ADAS features not active. | GPS antenna not connected or faulty, ADAS settings disabled. | Ensure the optional GPS antenna is securely connected. Enable ADAS features in the dash cam settings. |
Specifikacijos
| Funkcija | Detalė |
|---|---|
| Modelio pavadinimas | TW-X1000D32H |
| Gaminio matmenys | 3.9 x 0.9 x 1.3 colio |
| Prekės svoris | 1.25 svaro |
| Vaizdo įrašymo raiška | Front: 2K QHD (2560x1440p), Rear: 2K QHD (2560x1440p) |
| Laukas View | 156 laipsnių (plataus kampo) |
| Jutiklis | Sony STARVIS IMX335 |
| Ekranas | 3.5 colių IPS jutiklinis ekranas |
| Ryšio technologija | USB (for PC connection) |
| Ypatingos savybės | Night Vision 3.0, Real DOL HDR, G-Sensor, Anti-File Corruption, Smart Parking Surveillance Suite (Motion/Impact Detection, Time Lapse, Energy Saving 2.0), ADAS (LDWS, FCWS, FVDW - with optional GPS) |
| Įtraukti komponentai | Main Unit, Rear Cam, 32GB MicroSD Card, Hardwiring Cable, Windshield Mount with 3M Tape |
| Montavimo tipas | Lipnus kalnas |
| Spalva | Juoda |
Saugos informacija
- Do not install the dash cam in a location that obstructs the driver's view or interferes with airbag deployment.
- Ensure all cables are routed safely and do not interfere with vehicle controls.
- Venkite įrenginio ilgalaikio laikymo tiesioginiuose saulės spinduliuose, itin aukštose temperatūrose ar drėgmės.
- Nebandykite ardyti ar modifikuoti įrenginio. Tai panaikins garantiją ir gali sukelti gedimų.
- Use only genuine Thinkware accessories and power cables.
Garantija ir palaikymas
For warranty information and technical support, please refer to the documentation included with your product or visit the official THINKWARE websvetainę. Taip pat galite apsilankyti „THINKWARE“ parduotuvė „Amazon“ platformoje dėl papildomų išteklių ir kontaktinės informacijos.
The product is sold by THINKWARE USA, ensuring official support channels are available.


