1. Įvadas
This manual provides detailed instructions for the installation, operation, and maintenance of your Xigmatek Aero Black Micro-ATX Case. Please read this manual thoroughly before beginning assembly to ensure proper setup and to maximize the lifespan of your components.
2. Produktas baigtasview
The Xigmatek Aero is a compact Micro-ATX PC case designed for efficient component housing and airflow. It features a simple and stylish design, incorporating a tempered glass front panel and an acrylic side panel for visibility of internal components.
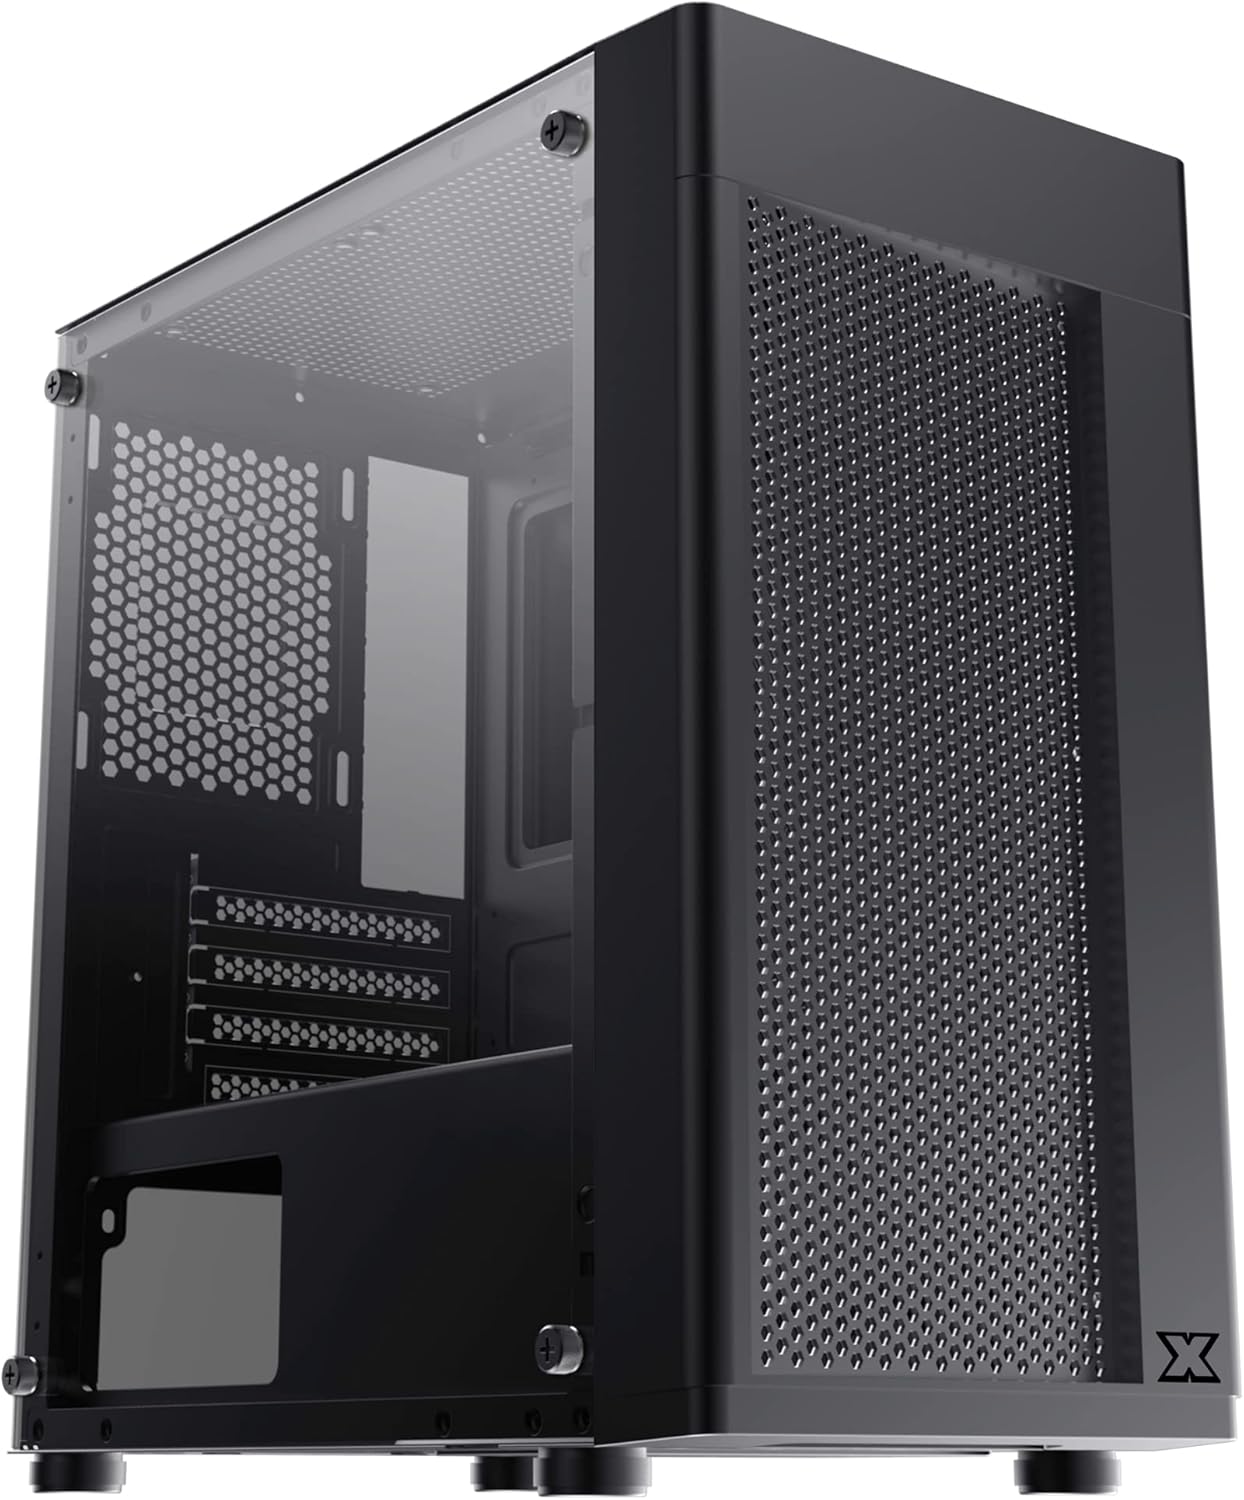
2.1 pav.: Priekinis kairysis view of the Xigmatek Aero Black Micro-ATX Case, showcasing the tempered glass front panel and acrylic side panel.
3. Pagrindinės savybės
- Grūdinto stiklo šoninė panelė: Suteikia aiškų view vidinių komponentų.
- Bottom Mounted PSU: Dedicated compartment for power supply unit, aiding in thermal management and cable routing.
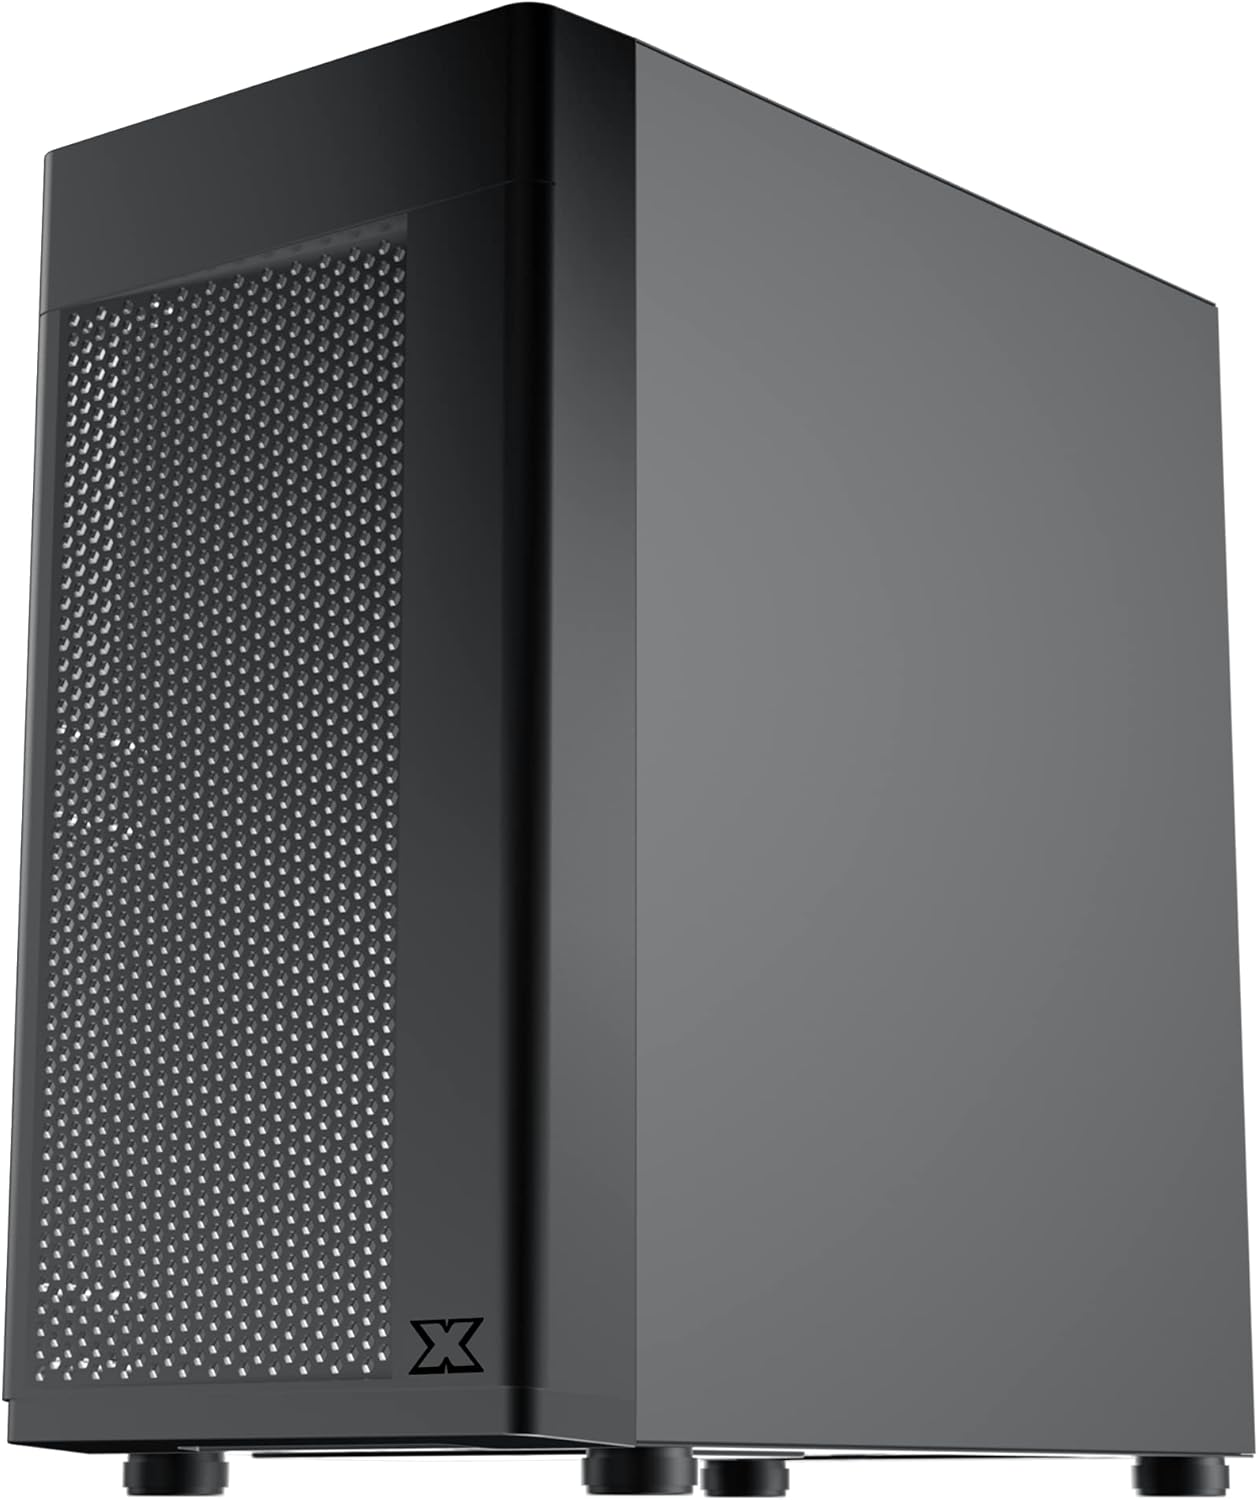
- Mesh Design Front Panel: Enhances airflow for improved cooling performance.
- Lengvas kabelių valdymas: Designed with routing options and a PSU shroud to facilitate neat cable organization.
- Kompaktiškas „Micro-ATX“ formos koeficientas: Optimized for smaller builds while maintaining compatibility with standard components.
4. Pakuotės turinys
Prieš tęsdami montavimą, patikrinkite, ar pakuotėje yra visi reikalingi daiktai:
- Xigmatek Aero Black Micro-ATX Case
- Priedų dėžutė (kuriame yra varžtai, tarpikliai, užtrauktukai)
- Vartotojo vadovas (šis dokumentas)
5. Sąranka ir diegimas
Follow these steps carefully for proper installation of your PC components into the Xigmatek Aero case.
5.1 Bylos parengimas
- Padėkite dėklą ant lygaus, stabilaus paviršiaus.
- Carefully remove the tempered glass side panel by unscrewing the four thumb screws. Set the panel aside on a soft, non-abrasive surface to prevent scratches.
- Remove the rear side panel (solid metal panel) by unscrewing the two thumb screws at the back and sliding it off. This provides access for cable management.
5.1 pav.: šonas view of the case, showing the tempered glass panel secured by four thumb screws.
5.2 Maitinimo bloko (PSU) montavimas
- Locate the PSU mounting area at the bottom rear of the case, within the PSU shroud.
- Slide your PSU into the designated slot from the rear of the case. Ensure the PSU fan faces downwards (if the case has a bottom vent) or upwards, depending on your cooling preference and PSU design.
- Pritvirtinkite maitinimo bloką varžtais iš korpuso galo.
- Route necessary PSU cables through the cutouts in the PSU shroud to the main compartment.

5.2 pav. Vidinis view highlighting the PSU shroud and cable routing options.
5.3 Pagrindinės plokštės montavimas
- Įstatykite įvesties/išvesties skydą (jei taikoma) į galinę korpuso angą.
- Align your Micro-ATX motherboard with the pre-installed standoffs. Ensure the screw holes on the motherboard match the standoffs.
- Pritvirtinkite pagrindinę plokštę naudodami pateiktus varžtus. Neperveržkite.

5.3 pav. Vidinis view of the case, showing the motherboard tray and standoff locations.
5.4 Atminties disko diegimas
The case supports 3.5-inch HDDs and 2.5-inch SSDs.
- 3.5 colio kietasis diskas: Locate the drive cage under the PSU shroud. Slide the HDD into the drive bay and secure with screws. Note: Some users find it easier to remove the drive caddy by unscrewing from the underside of the case first.
- 2.5 colio SSD diskas: SSDs can typically be mounted on dedicated brackets behind the motherboard tray or on top of the PSU shroud. Secure with screws.
5.5 Graphics Card and Expansion Cards
- Remove the necessary expansion slot covers from the rear of the case. These are break-off covers, so bend them carefully until they detach.
- Įdėkite vaizdo plokštę arba kitas išplėtimo korteles į atitinkamus PCIe lizdus pagrindinėje plokštėje.
- Pritvirtinkite korteles varžtais.

5.4 pav.: galinis view of the case, showing expansion slots and I/O shield opening.
5.6 Ventiliatoriaus ir aušinimo įrengimas
The Xigmatek Aero supports multiple fan configurations for optimal airflow.
- Priekyje: Up to 2x 120mm or 140mm fans. Can also support a 240mm AIO liquid cooler.
- Į viršų: Up to 2x 120mm fans.
- Galinis: 1x 120mm fan.
Install fans by aligning them with the screw holes and securing them with fan screws. Pay attention to airflow direction (intake vs. exhaust).
5.7 Kabelių valdymas
Kabelių nukreipimui ir tvirtinimui naudokite už pagrindinės plokštės dėklo esančias angas ir tvirtinimo taškus. Tai pagerina oro srautą ir suteikia estetinį vaizdą.

5.5 paveikslas: View from the rear of the motherboard tray, showing space for cable routing.
5.8 Priekinio skydelio jungtys
Connect the front panel cables (USB 3.0, USB 2.0, Audio, Power LED, HDD LED, Power Switch, Reset Switch) to the corresponding headers on your motherboard. Refer to your motherboard manual for exact pin layouts.

5.6 paveikslas: viršuje view of the case, illustrating the front I/O ports including USB 3.0 and audio jacks.
5.9 Galutinis surinkimas
- Once all components are installed and cables are managed, reattach the rear side panel.
- Carefully reattach the tempered glass side panel and secure it with the four thumb screws.
6. Veikimo aspektai
To ensure optimal performance and longevity of your system:
- Oro srautas: Ensure proper fan configuration for intake and exhaust to maintain good internal temperatures. The mesh front panel is designed for excellent air intake.
- Vieta: Place the PC case on a hard, flat surface to allow adequate airflow to the bottom-mounted PSU and any bottom intake fans. Avoid placing it on carpet.
7. Priežiūra
Regular maintenance helps preserve your system's performance and extends its lifespan:
- Dulkių valymas: Periodically clean dust from the case interior and fan filters. The top panel features a magnetic dust filter for easy removal and cleaning.
- Išorinis valymas: Naudokite minkštą, damp cloth to clean the exterior surfaces. Avoid abrasive cleaners. For the tempered glass and acrylic panels, use a microfiber cloth and a gentle glass cleaner.
8. Problemų sprendimas
Jei surinkimo metu arba po jo kyla problemų, atsižvelkite į šiuos dalykus:
- Sistema neįsijungia:
- Ensure all PSU cables are securely connected to the motherboard and components.
- Patikrinkite, ar priekinio skydelio maitinimo jungiklio kabelis tinkamai prijungtas prie pagrindinės plokštės lizdo.
- Patikrinkite, ar maitinimo šaltinio jungiklis yra „ĮJUNGTA“ padėtyje.
- Nesisukantys ventiliatoriai:
- Confirm fan cables are properly connected to motherboard fan headers or a fan controller.
- Prastas oro srautas / aukšta temperatūra:
- Check fan orientation (intake/exhaust).
- Ensure dust filters are clean.
- Verify no cables are obstructing airflow.
9. Specifikacijos
| Funkcija | Detalė |
|---|---|
| Modelio numeris | EN46584 |
| Formos faktorius | Micro-ATX Tower |
| Matmenys (I x P x A) | 34.5 x 20 x 29 cm |
| Svoris | 3.53 kg |
| Medžiaga | Tempered Glass, Acrylic, Steel |
| Pagrindinės plokštės suderinamumas | Mikro ATX, Mini-ITX |
| Maitinimo bloko tvirtinimas | Apatinis kalnas |
| Drive Bays | 1x 3.5" HDD, 2x 2.5" SSD (or 2x 3.5" HDD, 1x 2.5" SSD depending on configuration) |
| Išplėtimo lizdai | 4 |
| Ventiliatoriaus laikiklis (priekinis) | 2x 120mm / 140mm |
| Ventiliatorių palaikymas (viršuje) | 2x120 mm |
| Ventiliatoriaus laikiklis (gale) | 1x120 mm |
| Radiatoriaus atrama (priekinė) | Iki 240 mm |
| Priekinės įvesties / išvesties prievadai | 1x USB 3.0, 2x USB 2.0, HD garsas (mikrofonas ir ausinės) |
10. Garantija ir palaikymas
For warranty information and technical support, please refer to the official Xigmatek websvetainėje arba susisiekite su vietiniu pardavėju. Išsaugokite pirkimo įrodymą, jei prireiktų pateikti garantinį prašymą.


