1. Įvadas
This manual provides essential information for the proper installation, configuration, and operation of your Hikvision Turbo HD DVR 8-Channel, model DS-7108HGHI-K1(S). Please read this manual thoroughly before using the device to ensure safe and efficient operation. Keep this manual for future reference.
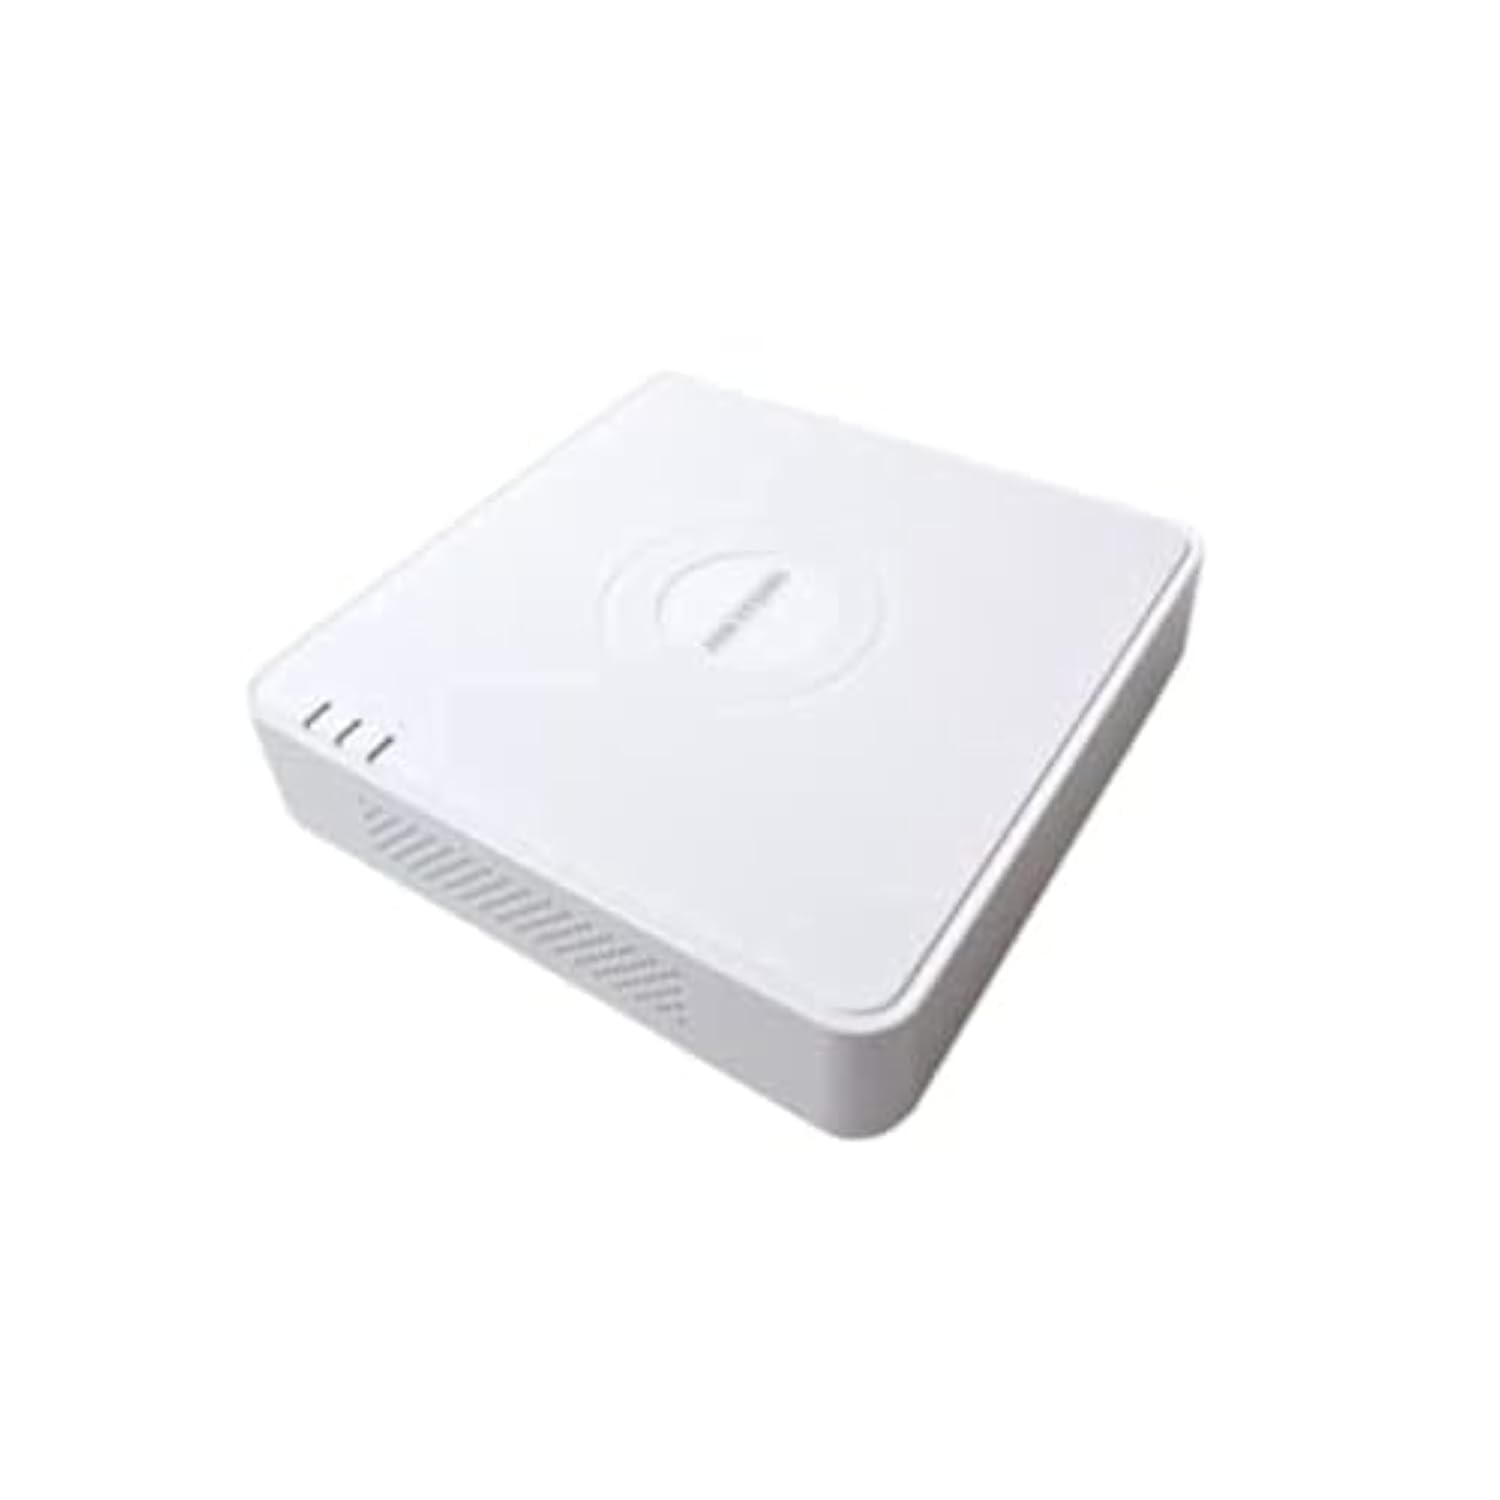
This image shows the Hikvision Turbo HD DVR unit from a front-side perspective, highlighting its compact design, ventilation grilles, and status indicator lights.
2. Produkto ypatybės
- High-definition 8-channel Turbo HD DVR
- Supports audio transmission over coaxial cable
- Equipped with one SATA interface for storage
- Patvarus plastikinis casing for protection
- Video encoding capabilities up to 1080p Lite at 15 frames per second
- Advanced video compression: H.265 Pro+/H.265 Pro/H.265
3. Sąrankos vadovas
3.1 Išpakavimas ir patikrinimas
Carefully unpack the DVR and all accessories. Verify that all components are present and undamaged. If any items are missing or damaged, contact your supplier immediately.
3.2 DVR prijungimas
- Prijunkite standųjį diską (jei jis nėra iš anksto įdiegtas): Atidarykite DVR įrenginįasing, connect the SATA data and power cables to the hard drive, and secure the drive.
- Prijungti kameras: Connect your Turbo HD cameras to the BNC video input ports on the rear panel.
- Prijungti monitorių: Norėdami prijungti monitorių prie atitinkamo DVR išvesties prievado, naudokite HDMI arba VGA kabelį.
- Prijungti pelę: Prijunkite USB pelę prie DVR USB prievado.
- Prijunkite tinklą: Connect an Ethernet cable from your router/switch to the LAN port on the DVR for network access and remote viewing.
- Prijunkite maitinimą: Prijunkite maitinimo adapterį prie vaizdo registratoriaus maitinimo įvesties, o tada – prie maitinimo lizdo. Vaizdo registratorius įsijungs automatiškai.
3.3 Pradinė konfigūracija
Upon first power-on, the DVR will guide you through an initial setup wizard. This includes setting up a strong password, configuring network settings, and initializing the hard drive. Follow the on-screen prompts to complete the setup.
4. Naudojimo instrukcijos
4.1 Tiesiogiai View
Po pradinio nustatymo DVR rodys tiesioginį vaizdą view from all connected cameras on the monitor. You can switch between single-camera view ir kelių kamerų tinklelis view naudodami ekrane esančius valdiklius arba pelę.
4.2 Įrašymas
The DVR is typically configured for continuous recording by default. You can access the recording schedule settings via the main menu to customize recording modes (e.g., motion detection, scheduled recording) for each channel.
4.3 Atkūrimas
Norėdami iš naujoview įrašytas footage, navigate to the Playback menu. Select the desired camera(s) and time range. You can use the timeline and playback controls to fast forward, rewind, or pause the video.
4.4 Nuotolinė prieiga
Nuotoliniam viewing on a mobile device or computer, ensure the DVR is connected to the internet. Download the official Hik-Connect app (or client software) and follow the instructions to add your DVR using its serial number or QR code. This allows you to view live feeds and playback recordings from anywhere with an internet connection.
5. Priežiūra
5.1 Reguliarus valymas
Keep the DVR clean by wiping its exterior with a soft, dry cloth. Ensure ventilation openings are free from dust and obstructions to prevent overheating.
5.2 Firmware atnaujinimai
Reguliariai tikrinkite „Hikvision“ atstovą website for firmware updates. Keeping your DVR's firmware up-to-date ensures optimal performance, security, and access to new features. Follow the provided instructions carefully when performing updates.
5.3 Duomenų atsarginė kopija
Reguliariai kurkite svarbių vaizdo įrašų atsargines kopijastage to an external USB drive or network storage. This helps prevent data loss in case of hard drive failure or other unforeseen issues.
6. Problemų sprendimas
6.1 Nėra vaizdo išvesties
- Check all video cable connections (BNC, HDMI, VGA) to ensure they are secure.
- Patikrinkite, ar monitorius įjungtas ir ar nustatytas tinkamas įvesties šaltinis.
- Ensure cameras are powered and functioning correctly.
6.2 Tinklo ryšio problemos
- Confirm the Ethernet cable is properly connected to both the DVR and the router/switch.
- Check network settings in the DVR menu (IP address, gateway, DNS). Ensure they are correct for your network.
- Restart your router/switch and the DVR.
6.3 Įrašymo problemos
- Verify that a hard drive is installed and properly initialized.
- Check the recording schedule and settings for the affected channels.
- Įsitikinkite, kad standžiajame diske yra pakankamai laisvos vietos.
7. Specifikacijos
| Funkcija | Detalė |
|---|---|
| Gamintojas | Hikvision |
| Modelio numeris | DS-7108HGHI-K1(S) |
| Produkto matmenys (P x G x A) | 10 x 10 x 3 cm (approximate, based on video) |
| Prekės svoris | 1000 gramai (1 kg) |
| Ryšio technologija | Ethernet |
| Suderinami įrenginiai | Fotoaparatas |
| Atminties talpa | 4 Terabytes (HDD not included) |
| Kietojo disko dydis | 4 Terabytes (Maximum supported) |
| Energijos suvartojimas | 17 vatų |
| Kanalų skaičius | 8 |
| Digital Video Media Format | MP4 |
8. Garantija ir palaikymas
For specific warranty terms and conditions, please refer to the documentation provided with your purchase or contact Hikvision directly. Technical support may be available through the Hikvision official websvetainėje arba pas įgaliotąjį pardavėją.


