1. Produktas baigtasview
The Weiser Prescott/Katella Handleset in Satin Nickel offers a blend of modern design and reliable functionality for exterior doors. This handleset is designed for keyed entry and security, but it does not include a deadbolt. It is intended to be paired with a separate Weiser deadbolt, which can be electronic or mechanical, allowing for personalized security solutions.
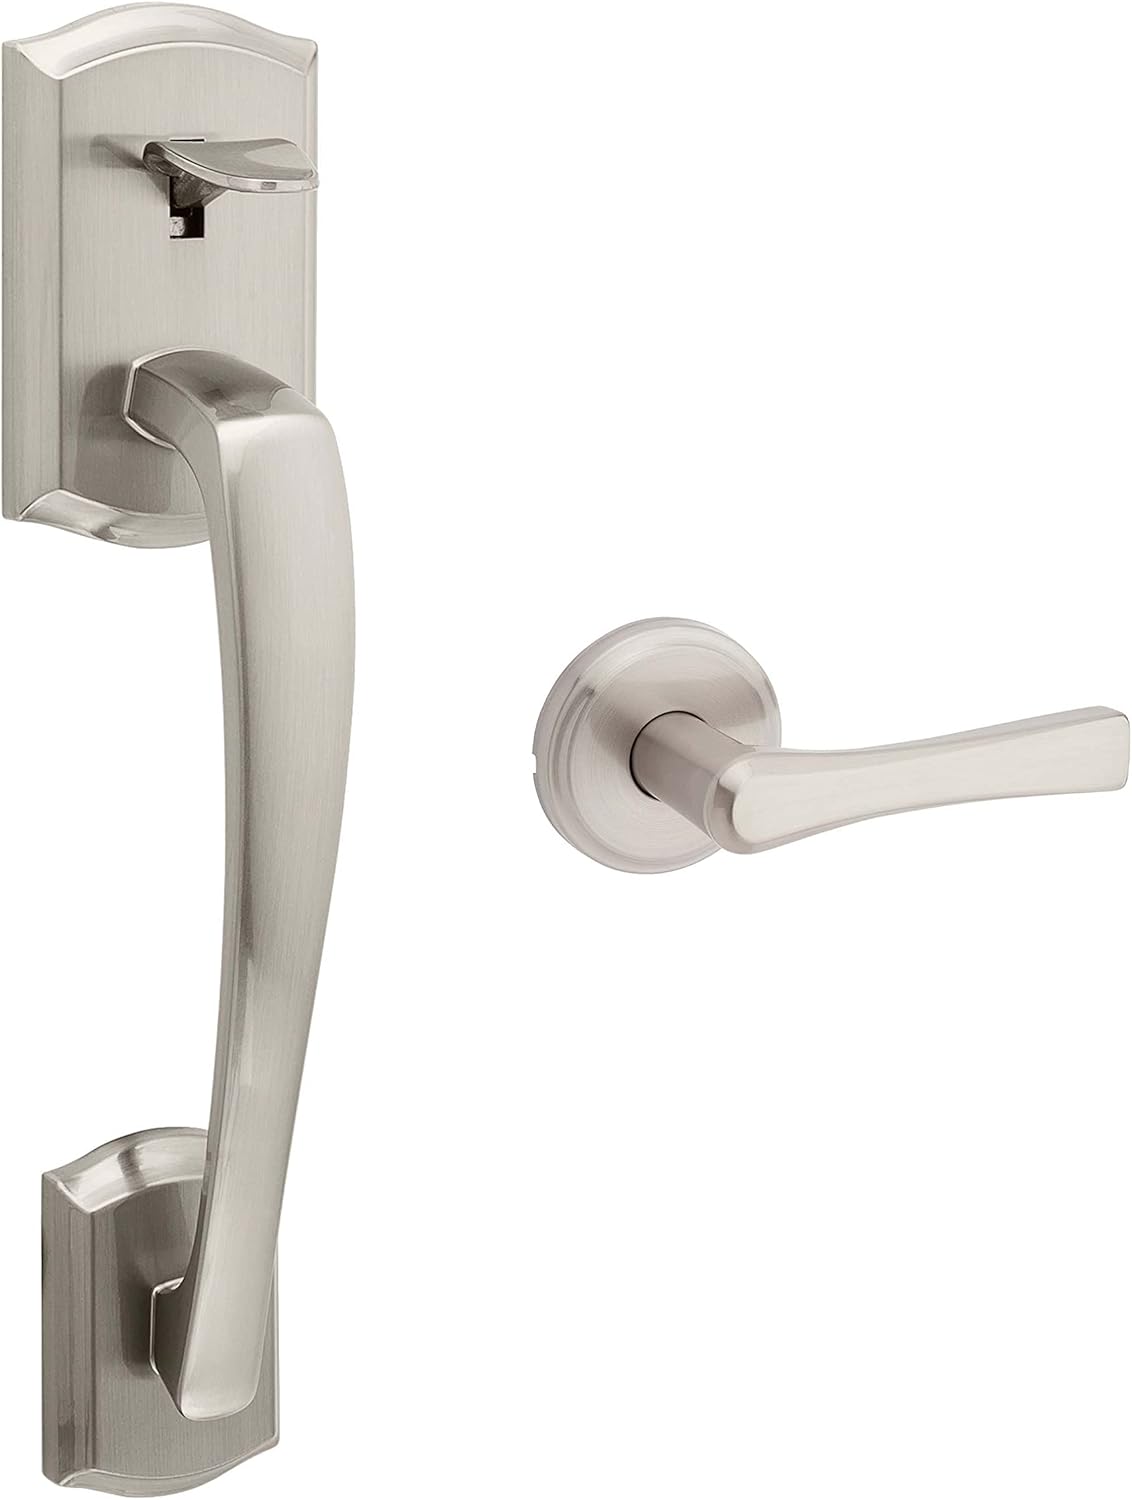
1 pav.: Išorė view of the Weiser Prescott/Katella Satin Nickel Handleset.
The handleset is reversible, accommodating both left-handed and right-handed door configurations. Its satin nickel finish provides a clean and contemporary aesthetic, complementing various home decors.
2. Kas yra dėžutėje
Prieš pradėdami montuoti, įsitikinkite, kad yra visi komponentai:
- Door Handle (Exterior)
- Lever (Interior)
- Spynos
- Streikai
- Hardware (screws, pins, etc.)
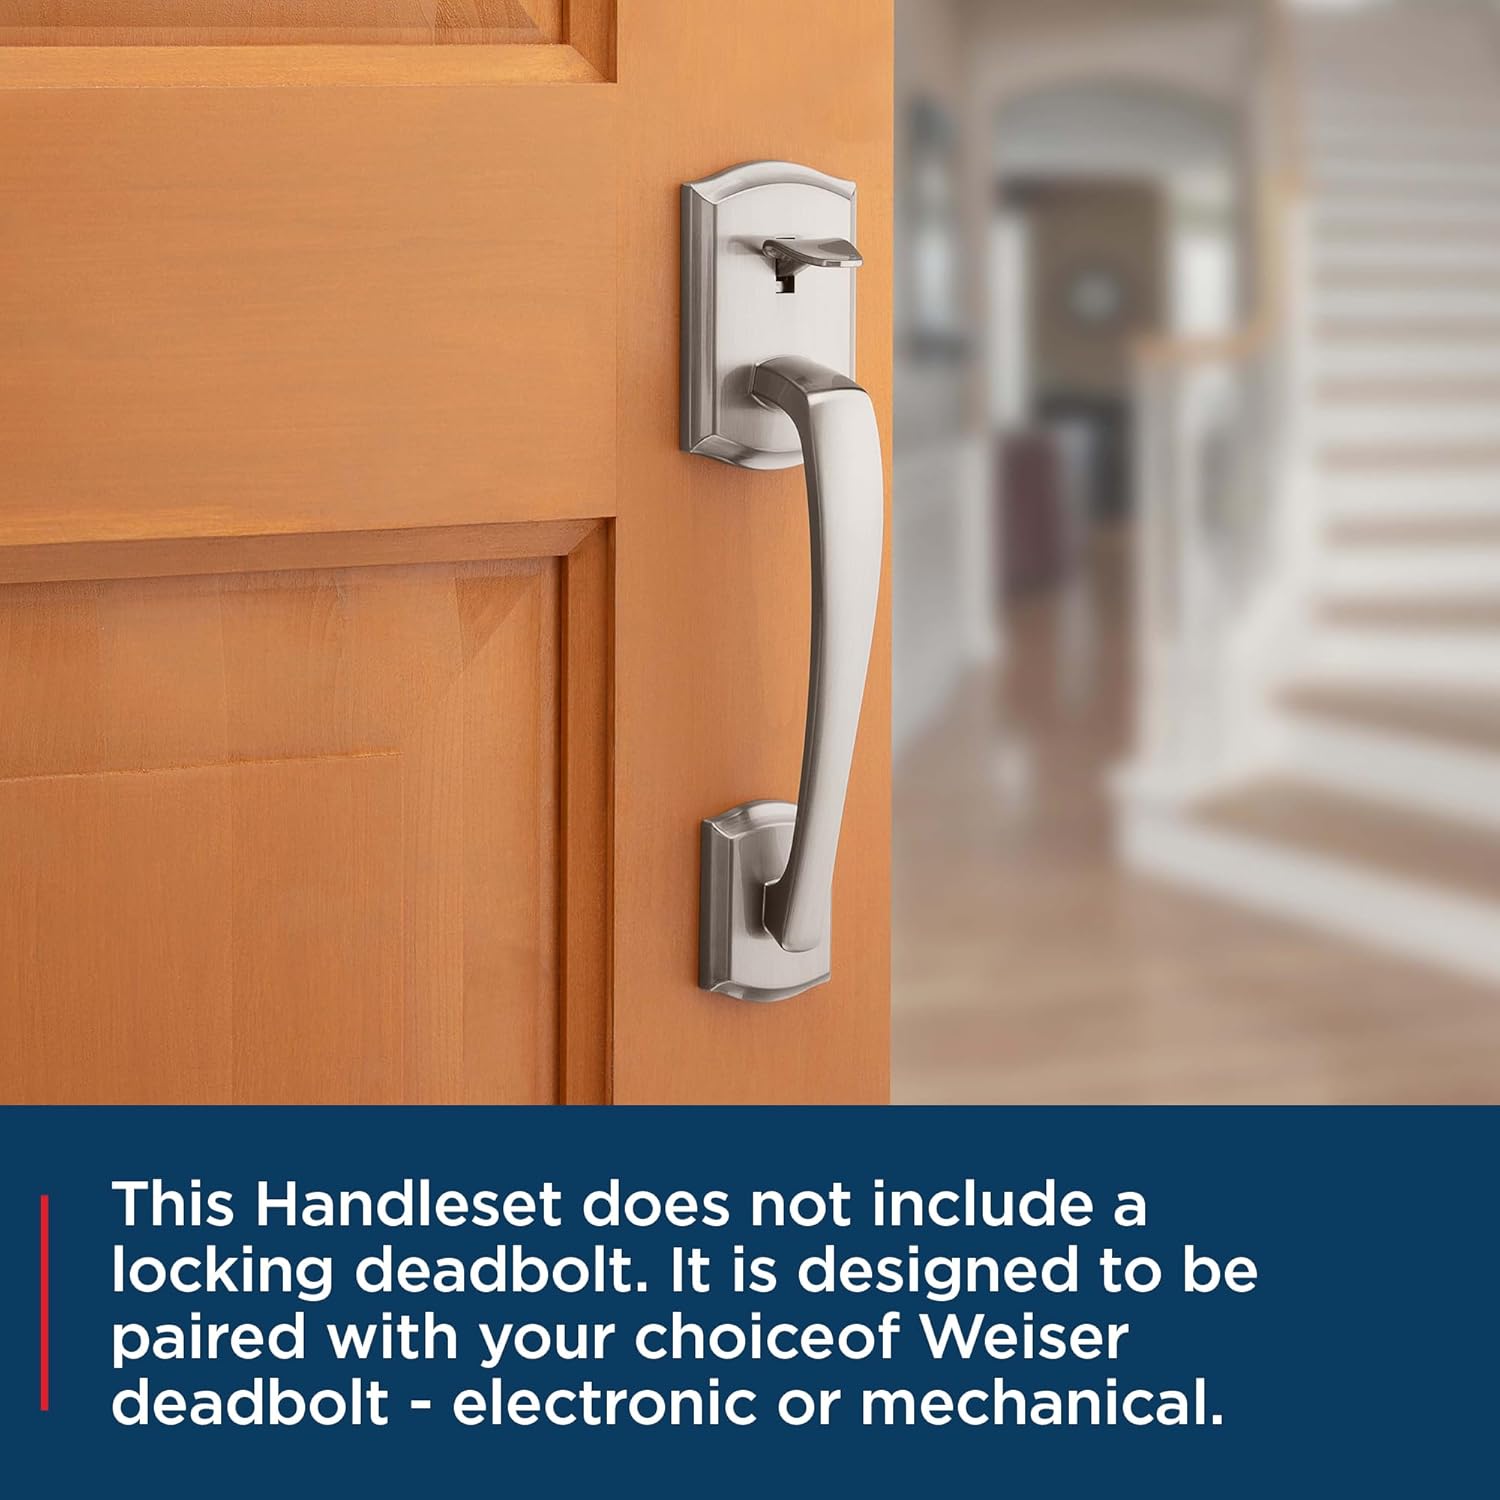
Figure 2: Weiser Prescott/Katella Handleset on a door, ready for a separate deadbolt installation.
3. Montavimas
3.1. Door Specifications & Preparation
Before installation, verify your door meets the following specifications:
- Durų storis: 1-3/8" to 1-3/4"
- Latch Backset: 2-3/8" to 2-3/4"
- Skersinis skersinis: 2-1/8"
This handleset is designed for easy installation with basic tools, typically a screwdriver. No additional holes are required if your door is pre-drilled to standard specifications.

Figure 3: Illustrative image of door handle installation using a screwdriver.
3.2. Diegimo žingsniai
Follow these general steps for installing your handleset. Refer to the detailed video for visual guidance.
- Įstatykite skląstį į durų kraštą.
- Install the exterior handle assembly, ensuring the spindle aligns with the latch.
- Install the interior lever, aligning it with the exterior assembly.
- Pritvirtinkite visas dalis pateiktais varžtais.
- Ant durų staktos sumontuokite atmušamąją plokštę.
Video 1: General Handleset Installation Guide (Tinewa Brand). This video demonstrates the typical steps for installing a handleset, which are applicable to the Weiser Prescott/Katella model.

4 pav. Vidus view of the handleset lever.
4. Operacija
The Weiser Prescott/Katella Handleset provides secure entry for your exterior door. To operate:
- To Open from Exterior: Insert your key into the keyhole and turn to unlock. Depress the thumb latch to retract the bolt and open the door.
- To Open from Interior: Simply depress the interior lever to retract the bolt and open the door.
- Norėdami užrakinti iš išorės: Close the door. Ensure the latch is fully extended. If paired with a deadbolt, engage the deadbolt.
- Norėdami užrakinti iš vidaus: Close the door. Depress the interior lever to ensure the latch is fully extended. If paired with a deadbolt, engage the deadbolt.
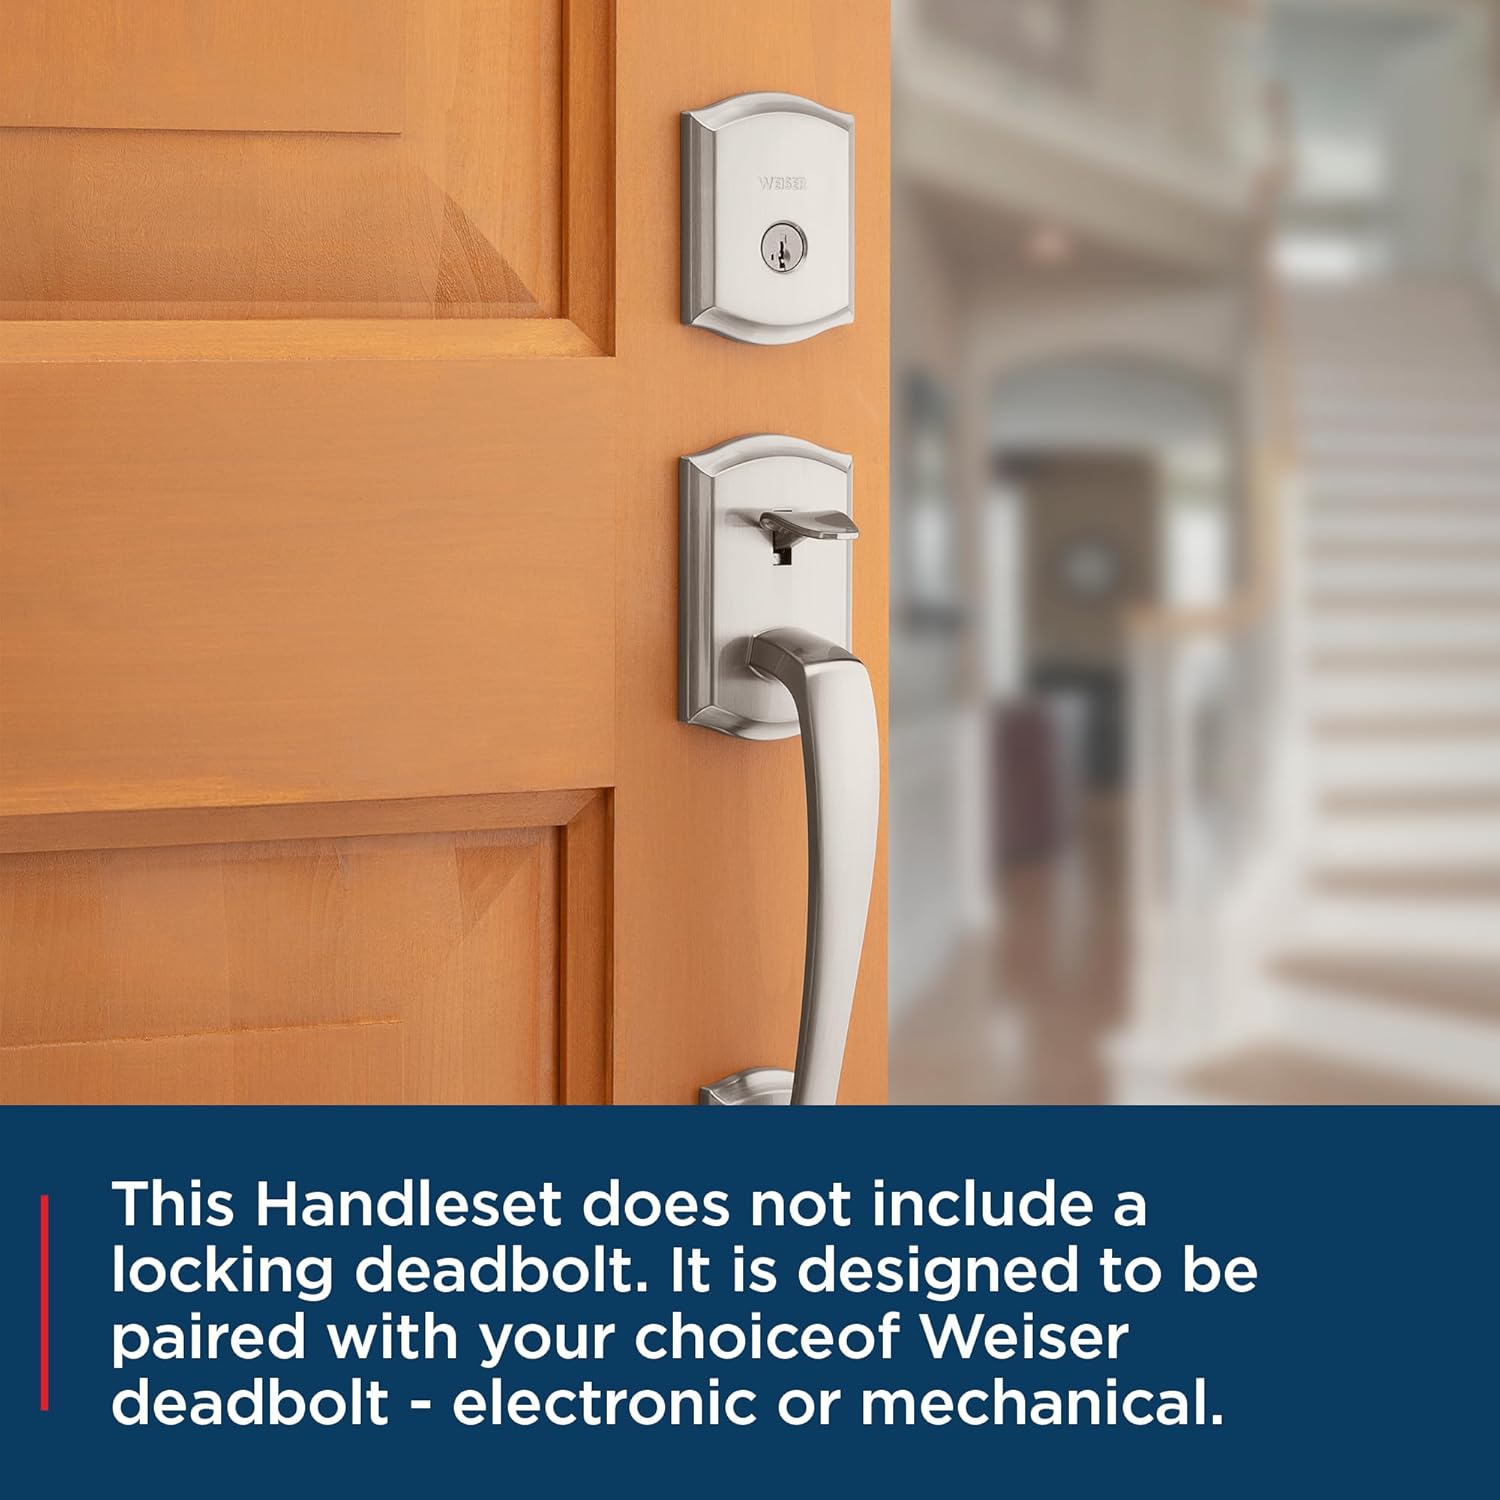
Figure 5: Handleset shown with a separate deadbolt (not included with this product).
5. SmartKey Security Feature
This Weiser handleset is compatible with SmartKey Security technology, allowing you to re-key your lock yourself in seconds. This feature provides convenience and enhanced security, enabling you to match your handleset key to other Weiser SmartKey locks you may own.
5.1. Re-Keying Your Lock
To re-key your lock using SmartKey technology:
- Insert your functioning key and turn it 1/4 turn clockwise.
- Insert the SmartKey Learn Tool fully and firmly into the SmartKey hole. Remove the SmartKey Learn Tool.
- Ištraukite veikiantį raktą.
- Insert your new key fully and firmly into the keyhole. Turn it 1/2 turn counter-clockwise.
- Your lock is now re-keyed. Test the new key to ensure proper operation.
Video 2: Weiser SmartKey Tutorial - Re-Key Your Lock In Seconds. This official Weiser video demonstrates the quick and easy process of re-keying your SmartKey compatible lock.

Figure 6: Weiser SmartKey Security features.

Figure 7: Visual steps for re-keying your SmartKey lock.
6. Priežiūra
To ensure the longevity and optimal performance of your Weiser handleset, follow these maintenance guidelines:
- Valymas: Reguliariai valykite rankenų komplektą minkšta,amp šluoste. Venkite abrazyvinių valiklių, tirpiklių ar stiprių cheminių medžiagų, nes jos gali pažeisti apdailą.
- Tepimas: Periodically apply a silicone-based lubricant to the latch mechanism and key cylinder to ensure smooth operation. Do not use oil-based lubricants.
- Priveržimo varžtai: Check all mounting screws periodically and tighten them if necessary to prevent looseness.
7. Problemų sprendimas
Jei kyla problemų dėl rankenų, apsvarstykite šiuos įprastus sprendimus:
- Rankena atsilaisvinusi: Check and tighten all visible screws on both the interior and exterior components.
- Latch Not Retracting Smoothly: Apply a silicone-based lubricant to the latch mechanism. Ensure no debris is obstructing the latch.
- Key Not Turning: Ensure the key is fully inserted. Check for any obstructions in the keyway. If using SmartKey, ensure the re-keying process was completed correctly.
- Durys neužsikimšo: Verify the strike plate on the door frame is properly aligned with the latch. Adjust the strike plate if needed.
For persistent issues, contact Weiser customer support.
8. Specifikacijos
| Funkcija | Specifikacija |
|---|---|
| Gamintojas | Weiser |
| Dalies numeris | 9GLA77710-010 |
| Gaminio matmenys | 7.78 x 6.83 x 6.83 cm |
| Prekės svoris | 1.83 kg |
| Dydis | Prescott/Katella |
| Spalva | Satino nikelis |
| Stilius | Handleset Minus Deadbolt |
| Baigti | Poliruotas |
| Medžiaga | Metalas |
| Diegimo būdas | Montuojamas ant paviršiaus |
| Prekės pakuotės kiekis | 1 |
| Vienetų skaičius | 2 |
| Rankenos medžiaga | Metalas |
| Ypatingos savybės | Lengva montuoti |
| Naudojimas | Exterior doors |
| Įtraukti komponentai | Hardware, Latch, Strike, Passage Door Handle (Deadbolt not included) |
| Reikalingos baterijos? | Nr |
| Kilmės šalis | Kinija |
9. Garantija ir palaikymas
Your Weiser Prescott/Katella Handleset is backed by a Ribota eksploatavimo trukmės mechaninė ir apdailos garantija. This warranty covers defects in material and workmanship for the lifetime of the original residential user.
For warranty claims, technical assistance, or further inquiries, please contact Weiser customer support. Refer to the official Weiser websvetainėje, kurioje rasite naujausią kontaktinę informaciją ir išsamias garantijos sąlygas.


