Įvadas
This manual provides comprehensive instructions for the operation and maintenance of your AbergBest Mini Digital Camera. Designed for ease of use, this compact camera is ideal for capturing everyday moments with its 21-megapixel sensor and HD 720P video recording capabilities. Please read this manual thoroughly to ensure proper usage and to maximize your camera's potential.
Kas yra dėžutėje
Upon unboxing your AbergBest Mini Digital Camera, please verify that all the following components are included:
- AbergBest Mini Digital Camera (Model: New2022ABDC5100)
- 2 x Lithium Batteries
- Charging Brick (USB Wall Adapter)
- USB laidas (įkrovimui ir duomenų perdavimui)
- Riešo dirželis
- Driver Disk (CD)
- Vartotojo vadovas
- Carrying Satchel

Image: All components included in the AbergBest Mini Digital Camera package.
Sąranka
1. Akumuliatoriaus įdėjimas
The camera comes with two rechargeable lithium batteries. To install a battery:
- Raskite akumuliatoriaus skyriaus dureles fotoaparato apačioje.
- Pastumkite skląstį, kad atidarytumėte skyrių.
- Įdėkite bateriją, užtikrindami, kad kontaktai būtų tinkamai sulygiuoti.
- Tvirtai uždarykite baterijų skyriaus dureles, kol pasigirs spragtelėjimas.

Image: Visual guide for inserting the battery into the camera.
2. SD Card Installation (Not Included)
An SD memory card is required to store photos and videos. The camera supports up to a 64GB SD memory card. For optimal performance, use a certified brand SD card with a Class 4 speed or above.
- Suraskite SD kortelės lizdą, paprastai šalia akumuliatoriaus skyriaus arba fotoaparato šone.
- Įdėkite SD kortelę metaliniais kontaktais žemyn, kol ji užsifiksuos.
- Norėdami išimti, švelniai stumkite kortelę, kol ji iššoks.

Image: Recommended SD card types and capacity for the camera.
3. Fotoaparato įkrovimas
Use the provided USB cable and charging brick to charge the camera. A fully charged battery can support the camera for over 60 minutes of use.
- Prijunkite mažąjį USB kabelio galą prie fotoaparato USB prievado.
- Connect the large end of the USB cable to the charging brick.
- Plug the charging brick into a wall outlet.
- Įkrovimo indikatoriaus lemputė užsidegs įkrovimo metu ir užges, kai įkrovimas bus baigtas.
Naudojimo instrukcijos
1. Įjungimas/išjungimas
Press and hold the Power button (usually located on the top or side of the camera) to turn the camera on or off.
2. LCD ekrano naudojimas
The camera features a 2.7-inch TFT LCD screen for framing shots, reviewnuotraukų darymas ir meniu naršymas.
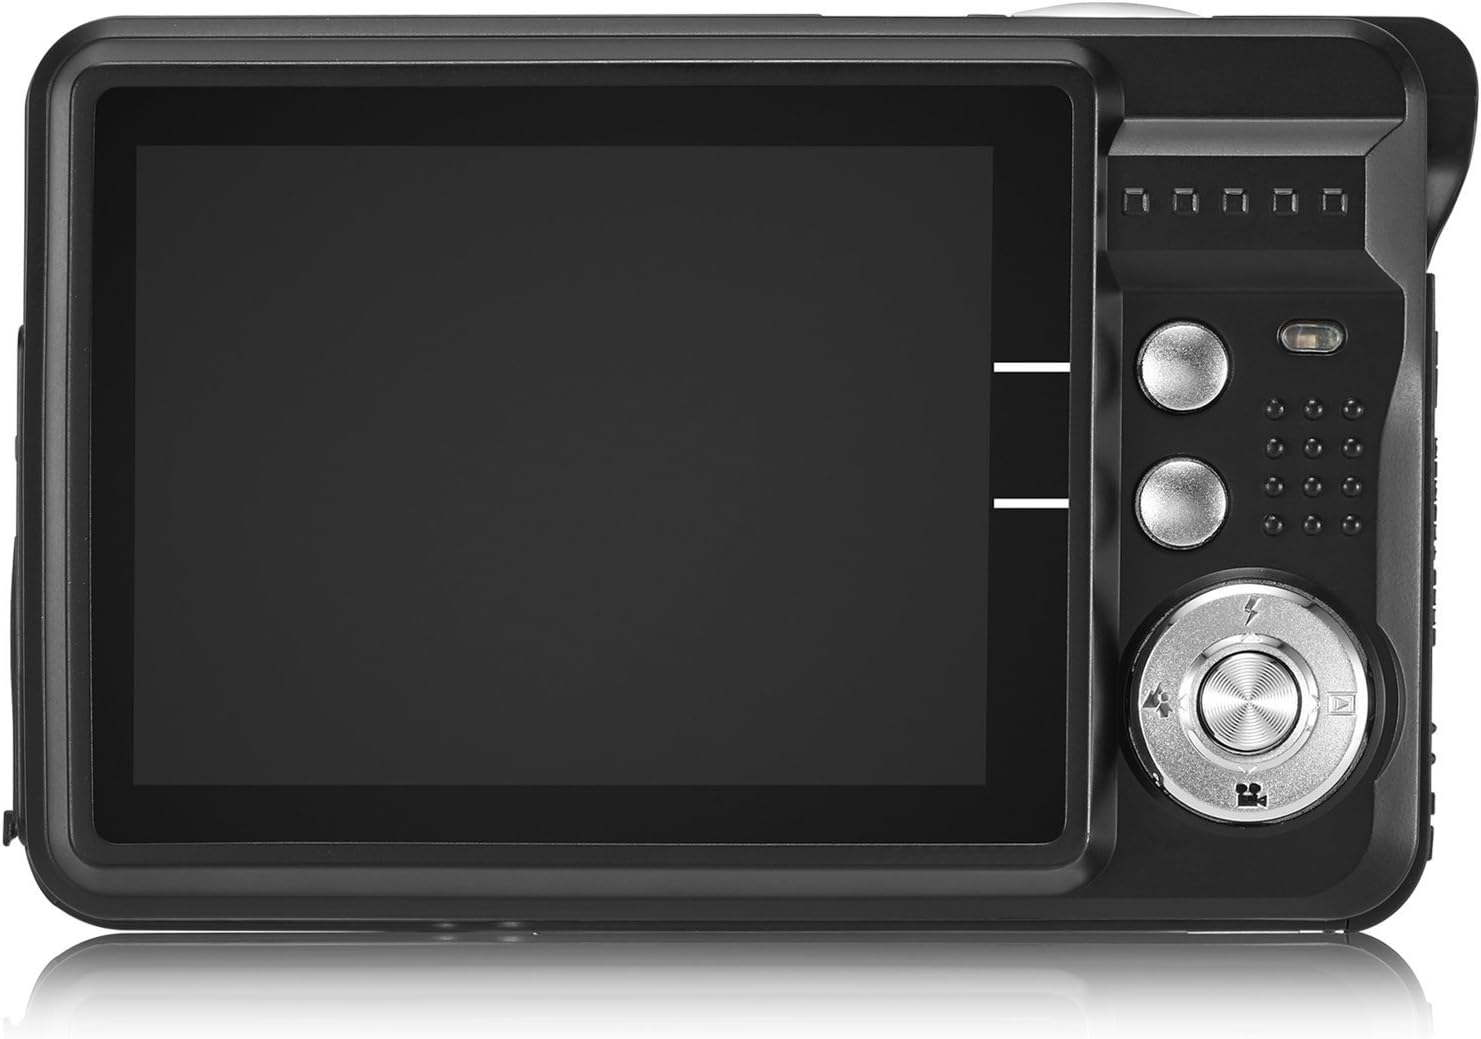
Image: The camera's 2.7-inch LCD screen and rear controls.
3. Fotografavimas
Norėdami užfiksuoti nejudantį vaizdą:
- Kadruokite objektą naudodami LCD ekraną.
- Press the Shutter button halfway down to focus.
- Press the Shutter button fully to take the picture.
The camera captures images at 21 megapixels in JPEG format.
4. Vaizdo įrašų įrašymas
Norėdami įrašyti vaizdo įrašą:
- Switch the camera to video mode (refer to the on-screen icons or user manual for specific button).
- Norėdami pradėti įrašymą, paspauskite užrakto mygtuką.
- Norėdami sustabdyti įrašymą, dar kartą paspauskite užrakto mygtuką.
Videos are recorded in HD 720P resolution in AVI format.

Image: The camera displaying video recording functionality.
5. Priartinimo funkcija
The camera features 8X digital zoom. Use the zoom buttons (often labeled with a magnifying glass icon or 'W' for Wide and 'T' for Telephoto) to adjust the zoom level.

Image: Demonstrating the camera's 8X digital zoom capability.
6. Scene Modes and Settings
Access the camera's menu to select various scene modes and adjust settings for different shooting conditions. Available modes include:
- Night Portrait: For clear portraits in low light.
- Night Scenery: Optimizes for landscapes at night.
- Sportas: Reduces blur for fast-moving subjects.
- Scenery: Enhances outdoor landscape shots.
- Vakarėlis: Ideal for indoor events with mixed lighting.
- Paplūdimys: Prisitaiko prie ryškios, atspindinčios aplinkos.
- Didelis jautrumas: Improves performance in very low light.
Other adjustable settings include ISO (Auto, 100, 200, 400), Anti-Shake for stable images, and Flash options (Auto, On, Off, Red-eye Reduction). The camera also features Face Detection, Smile Capture, and a 2-second Self-Timer.

Image: The camera's 2.7-inch screen highlighting the face detection feature.

Image: Illustrating the effect of the built-in flash in low-light conditions.
Prisijungimas prie kompiuterio
Norėdami perkelti nuotraukas ir vaizdo įrašus į kompiuterį:
- Įsitikinkite, kad fotoaparatas išjungtas.
- Prijunkite fotoaparatą prie kompiuterio naudodami pateiktą USB kabelį.
- Įjunkite fotoaparatą. Jis turėtų būti rodomas kaip išimamas diskas jūsų kompiuteryje.
- Alternatively, you can remove the SD card and insert it into a compatible card reader connected to your computer.
The camera is compatible with Windows XP/VISTA/7/8/10 and Mac operating systems. A driver disk is included for older systems or specific software needs, though most modern operating systems will recognize the camera automatically.

Image: Connecting the camera to a personal computer for data transfer.
Priežiūra
Proper care will extend the life of your camera:
- Valymas: Kameros korpusą ir ekraną valykite minkšta, nepūkuota šluoste. Objektyvui valyti naudokite specializuotą objektyvo valymo šluostę ir tirpalą. Venkite stiprių cheminių medžiagų.
- Saugykla: Laikykite fotoaparatą vėsioje, sausoje vietoje, toliau nuo tiesioginių saulės spindulių ir ekstremalių temperatūrų. Jei fotoaparatą ilgesnį laiką laikysite, išimkite bateriją.
- Akumuliatoriaus priežiūra: Fully charge batteries before first use. Avoid overcharging or completely draining the battery frequently to prolong its lifespan.
Trikčių šalinimas
If you encounter issues with your camera, try the following common troubleshooting steps:
- Kamera neįsijungia: Ensure the battery is correctly installed and fully charged. Try using the second provided battery.
- Prasta vaizdo kokybė: Check lighting conditions. Ensure the lens is clean. Adjust scene modes or ISO settings as needed.
- Atminties kortelės klaida: Ensure the SD card is properly inserted and not full. Try formatting the card (this will erase all data, so back up first). Use a compatible SD card (Class 4 or above, up to 64GB).
- Kamera užstringa: Išimkite ir vėl įdėkite bateriją, kad iš naujo nustatytumėte fotoaparato gamyklinius nustatymus.
If problems persist, please refer to the detailed user manual or contact customer support.
Specifikacijos
| Funkcija | Detalė |
|---|---|
| Prekės ženklas | AbergBest |
| Modelio pavadinimas | ABCAM218UPDATED |
| Modelio numeris | New2022ABDC5100 |
| Maksimalus Webcam Vaizdo raiška | 21 MP |
| Nuotraukų jutiklių technologija | CMOS |
| Vaizdo raiška | 720p |
| Palaikoma File Formatas | AVI (Video), JPEG (Photo) |
| Vaizdo stabilizavimas | Skaitmeninis |
| Ekrano dydis | 2.7 colio TFT LCD |
| Skaitmeninis priartinimas | 8x |
| „Flash“ atminties tipas | SD (up to 64GB, Class 4+) |
| Baterijos tipas | Ličio polimeras (2 komplekte) |
| Ryšio technologija | USB |
| Suderinami įrenginiai | Windows XP/VISTA/7/8/10/MAC |
| Ypatinga funkcija | Face Detection, Smile Capture, Anti-Shake, Self-Timer |
| Prekės svoris | 309 gramų |
| Elemento matmenys (D x P x A) | 3.74 "D x 2.4" P x 0.94" A |
Garantija ir palaikymas
Your AbergBest Mini Digital Camera comes with a 1 metų gamintojo garantija. For warranty claims, technical support, or any questions regarding your product, please refer to the contact information provided in the included user manual or visit the official AbergBest websvetainę.
Prašome išsaugoti pirkimo įrodymą garantijos tikslais.