1. Produktas baigtasview
This document provides detailed instructions for the Aries Universal Joint Kit, designed for the front and rear propshafts of various JCB backhoe models. This kit is manufactured to OEM standards, ensuring high quality and compatibility.
1.1 Komplekto komponentai
The Universal Joint Kit typically includes the following components:
- 2 x Universal Joints (Part No. 914/35401, 914/56401)
- 4 x C-clips (Part No. 116/00525)
- 10 x Bolts (Part No. 826/11635, 826/00892)

Figure 1.1: Complete Universal Joint Kit. This image displays the two main universal joints, a set of C-clips (circlips), and the accompanying bolts and mounting brackets.
2. Specifikacijos
| Atributas | Vertė |
|---|
| Gaminio matmenys | 1 x 1 x 1 colio; 5.4 svaro |
| Medžiaga | Metalas |
| Tvirtinimo tipas | Hex |
| Metalo tipas | Legiruotasis plienas |
| Prekės ženklas | Avinas |
| Gamintojas | Avinas |
3. Sąranka ir diegimas
Proper installation is crucial for the performance and longevity of the universal joint kit. Always refer to your machine's specific service manual for detailed instructions and safety precautions.
3.1 Kontrolinis sąrašas prieš įdiegiant
- Verify that the part numbers on the kit match those required for your specific JCB model. If unsure, consult your machine's parts manual or contact support with your JCB Machine Serial Number (VIN).
- Ensure you have all necessary tools for removal and installation (e.g., wrenches, sockets, grease gun, snap ring pliers).
- Clean the work area and surrounding components to prevent contamination.
3.2 diegimo žingsniai
- Paruošimas: Safely lift and support the vehicle. Mark the propshaft and differential/transmission flanges to ensure correct reassembly and maintain balance.
- Remove Old Universal Joint: Remove the bolts securing the propshaft to the flanges. Carefully remove the old universal joint, noting the orientation of all components.
- Clean Yokes: Thoroughly clean the yokes where the new universal joint will be installed. Remove any rust, dirt, or old grease.
- Install New Universal Joint:

Figure 3.1: Individual Universal Joint and C-clips. This image shows one of the universal joints and the C-clips (circlips) used to secure the bearing caps.

Figure 3.2: C-clips (Circlips). These clips are essential for retaining the bearing caps within the yokes.
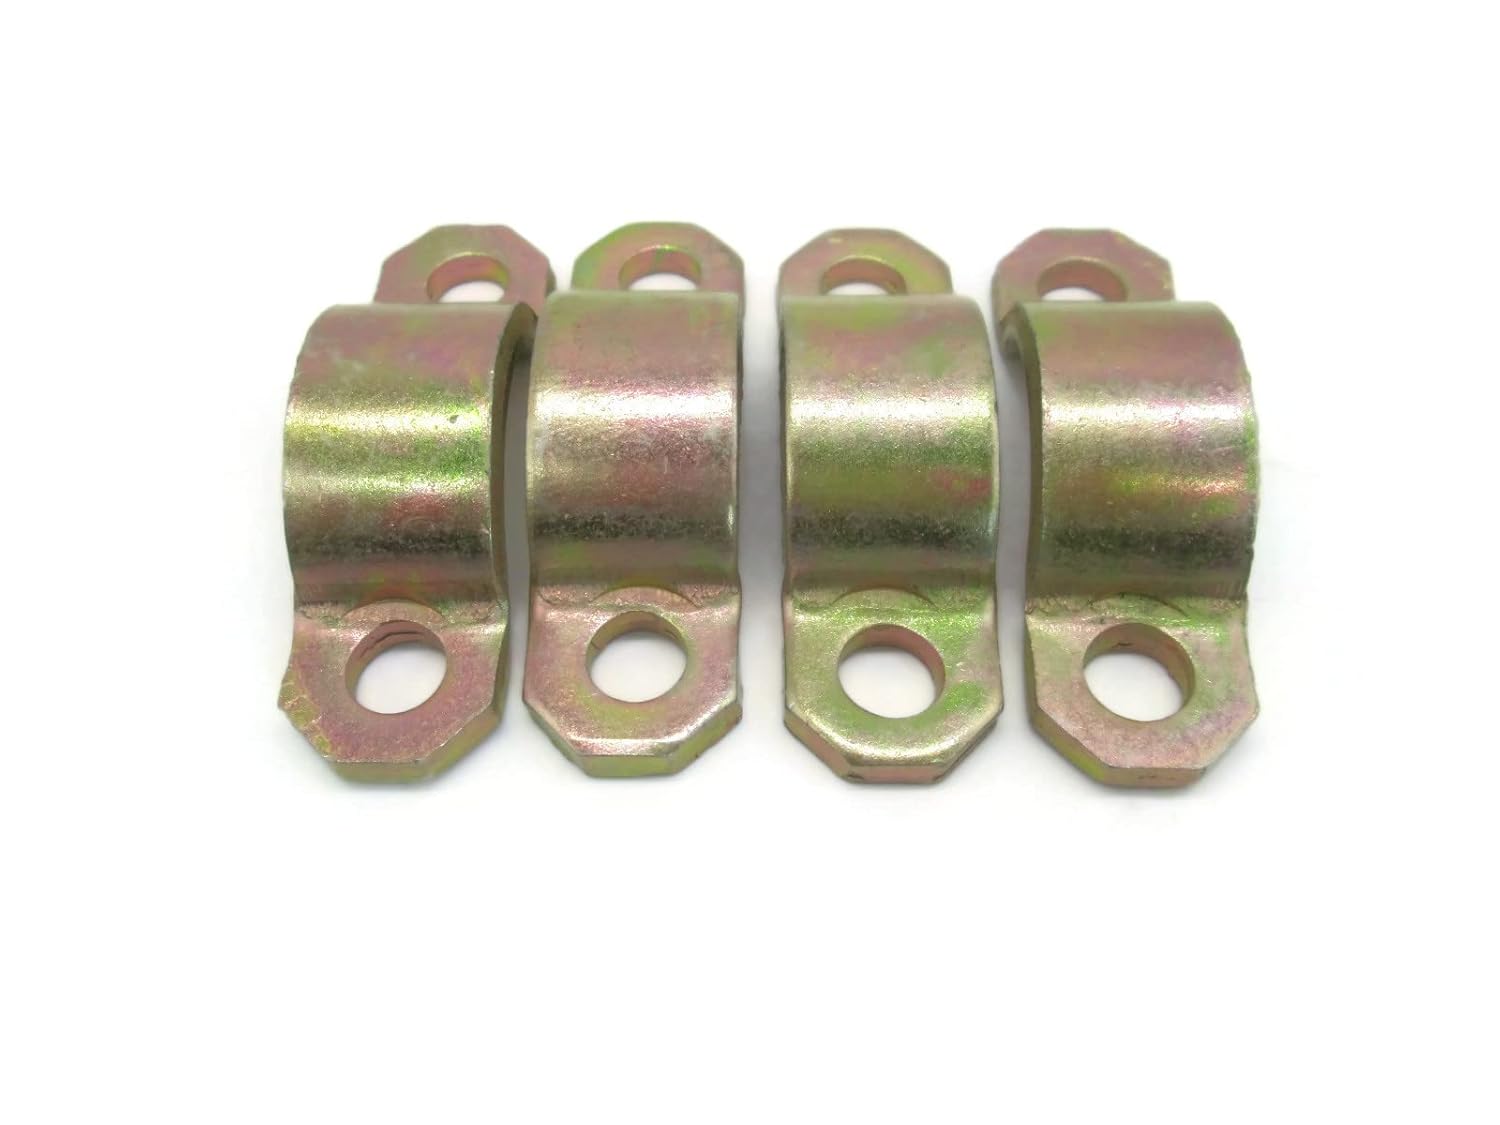
Figure 3.3: Mounting Brackets. These brackets are used to secure the universal joint to the propshaft flanges.

Figure 3.4: Hex Bolts. These bolts are used in conjunction with the mounting brackets to fasten the universal joint assembly.
Carefully insert the new universal joint into the yokes. Ensure the bearing caps are properly seated and secured with the provided C-clips. Use a press or a soft-faced hammer to gently tap the caps into place if needed, ensuring not to damage the bearings.
- Reassemble Propshaft: Align the propshaft with the marks made during removal. Secure the propshaft to the differential/transmission flanges using the new bolts and mounting brackets provided. Tighten bolts to the manufacturer's specified torque settings.
- Tepimas: If the universal joint has a grease fitting, lubricate it with appropriate grease until fresh grease purges from all four bearing caps.
- Galutinis patikrinimas: Rotate the propshaft by hand to ensure smooth movement and no binding. Double-check all fasteners for proper torque.
4. Operacija
Universal joints are critical components in a vehicle's drivetrain, allowing the propshaft to transmit power smoothly between components that are not in perfect alignment, such as the transmission and the differential. They accommodate changes in angle and length as the suspension moves.
Once installed correctly, the universal joint operates continuously as part of the propshaft assembly. It requires no direct user interaction during normal vehicle operation. Its primary function is to ensure efficient power transfer while absorbing angular variations.
5. Priežiūra
Regular maintenance extends the life of your universal joint kit and ensures optimal performance of your machinery.
5.1 Įprastinė priežiūra
- Tepimas: If your universal joint is equipped with a grease fitting (zerk), lubricate it regularly according to your machine's service schedule. Use a high-quality, multi-purpose grease. Over-greasing should be avoided, but ensure fresh grease purges from all four bearing caps.
- Patikra: Periodically inspect the universal joints for signs of wear, looseness, or damage. Look for rust, cracks in the bearing caps, excessive play, or grease leakage.
- Tvirtinimo detalių patikrinimas: Ensure all bolts securing the propshaft and universal joint are tight and torqued to specifications. Loose fasteners can lead to premature wear or failure.
5.2 Saugykla
If storing the kit before installation, keep it in its original packaging in a cool, dry place away from direct sunlight and moisture to prevent corrosion and damage to components.
6. Problemų sprendimas
This section addresses common issues that may arise with universal joints. If you experience problems not listed here, consult a qualified mechanic or contact customer support.
| Simptomas | Galima priežastis | Sprendimas |
|---|
| Vibracija eksploatacijos metu | Worn universal joint, unbalanced propshaft, loose fasteners. | Inspect universal joint for play; check propshaft balance; tighten all fasteners to specification. |
| Clunking or banging noise when shifting gears or accelerating | Excessive play in universal joint, worn splines. | Inspect universal joint for excessive play; replace if necessary. |
| Squeaking or chirping noise | Lack of lubrication, worn bearing caps. | Lubricate universal joint if it has a grease fitting; replace if noise persists after lubrication. |
| Grease leaking from bearing caps | Damaged seals, over-greasing. | Inspect seals; replace universal joint if seals are compromised. |
7. Informacija apie garantiją
Aries products are manufactured to OEM standards, ensuring high quality and reliability. While specific warranty terms may vary, this product is typically covered by a standard return policy, allowing for returns or replacements within 30 days of purchase if the item is new and unused.
Please note that OEM part numbers mentioned are for reference only. This product is an aftermarket part manufactured to meet or exceed OEM specifications. It is not implied that any part is a product of JCB unless explicitly stated as Genuine in the product listing title.
8. Pagalba klientams
For any questions regarding the Universal Joint Kit, compatibility with your JCB machine, or assistance with installation, please contact our customer support team. It is recommended to provide your JCB Machine Serial Number (VIN) when inquiring about compatibility to ensure accurate assistance.
If you are looking for other JCB products not currently listed, please reach out to us. We are JCB specialty super stockists and can assist with a wide range of parts.
Pardavėjas: ALL BACKHOE PARTS
For further assistance, please refer to the contact information provided by your retailer or on the product packaging.


