1. Įvadas
This manual provides detailed instructions for the safe and efficient use of your PeriPage A40 Portable Thermal Printer. The PeriPage A40 is an inkless, portable printer designed for various printing needs, including documents, web pages, photos, and specialized papers like tattoo transfer paper. It offers wireless connectivity via Bluetooth and is compatible with Android, iOS, Windows, and Mac OS devices.
Please read this manual thoroughly before operating the device to ensure proper functionality and to prevent damage.
2. Saugos informacija
- Saugokite spausdintuvą nuo vandens ar per didelės drėgmės.
- Venkite itin aukštos temperatūros, tiesioginių saulės spindulių ar dulkių.
- Use only the specified thermal paper for optimal performance and to prevent damage to the print head.
- Prietaisą laikykite vaikams nepasiekiamoje vietoje.
- Do not attempt to disassemble or repair the printer yourself. Contact customer support for assistance.
- Ensure the printer is charged using a compatible power adapter.
3. Pakuotės turinys
Išpakuodami patikrinkite, ar yra visi toliau išvardyti daiktai:
- PeriPage A40 Portable Thermal Printer
- C tipo USB įkrovimo laidas
- Vartotojo vadovas (šis dokumentas)
- Thermal Paper Roll (1 additional roll included)
- Paper Width Adjustment Clips (2 clips)

Image: The PeriPage A40 printer shown with a sample document being printed. This illustrates the compact design and printing capability of the device.
4. Produktas baigtasview
The PeriPage A40 is a versatile, inkless thermal printer designed for portability and convenience. It utilizes thermal transfer technology to produce crisp, monochrome prints without the need for ink cartridges, toner, or ribbons.
Pagrindinės funkcijos:
- Be rašalo terminis spausdinimas: Environmentally friendly and cost-effective, requiring only thermal paper.
- Didelė raiška: Delivers clear black and white prints at 300 x 300 dpi.
- Multi-Size Paper Support: Accommodates thermal paper widths of 210mm (A4/US Letter), 107mm, 77mm, and 56mm, supporting both roll and folded paper.
- Belaidis ryšys: Connects via Bluetooth to Android and iOS smartphones/tablets.
- Platus suderinamumas: Supports printing from Windows and Mac OS computers via USB.
- Nešiojamas dizainas: Compact and lightweight (1.45 pounds) for easy travel.
- Ilgas baterijos veikimo laikas: Equipped with two 2600mAh lithium batteries, capable of printing up to 360 A4 sheets on a full charge.
- Papildomos funkcijos: Includes basic scanning capabilities.
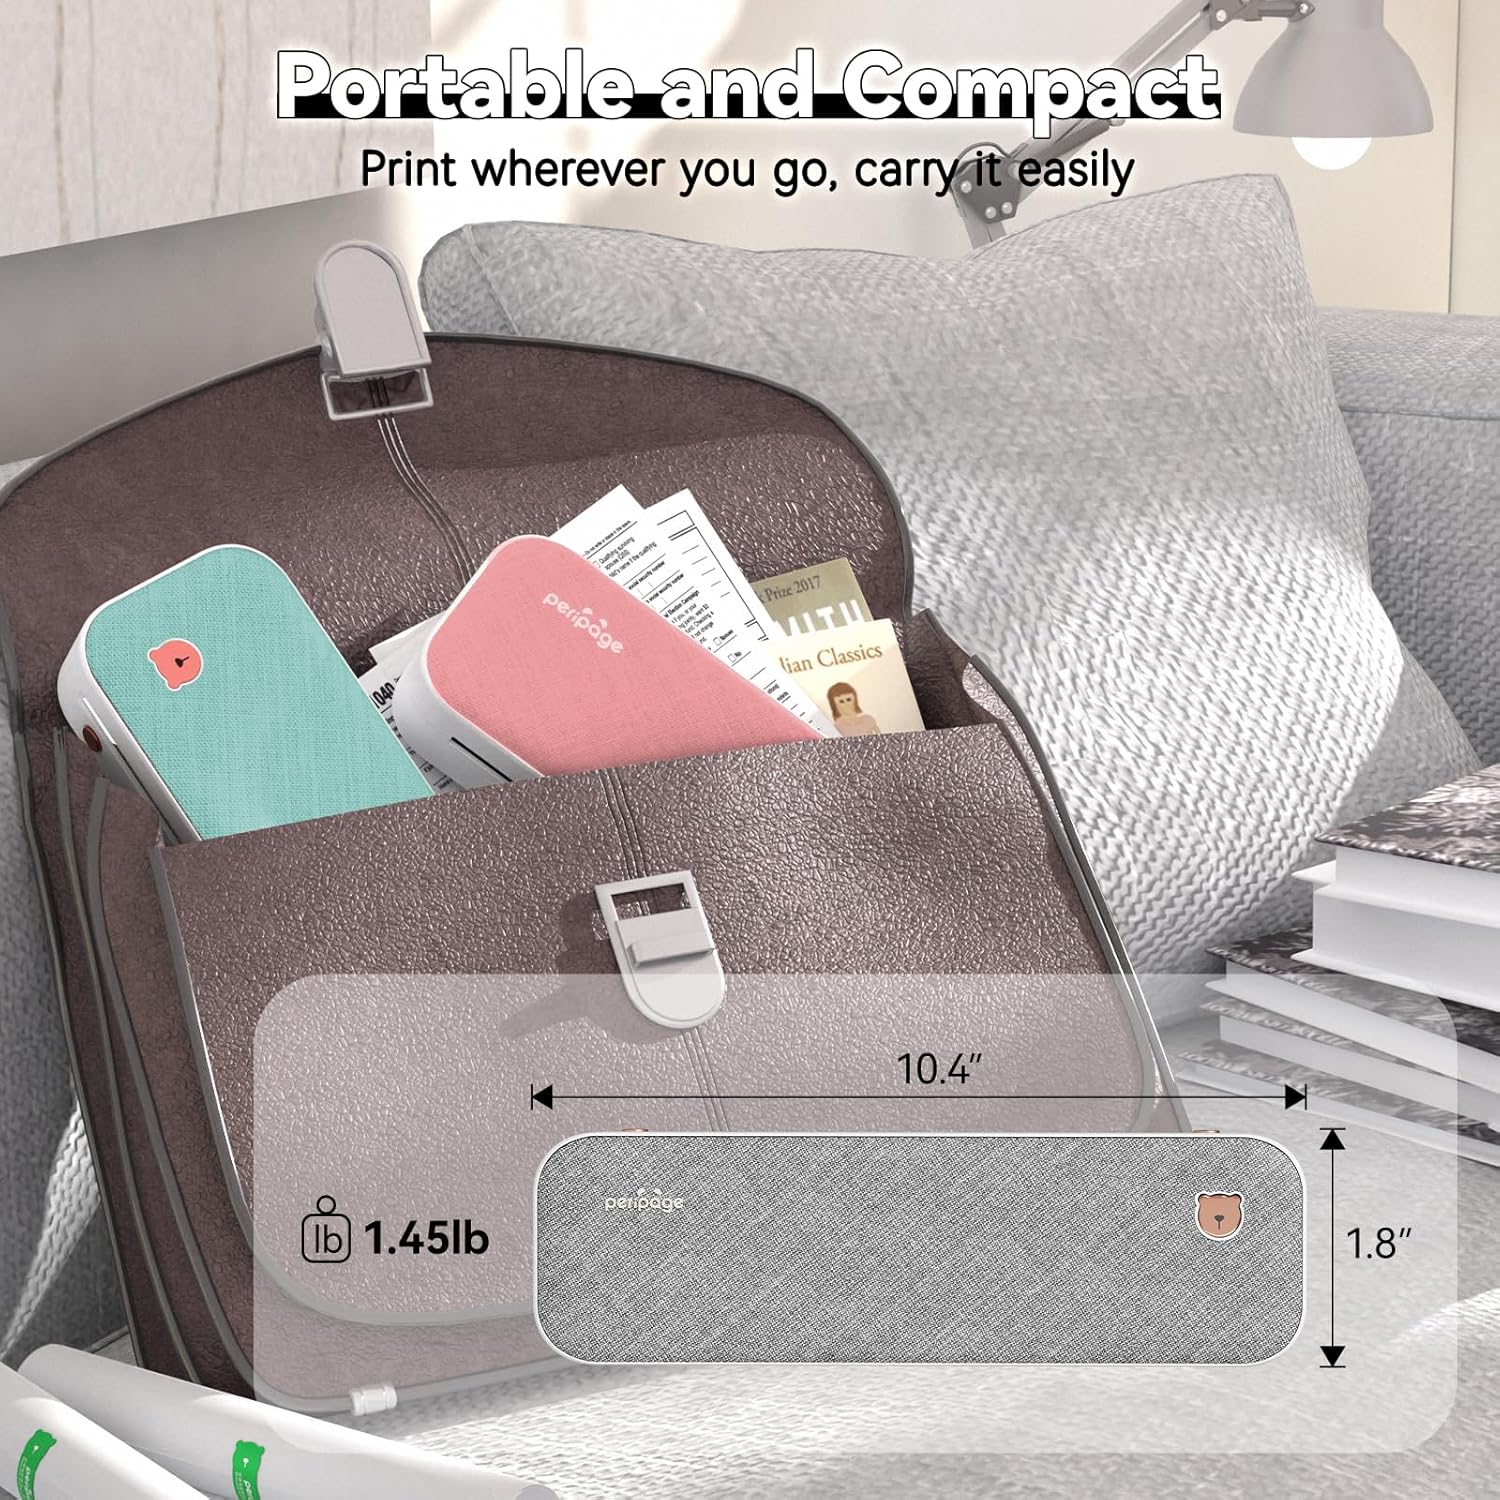
Image: The PeriPage A40 printer shown inside a bag, demonstrating its compact size and portability for travel or mobile use.
5. Sąranka
5.1 Spausdintuvo įkrovimas
Before first use, fully charge the printer. Connect the included USB Type-C cable to the printer's charging port and the other end to a compatible USB power adapter (not included) or a computer's USB port. The indicator light will show charging status.
5.2 Įjungimas / išjungimas
To power on the printer, press and hold the power button for approximately 2 seconds until the indicator light illuminates. To power off, press and hold the power button again until the indicator light turns off.

Vaizdas: Stambus planas view of the PeriPage A40 printer's power button, indicating the action required to turn the device on.
5.3 App Download (for Mobile Devices)
For mobile printing, you must download the official "PeriPage" application. Ieškokite "PeriPage" in your device's app store (Google Play Store for Android or Apple App Store for iOS) or scan the QR code provided in the physical instruction manual.

Image: A smartphone displaying the PeriPage application download page, illustrating where to find the app for mobile printing.
5.4 Connecting to Mobile Devices (Bluetooth)
- Ensure the PeriPage A40 printer is powered on.
- Open the "PeriPage" app on your smartphone or tablet.
- Within the app, navigate to the device connection section (usually indicated by a Bluetooth icon or "Connect Device").
- The app will search for available PeriPage printers. Select "PeriPage A40" from the list to establish a Bluetooth connection.
- A successful connection will be indicated within the app.

Image: A smartphone screen displaying the Bluetooth connection process to the PeriPage A40 printer within the application.
5.5 Connecting to Computers (Windows/Mac OS)
- Ensure the PeriPage A40 printer is powered on.
- Prijunkite spausdintuvą prie kompiuterio naudodami pridedamą USB C tipo laidą.
- For Windows and Mac OS, you may need to install the printer driver. Visit the official PeriPage websvetainė (www.ileadtek.com) to download the appropriate driver for your operating system.
- Vykdykite ekrane pateikiamas instrukcijas, kad užbaigtumėte tvarkyklės diegimą.
- Once the driver is installed, the printer will be recognized by your computer and ready for use.

Image: The PeriPage A40 printer connected to a laptop using a USB-C cable, demonstrating the wired connection method for computer printing.
6. Naudojimo instrukcijos
6.1 Popieriaus įdėjimas
The PeriPage A40 supports both thermal roll paper and folded thermal paper. It can accommodate various widths (210mm, 107mm, 77mm, 56mm).
- Atidarykite spausdintuvo dangtį.
- If using roll paper, place the roll into the paper compartment. Ensure the paper feeds smoothly from the bottom and extends slightly out of the printer's paper exit slot.
- If using folded paper, stack the sheets neatly and insert them into the paper compartment. Ensure the leading edge is straight and aligned.
- Use the two included paper width adjustment clips to secure the paper in place, matching the width of your thermal paper.
- Close the printer cover firmly.

Image: An illustration demonstrating the two methods of loading thermal paper into the PeriPage A40: using a roll of paper or folded sheets, with clips for width adjustment.
6.2 Spausdinimas iš mobiliųjų įrenginių
- Ensure your PeriPage A40 is powered on and connected via Bluetooth to the PeriPage app.
- Open the PeriPage app.
- Select the document, image, web page, or other content you wish to print from within the app. The app supports various formats including PDF, JPG, PNG, Word, Excel, and PowerPoint.
- Adjust print settings such as density, size, and orientation as needed.
- Tap the "Print" button in the app to initiate printing.

Image: A smartphone screen showing a document open in the PeriPage app, ready to be sent to the printer for mobile printing.
6.3 Spausdinimas iš kompiuterių
- Ensure your PeriPage A40 is powered on and connected to your computer via USB, with the necessary drivers installed.
- Atidarykite dokumentą arba vaizdą, kurį norite spausdinti, savo kompiuteryje.
- Eikite į „File" > "Print" (or use the print shortcut, e.g., Ctrl+P on Windows, Command+P on Mac).
- Select "PeriPage A40" as your printer.
- Adjust print settings as required (e.g., paper size, orientation).
- Norėdami išsiųsti užduotį į spausdintuvą, spustelėkite „Spausdinti“.

Image: A laptop displaying an image being printed, with the PeriPage A40 printer actively producing the output, illustrating computer printing functionality.
6.4 Supported Paper Sizes
The PeriPage A40 is designed to be versatile with paper sizes. It supports the following thermal paper widths:
- 210 mm: Equivalent to A4 or US Letter/Legal length.
- 107 mm
- 77 mm
- 56 mm
Ensure you use thermal paper specifically designed for thermal printers. The maximum diameter for thermal roll paper is 30mm.

Image: Two PeriPage A40 printers illustrating the use of different thermal paper sizes (A4, 4-inch, 3-inch, 2-inch) and types (folding paper and thermal roll paper).
7. Priežiūra
7.1 Spausdintuvo valymas
- Ensure the printer is powered off and disconnected from any power source before cleaning.
- Spausdintuvo išorę nuvalykite minkštu, sausu skudurėliu.
- To clean the thermal print head, gently wipe it with a cotton swab lightly dampsuvilgytas izopropilo alkoholiu. Prieš naudojimą leiskite jam visiškai išdžiūti.
- Nenaudokite abrazyvinių valiklių ar tirpiklių.
7.2 Popieriaus laikymas
Store thermal paper in a cool, dry place away from direct sunlight and heat to preserve its quality and print longevity.
7.3 Akumuliatoriaus priežiūra
- Venkite dažnai visiškai iškrauti akumuliatorių.
- If storing the printer for an extended period, charge it to about 50% and recharge every few months to maintain battery health.
8. Problemų sprendimas
8.1 Spausdintuvas neįsijungia
- Ensure the battery is charged. Connect the printer to a power source and allow it to charge for at least 30 minutes before attempting to power on again.
- Verify that the power button is pressed and held for the required duration (approx. 2 seconds).
8.2 Unable to Connect via Bluetooth
- Make sure the printer is powered on and within range of your mobile device.
- Įsitikinkite, kad jūsų mobiliajame įrenginyje įjungtas „Bluetooth“.
- Close and reopen the PeriPage app.
- Iš naujo paleiskite spausdintuvą ir mobilųjį įrenginį.
- Check if the PeriPage app has Bluetooth permissions enabled in your device settings.
8.3 No Print Output or Blank Pages
- Verify that thermal paper is loaded correctly and not upside down. Thermal paper has a specific side that reacts to heat.
- Check if the paper compartment cover is fully closed.
- Ensure the printer is connected and selected as the active printer in your app or computer settings.
- The print head might be dirty. Refer to the "Cleaning the Printer" section.
8.4 Prasta spausdinimo kokybė
- Įsitikinkite, kad naudojate aukštos kokybės terminį popierių.
- Clean the print head as described in the "Maintenance" section.
- Adjust the print density settings within the PeriPage app or printer driver.
- Check if the thermal paper is old or has been exposed to heat/light, which can degrade its printing capability.

Image: A visual comparison demonstrating the clear and crisp print quality achievable with the PeriPage A40 printer, highlighting its "Excellent Printing Ability".
9. Specifikacijos
| Funkcija | Specifikacija |
|---|---|
| Modelis | A40 |
| Spausdinimo technologija | Šiluminis |
| Spausdinimo raiška | 300 x 300 dpi (Monochrome) |
| Ryšys | Bluetooth, USB Type-C |
| Suderinami įrenginiai | Android, iOS, Windows, Mac OS |
| Supported Paper Widths | 210mm (A4/US Letter), 107mm, 77mm, 56mm |
| Maksimali įvesties lapo talpa | 360 sheets (A4 equivalent, with full battery) |
| Baterija | 2 x 2600 mAh ličio baterijos |
| Gaminio matmenys | 2.5 "D x 10.9" P x 4.09" A |
| Prekės svoris | 1.45 svaro (658 gramų) |
| Spausdintuvo išvestis | Vienspalvis |
| Papildomos funkcijos | Scan (basic) |
10. Garantija ir palaikymas
The PeriPage A40 Portable Thermal Printer comes with a limited warranty. For specific warranty terms and conditions, please refer to the warranty card included in your package or visit the official PeriPage websvetainę.
For technical support, troubleshooting assistance, or inquiries regarding your product, please contact PeriPage customer service through their official website or the contact information provided in your product documentation. When contacting support, please have your model number (A40) and purchase details ready.
Oficialus Websvetainė: www.ileadtek.com


