Įvadas
This manual provides detailed instructions for the setup, operation, and maintenance of your Gioteck SC3 Wireless Pro Controller. Designed for use with Nintendo Switch, PC, and mobile devices, this controller features programmable back buttons, customizable RGB lighting, and changeable magnetic thumb sticks for an enhanced gaming experience.
1. Sąranka
1.1 Pakuotės turinys
- Gioteck SC3 Wireless Pro Controller
- USB įkrovimo laidas
- Additional Magnetic Thumb Sticks (if included)
- Vartotojo vadovas (šis dokumentas)
1.2 Valdiklio įkrovimas
Before initial use, fully charge the controller. Connect the supplied USB charging cable to the controller's charging port and the other end to a USB power source (e.g., Nintendo Switch dock, PC USB port, or USB wall adapter).
- LED indikatorius parodys įkrovimo būseną.
- Pilnas įkrovimas paprastai trunka maždaug 2–3 valandas.
Vaizdas: Apačia view of the Gioteck SC3 controller, highlighting the USB-C charging port located between the two textured grips.
1.3 Susiejimas su „Nintendo Switch“
- „Nintendo Switch“ HOME meniu pasirinkite Valdikliai, tada Pakeiskite rankeną / tvarką.
- On the SC3 controller, press and hold the Poravimo mygtukas (usually a small button on the top or back) for a few seconds until the LED indicators begin to flash rapidly.
- Once the controller is recognized by the Switch, the player LED(s) on the controller will illuminate solid, indicating successful pairing.
- Paspauskite Mygtukas patvirtinti.
Note: For subsequent uses, the controller should automatically reconnect to the last paired Switch console when powered on.
1.4 Connecting to PC/Mobile (Bluetooth)
- Ensure Bluetooth is enabled on your PC or mobile device.
- On the SC3 controller, press and hold the Poravimo mygtukas for a few seconds until the LED indicators flash rapidly.
- On your PC/mobile device, navigate to Bluetooth settings and search for new devices.
- Select "Gioteck SC3" or similar from the list of available devices to pair.
- The controller's LED will become solid upon successful connection.
1.5 Installing Magnetic Thumb Sticks
The SC3 controller features changeable magnetic thumb sticks. To replace them:
- Gently pull the existing thumb stick straight up to remove it.
- Align the desired magnetic thumb stick with the base and gently push it down until it snaps into place.

Vaizdas: priekis view of the Gioteck SC3 controller, showcasing the magnetic thumb sticks and button layout.
2. Naudojimo instrukcijos
2.1 Mygtukų išdėstymas
The SC3 controller features a traditional button layout. Refer to the image below for button identification.

Paveikslėlis: Kampinis priekis view of the Gioteck SC3 controller, displaying the full button layout including face buttons, D-pad, analog sticks, and shoulder buttons.
- Kairysis/dešinysis analoginiai valdikliai: Judėjimui ir kameros valdymui.
- D-Pad: Kryptinis įvedimas.
- A/B/X/Y mygtukai: Veiksmų mygtukai.
- Kairysis/dešinysis/žemyninis/žemyninis mygtukai: Pečių ir paleidimo mygtukai.
- +/- mygtukai: Start/Select equivalents.
- Namų mygtukas: Returns to the console's home menu.
- CaptureButton: Takes screenshots.
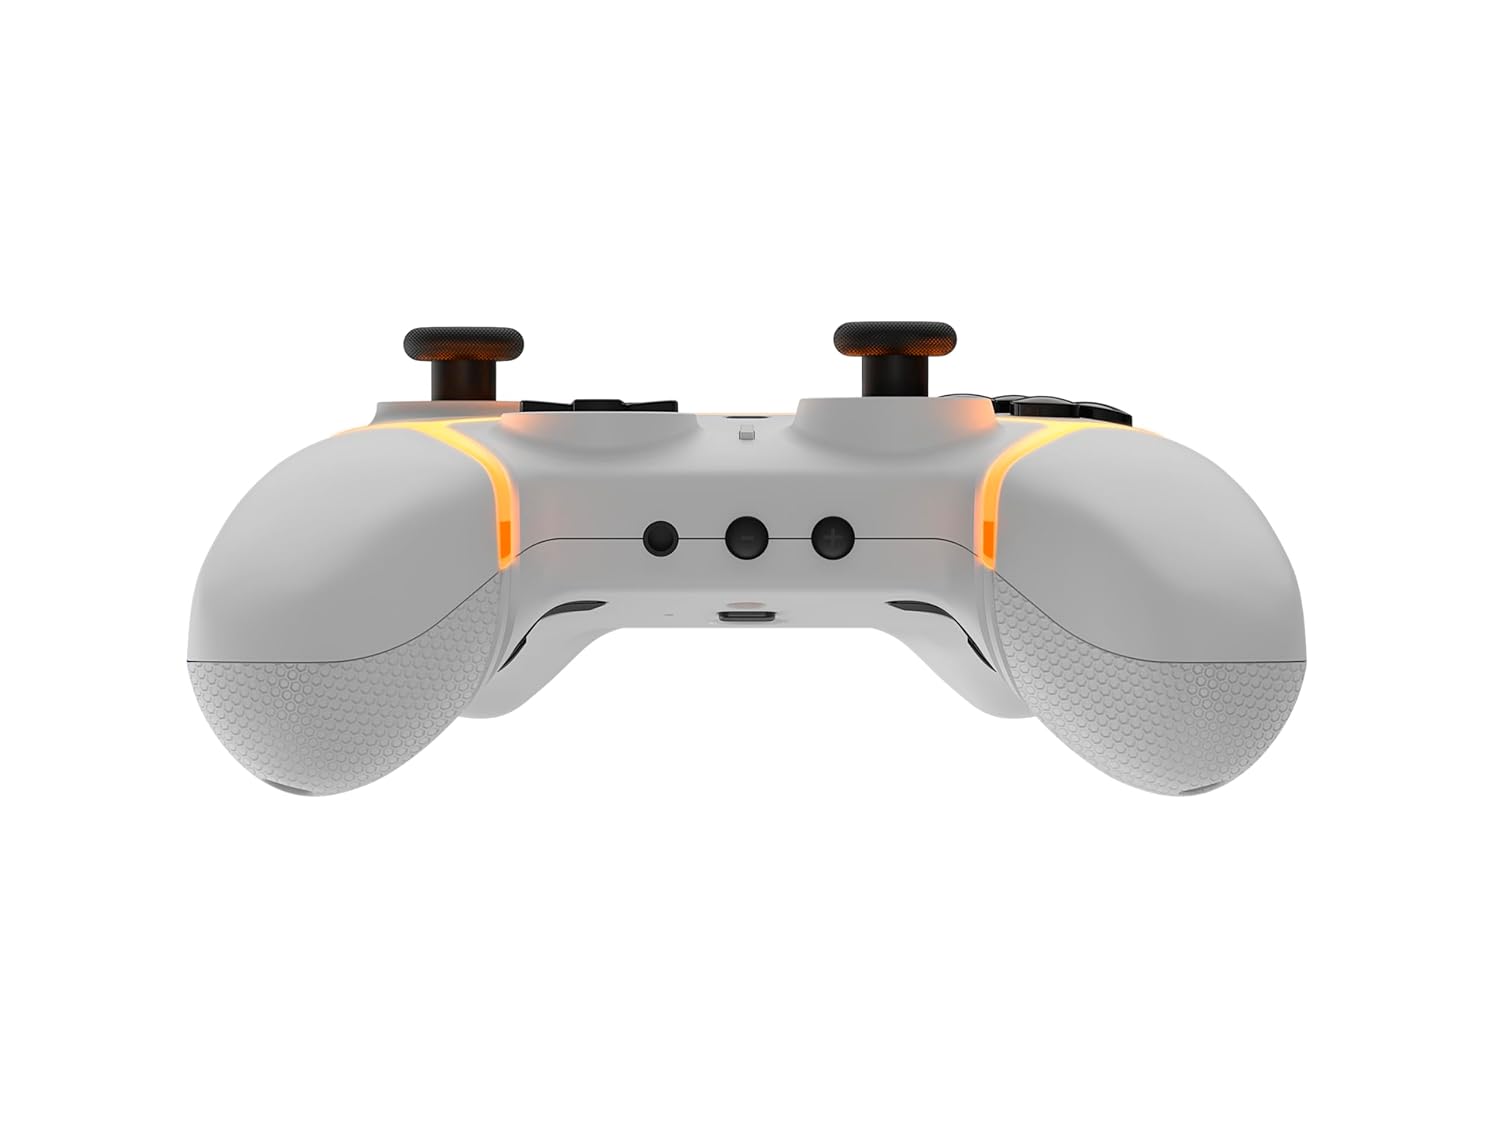
2.2 Programuojami grįžimo mygtukai
The SC3 controller includes programmable back buttons (M1, M2, M3, M4) for custom assignments.

Vaizdas: Galinis view of the Gioteck SC3 controller, clearly showing the four programmable back buttons (M1, M2, M3, M4) and textured grips.
Programavimo žingsniai:
- Paspauskite ir palaikykite Programos mygtukas (refer to diagram if available, usually a small button on the back) until the LED indicator flashes.
- Paspauskite Mygtukas Atgal (M1, M2, M3, or M4) you wish to program. The LED will flash slowly.
- Paspauskite Įvesties mygtukas (e.g., A, B, X, Y, L, R, ZL, ZR, D-pad direction) you want to assign to the back button.
- Paspauskite Programos mygtukas again to save the assignment. The LED will stop flashing.
- Repeat for other back buttons as desired.
To clear a programmed button, follow steps 1-2, then press the Program Button again without pressing an input button.
2.3 RGB apšvietimo pritaikymas
The controller features customizable RGB lighting. Specific instructions for changing colors or effects are typically found in the product's quick start guide or by pressing a dedicated button combination (e.g., Function + R3).
Consult the quick start guide included with your controller for precise button combinations to adjust RGB lighting.
2.4 Judesio valdikliai
The SC3 controller supports motion controls, allowing for immersive gameplay in compatible Nintendo Switch titles. No special setup is usually required; motion controls activate automatically when supported by the game.
2.5 Audio Headset Jack
A 3.5mm audio headset jack is located on the controller for connecting compatible headsets. It includes dedicated mute and volume control buttons.
- Garsumo didinimas / sumažinimas: Reguliuokite garso išvestį.
- Nutildymo mygtukas: Mute/unmute microphone input.

Vaizdas: Viršus view of the Gioteck SC3 controller, highlighting the 3.5mm audio jack, volume controls, and mute button.
3. Priežiūra
3.1 Valymas
Valdiklį valykite minkšta, sausa šluoste. Jei nešvarumai sunkiai įveikiami, šiek tiek nuvalykite.ampen the cloth with water. Avoid using harsh chemicals, abrasive cleaners, or solvents, as these can damage the controller's finish and internal components.
- Do not immerse the controller in water or any other liquid.
- Ensure all ports are dry before charging or connecting devices.
3.2 Saugykla
Valdiklį laikykite vėsioje, sausoje vietoje, toliau nuo tiesioginių saulės spindulių ir ekstremalių temperatūrų. Nedėkite ant valdiklio sunkių daiktų, kad nepažeistumėte jo.
3.3 Akumuliatoriaus priežiūra
The controller contains a rechargeable battery. To prolong battery life:
- Venkite dažnai visiškai iškrauti akumuliatorių.
- Charge the controller regularly, even if not in use for extended periods (e.g., once every 3-6 months).
- Do not expose the controller to temperatures above 60°C (140°F).
4. Problemų sprendimas
4.1 Valdiklis neprisijungia / nesusijungia
- Patikrinkite akumuliatorių: Įsitikinkite, kad valdiklis yra pakankamai įkrautas.
- Iš naujo suporuoti: Follow the pairing instructions in Section 1.3 or 1.4.
- Trikdžiai: Move closer to the console/device and away from potential sources of wireless interference (e.g., Wi-Fi routers, other Bluetooth devices).
- Valdiklio atstatymas: Locate a small reset button (often a pinhole) on the back of the controller. Use a paperclip to press and hold it for a few seconds. Then attempt to re-pair.
- Update Console/Device Software: Ensure your Nintendo Switch, PC, or mobile device's operating system is up to date.
4.2 Buttons/Sticks Not Responding
- Pakartotinis sinchronizavimas: Atjunkite ir vėl prijunkite valdiklį.
- Išvalyti: Įsitikinkite, kad aplink mygtukus ar lazdeles nėra prilipusių šiukšlių.
- Test in another game/menu: Determine if the issue is specific to a game or system-wide.
- Valdiklio atstatymas: Atlikite griežtą atkūrimą, kaip aprašyta aukščiau.
4.3 Motion Controls Not Working
- Žaidimo suderinamumas: Verify that the game you are playing supports motion controls.
- Perkalibruoti: On Nintendo Switch, you can recalibrate motion controls in the system settings.
- Valdiklio atstatymas: Atlikite sunkų atstatymą.
5. Specifikacijos
| Modelis: | Gioteck SC3 Wireless Pro Controller |
| Suderinamumas: | Nintendo Switch (Original, Lite, OLED), PC, Mobile Devices |
| Ryšys: | „Bluetooth“ belaidis ryšys |
| Matmenys (apytiksliai): | 2.87 x 5.35 x 6.34 colio (7.29 x 13.59 x 16.1 cm) |
| Svoris (apytiksliai): | 10.6 uncijos (300 gramų) |
| Garso lizdas: | 3.5mm with mute and volume controls |
| Ypatingos savybės: | Programmable back buttons, Magnetic thumb sticks, RGB lighting, Motion controls |
6. Informacija apie garantiją
The Gioteck SC3 Wireless Pro Controller comes with a manufacturer's warranty. For specific details regarding warranty coverage, duration, and claims process, please refer to the warranty card included with your product or visit the official Gioteck websvetainę.
Prašome išsaugoti pirkimo įrodymą garantijos tikslais.
7. Pagalba klientams
If you encounter any issues or have questions not covered in this manual, please contact Gioteck customer support. Contact information can typically be found on the product packaging or the official Gioteck websvetainę.
Giotecko oficialus Websvetainė: www.gioteck.com


