1. Įvadas
This manual provides essential information for the proper installation, operation, and maintenance of your ENDORFY Arx 500 ARGB ATX Computer Case. Please read this manual thoroughly before beginning installation to ensure optimal performance and safety.
The ENDORFY Arx 500 ARGB is a high-performance ATX computer case designed for efficient cooling and spacious component compatibility. Key features include:
- Tempered glass side panel for showcasing vidiniai komponentai.
- Spacious interior for easy component installation and cable management.
- Compatibility with various radiator sizes for advanced cooling solutions.
- Airy and easily accessible front panel for optimal airflow.
- Efficient cooling design to maintain low component temperatures.
- Convenient cable management features for a clean build.
2. Saugos informacija
Kad nesugadintumėte gaminio ar nesusižalotumėte, laikykitės toliau nurodytų saugos priemonių.
- Maitinimo atjungimas: Always disconnect the power supply from the wall outlet before installing or removing any components inside the computer case.
- Statinė elektra: Wear an anti-static wrist strap or frequently touch a grounded metal object to discharge static electricity before handling internal components.
- Astrus kampai: Be cautious of sharp edges inside the case during installation.
- Grūdintas stiklas: Handle the tempered glass side panel with care. It is fragile and can break if dropped or subjected to impact. Place it on a soft, flat surface when removed.
- Vėdinimas: Ensure adequate ventilation around the case to prevent overheating. Do not block air vents.
- Skysčio kontaktas: Keep the computer case away from liquids and moisture.
3. Pakuotės turinys
Patikrinkite, ar pakuotėje yra visi daiktai. Jei trūksta kokių nors daiktų arba jie pažeisti, susisiekite su pardavėju.
- ENDORFY Arx 500 ARGB ATX Computer Case
- 4 x 140 mm ARGB Fans (pre-installed)
- Accessory Box (containing screws, cable ties, and other mounting hardware)
- Vartotojo vadovas (šis dokumentas)

3.1 pav.: sprogo view showing the computer case, fans, and various panels.
4. Sąranka ir diegimas
Follow these steps to install your components into the ENDORFY Arx 500 ARGB case.
4.1 Bylos parengimas
- Pašalinti šonines plokštes: Carefully remove the tempered glass side panel and the solid metal side panel. Place them on a soft, non-abrasive surface to prevent scratches.
- Priedų dėžutė: Dėklo viduje raskite priedų dėžutę, kurioje yra visi reikalingi varžtai ir tvirtinimo detalės.
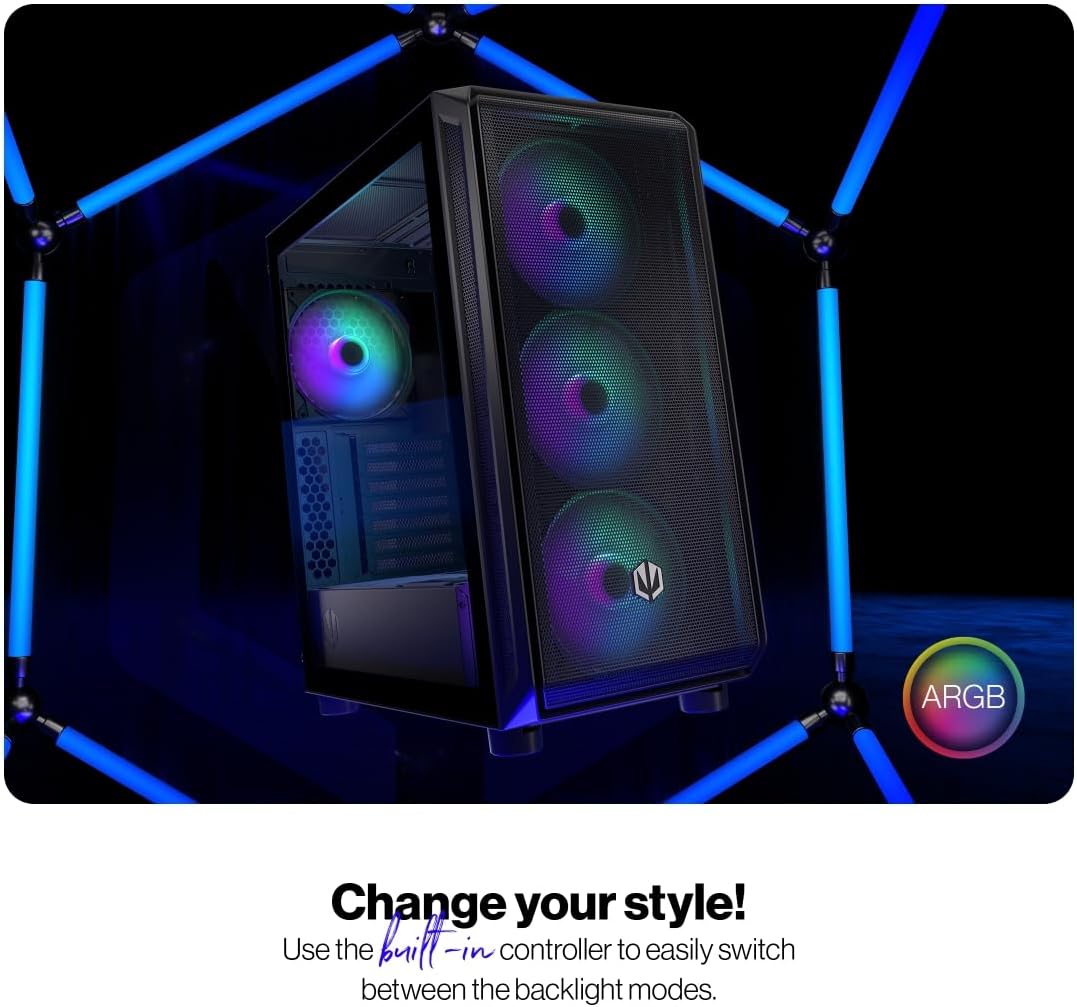
Figure 4.1: The tempered glass side panel allows for a clear view vidinių komponentų.
4.2 Pagrindinės plokštės montavimas
- Įdiegti skirtumus: Ensure the correct standoffs are installed for your ATX motherboard. The case supports ATX motherboards.
- Pagrindinės plokštės montavimas: Carefully place your motherboard onto the standoffs and secure it with the provided screws.

4.2 pav.: Erdvus salonas suteikia ample room for motherboard and other component installation.
4.3 Maitinimo šaltinio ir saugyklos įrengimas
- Maitinimas: Install your power supply unit (PSU) into the dedicated bottom mount area. Secure it with screws from the rear of the case.
- Saugojimo diskai: Install your 2.5" SSDs or 3.5" HDDs into the designated drive bays. Refer to the case's internal structure for specific mounting points.
4.4 Graphics Card and Expansion Cards
- Nuimkite lizdų dangtelius: Nuimkite reikiamus PCI-E lizdų dangtelius nuo korpuso galo.
- Įdiekite korteles: Insert your graphics card and other expansion cards into the motherboard's PCI-E slots and secure them with screws.
4.5 Cooling System (Fans and Radiators)
The case comes with 4 pre-installed 140mm ARGB fans. Additional fans or radiators can be installed for enhanced cooling.
- Ventiliatoriaus talpa: The case accommodates up to 7 fans.
- Radiatoriaus suderinamumas: The design supports various radiator sizes for liquid cooling solutions.

Figure 4.3: The case features pre-installed 140mm ARGB fans for optimal airflow.

Figure 4.4: Perforated front and top panels ensure maximum airflow and dust protection.
4.6 Kabelių valdymas
Utilize the dedicated cable management space and tie-down points behind the motherboard tray to route and secure cables for a clean build and improved airflow.
4.7 Priekinio įvesties/išvesties skydelio jungtys
Connect the front panel cables (USB, audio, power, reset, LEDs) to the corresponding headers on your motherboard. Refer to your motherboard manual for header locations.

Figure 4.5: Front I/O panel with USB-C, USB-A, headphone, microphone, reset, and power buttons/LEDs.
- USB-C prievadas: Connects to a USB 3.x Type-C header on your motherboard.
- USB-A prievadai: Connects to USB 3.x and USB 2.0 headers on your motherboard.
- Headphones Port: Connects to the audio header on your motherboard.
- Mikrofono prievadas: Connects to the audio header on your motherboard.
- Atkūrimo mygtukas: Connects to the reset header on your motherboard.
- Maitinimo šviesos diodas: Connects to the power LED header on your motherboard.
- Storage Activity LED: Connects to the HDD LED header on your motherboard.
- Maitinimo mygtukas: Connects to the power switch header on your motherboard.
5. Naudojimo instrukcijos
Kai visi komponentai bus įdiegti ir prijungti, galėsite įjungti sistemą.
- Maitinimas: Press the Power Button on the front I/O panel to turn on your computer. The Power LED will illuminate.
- ARGB ventiliatoriaus valdymas: The pre-installed ARGB fans can be controlled via a built-in controller or synchronized with compatible motherboard software. Use the built-in controller to switch between various backlight modes.

Figure 5.1: The ARGB fans offer customizable lighting effects, controlled via the built-in controller.
6. Priežiūra
Regular maintenance helps ensure optimal performance and longevity of your computer case and components.
- Dulkių filtrai: Periodically remove and clean the dust filters located on the front, top, and bottom of the case. Use compressed air or a soft brush to remove accumulated dust.
- Išorinis valymas: Nuvalykite korpuso išorinius paviršius minkšta,amp skudurėliu. Venkite abrazyvinių valiklių ar tirpiklių.
- Vidaus valymas: With the system powered off and unplugged, use compressed air to gently remove dust from internal components and fan blades.
- Grūdintas stiklas: Clean the tempered glass panel with a microfiber cloth and a glass cleaner designed for electronics.
7. Problemų sprendimas
If you encounter issues with your computer case, refer to the following common troubleshooting steps.
- Sistema neįsijungia:
- Įsitikinkite, kad maitinimo šaltinis tinkamai prijungtas prie sieninio lizdo ir įjungtas.
- Patikrinkite, ar visi maitinimo laidai iš maitinimo bloko yra tinkamai prijungti prie pagrindinės plokštės ir komponentų.
- Patikrinkite, ar priekinio skydelio maitinimo mygtuko kabelis tinkamai prijungtas prie pagrindinės plokštės maitinimo lizdo.
- Ventiliatoriai nesisuka / ARGB nešviečia:
- Ensure fan power cables are securely connected to the fan hub or motherboard headers.
- Verify ARGB cables are connected to the built-in controller or motherboard ARGB header.
- Check the built-in controller or motherboard software for fan speed and lighting settings.
- Front USB/Audio Ports Not Working:
- Confirm that the front panel USB and audio cables are correctly connected to the corresponding headers on your motherboard.
- Ensure motherboard drivers for USB and audio are installed.
If problems persist, consult your motherboard manual or contact ENDORFY customer support.
8. Specifikacijos
| Funkcija | Detalė |
|---|---|
| Prekės ženklas | ENDORFY |
| Serija | Arx 500 ARGB |
| Modelio numeris | EY2A011 |
| Atvejo tipas | Midi bokštas |
| Pagrindinės plokštės suderinamumas | ATX |
| Matmenys (IxPxH) | 16.89 x 8.98 x 19.13 colio (429 x 228 x 486 mm) |
| Prekės svoris | 16.5 svaro |
| Medžiaga | Grūdintas stiklas (šoninė panelė) |
| Aušinimo būdas | Oras |
| Įtraukti gerbėjai | 4 x 140 mm ARGB fans |
| Ventiliatoriaus dydis | 140 milimetrų |
| Maitinimo šaltinio tvirtinimo tipas | Apatinis kalnas |
| Priekinės įvesties / išvesties prievadai | 2x USB 2.0, 1x USB-C, 1x Headphone, 1x Microphone, Reset Button, Power Button |

Figure 8.1: Front dimensions (228 mm width).

Figure 8.2: Side dimensions (429 mm depth, 486 mm height).
9. Garantija ir palaikymas
For warranty information, technical support, or further assistance, please visit the official ENDORFY websvetainėje arba susisiekite su vietiniu mažmenininku.


