Produktas baigtasview
The PAPIFEED Pet Camera Indoor Security Cam (Model B0CLZQ75K8) is designed to monitor your pets, babies, or home with advanced features. It offers 1080 HD video, 2-way audio, night vision, motion tracking, and is compatible with Alexa and Google Assistant. The camera supports both 2.4GHz and 5GHz WiFi networks for flexible connectivity.
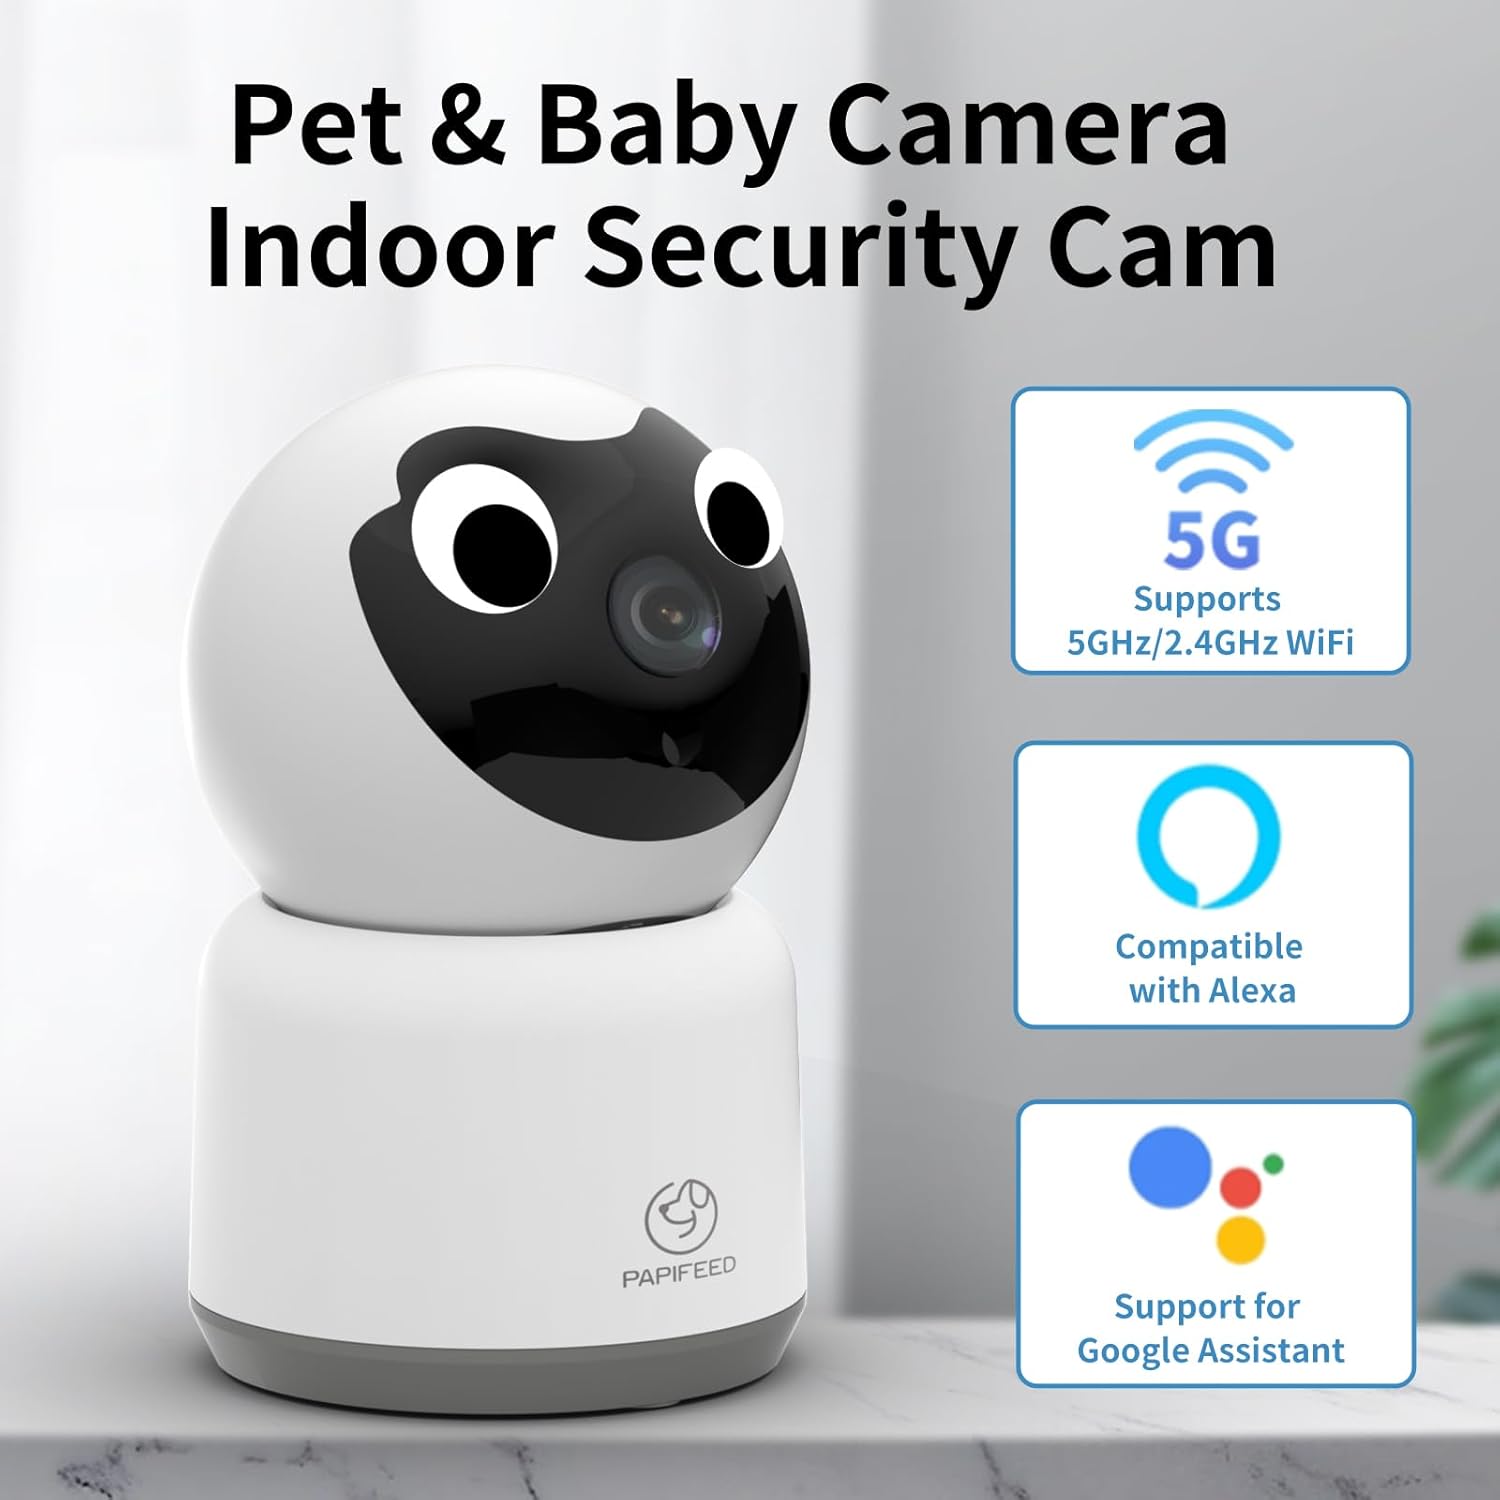
Image: PAPIFEED Pet Camera highlighting 5GHz/2.4GHz WiFi, Alexa, and Google Assistant compatibility.
Pagrindinės savybės
- 1080P HD vaizdo įrašas: Provides clear and detailed video monitoring.
- Pakreipimo ir pasukimo funkcija: Offers 360° horizontal rotation and 110° vertical tilt for comprehensive coverage.
- Dviejų juostų WiFi: Supports both 2.4GHz and 5GHz networks for stable connection.
- Dvipusis garsas: Enables real-time communication with pets or family members.
- Enhanced IR Night Vision: Ensures clear visibility in low-light conditions.
- Judesio aptikimas ir sekimas: Automatically detects and tracks movement, sending alerts to your phone.
- Saugojimo parinktys: Supports up to 128GB Micro SD card (not included) for local storage and offers cloud storage options.
- Išmaniųjų namų integracija: Suderinamas su Amazon Alexa ir Google Assistant.

Image: Visual representation of the PAPIFEED Pet Camera's key features.
Sąrankos vadovas
1. Maitinimo prijungimas
Connect the camera to a power source using the provided power adapter. The indicator light will turn on. Wait approximately 15 seconds until you hear a prompt tone and the camera rotates, indicating it's ready for network connection.
Pastaba: When waiting for connection, the indicator light flashes quickly and makes a prompt tone. Once connected, the indicator light is always on, and no prompt tone is heard.
Video: PAPIFEED Camera WIFI Connection Guidance. This video demonstrates the power-on sequence and initial connection steps for the camera.
2. Programėlės atsisiuntimas ir įdiegimas
Download the "Smart Life" app from your mobile phone's app store. Ensure your phone's Bluetooth and WLAN are enabled.
3. Device Pairing (QR Code Method)
- Open the "Smart Life" app and tap "Add Device".
- Select "Camera & Lock" then "Smart Camera (Dual Band)".
- Check the box confirming the indicator light is flashing quickly and a prompt tone is heard, then click "Next".
- Įveskite savo WiFi paskyrą ir slaptažodį.
- A QR code will appear on your phone screen. Face your phone's QR code towards the camera lens, keeping a distance of 15-20cm. Move slowly from near to far until you hear a "drop" sound, indicating a successful scan.
- Confirm you heard the prompt. The camera will then connect. Connection is successful when the indicator light is always on and the prompt tone disappears.
4. Device Pairing (WiFi Mode Method)
- From the "Reset the device" screen in the app, click the button in the upper right corner and select "WiFi Mode".
- Select "AP Mode".
- Enter your WiFi account and password, then click "Next".
- Connect your mobile phone to the camera's hotspot, typically named "SmartLife-XXXX".
- Return to the app and select "Confirm hot spot connection, next".
- The camera will then connect. Connection is successful when the indicator light is always on and the prompt tone disappears.
Naudojimo instrukcijos
Tiesiogiai View ir panoraminio/pakreipimo valdymas
Once connected, access the live video feed through the Smart Life app. You can remotely control the camera's pan (horizontal) and tilt (vertical) movements to view different areas of the room. The camera offers 350° horizontal and 110° vertical vision.

Image: Multi-view live feed from the camera, illustrating its pan and tilt functionality.
Dvipusis garsas
Use the two-way audio feature to speak through the camera and hear responses. This is ideal for comforting pets or communicating with family members remotely.

Image: Demonstrating the two-way audio communication feature.
Naktinis matymas
The camera is equipped with enhanced IR night vision, providing clear black and white video even in complete darkness.

Image: Comparison of day and night vision, highlighting the camera's night vision clarity.
Judesio aptikimas ir sekimas
Enable motion detection to receive real-time alerts on your phone when movement is detected. The camera can also track moving subjects within its field of view.

Image: Motion tracking and alert notification on a smartphone.
Saugojimo parinktys
The camera supports local storage via a Micro SD card (up to 128GB, not included) for continuous 24/7 recording. Cloud storage is also available as an option, providing encrypted video storage.

Image: Storage options for the camera, including cloud and SD card.
Diegimo parinktys
The PAPIFEED Pet Camera offers versatile installation options to suit your needs:
- Stovint: Padėkite fotoaparatą ant lygaus paviršiaus, pavyzdžiui, stalo ar lentynos.
- Montavimas ant sienos: Securely mount the camera to a wall for an elevated view.
- Montavimas prie lubų: Install the camera on the ceiling for a wide, overhead perspective.

Image: Various installation methods for the camera.
Specifikacijos
| Funkcija | Detalė |
|---|---|
| Prekės ženklas | PAPIFEED |
| Modelis | B0CLZQ75K8 |
| Vaizdo įrašymo raiška | 1080p, 2K |
| Ryšio technologija | Belaidis ryšys (Wi-Fi) |
| Belaidžio ryšio technologija | Wi-Fi (2.4GHz & 5GHz dual-band) |
| Ypatinga funkcija | Phone App Control, 2-Way Audio, Night Vision, Motion Sensor, Works with Alexa & Google Assistant, HD Resolution |
| Naudojimas viduje / lauke | Vidinis |
| Maitinimo šaltinis | Su laidu elektra |
| Valdiklio tipas | Android (and iOS via Smart Life app) |
| Formos faktorius | Kupolas |
| Prekės matmenys P x P x A | 3 x 3 x 5 colio |
| Prekės svoris | 11.7 uncijos |
| Maksimalus SD kortelių palaikymas | 128 GB |
Priežiūra
To ensure optimal performance and longevity of your PAPIFEED Pet Camera, follow these maintenance guidelines:
- Valymas: Švelniai nuvalykite kameros objektyvą ir išorę minkštu, sausu skudurėliu. Venkite naudoti stiprias chemines medžiagas ar abrazyvines medžiagas.
- Vieta: Įsitikinkite, kad kamera pastatyta stabilioje vietoje, atokiau nuo tiesioginių saulės spindulių, ekstremalių temperatūrų ir drėgmės.
- Programinės įrangos atnaujinimai: Regularly check the Smart Life app for firmware updates to ensure your camera has the latest features and security enhancements.
Trikčių šalinimas
If you encounter issues with your PAPIFEED Pet Camera, refer to the following common troubleshooting steps:
- Ryšio problemos:
- Ensure your WiFi network is stable and within range.
- Verify that you have entered the correct WiFi password.
- Check if the camera's indicator light is flashing quickly (waiting for connection) or solid (connected).
- Try restarting the camera and your router.
- Confirm your phone's Bluetooth and WLAN are enabled during setup.
- Nėra vaizdo įrašo / prasta kokybė:
- Patikrinkite savo interneto ryšio greitį.
- Įsitikinkite, kad kameros objektyvas yra švarus ir neuždengtas.
- Įsitikinkite, kad kamera įjungta ir prijungta prie tinklo.
- Dvipusio garso problemos:
- Patikrinkite garsumo nustatymus telefone ir programėlėje.
- Ensure there is no interference near the camera's microphone or speaker.
- Judesio aptikimas neveikia:
- Verify motion detection settings are enabled in the Smart Life app.
- Jei reikia, pakoreguokite jautrumo nustatymus.
- Kameros nustatymas iš naujo: If issues persist, locate the reset button (often near the SD card slot) and press and hold it for several seconds until the camera resets. Then, attempt to re-pair the device.
Garantija ir palaikymas
PAPIFEED provides a professional after-sales team and customer service. If you have any questions or encounter issues with your product, please contact PAPIFEED customer support directly. The store offers free product replacement or returns/refunds as part of its quality assurance.
For further assistance, please refer to the contact information provided with your product packaging or visit the official PAPIFEED websvetainę.


