1. Įvadas
This manual provides essential information for the safe and efficient operation, installation, and maintenance of your Daikin FTXC35D / RXC35D Inverter Air Conditioner. Please read this manual thoroughly before using the unit and keep it for future reference. This Daikin air conditioning system is designed to provide comfortable indoor climate control with high energy efficiency, utilizing R-32 refrigerant for reduced environmental impact.
2. Saugos informacija
Always observe the following safety precautions to prevent personal injury or property damage.
- Profesionalus montavimas: Installation, relocation, and maintenance of this unit must be performed by a qualified service technician. Improper installation can lead to electric shock, fire, or water leakage.
- Maitinimas: Įsitikinkite, kad maitinimo šaltinis atitinka įrenginio specifikacijas. Nenaudokite ilgintuvų ar daugiakanalių adapterių.
- Elektros sauga: Nenaudokite įrenginio šlapiomis rankomis. Nekiškite pirštų ar daiktų į oro įleidimo / išleidimo angas.
- Šaltnešis: The unit uses R-32 refrigerant. Do not attempt to modify or repair the refrigerant circuit yourself. Contact a qualified technician for any refrigerant-related issues.
- Valymas: Always turn off the power supply before cleaning the unit. Use a soft, dry cloth. Do not use water or volatile liquids.
- Vaikai ir augintiniai: Laikykite vaikus ir naminius gyvūnus atokiau nuo įrenginio. Neleiskite jiems žaisti su nuotolinio valdymo pultu.
- Vėdinimas: Ensure adequate ventilation in the room, especially if other heating appliances are in use.
3. Pakuotės turinys
Prieš montuodami patikrinkite, ar yra visi komponentai.
- Indoor Unit (FTXC35D)
- Outdoor Unit (RXC35D)
- Nuotolinio valdymo pultas su baterijomis
- Vartotojo vadovas (šis dokumentas)
- Installation Plate (for indoor unit)
- Išleiskite žarną
- Izoliacinės medžiagos
- Connecting Pipes (may be supplied separately)
4. Sąranka ir diegimas
Installation of this Daikin split system air conditioner requires specialized tools and knowledge. It is strongly recommended that installation be performed by a certified HVAC professional to ensure proper function, safety, and warranty validity.
4.1. Vietos parinkimas
- Vidinis blokas: Pasirinkite vietą, kurioje oras pasiskirstytų tolygiai, atokiau nuo tiesioginių saulės spindulių ar šilumos šaltinių. Užtikrinkite pakankamai vietos aplink įrenginį techninei priežiūrai.
- Lauko blokas: Select a well-ventilated area, free from obstructions, and with sufficient space for airflow and service access. Avoid locations exposed to strong winds or excessive dust. The unit can be installed on a roof, terrace, or against an exterior wall.
4.2. General Installation Steps (for professional reference)
- Mount the installation plate on the wall for the indoor unit.
- Drill a hole in the wall for the piping and drain hose.
- Prijunkite šaltnešio vamzdžius ir elektros laidus tarp vidinio ir išorinio blokų.
- Atlikite vakuuminį siurbimą ir šaltnešio įpylimą (jei reikia).
- Connect the drain hose and ensure proper drainage.
- Secure the outdoor unit in its chosen location.
- Perform a test run to verify correct operation.
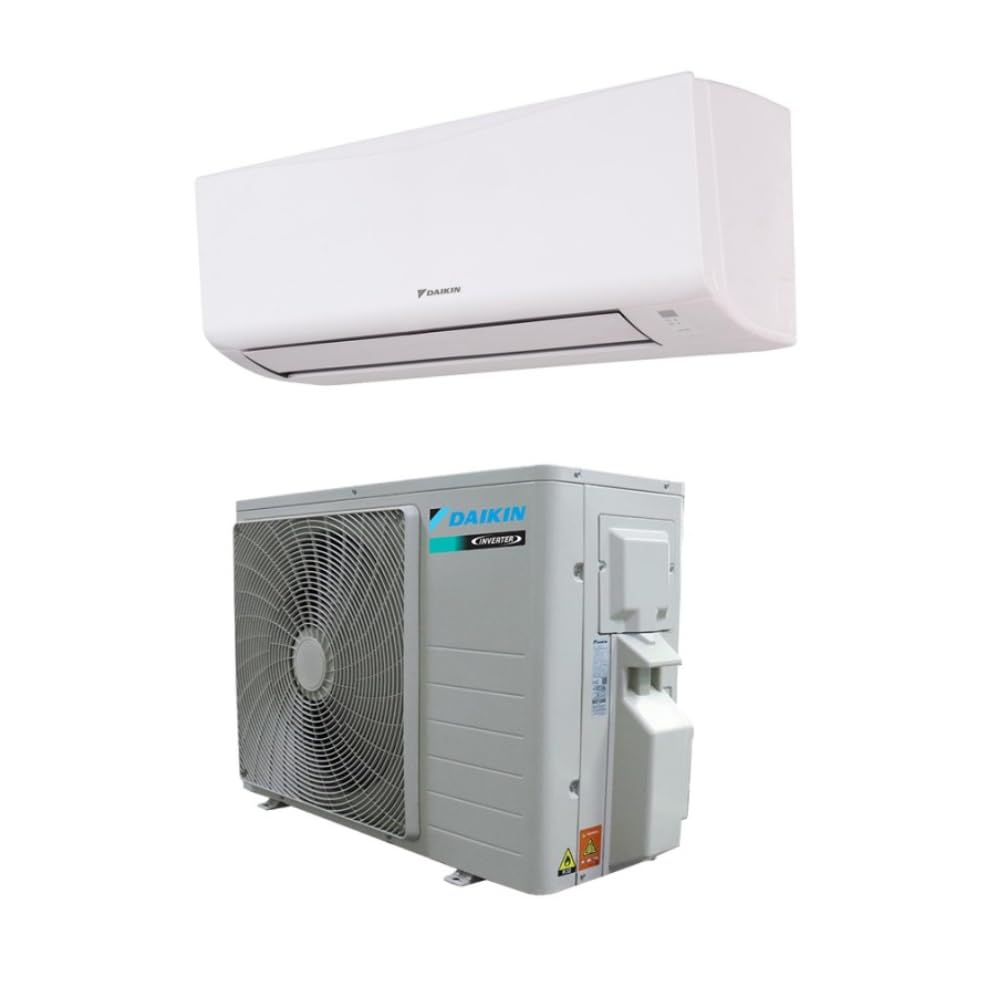
Image 1: Daikin FTXC35D Indoor Unit (left) and RXC35D Outdoor Unit (right). The indoor unit features a flat, elegant front panel designed to blend seamlessly with various interior decors. The outdoor unit is robust and designed for easy installation on a roof, terrace, or exterior wall, featuring an anti-corrosion treated heat exchanger.
5. Naudojimo instrukcijos
Your Daikin air conditioner offers various modes and settings for optimal comfort.
5.1. Nuotolinio valdymo pultasview
The remote control allows you to manage all functions of your air conditioner. Point the remote control directly at the indoor unit when operating.
5.2. Pagrindiniai veikimo režimai
- COOL Mode (❄): Kambario vėsinimui. Nustatykite norimą temperatūrą naudodami temperatūros reguliavimo mygtukus.
- HEAT Mode (🔥): For heating the room. Available on heat pump models.
- FAN Mode (💨): Cirkuliuoja orą be šildymo ar aušinimo. Ventiliatoriaus greitį galima reguliuoti.
- DRY Mode (💧): Sumažina drėgmę patalpoje.
- AUTO Mode (🔄): Įrenginys automatiškai parenka tinkamą režimą (vėsinimas, šildymas arba ventiliavimas) pagal kambario temperatūrą ir jūsų nustatytą temperatūrą.
5.3. Temperatūros ir ventiliatoriaus greičio reguliavimas
- Naudokite ▲ / ▼ mygtukai norimai temperatūrai reguliuoti.
- Paspauskite VENTILIATORIUS button to cycle through fan speed settings (Auto, Low, Medium, High).
5.4. Laikmačio funkcija
Set the unit to turn ON or OFF automatically at a specified time. Refer to your remote control's specific instructions for detailed timer setup.
5.5. Optional Daikin Residential Controller (Wi-Fi)
If equipped with the optional Daikin residential controller, you can control your indoor unit remotely via a smartphone application, local network, or the internet. Refer to the separate manual provided with the Wi-Fi controller for setup and operation instructions.
6. Priežiūra
Reguliarus techninis aptarnavimas užtikrina optimalų veikimą ir pailgina oro kondicionieriaus tarnavimo laiką. Prieš atlikdami bet kokią techninę priežiūrą, visada atjunkite maitinimą.
6.1. Air Filter Cleaning (Indoor Unit)
Clean the air filters every two weeks or more frequently if the unit is used often or in dusty environments.
- Atidarykite priekinį vidaus bloko skydelį.
- Nuimkite oro filtrus.
- Clean the filters with a vacuum cleaner or wash them with lukewarm water. If washing, allow them to dry completely in a shaded area before reinstallation.
- Įstatykite sausus filtrus atgal ir uždarykite priekinį skydelį.
6.2. Lauko įrenginio valymas
Periodically check the outdoor unit for any obstructions (leaves, debris) around the air inlet and outlet. Gently remove any blockages. For thorough cleaning of the heat exchanger coils, contact a professional service technician.
6.3. Sezoniniai patikrinimai
- Before the cooling season, ensure the drain hose is clear and not blocked.
- Check for any unusual noises or odors during operation. If detected, contact service.
7. Problemų sprendimas
Prieš kreipdamiesi į aptarnavimo tarnybą,view toliau išvardytos dažnos problemos ir sprendimai.
| Problema | Galima priežastis | Sprendimas |
|---|---|---|
| Įrenginys neįsijungia | No power supply; Remote control batteries depleted; Timer function active. | Check circuit breaker; Replace batteries; Cancel timer setting. |
| Nepakankamas aušinimas / šildymas | Dirty air filters; Blocked outdoor unit; Doors/windows open; Temperature setting incorrect; Room too large for unit capacity. | Clean air filters; Clear obstructions from outdoor unit; Close doors/windows; Adjust temperature; Consult a professional for capacity assessment. |
| Neįprastas triukšmas | Atsilaisvinusios dalys; Užsikimšęs ventiliatorius; Šaldymo agento tekėjimo triukšmas (normalu). | Check for loose parts (if accessible and safe); Remove fan obstruction (if safe); If noise persists or is abnormal, contact service. |
| Vandens nuotėkis iš vidinio bloko | Blocked drain hose; Improper installation. | Check and clear drain hose; Contact a professional for inspection and repair. |
If the problem persists after attempting these solutions, turn off the power supply and contact your Daikin service provider.
8. Specifikacijos
| Funkcija | Specifikacija |
|---|---|
| Prekės ženklas | Daikin |
| Vidaus bloko modelis | FTXC35D |
| Lauko bloko modelis | RXC35D |
| Dimensions (Indoor Unit L x W x H) | 23.4 x 77 x 28.8 cm |
| Energijos vartojimo efektyvumas (vėsinimas) | A++ |
| Energy Efficiency (Overall Range) | A+++ iki D |
| Talpa | 1 Tonne (approx. 12000 BTU) |
| Triukšmo lygis | 19 decibelų |
| Diegimo tipas | Padalinta sistema |
| Šaldymo agentas | R-32 |
| ttage | 230 voltų |
| Galia | 5680 vatų |
| Ypatinga funkcija | Inverteris |
| SEER (sezoninis energijos vartojimo efektyvumo koeficientas) | 7 |
| Filtro tipas | Išankstinis filtras |
9. Garantija ir palaikymas
For warranty information, terms, and conditions, please refer to the warranty card included with your product or visit the official Daikin website. For technical support, service requests, or inquiries about spare parts, please contact your authorized Daikin dealer or service center. Ensure you have your model number (FTXC35D) and purchase date available when contacting support.


