1. Svarbios saugos instrukcijos
Please read all instructions carefully before using your Klarstein Ice Maker Machine. Keep this manual for future reference.
- Užtikrinkite maitinimo šaltinio ttage atitinka prietaiso vardinę etiketę.
- Nemerkite prietaiso, maitinimo laido ar kištuko į vandenį ar kitus skysčius.
- Ištraukite prietaisą iš elektros lizdo, kai nenaudojate ir prieš valydami.
- Nenaudokite prietaiso, kurio laidas ar kištukas pažeistas, arba po to, kai prietaisas neveikia arba buvo kaip nors sugadintas.
- Place the ice maker on a stable, level surface, away from direct sunlight and heat sources.
- Allow at least 10 cm (4 inches) of space around the appliance for proper ventilation.
- Šis prietaisas nėra skirtas naudoti asmenims (įskaitant vaikus), kurių fizinės, jutimo ar psichikos negalios arba neturintys patirties ir žinių, nebent už jų saugumą atsakingas asmuo juos prižiūrėtų arba instruktuotų, kaip naudoti prietaisą.
- Vandens rezervuare naudokite tik geriamąjį vandenį.
2. Produktas baigtasview
Familiarize yourself with the components of your Klarstein Ice Maker Machine.

2.1 pav.: priekis view of the Klarstein Ice Maker Machine with included accessories.

2.2 pav. Vidus view showing the ice basket and bullet-shaped ice cubes.
Komponentai:
- Valdymo skydelis: Features power button, ice size selection, and indicator lights.
- Vandens rezervuaras: Įsikūręs po ledo krepšeliu, talpina vandenį ledo gamybai.
- Ledo krepšelis: Removable basket for collecting produced ice cubes.
- Ledo kaušelis: For convenient removal of ice cubes.
- Skaidrus dangtelis: Leidžia stebėti ledo gamybos procesą.
3. Sąranka
Follow these steps to set up your ice maker for first use.
3.1 Išpakavimas
- Atsargiai išimkite ledo gaminimo aparatą iš pakuotės.
- Remove all packaging materials, including any tape or protective films.
- Patikrinkite, ar transportavimo metu nebuvo pažeista. Jei prietaisas pažeistas, jo nenaudokite ir susisiekite su klientų aptarnavimo tarnyba.
3.2 Įdėjimas
- Place the ice maker on a firm, level, and stable surface.
- Ensure adequate ventilation by leaving at least 10 cm (4 inches) of space around the unit.
- Nestatykite įrenginio šalia šilumos šaltinių (pvz., orkaičių, radiatorių) arba tiesioginiuose saulės spinduliuose.
- Do not place the unit in an enclosed cabinet or on a soft surface where vents could be blocked.

Figure 3.1: Recommended placement and dimensions for the ice maker.
3.3 Pirminis valymas
Prieš pirmą kartą naudodami, išvalykite ledo generatoriaus vidų.
- Išimkite ledo krepšį.
- Nuvalykite vidų minkšta šluoste dampnuplauti šiltu vandeniu ir švelniu plovikliu.
- Kruopščiai nuplaukite ir nusausinkite.
- Run a self-cleaning cycle (refer to Section 5.2) before making ice for consumption.
4. Naudojimo instrukcijos
Follow these steps to produce ice cubes with your Klarstein Ice Maker Machine.

Figure 4.1: Quick start guide for ice production.
- Užpildykite vandens baką: Atidarykite dangtelį ir pripildykite vandens rezervuarą geriamojo vandens iki „MAX“ užpildymo linijos. Neperpildykite.
- Prijunkite maitinimą: Prijunkite ledo gaminimo aparatą prie įžeminto elektros lizdo.
- Maitinimas: Press the 'POWER' button on the control panel to turn on the appliance.
- Pasirinkite ledo dydį: Paspauskite mygtuką „SELECT“ (pasirinkti), kad pasirinktumėte mažą (S) arba didelį (L) ledo kubelių dydį. Užsidegs atitinkama indikatoriaus lemputė.
- Pradėti ledo gamybą: The machine will automatically begin the ice-making cycle after a few seconds. The 'ICE MAKING' indicator light will be on.
- Stebėti pažangą: The first batch of ice cubes will be ready in approximately 7-9 minutes, depending on the selected size and ambient temperature.
- Pilno ledo indikatorius: When the ice basket is full, the 'ICE FULL' indicator light will illuminate, and the machine will pause operation. Remove ice to resume production.
- Pridėti vandens indikatorių: If the water level in the reservoir is too low, the 'ADD WATER' indicator light will illuminate, and the machine will pause. Add more water to resume.
- Išjungti: Press the 'POWER' button to turn off the ice maker when you are finished.
5. Priežiūra
Regular cleaning and proper maintenance will ensure the longevity and optimal performance of your ice maker.
5.1 Bendras valymas
- Prieš valydami prietaisą visada ištraukite iš elektros tinklo.
- Išorę valykite minkštu, damp audinys. Nenaudokite abrazyvinių valiklių ar tirpiklių.
- Išimkite ledo krepšelį ir nuplaukite jį šiltu muiluotu vandeniu. Nuplaukite ir kruopščiai nusausinkite.
- Drain any remaining water from the reservoir by removing the drain plug (usually located at the bottom or side of the unit).
- Clean the interior of the water reservoir and ice-making components with a soft cloth and a mild, food-safe cleaning solution. Rinse thoroughly with clean water.
5.2 Savaiminio išsivalymo funkcija
The ice maker features a self-cleaning function for convenient maintenance.
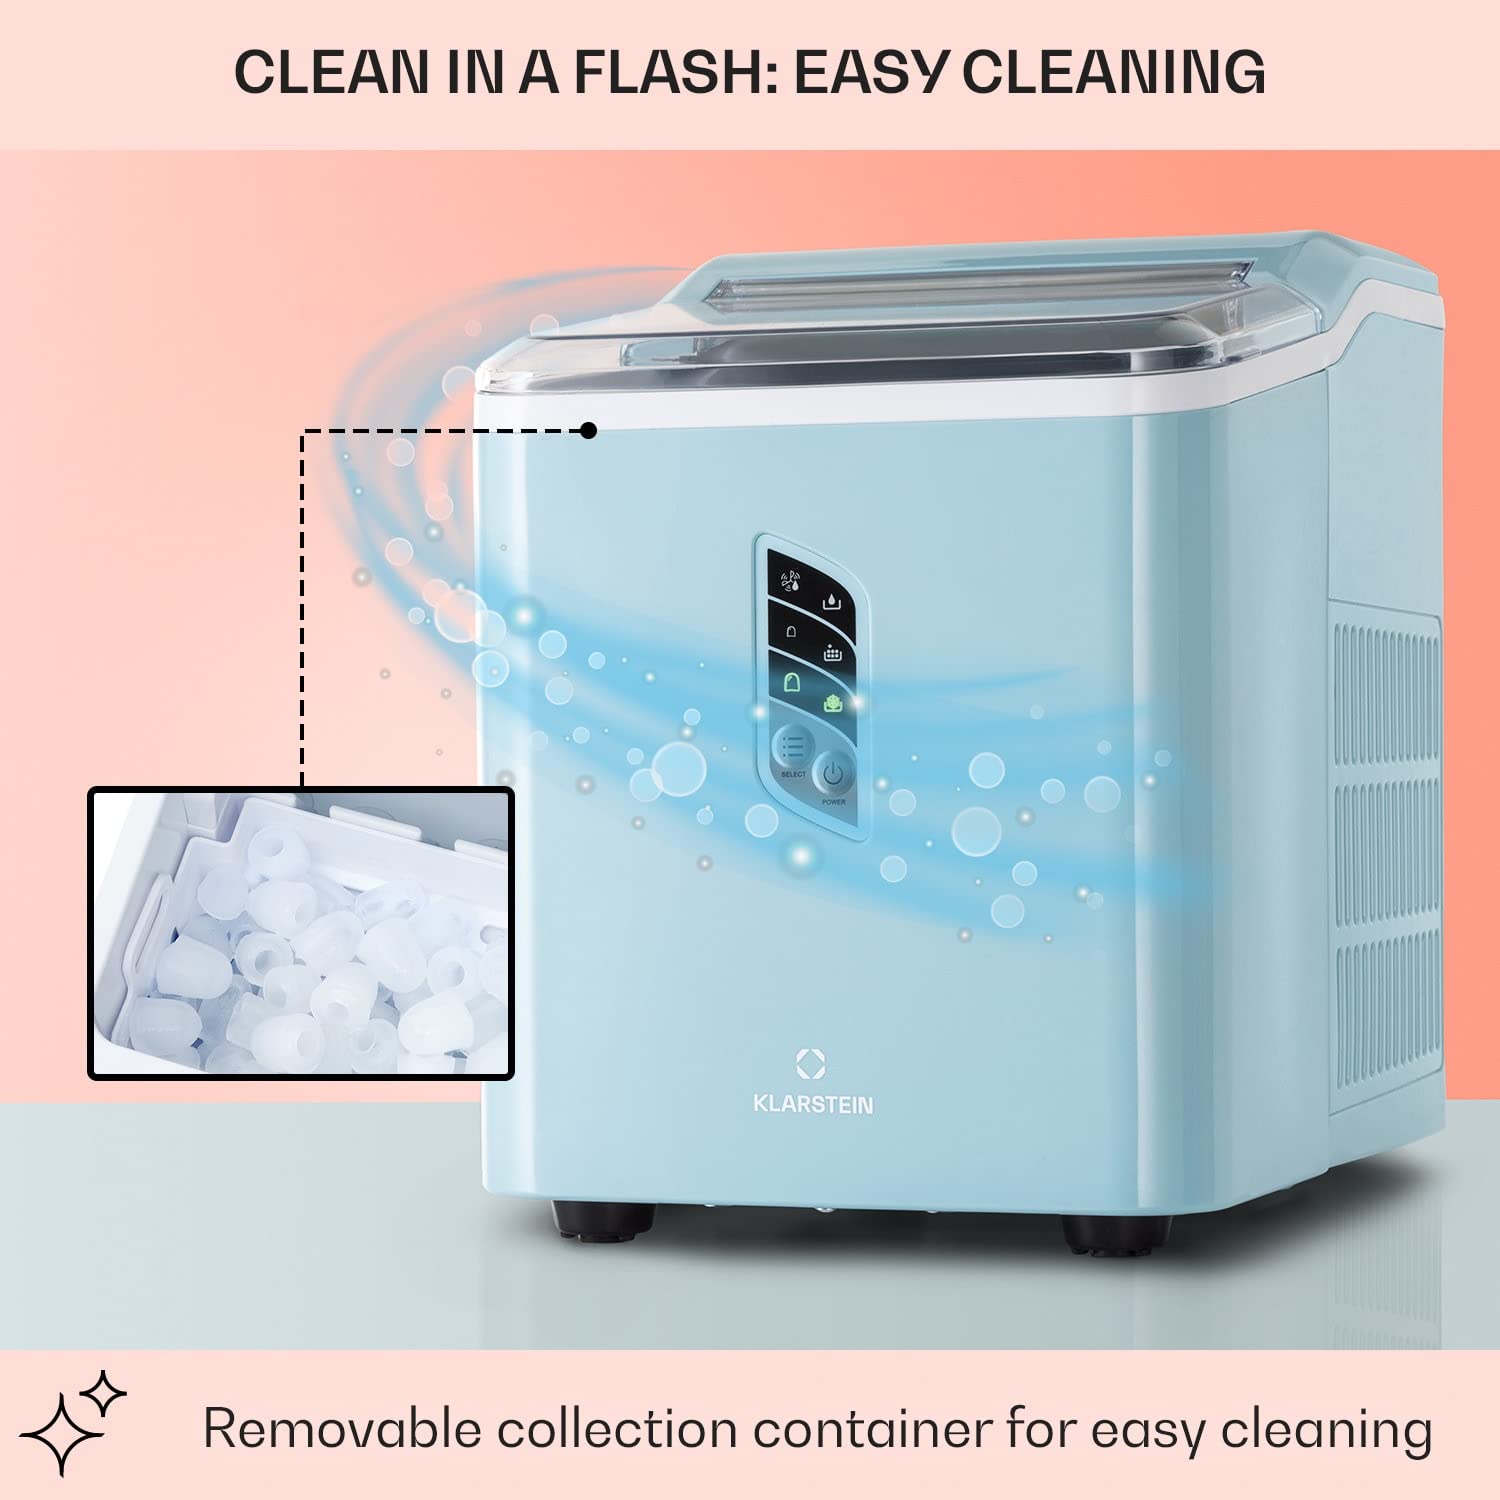
Figure 5.1: Self-cleaning function overview.
- Įsitikinkite, kad vandens rezervuaras pripildytas švaraus vandens.
- Refer to your specific model's control panel for the self-cleaning activation method (often a long press of the 'SELECT' or 'POWER' button, or a dedicated 'CLEAN' button).
- The machine will circulate water through its system to clean internal components.
- Kai ciklas baigsis, išleiskite vandenį iš rezervuaro ir sausai nuvalykite vidų.
5.3 Saugykla
If storing the ice maker for an extended period:
- Atlikite kruopštų valymo ir savaiminio valymo ciklą.
- Ensure all internal components are completely dry to prevent mold or mildew growth.
- Prietaisą laikykite vėsioje, sausoje vietoje, atokiau nuo tiesioginių saulės spindulių.
6. Problemų sprendimas
Dažniausiai pasitaikančias problemas ir jų sprendimus rasite šiame skyriuje.
| Problema | Galima priežastis | Sprendimas |
|---|---|---|
| Ledo gaminimo aparatas neįsijungia | Nėra maitinimo | Patikrinkite, ar maitinimo laidas tvirtai įjungtas į veikiantį lizdą. |
| Šviečia indikatorius „ĮPILKITE VANDENS“ | Vandens rezervuaras tuščias arba jame mažai vandens | Pripildykite vandens rezervuarą geriamojo vandens iki „MAX“ linijos. |
| Šviečia indikatorius „LEDAS PILNAS“ | Ledo krepšelis pilnas | Remove ice cubes from the basket. The machine will resume operation. |
| Ledo gamyba nevyksta | Insufficient water, high ambient temperature, or air blockage | Ensure water is filled. Place the unit in a cooler environment. Check for proper ventilation. |
| Ledo kubeliai yra per maži arba gumuluoti | Water temperature too high, or first cycle | Use colder water. The first few cycles may produce smaller ice. Ensure proper ventilation. |
| Neįprastas triukšmas veikimo metu | Normal compressor operation, or unit not level | Some noise is normal. Ensure the unit is on a stable, level surface. |
7. Specifikacijos
Technical data for the Klarstein Countertop Ice Maker Machine.
| Funkcija | Specifikacija |
|---|---|
| Prekės ženklas | KLARŠTEINAS |
| Modelio pavadinimas | Stalinis ledo gaminimo aparatas |
| Gaminio matmenys (D x P x A) | 11.42 colio x 8.86 colio x 12.6 colio (29 x 22.5 x 32 cm) |
| Capacity (Water Reservoir) | 1.5 litrai |
| Ledo gamybos pajėgumai | Iki 12 kg (26.5 svarų) per dieną |
| Ledo gamybos ciklas | Approx. 7-9 minutes per batch |
| Vattage | 11500 watts (Note: This value seems unusually high for an ice maker and might be a data entry error. Please refer to the product label for accurate wattage.) |
| ttage | 220 voltų |
| Prekės svoris | 7.6 kilogramų (16.7 svarai) |
| Šaldymo agentas | R600a |
| Medžiagos tipas | Nerūdijantis plienas |
8. Garantija ir palaikymas
For warranty information, technical support, or service inquiries, please refer to the warranty card included with your product or contact Klarstein customer service directly. Contact details can typically be found on the manufacturer's official websvetainėje arba pirkimo dokumentuose.


