1. Įvadas
Thank you for choosing the AUTOXBERT HD Car License Plate Backup Camera. This manual provides detailed instructions for the proper installation, operation, and maintenance of your new backup camera. Designed for enhanced safety, this camera offers a wide-angle view, night vision capabilities, and a durable waterproof design, making reversing safer and more convenient for various vehicles including cars, SUVs, trucks, vans, and RVs.
2. Saugos informacija
- Always ensure your vehicle is turned off and the battery is disconnected before beginning any installation work to prevent electrical shock or damage.
- Exercise caution when routing cables to avoid interference with vehicle moving parts, sharp edges, or heat sources.
- Įsitikinkite, kad visos jungtys yra tvirtos ir tinkamai izoliuotos, kad išvengtumėte trumpojo jungimo.
- This camera is an aid for reversing and does not replace the driver's responsibility to check surroundings and use mirrors.
- Nebandykite ardyti ar modifikuoti fotoaparato. Tai gali panaikinti garantiją ir sukelti gedimų.
3. Pakuotės turinys
Prašome patikrinti, ar pakuotėje yra visi reikalingi daiktai:
- 1x automobilio galinis View Fotoaparatas
- 1 x 6M Video Cable (RCA)
- 1 x 1M Power Cable
- 1 x naudojimo instrukcija

Image: Contents of the product package, showing the camera, cables, and manual.
4. Diegimo vadovas
The AUTOXBERT backup camera is designed for easy installation. Follow these steps carefully:
4.1 Fotoaparato montavimas
- Identify a suitable mounting location for the camera, typically above the license plate. The camera is designed to integrate with the license plate frame.
- Securely attach the camera to the chosen location using appropriate fasteners. Ensure the camera has a clear, unobstructed view.
4.2 Laidų jungtys
- Maitinimo jungtis: Connect the 1M power cable to your vehicle's DC 12V power system. The red wire typically connects to the positive (+) terminal of your vehicle's reverse light, and the black wire connects to a ground (-) point. This ensures the camera powers on automatically when the vehicle is put into reverse.
- Vaizdo jungtis: Connect the 6M RCA video cable from the camera's video output to the video input of your vehicle's display monitor (not included). Route the cable carefully through the vehicle's interior, avoiding any moving parts or areas of high heat.
- Trigger Wire (if applicable): Some monitors require a trigger wire to automatically switch to the backup camera display when reverse gear is engaged. If your monitor has this feature, connect the trigger wire from the RCA cable to the reverse light power source, alongside the camera's power wire.

Image: Wiring diagram illustrating how to connect the camera to the vehicle's power and monitor.
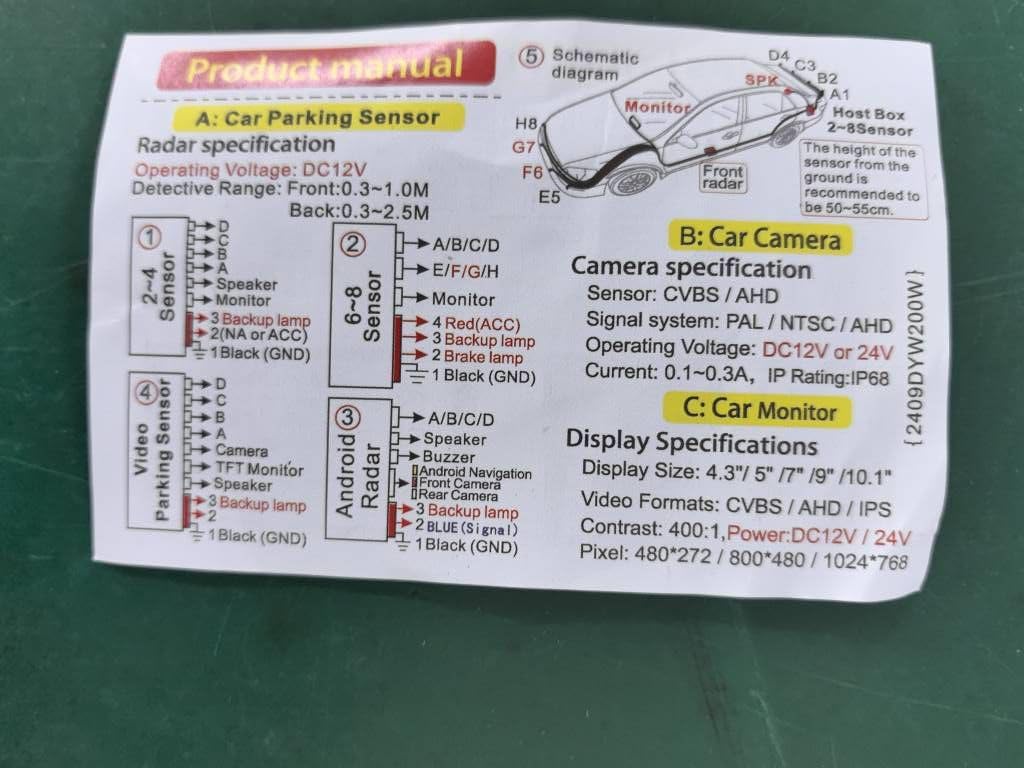
Image: Detailed installation diagram, including trigger wire connections for various display types.
5. Naudojimo instrukcijos
Once installed, the camera operates automatically when your vehicle is shifted into reverse gear.
5.1 High-Definition Display with Guidelines
The camera provides a clear, high-definition image on your connected monitor. Dynamic parking guidelines (red, yellow, green lines) are displayed on the screen to assist with judging distance and trajectory while reversing. These lines help in navigating tight spaces and avoiding obstacles.

Vaizdas: pvzample of the camera's display with parking guidelines.
5.2 Night Vision Capability
Equipped with 7 red light beads and 1 infrared sensor light, the camera offers enhanced night vision. This feature ensures a clear view even in low-light conditions or complete darkness, providing improved safety during nighttime reversing.

Image: Day and night vision comparison demonstrating the camera's low-light performance.
5.3 Plataus kampo View
170° plataus kampo objektyvas suteikia platų vaizdą view of the area behind your vehicle, minimizing blind spots and offering a comprehensive perspective for safer maneuvering.
5.4 IP68 Waterproof Design
The camera features an IP68 waterproof rating, ensuring reliable performance in various weather conditions, including heavy rain, snow, and fog. Its durable construction is designed to withstand harsh outdoor environments and automatic car wash machines.
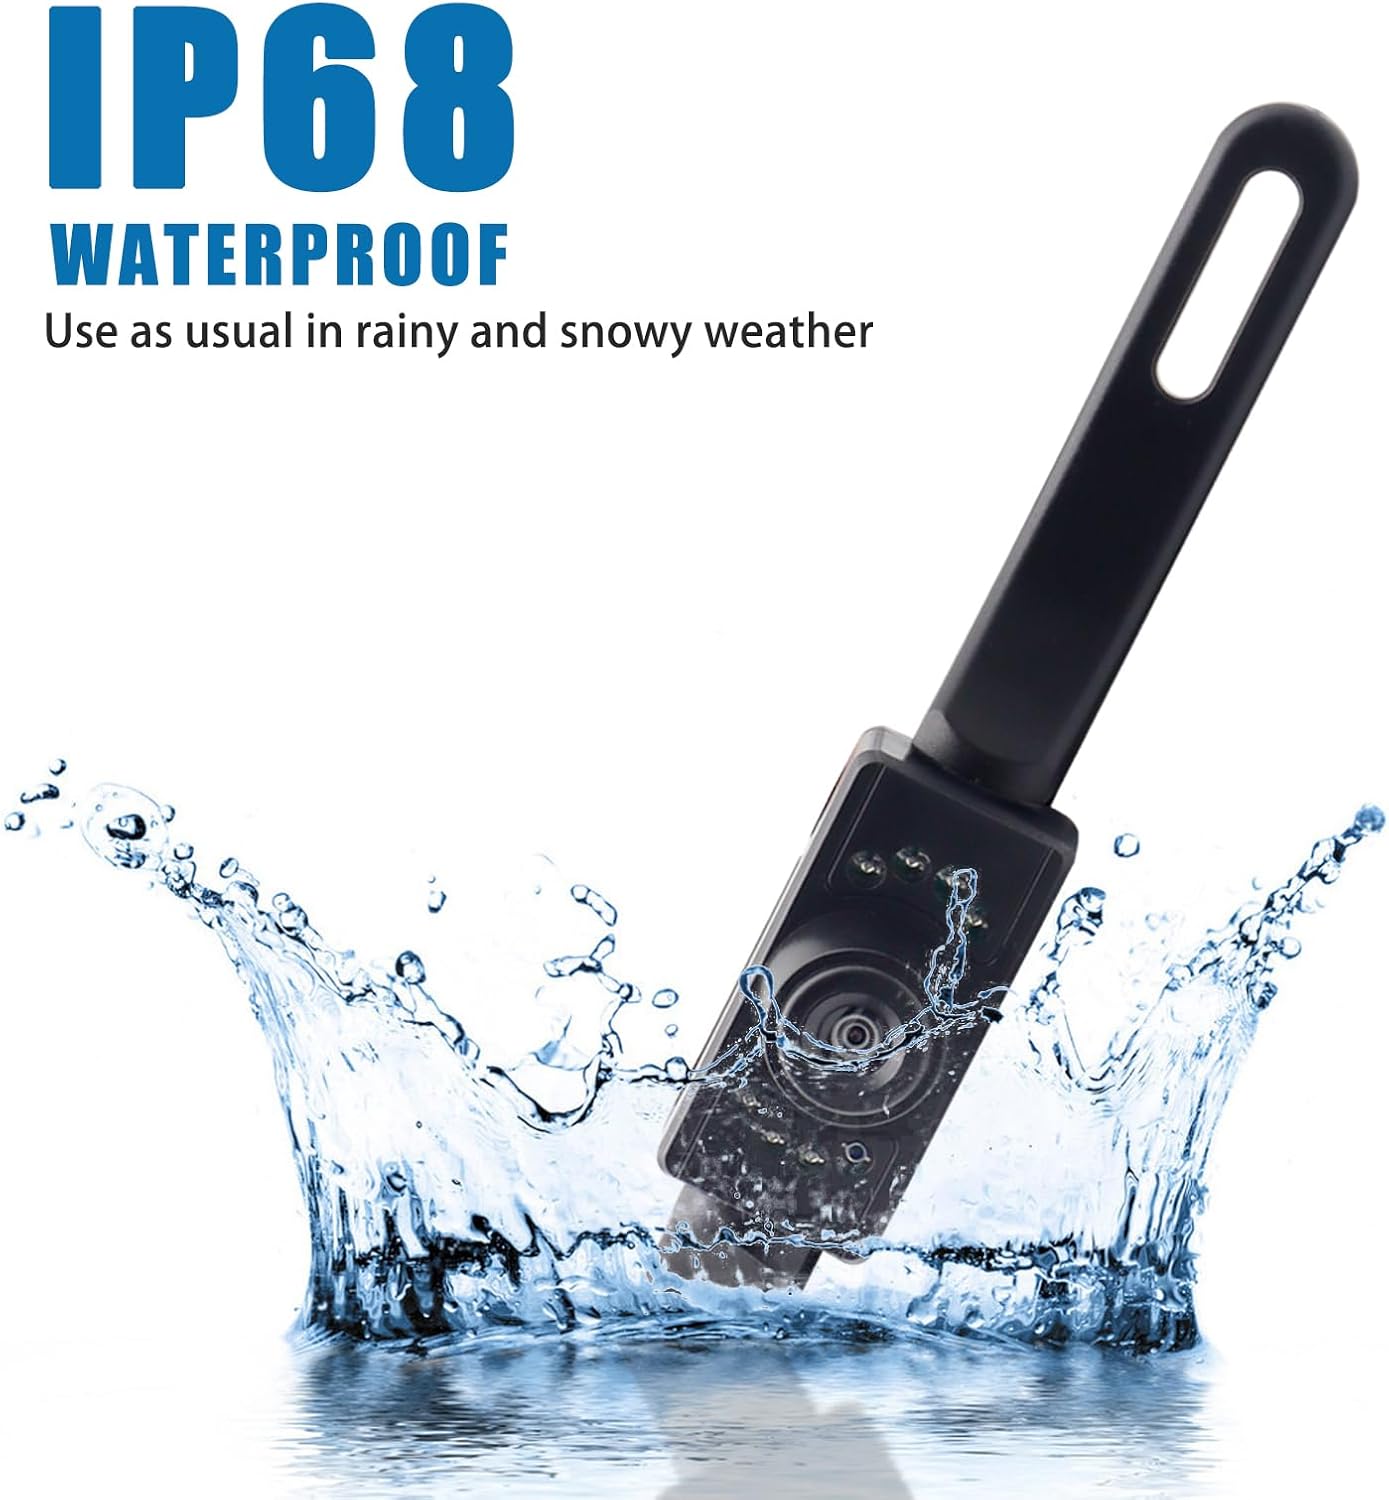
Image: The camera submerged in water, highlighting its IP68 waterproof capability.
6. Priežiūra
- Reguliariai valykite fotoaparato objektyvą minkšta,amp šluoste, kad vaizdas būtų aiškus. Venkite abrazyvinių valiklių, kurie gali subraižyti objektyvą.
- Check all cable connections periodically to ensure they remain secure and free from corrosion.
- Inspect the camera's mounting for any looseness, especially after driving on rough terrain.
7. Problemų sprendimas
If you encounter issues with your backup camera, please refer to the following common problems and solutions:
| Problema | Galima priežastis | Sprendimas |
|---|---|---|
| Nėra vaizdo monitoriuje | Loose power or video connection; incorrect wiring; faulty monitor input. | Check all cable connections. Ensure power wires are connected to the reverse light and ground. Verify monitor input is selected correctly. Test with another video source if possible. |
| Vaizdas neryškus arba iškraipytas | Dirty lens; condensation inside lens; damaged cable. | Clean the camera lens. If condensation persists, allow time for it to dissipate or check for seal integrity. Inspect video cable for damage. |
| Neveikia naktinis matymas | Infrared sensors obstructed or damaged; insufficient power. | Ensure the infrared LEDs are not obstructed. Verify stable 12V power supply to the camera. |
| Guidelines not appearing | Monitor setting; camera model does not support. | Check your monitor's settings for parking guideline display. This camera model is designed to provide guidelines automatically. |
8. Specifikacijos
| Funkcija | Specifikacija |
|---|---|
| Gaminio matmenys | 8 x 1 x 2 inches (25cm x 8cm x 5cm approx.) |
| Prekės svoris | 3.53 uncijos |
| Suderinami įrenginiai | Car, SUV, Truck, Van, RV |
| Ekrano technologija | LED |
| Diegimo tipas | Dashboard Mount, Surface Mount (License Plate) |
| ttage | 12 Volts (Compatible with 12-24V systems) |
| Optinių jutiklių technologija | Infraraudonųjų spindulių |
| Objektyvo tipas | Platus kampas |
| Tikrasis kampas View | 170 laipsnių |
| Jungties tipas | RCA |
| Atsparumo vandeniui įvertinimas | IP68 |
| Naktinio matymo diapazonas | Iki 5 metrų |
9. Garantija ir palaikymas
Your AUTOXBERT HD Car License Plate Backup Camera is covered by a manufacturer's warranty. Please refer to the product packaging or contact your retailer for specific warranty terms and conditions.
For any installation questions, troubleshooting assistance, or product inquiries, please do not hesitate to contact our customer service. We are committed to providing support at any time to ensure your satisfaction with our product.


