1. Įvadas
This manual provides detailed instructions for the installation, operation, and maintenance of your Luowice Solar Security Camera. This wireless outdoor camera features a 3W solar panel for continuous power, 360° pan and tilt functionality, 3MP color night vision, and is designed to be weatherproof for reliable outdoor use. Please read this manual thoroughly before use to ensure proper setup and functionality.

Image 1.1: Luowice Solar Security Camera with integrated solar panel.
2. Produktas baigtasview
2.1 Pagrindinės savybės
- 100% Wire-Free Setup: Operates on WiFi and powered by a 3W solar panel, eliminating the need for frequent battery charging and complex wiring.
- Plataus kampo aprėptis: Offers 355° horizontal and 90° vertical rotation for comprehensive area monitoring via the O-KAM PRO app.
- 3MP Color Night Vision: Provides clear, high-resolution video day and night, including full-color night vision with floodlights.
- Motion-Triggered Floodlights & Auto Tracking: Automatically activates floodlights and tracks human-shaped objects upon detection, enhancing security.
- Dvipusis garsas: Allows real-time communication with visitors or deterrence of intruders.
- Vietinė ir debesies saugykla: Supports micro SD card (up to 128GB, not included) for 24/7 loop recording and optional cloud storage services.
- Atsparus oro sąlygoms dizainas: IP66 rated, ensuring reliable performance in various severe weather conditions.
- Multi-User Sharing & Data Encryption: Securely share camera access with family members with advanced encryption.
2.2 Komponentai
Į paketą paprastai įeina:
- Luowice Solar Security Camera
- 3W Solar Panel (integrated or separate with mounting bracket)
- Montavimo laikiklis ir varžtai
- USB įkrovimo laidas
- Vartotojo vadovas
3. Sąrankos instrukcijos
3.1 Akumuliatoriaus įkrovimas
Before initial use, fully charge the camera's internal battery using the provided USB cable. Connect the cable to the camera's charging port and a standard 5V USB power adapter (not included). The indicator light will show charging status.
3.2 Programėlės diegimas ir paskyros sukūrimas
- Atsisiųskite O-KAM PRO programėlę iš savo išmaniojo telefono programėlių parduotuvės („iOS“ arba „Android“).
- Atidarykite programėlę ir vykdykite ekrane pateikiamus nurodymus, kad sukurtumėte naują paskyrą arba prisijunkite, jei jau turite.
3.3 Kameros prijungimas prie „Wi-Fi“
- In the O-KAM PRO app, tap the "+" icon to add a new device.
- Select your camera model or scan the QR code on the camera if prompted.
- Follow the app's instructions to connect the camera to your 2.4 GHz Wi-Fi network. Ensure your phone is connected to the same 2.4 GHz network during setup.
- Prijungus, kameros indikatoriaus lemputė pasikeis ir programėlėje gausite patvirtinimą.

Image 3.1: The camera supports 2.4 GHz Wi-Fi for stable data transmission.
3.4 Fotoaparato montavimas
Pasirinkite vietą, kurioje saulės baterijos veikiamos optimaliai saulės šviesos ir yra skaidrios view of the area you wish to monitor. Ensure the camera is within range of your Wi-Fi network.
- Mark the drilling positions using the mounting bracket as a template.
- Išgręžkite skyles ir, jei reikia, įstatykite sieninius inkarus.
- Pritvirtinkite tvirtinimo laikiklį prie sienos varžtais.
- Attach the camera to the mounting bracket. Adjust the angle of the solar panel to maximize sunlight exposure.

Image 3.2: Camera mounted outdoors, demonstrating continuous solar power.
4. Naudojimo instrukcijos
4.1 Tiesiogiai View ir panoraminio/pakreipimo valdymas
Open the O-KAM PRO app and select your camera to access the live view. Use the on-screen controls to pan (355° horizontal) and tilt (90° vertical) the camera to adjust its viewing kampas.

Image 4.1: Remote pan and tilt control via the O-KAM PRO app.
4.2 Dvipusis garsas
Iš tiesioginio view, tap the microphone icon to speak through the camera's speaker. Tap the speaker icon to listen to audio from the camera's vicinity.

Image 4.2: Demonstrating two-way audio communication.
4.3 Judesio aptikimas ir įspėjimai
The camera features advanced motion detection with human shape recognition. When motion is detected, the camera can automatically turn on floodlights, track the object, and send instant alerts to your phone.
- Setting Detection Sensitivity: In the app settings, adjust the detection sensitivity to minimize false alarms.
- Defining Detection Zones: Create specific detection zones to focus monitoring on critical areas and ignore irrelevant movements.
- Įspėjimai: Receive instant app notifications and email alerts when motion is detected.

Image 4.3: Motion detection with intelligent recognition for humans, vehicles, and pets.

Image 4.4: Configuring custom motion detection zones.
4.4 Įrašymas ir saugojimas
Kamera palaiko du pagrindinius saugojimo būdus:
- „Micro SD“ kortelė: Insert a micro SD card (up to 128GB, not included) into the designated slot for continuous 24/7 loop recording, even without network access.
- Saugykla debesyje: Optional cloud storage services are available through the O-KAM PRO app for secure, remote access to your footage.

Image 4.5: Micro SD card slot for local storage.
5. Priežiūra
5.1 Valymas
- Reguliariai valykite kameros objektyvą ir saulės bateriją minkšta,amp cloth to remove dust and debris. This ensures optimal image clarity and solar charging efficiency.
- Nenaudokite stiprių chemikalų ar abrazyvinių valiklių.
5.2 Apsauga nuo oro sąlygų
The camera is IP66 weatherproof, designed to withstand rain, snow, and dust. However, extreme weather conditions may temporarily affect performance. Ensure all ports are securely sealed.
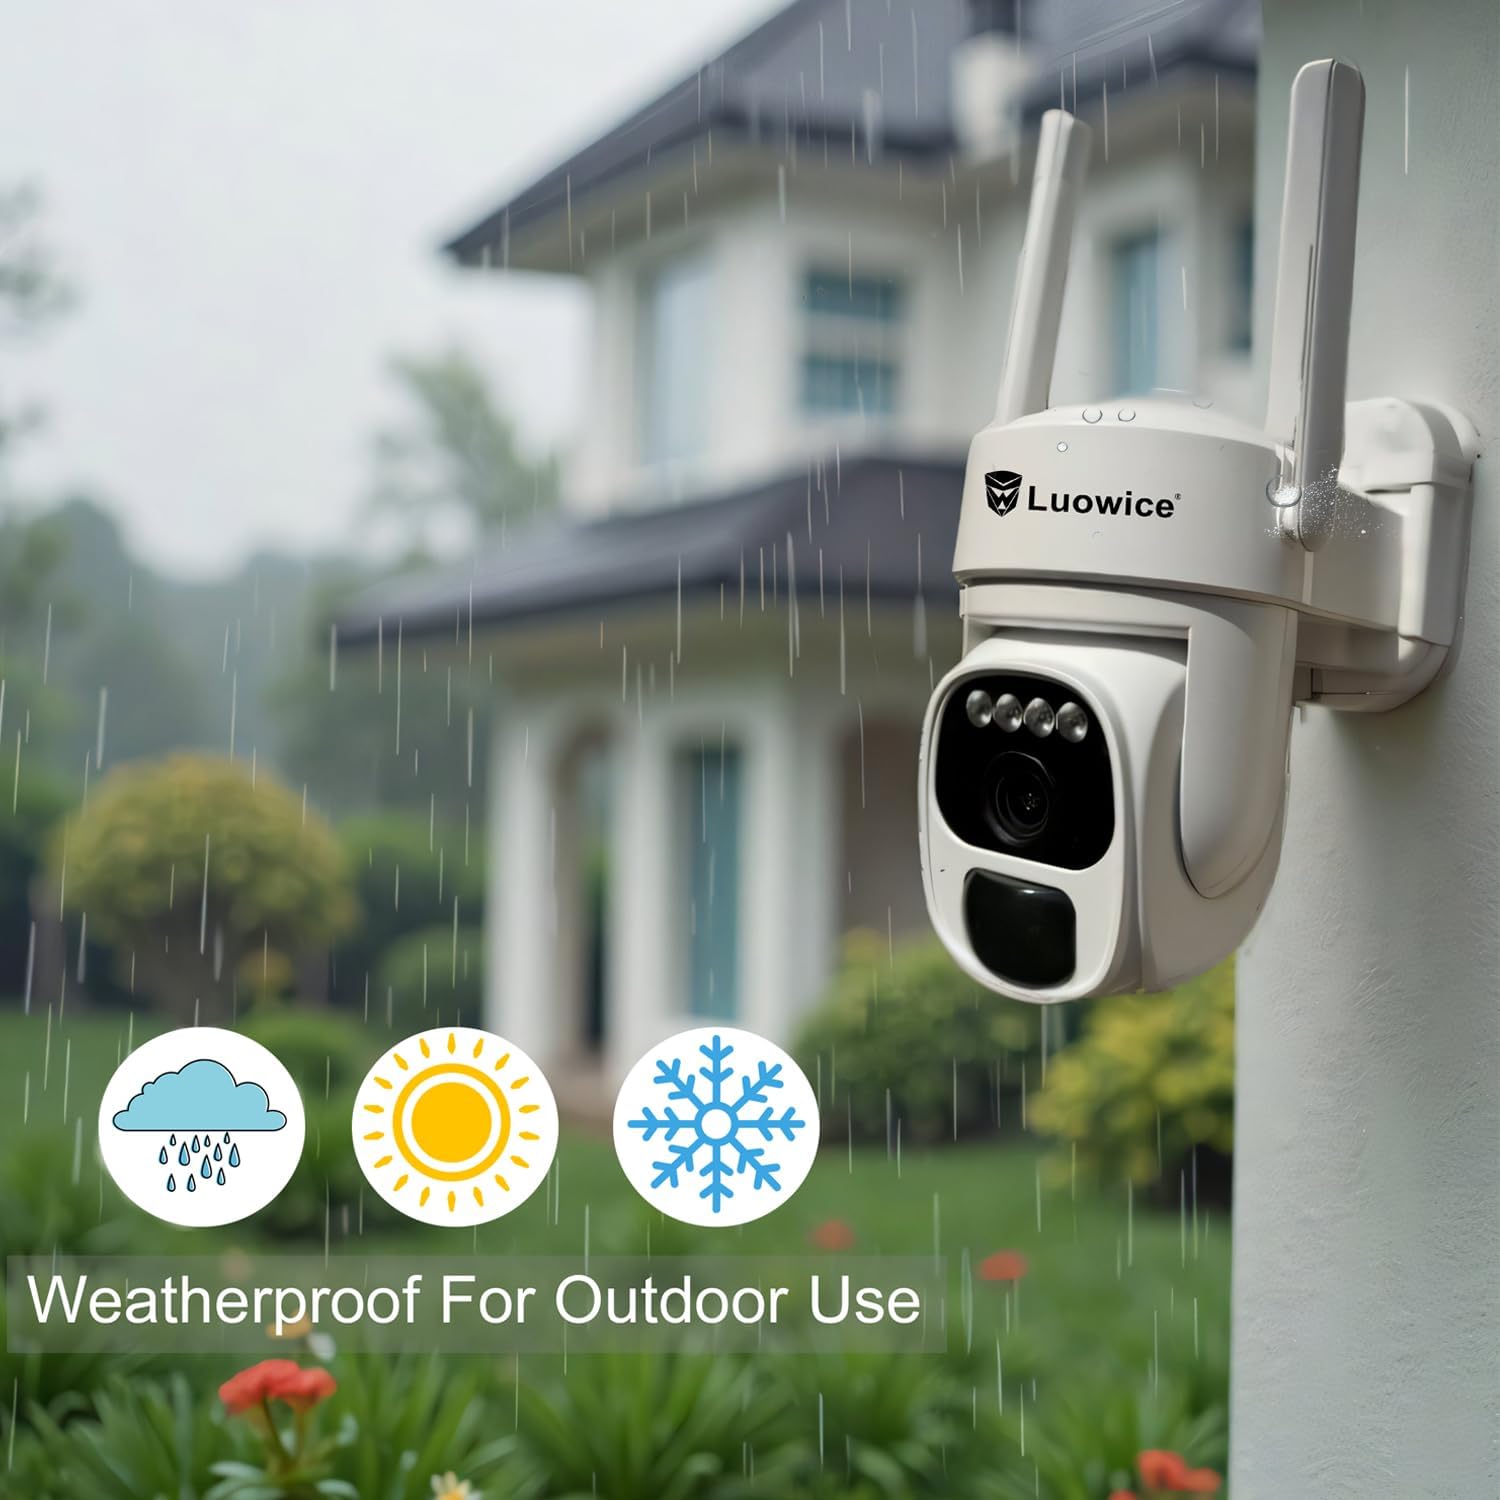
Image 5.1: The camera's weatherproof design for outdoor use.
6. Problemų sprendimas
- Kamera neprisijungia prie „Wi-Fi“: Ensure your Wi-Fi is 2.4 GHz. Check Wi-Fi signal strength at the camera's location. Restart your router and the camera.
- Baterija nekraunama: Verify the solar panel is clean and receiving direct sunlight. Check the USB charging cable connection. Ensure the ambient temperature is within the operating range for charging.
- Prasta vaizdo kokybė: Clean the camera lens. Ensure adequate lighting. Check your internet connection speed.
- Klaidingi judesio įspėjimai: Adjust motion detection sensitivity in the app. Define specific detection zones to exclude irrelevant areas.
- Pan/Tilt not responding: Check app connectivity. Ensure there are no physical obstructions. Restart the camera.
7. Specifikacijos
| Funkcija | Specifikacija |
|---|---|
| Vaizdo įrašymo raiška | 3 MP |
| Maitinimo šaltinis | Saulės energija varomas (3 W saulės modulis) |
| Ryšio protokolas | „Wi-Fi“ (2.4 GHz) |
| Panardinimo / pakreipimo diapazonas | 355° horizontaliai, 90° vertikaliai |
| Naktinis matymas | Color Night Vision with Floodlights |
| Saugojimo parinktys | „Micro SD“ kortelė (iki 128 GB), debesies saugykla |
| Atsparumo oro sąlygoms įvertinimas | IP66 |
| Reikalingos baterijos | 1 ličio jonų baterija (pridedama) |
| Prekės svoris | 1.85 svaro |
| Matmenys | 7.87 x 6.18 x 5.55 colių (pakuotė) |
| Suderinami įrenginiai | Išmanieji telefonai, planšetiniai kompiuteriai, kompiuteriai |
8. Garantija ir palaikymas
8.1 Informacija apie garantiją
Luowice products typically come with a manufacturer's warranty. Please refer to the product packaging or the official Luowice website for specific warranty terms and conditions. Optional extended protection plans may be available for purchase.
8.2 Pagalba klientams
For technical assistance, troubleshooting, or warranty claims, please contact Luowice customer support through their official website or the contact information provided with your product. When contacting support, please have your product model (B0DF4TVZ7Z) and purchase details ready.