1. Įvadas
Dėkojame, kad pasirinkote AMPAI WiFi Wall Touch Smart Switch. This smart switch is designed to upgrade your home lighting control with advanced features and convenience. It offers multiple control methods including touch panel, RF433 remote, and voice control via Alexa and Google Home. This manual provides detailed instructions for installation, operation, and troubleshooting to ensure optimal performance and safety.

1 paveikslas: AMPAI WiFi Wall Touch Smart Switch (4 Gang) and included RF433 Remote.
2. Svarbi saugos informacija
- Elektros sauga: Installation should be performed by a qualified electrician or a person with a thorough understanding of electrical systems. Always turn off power at the circuit breaker before installation or maintenance.
- Suderinamumas: This switch is designed for standard on/off control only. It is NOT compatible with dimmable bulbs or fixtures. Attempting to use it with dimmable bulbs may cause damage to the bulbs or the switch.
- WiFi tinklas: The smart switch operates on a 2.4GHz Wi-Fi network only. It is not compatible with 5GHz Wi-Fi networks. Ensure your router supports 2.4GHz.
- Laidai: This switch supports both neutral wire and no neutral wire (single fire) installations. Refer to the wiring diagrams carefully.
- Ne tradicinis trijų padėčių jungiklis: While it offers 3-way control via multi-control methods (app, remote, voice), it does not function as a traditional mechanical 3-way switch requiring traveler wires between two switches.

Figure 2: Key attention points regarding 2.4GHz WiFi, wiring, and non-compatibility with traditional 3-way or dimmable setups.
3. Pakuotės turinys
Atidarius pakuotę, patikrinkite jos turinį, kad įsitikintumėte, jog yra visos sudedamosios dalys ir jos nepažeistos:
- AMPAI WiFi Wall Touch Smart Switch (4 Gang)
- Tvirtinimo įranga (varžtai)
- RF433 Remote Control (if included in your specific package)
- Vartotojo vadovas (šis dokumentas)
4. Sąranka ir diegimas
4.1 Laidų prijungimo instrukcijos
WARNING: Ensure power is OFF at the circuit breaker before beginning any wiring.
This smart switch supports two wiring methods: with a neutral wire or without a neutral wire (single fire). Identify your home's wiring configuration before proceeding.

Figure 3: Wiring diagrams for Neutral and Fire Line (left) and Single Fire (right) installations. A capacitor is required for single fire wiring.
- Išjunkite maitinimą: Locate the circuit breaker controlling the light switch and turn it OFF. Verify power is off using a voltage testeris.
- Nuimkite seną jungiklį: Atsargiai nuimkite esamą sieninę plokštę ir atsukite seną jungiklį nuo sieninės dėžutės. Atjunkite laidus.
- Atpažinkite laidus: Identify the Live (Line), Load, and Neutral wires (if present). For single fire wiring, you will only have Live and Load.
- Prijunkite išmanųjį jungiklį:
- Neutral and Fire Line Wiring: Connect the Live wire to the 'L' terminal, the Neutral wire to the 'N' terminal, and the Load wires to the 'L1', 'L2', 'L3', 'L4' terminals corresponding to your light circuits.
- Single Fire Wiring: Connect the Live wire to the 'L' terminal and the Load wires to the 'L1', 'L2', 'L3', 'L4' terminals. A capacitor must be connected across the Live and Load wires of the light fixture for stable operation.
- Sumontuokite jungiklį: Secure the smart switch into the wall box using the provided screws. Attach the glass panel.
- Atkurti galią: Įjunkite maitinimą grandinės pertraukikliu.
4.2 App Installation and Pairing (Tuya Smart Life)
- Atsisiųsti programą: Download the "Smart Life" or "Tuya Smart" app from the App Store (iOS) or Google Play Store (Android).
- Registruotis / Prisijungti: Atidarykite programėlę ir užregistruokite naują paskyrą arba prisijunkite, jei jau turite.
- Pridėti įrenginį:
- Įsitikinkite, kad telefonas prijungtas prie 2.4 GHz Wi-Fi tinklo.
- Programėlėje palieskite piktogramą „+“ viršutiniame dešiniajame kampe, kad pridėtumėte įrenginį.
- Select "Electrical Switch" or "Wall Switch" from the device list.
- Vykdykite ekrane pateikiamus nurodymus, kad perjungtumėte jungiklį į susiejimo režimą (paprastai paspausdami ir palaikydami jungiklio mygtuką, kol indikatoriaus lemputė greitai mirksės).
- Įsitikinkite, kad programėlėje indikatoriaus lemputė greitai mirksi, ir įveskite savo „Wi-Fi“ slaptažodį.
- The app will connect to the switch. Once connected, you can rename the switch and assign it to a room.
4.3 RF433 Remote Pairing
The included RF433 remote can be paired directly with the switch for local control without Wi-Fi.
- Įjunkite susiejimo režimą: On the smart switch, press and hold the touch button you wish to pair for approximately 5-7 seconds until you hear a "beep" sound or see a small indicator light flash.
- Paspauskite nuotolinio valdymo pulto mygtuką: Within 3 seconds, press the corresponding button (A, B, or C) on the RF433 remote.
- Patvirtinimas: The switch will "beep" again or the light will stop flashing, indicating successful pairing.
5. Išmaniojo jungiklio valdymas
5.1 Palieskite Valdymas
Simply touch the corresponding icon on the glass panel to turn the connected light ON or OFF.

Figure 4: The smart switch supports multiple control methods for convenience.
5.2 Smart Life / Tuya App Control
Open the Smart Life or Tuya Smart app on your smartphone. From the device list, tap on your smart switch to access its control interface. You can turn lights ON/OFF, set schedules, and create scenes from anywhere with an internet connection.
5.3 Balso valdymas („Alexa“ ir „Google Home“)
The AMPAI Smart Switch is compatible with Amazon Alexa and Google Home for convenient voice control.
- Susieti paskyrą: In the Alexa or Google Home app, enable the "Smart Life" or "Tuya Smart" skill/action and link your Smart Life/Tuya account.
- Atraskite įrenginius: Ask Alexa or Google Home to "Discover devices" or manually add them through the app.
- Balso komandos: Once discovered, you can use commands like:
- "Alexa, turn on [Light Name]"
- "Hey Google, turn off [Light Name]"
- "Alexa, set [Light Name] to 50%" (Note: This switch does not support dimming, so dimming commands will not work.)

Figure 5: Enjoy hands-free control with Amazon Alexa and Google Assistant.
5.4 RF433 nuotolinio valdymo pultas
Use the paired RF433 remote to control the switch from a distance. Each button (A, B, C) on the remote can be paired to control a specific gang or group of gangs on the switch.

Figure 6: The RF433 remote provides an additional convenient control method.
5.5 Timer and Scene Functions
Utilize the Smart Life/Tuya app to set schedules and create custom scenes for your lighting. For example, you can set lights to turn on at sunset or off at a specific time, or create a "Movie Night" scene that turns off certain lights.
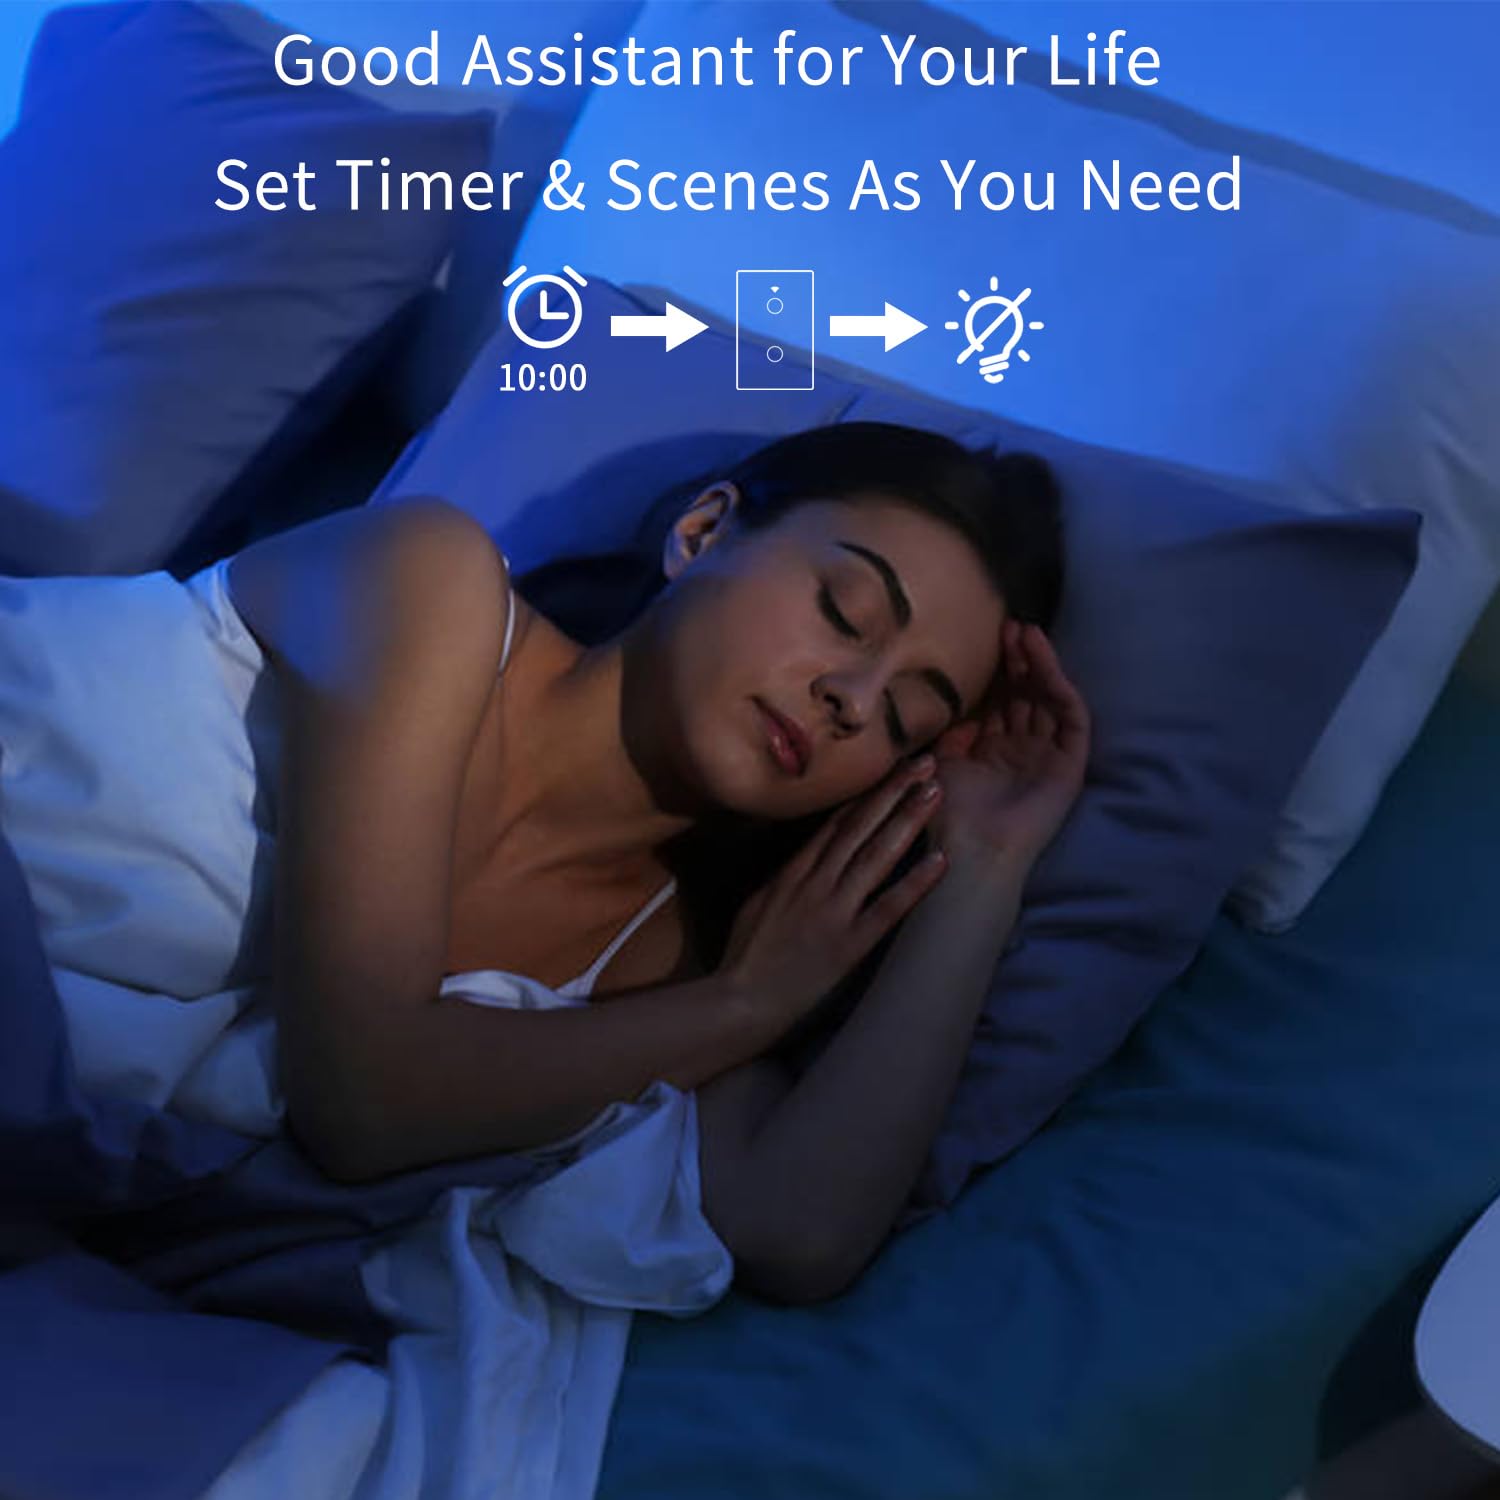
Figure 7: Set timers and scenes for automated lighting control.
6. Priežiūra
The AMPAI Smart Switch requires minimal maintenance. To keep it clean and functioning properly:
- Valymas: Gently wipe the glass panel with a soft, damp cloth. Avoid using abrasive cleaners or solvents, as they may damage the surface.
- Maitinimo ciklas: If the switch becomes unresponsive, try turning off the power at the circuit breaker for 10 seconds, then turning it back on.
- Firmware atnaujinimai: Periodically check the Smart Life/Tuya app for any available firmware updates for your switch to ensure optimal performance and security.
7. Problemų sprendimas
| Problema | Galima priežastis | Sprendimas |
|---|---|---|
| Jungiklis nereaguoja į prisilietimą. | No power; Loose wiring; Switch malfunction. | Check circuit breaker. Verify wiring connections. Power cycle the switch. If problem persists, contact support. |
| Nepavyksta prisijungti prie „Wi-Fi“. | Incorrect Wi-Fi band (5GHz); Incorrect password; Router too far; Switch not in pairing mode. | Ensure your phone is on a 2.4GHz Wi-Fi network. Double-check Wi-Fi password. Move router closer or use a Wi-Fi extender. Re-enter pairing mode. |
| Lights flicker or do not turn off completely (single fire wiring). | Missing or incorrectly installed capacitor. | Ensure the capacitor is correctly installed across the Live and Load wires of the light fixture. |
| Balso valdymas neveikia. | Account not linked; Device not discovered; Incorrect commands. | Ensure Smart Life/Tuya skill/action is enabled and linked in Alexa/Google Home app. Ask to "Discover devices." Use correct device names and commands. |
| RF433 remote not controlling switch. | Remote not paired; Battery low in remote. | Re-pair the remote following section 4.3. Replace remote battery if necessary. |
| Jungiklis nepritemdo šviesų. | This switch is not designed for dimming. | This is an on/off switch only. It is not compatible with dimmable bulbs or fixtures. |
8. Specifikacijos
| Funkcija | Detalė |
|---|---|
| Modelio numeris | 4 gauja |
| Prekės ženklas | AMPAI |
| Gaminio matmenys | 2.85 x 1.36 x 4.74 colio |
| Veiklos ttage | 120 voltų |
| Dabartinis reitingas | 10 Amps |
| Veikimo režimas | Bevielis |
| Ryšys | Wi-Fi 2.4GHz, RF433MHz |
| Grandinės tipas | 3-way (Multi-control) |
| Pavaros tipas | Palieskite skydelį |
| Suderinamumas | Tuya Smart Life App, Amazon Alexa, Google Home |
| Ypatinga funkcija | No Neutral Wire Required (with capacitor) |
9. Garantija ir palaikymas
For warranty information and technical support, please contact AMPAI customer service. You can often find support contact details on the product packaging, the manufacturer's official website, or through your purchase platform (e.g., Amazon).
Gamintojas: AMPAI
Dėl papildomos pagalbos apsilankykite AMPAI Store on Amazon.