Įvadas
Welcome to the XPG INVADER X MINI ATX Mid Tower PC Case instruction manual. This guide provides detailed information on the installation, operation, and maintenance of your new PC case. The INVADER X MINI is designed for compact, stylish, and powerful gaming rig builds, offering impressive compatibility with ATX motherboards and optimal airflow with five pre-installed ARGB fans.
Please read this manual thoroughly before beginning assembly to ensure proper installation and safe operation.
Pakuotės turinys
Patikrinkite, ar pakuotėje yra visi komponentai:
- XPG INVADER X MINI PC Case
- Priedų dėžutė (varžtai, kabelių laikikliai, tarpinės ir kt.)
- Vartotojo vadovas (šis dokumentas)
Saugos priemonės
- Prieš montuodami arba išimdami bet kokius komponentus, visada atjunkite maitinimo šaltinį nuo sieninio lizdo.
- Atsargiai elkitės su komponentais, kad nepažeistumėte.
- Dėvėkite antistatinį riešo dirželį, kad išvengtumėte elektrostatinės iškrovos (ESD) žalos jautriems komponentams.
- Laikykite smulkias dalis ir varžtus vaikams nepasiekiamoje vietoje.
Sąranka ir diegimas
1. Bylos rengimas
Carefully remove the case from its packaging. Place it on a stable, flat surface. Remove the side panels by unscrewing the thumb screws at the rear of the case and sliding the panels off.

Vaizdas: Priekinė pusė view of the XPG INVADER X MINI PC case, showcasing its tempered glass panels and the vibrant ARGB fans. This view highlights the compact elegance and panoramic design.
2. Pagrindinės plokštės montavimas
- Install the I/O shield into the motherboard tray opening from the inside of the case.
- Align your ATX motherboard with the pre-installed standoffs. Ensure the screw holes on the motherboard match the standoffs.
- Pritvirtinkite pagrindinę plokštę naudodami pateiktus varžtus.
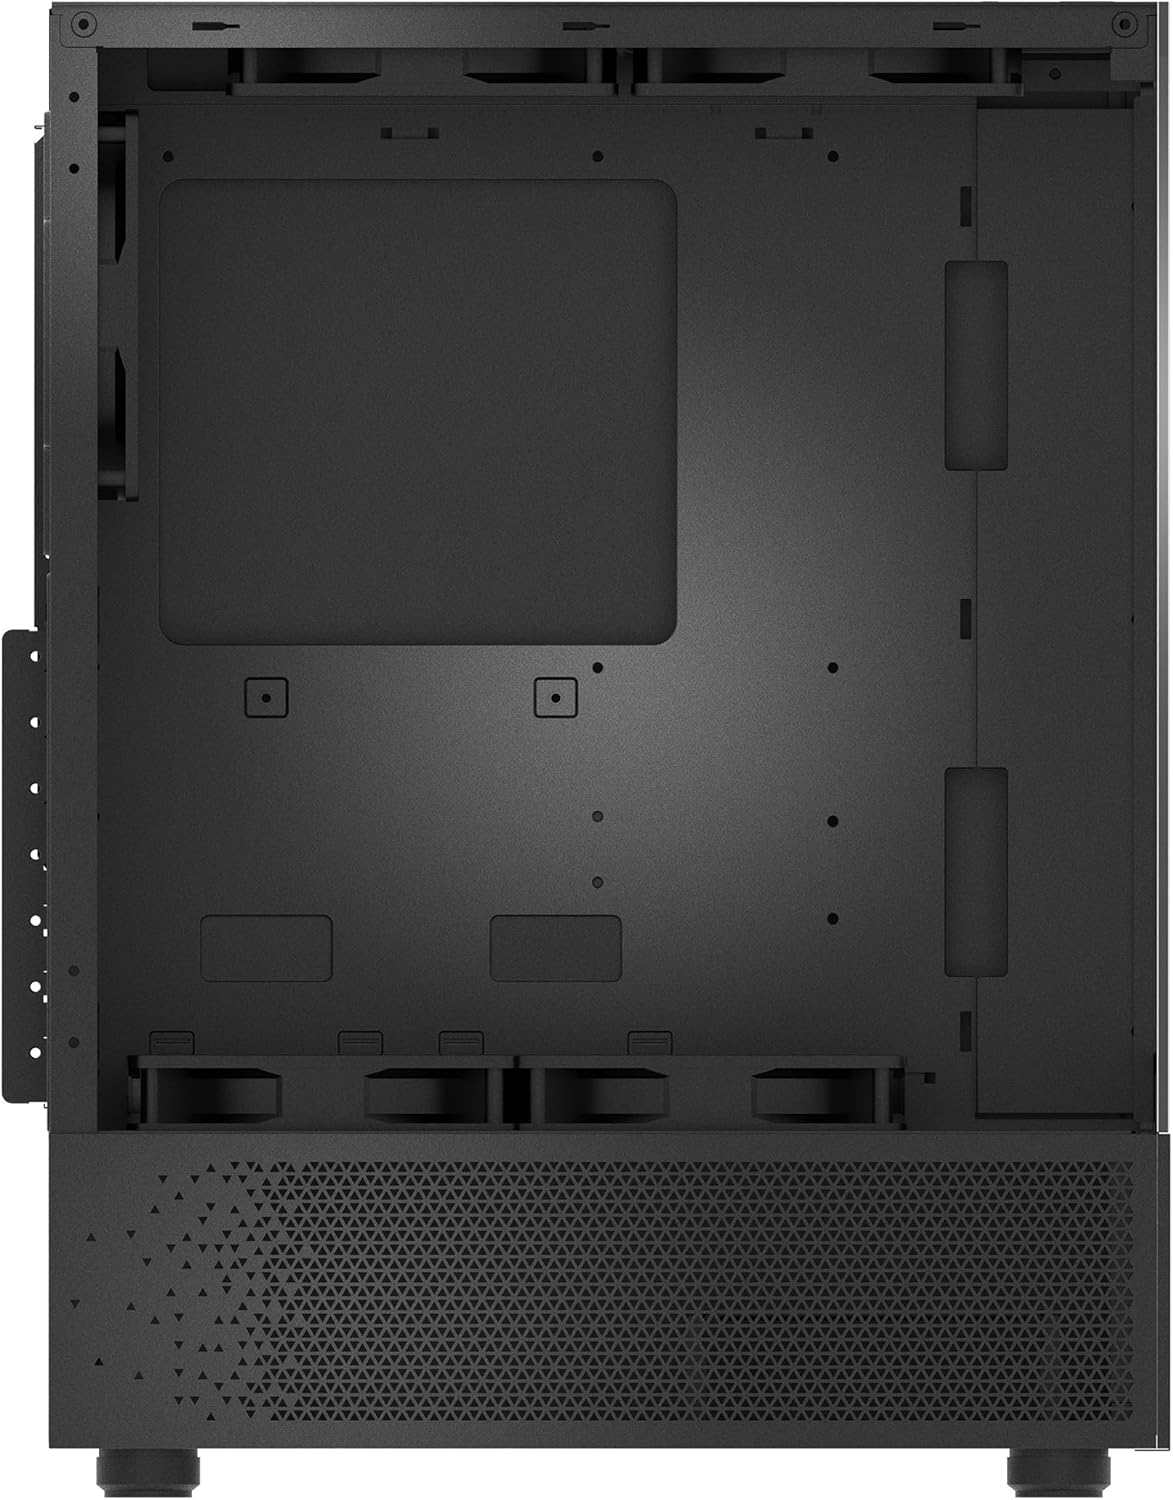
Vaizdas: vidinis view of the PC case, illustrating the spacious motherboard tray and various mounting points for components. This image helps visualize the layout for component installation.
3. Maitinimo šaltinio (PSU) įrengimas
The INVADER X MINI supports rear-mount power supplies. Slide your PSU into the designated compartment at the rear bottom of the case and secure it with screws from the outside.

Image: Rear internal view of the PC case, highlighting the power supply mounting area and cable routing channels behind the motherboard tray. This demonstrates the design for clean cable management.
4. Atminties disko diegimas
Install 2.5" SSDs or 3.5" HDDs into the designated drive bays. Refer to the accessory box for specific mounting hardware.

Paveikslėlis: Išsamus vidinis view of the PC case, focusing on the drive bays and fan mounting locations. This helps users identify where to install storage devices and additional cooling.
5. Vaizdo plokštės (GPU) ir išplėtimo plokštės diegimas
Nuimkite reikiamus PCIe lizdų dangtelius nuo korpuso galo. Įdėkite vaizdo plokštę arba kitas išplėtimo korteles į pagrindinės plokštės PCIe lizdus ir pritvirtinkite jas varžtais.

Image: Rear exterior view of the PC case, showing the PCIe expansion slots, the rear exhaust fan, and the I/O panel cutout. This view is crucial for installing expansion cards and connecting peripherals.
6. Kabelių valdymas
Norėdami tvarkingai sutvarkyti laidus, išnaudokite laidų išvedimo angas ir tvirtinimo taškus už pagrindinės plokštės dėklo. Tai pagerina oro srautą ir suteikia estetinį vaizdą.

Image: Side internal view of the PC case, illustrating the pre-installed ARGB fans and the internal layout for component placement. This perspective helps in planning component installation and cable routing.
7. Connecting Front Panel I/O
Connect the front panel cables (USB, audio, power switch, reset switch, LED indicators) to the corresponding headers on your motherboard. Refer to your motherboard manual for exact pin layouts.

Image: Top-down internal view of the PC case, showing the top fan mounts and the overall internal structure. This view is useful for understanding top-mounted radiator or fan installations.
Operating the PC Case
Įjungimas
Once all components are installed and cables are connected, replace the side panels. Connect your monitor, keyboard, mouse, and power cable to the PC. Press the power button on the front panel of the case to turn on your system.
ARGB ventiliatoriaus valdymas
The XPG INVADER X MINI comes with five pre-installed ARGB fans. These fans can be controlled via your motherboard's ARGB software (if compatible) or a dedicated ARGB controller (if included or purchased separately). Refer to your motherboard manual or ARGB controller instructions for specific lighting effects and synchronization.
Priežiūra
Dulkių filtro valymas
The case is equipped with dust filters to prevent dust buildup inside. Regularly clean these filters (typically located at the top, front, and bottom) by removing them and gently brushing or washing them with water. Ensure they are completely dry before re-installing.
Bendras valymas
Naudokite minkštą, damp cloth to wipe down the exterior of the case. Avoid abrasive cleaners or solvents that may damage the finish or tempered glass panels.
Trikčių šalinimas
- Sistema neįsijungia: Ensure all power cables (24-pin ATX, 8-pin CPU, GPU power) are securely connected. Check the power switch connection to the motherboard. Verify the PSU is switched on.
- Ventiliatoriai nesisuka / ARGB nešviečia: Check fan power connections to the motherboard or fan controller. Ensure ARGB headers are correctly connected and software is configured.
- Nėra ekrano išvesties: Confirm the graphics card is properly seated in its PCIe slot and has adequate power. Ensure the monitor cable is connected to the graphics card, not the motherboard's integrated graphics ports (unless using integrated graphics).
- Perkaitimas: Verify all fans are spinning correctly and are oriented for optimal airflow (intake/exhaust). Ensure CPU cooler and GPU fans are functioning. Clean dust filters.
Specifikacijos
| Funkcija | Specifikacija |
|---|---|
| Prekės ženklas | XPG |
| Serija | INVADER X MINI |
| Modelio numeris | CJ11533856 |
| Atvejo tipas | Mid Tower |
| Pagrindinės plokštės suderinamumas | ATX |
| Matmenys (IxPxH) | 14.13 x 8.27 x 18.11 colio |
| Prekės svoris | 12.54 svaro (5.7 kilogramo) |
| Spalva | Juoda |
| Medžiaga | Plastikas, Grūdintas stiklas |
| Iš anksto įdiegti ventiliatoriai | 5 ARGB ventiliatoriai |
| Aušinimo būdas | Oras |
| Maitinimo šaltinio tvirtinimo tipas | Galinis tvirtinimas |
Garantija ir palaikymas
XPG products are designed and manufactured to the highest quality standards. For information regarding warranty coverage, please refer to the warranty card included with your product or visit the official XPG websvetainę.
For technical support, troubleshooting assistance, or to inquire about replacement parts, please contact XPG customer service through their official websvetainėje arba kontaktinę informaciją, pateiktą jūsų produkto dokumentuose.
Please have your product model number (INVADER X MINI) and serial number ready when contacting support.


